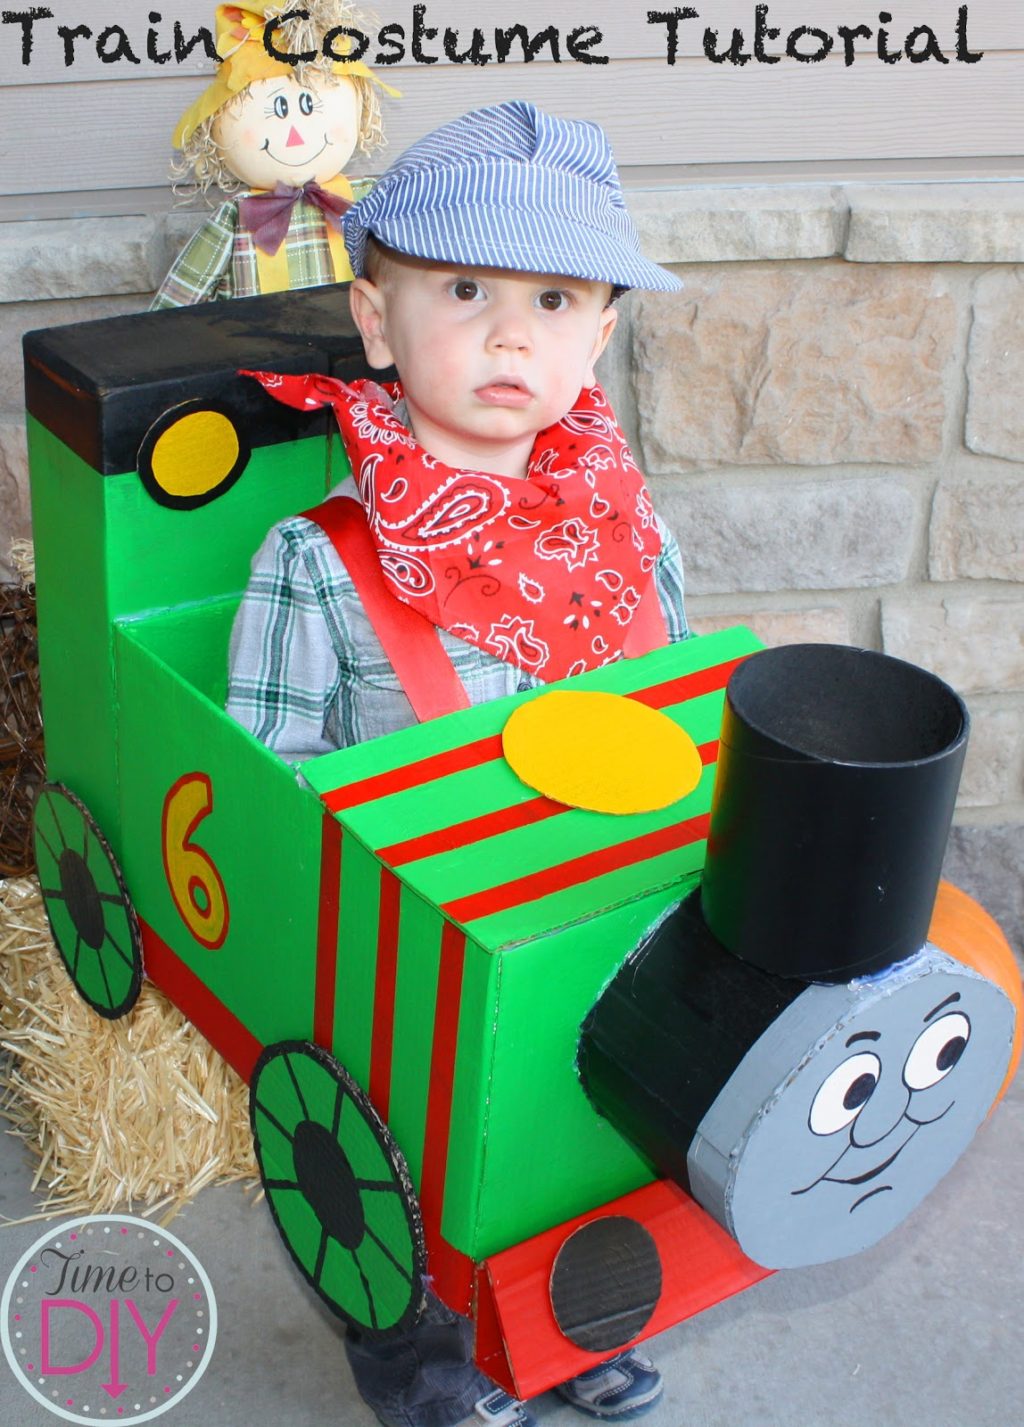
My son is obsessed with trains. I’m not proud of this, but the first thing he says when he wakes up is “watch Thomas.” And I hear that about 20 50 times a day, in between reading “Blue Train, Green Train.” There was no question he would be a train for Halloween, although it was a tough decision which one.
This train costume is specific to Percy, but you can tweak it for any train. Here’s what you need:
- Boxes and cardboard scraps
- Paint and brushes (I used a Michael’s 50% off coupon for one of the tubes)
- Spray paint (optional)
- Box cutter or scissors
- Ribbon for straps
- Glue gun and sticks
- Black Sharpie (optional)
My husband makes fun of my box collection in the basement, but I had all the boxes and scraps I needed for this project.
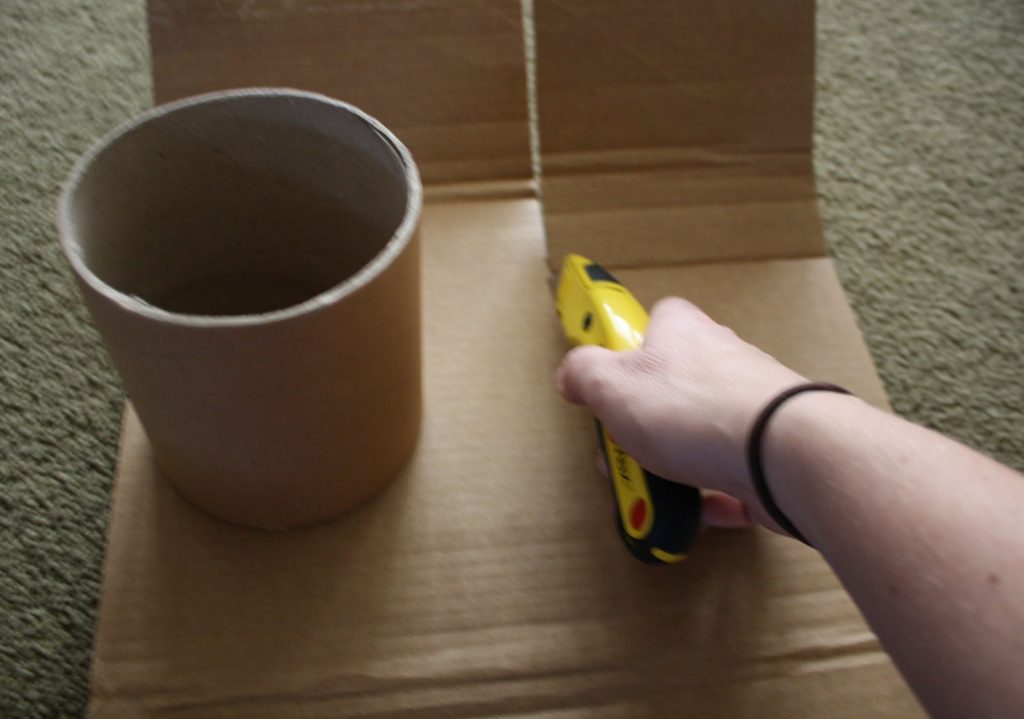
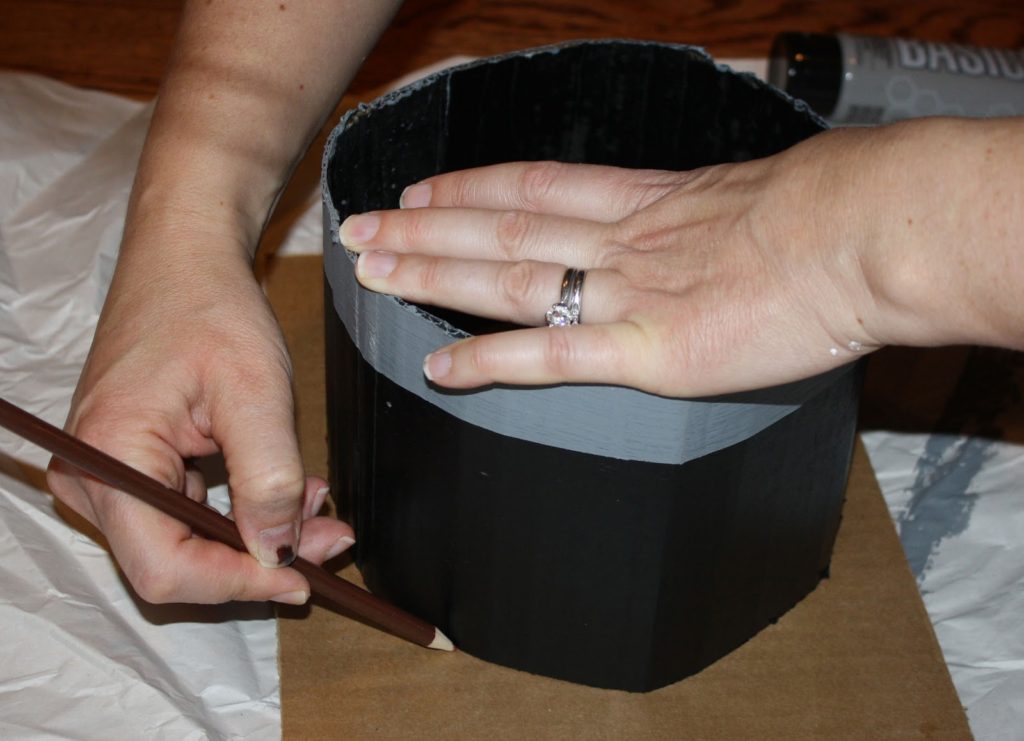
I used a scrap piece for Percy’s “face.” Since the funnel has to sit on top, I used it to see how wide I needed to cut it.
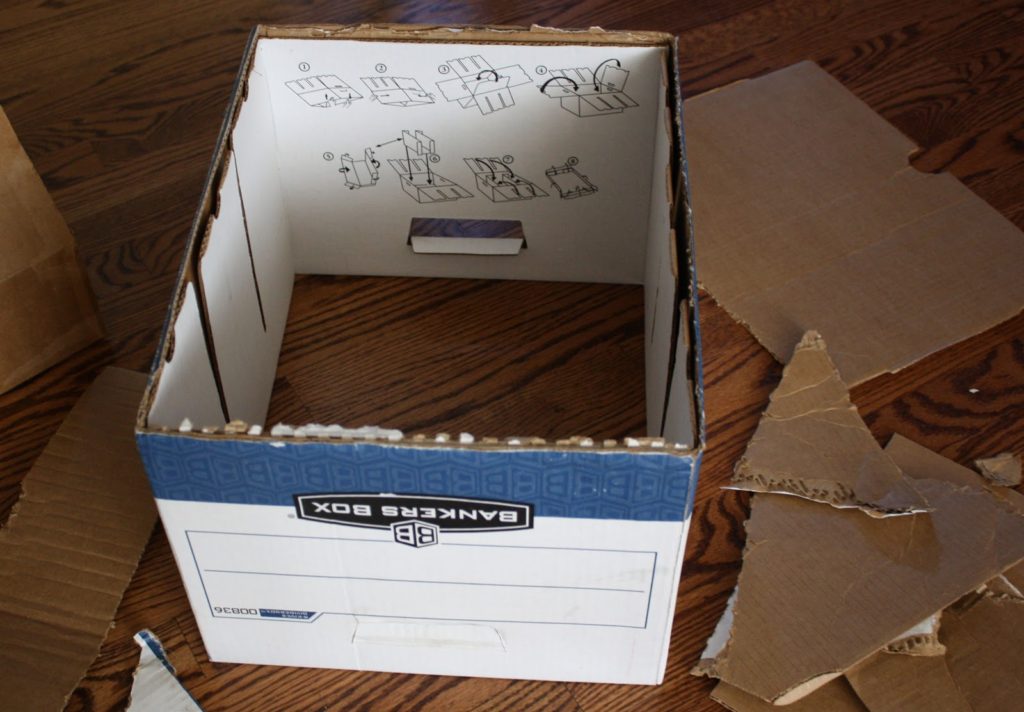
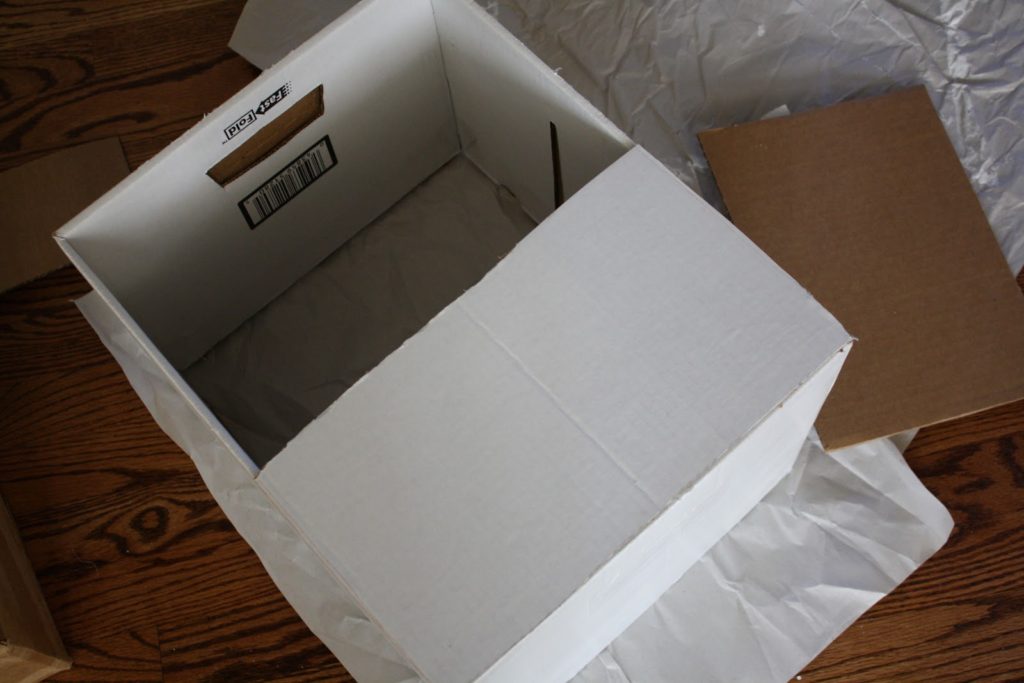
Using a box cutter, I cut the bottom out of the box (I did all the cutting while the boys were napping).
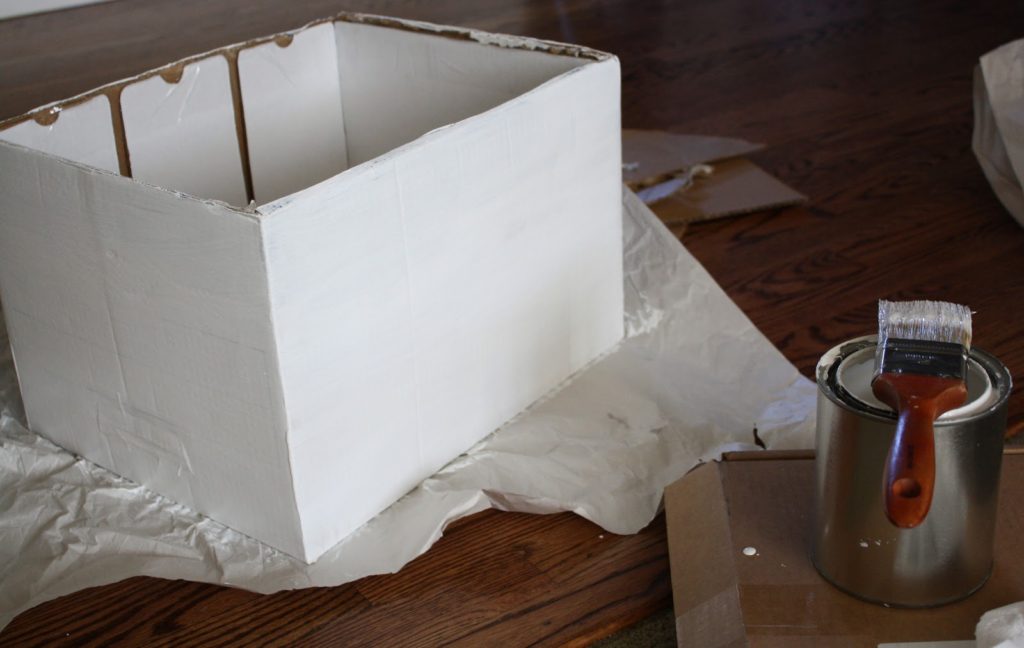
I found “trim paint” in my garage and painted the box white to get rid of the “banker box” logo.
I cut the bottom piece in half so it could sit on the top of the train as the covering.
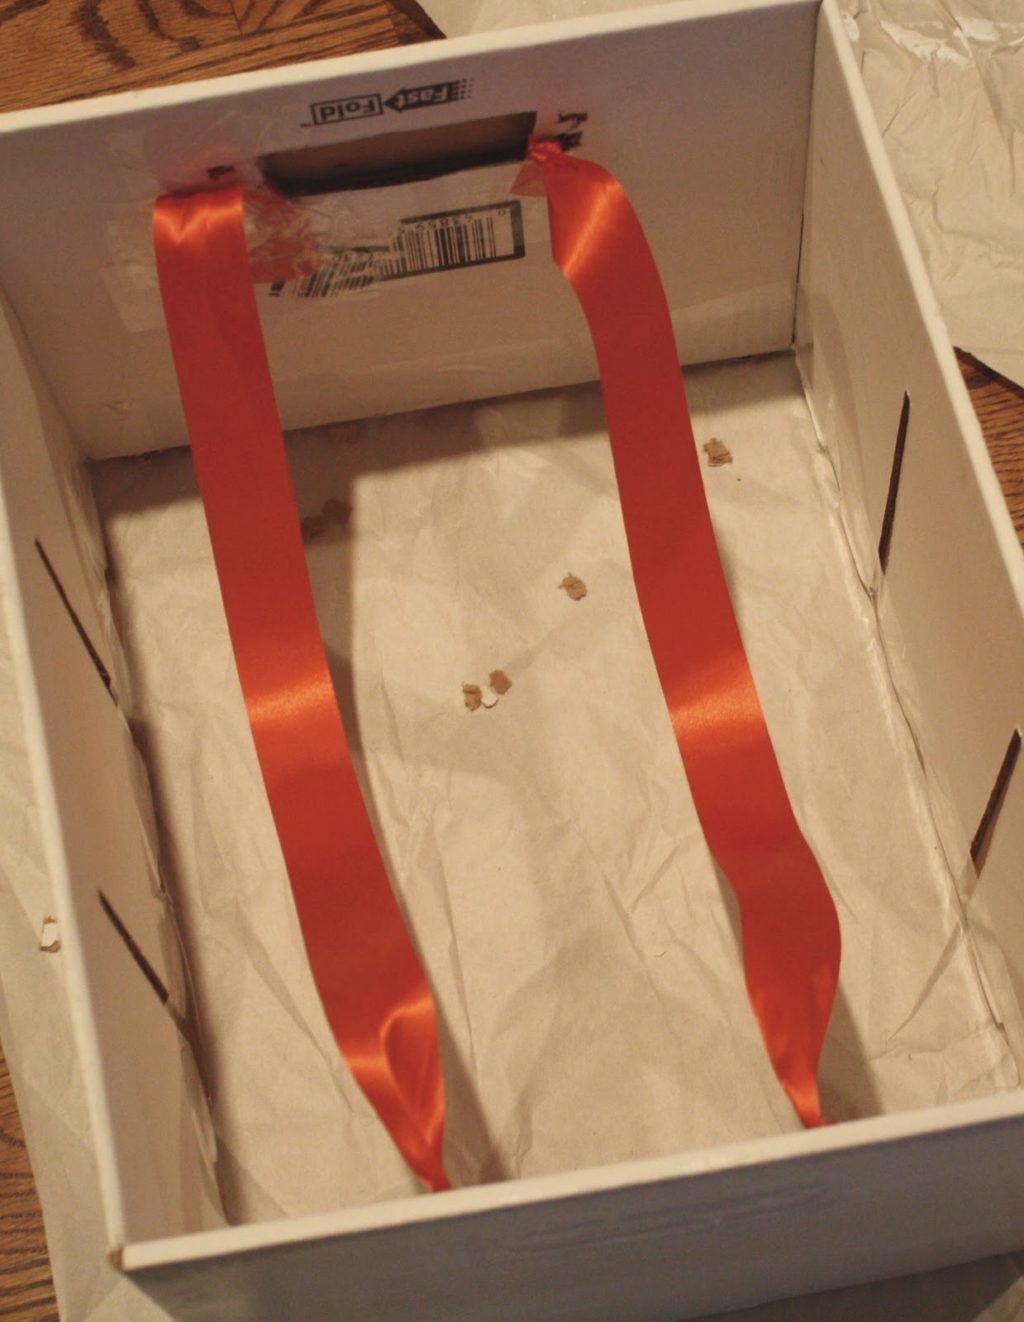
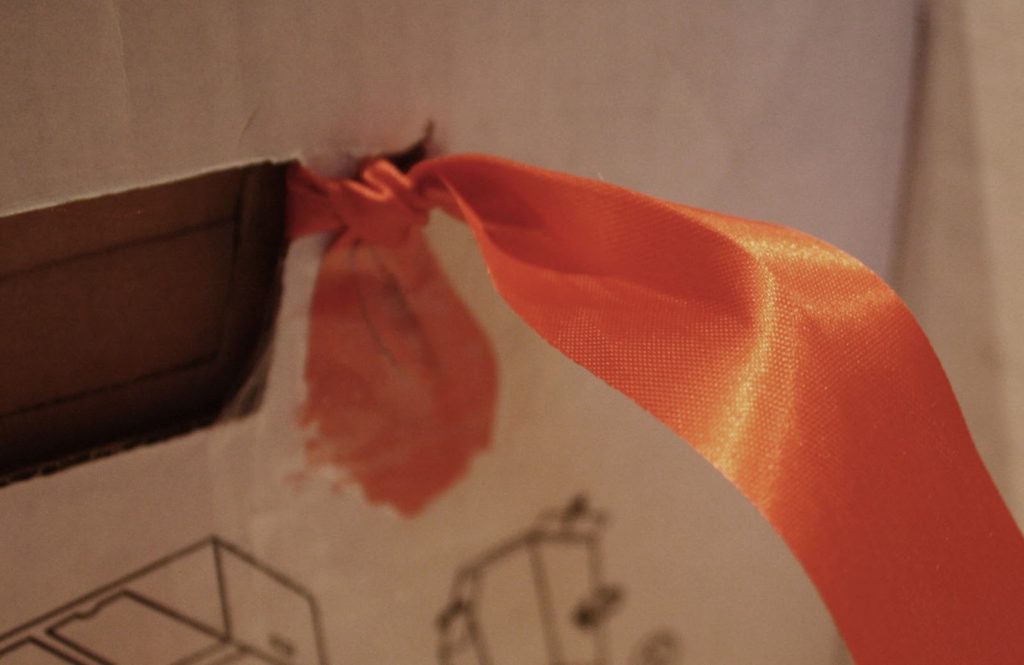
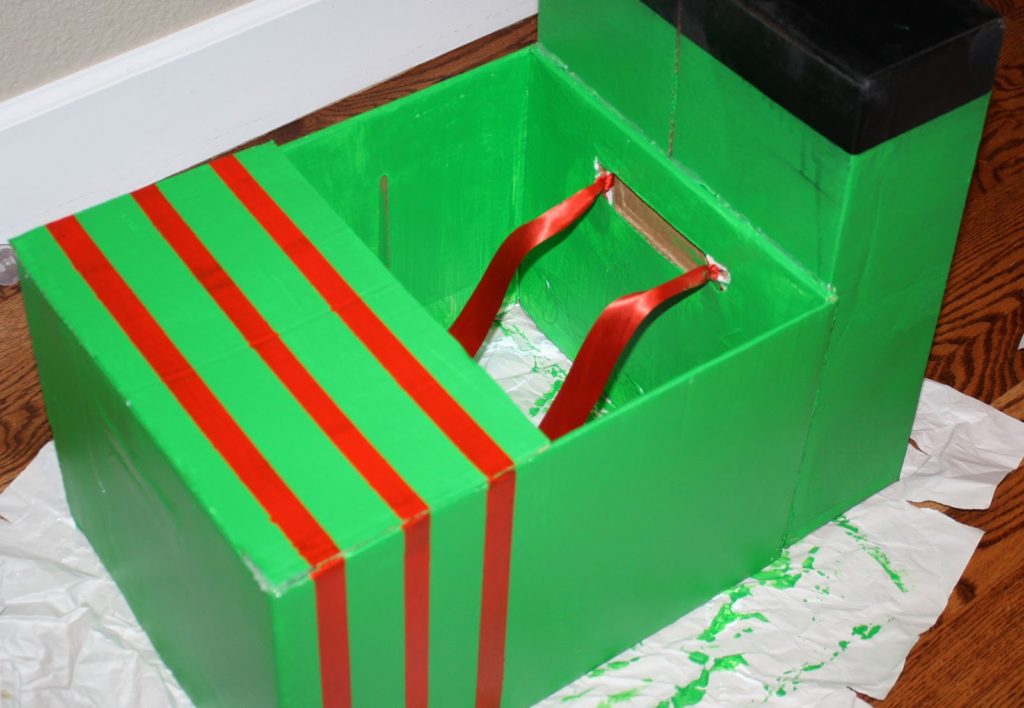
Then I realized I should put the straps in. This was a little tricky, but I cut a hole on either side of the handle and pulled the ribbon through both holes, and then tied in a knot to hold it.
Here’s a close-up. I taped the end piece for extra hold.
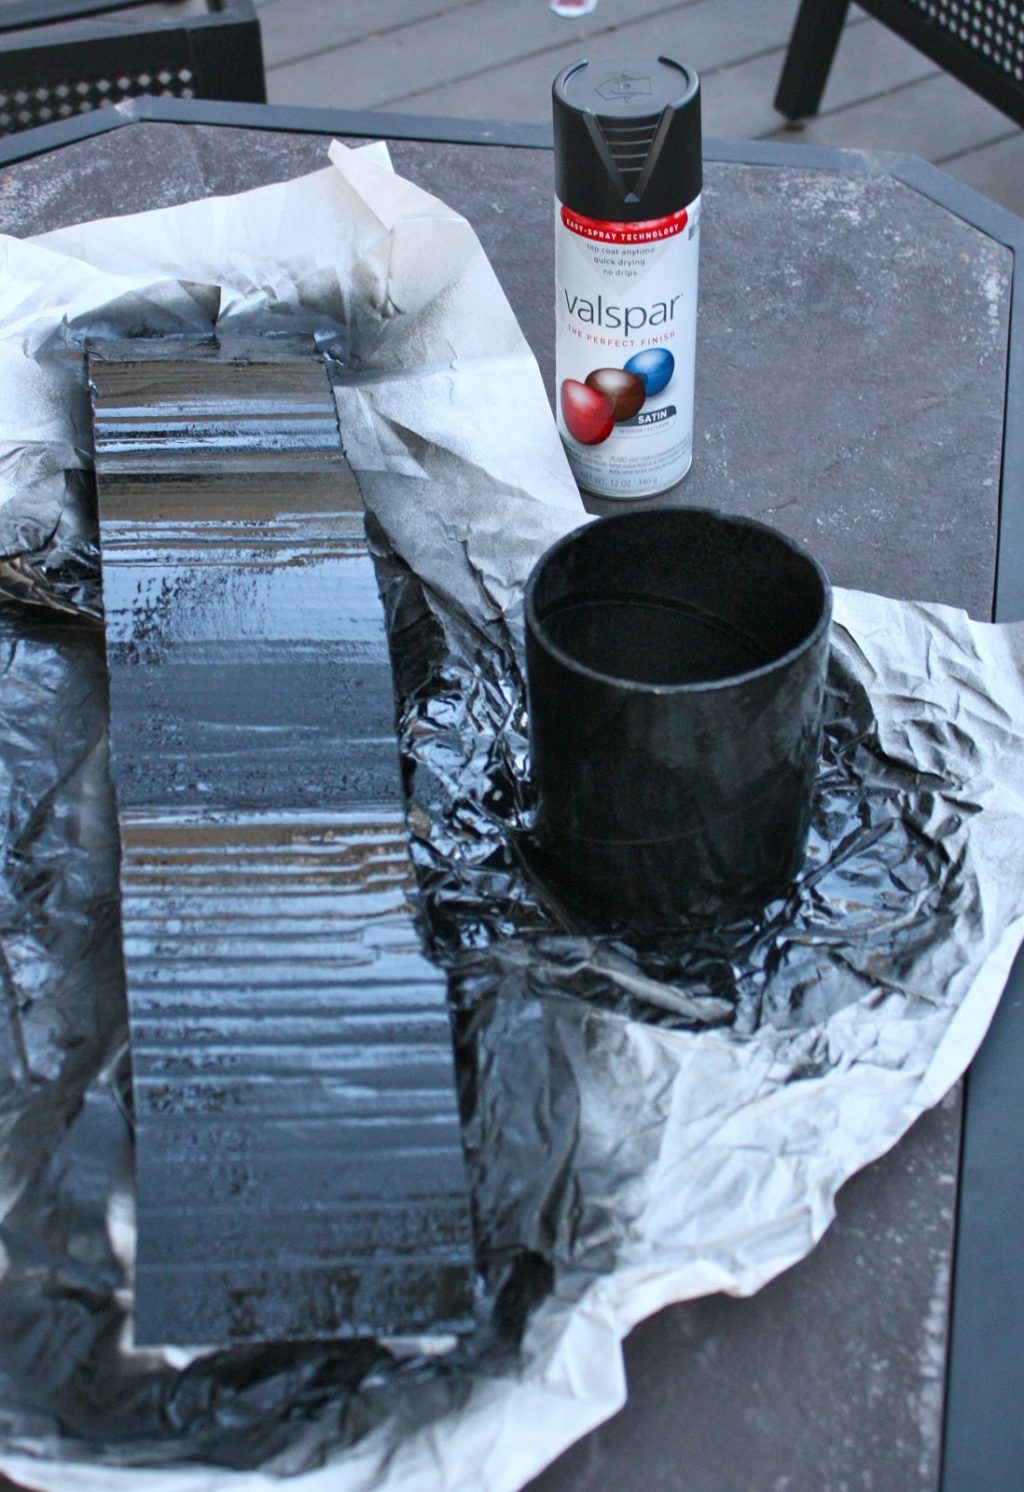
I used black spray paint (found in my garage) for the face and funnel pieces. You only need to paint one side of the face because the inside won’t show when the face is on. I painted both sides and realized that was stupid.
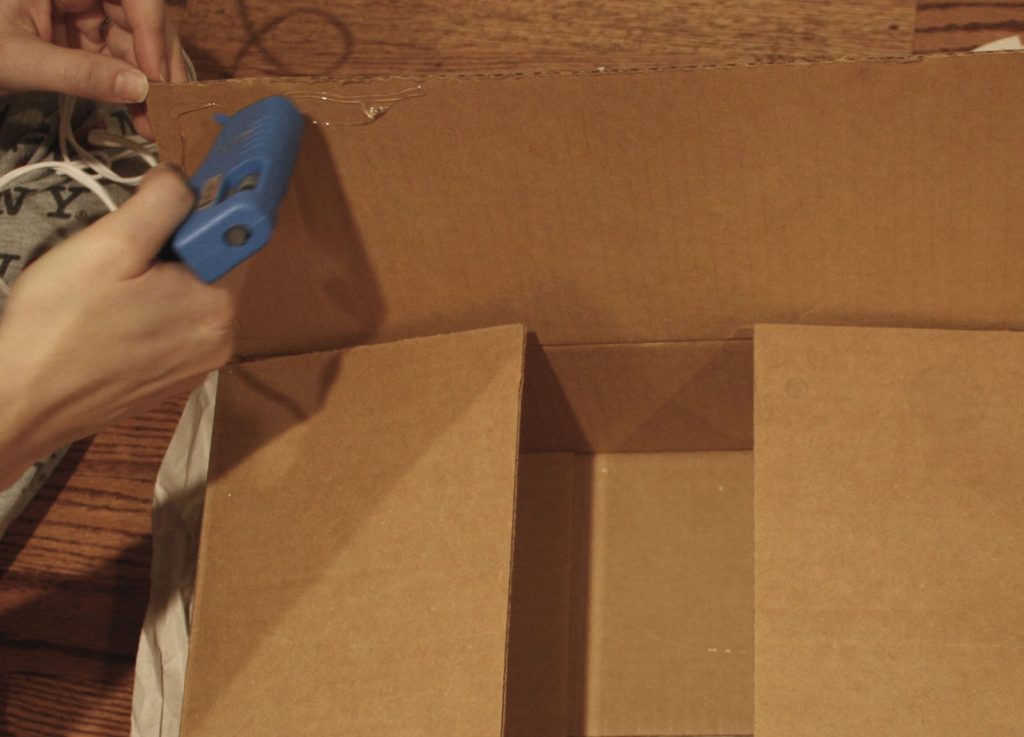
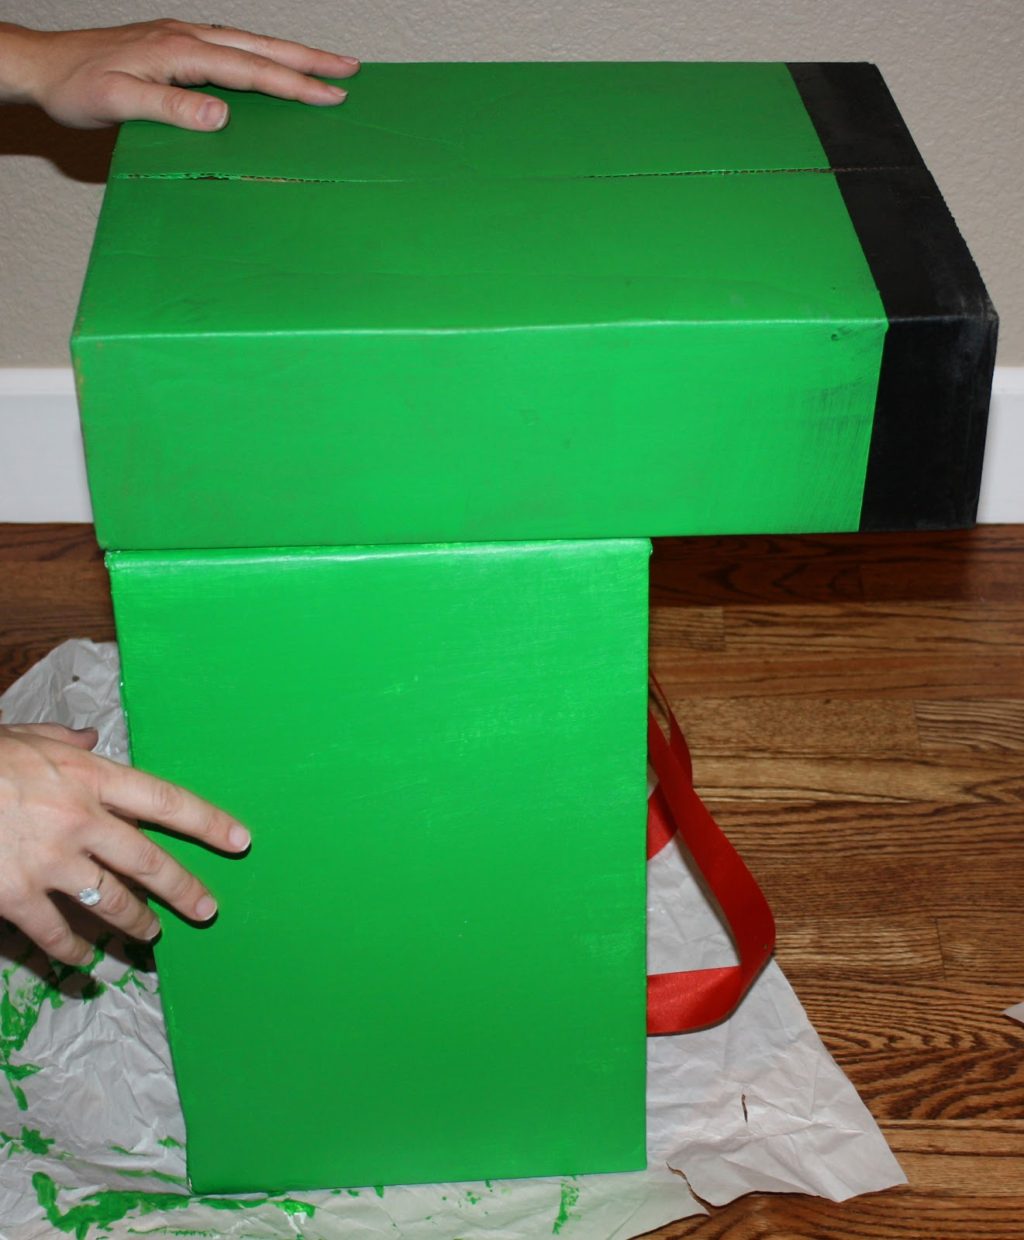
This box is for the back. I hot glued the flaps together and then spray painted the top black.
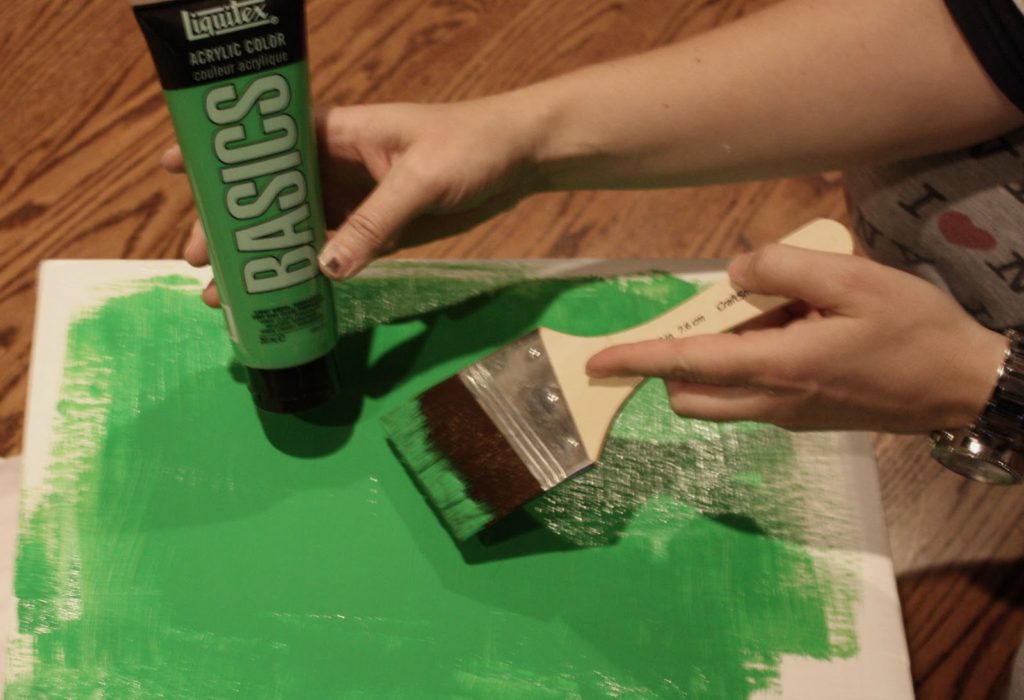
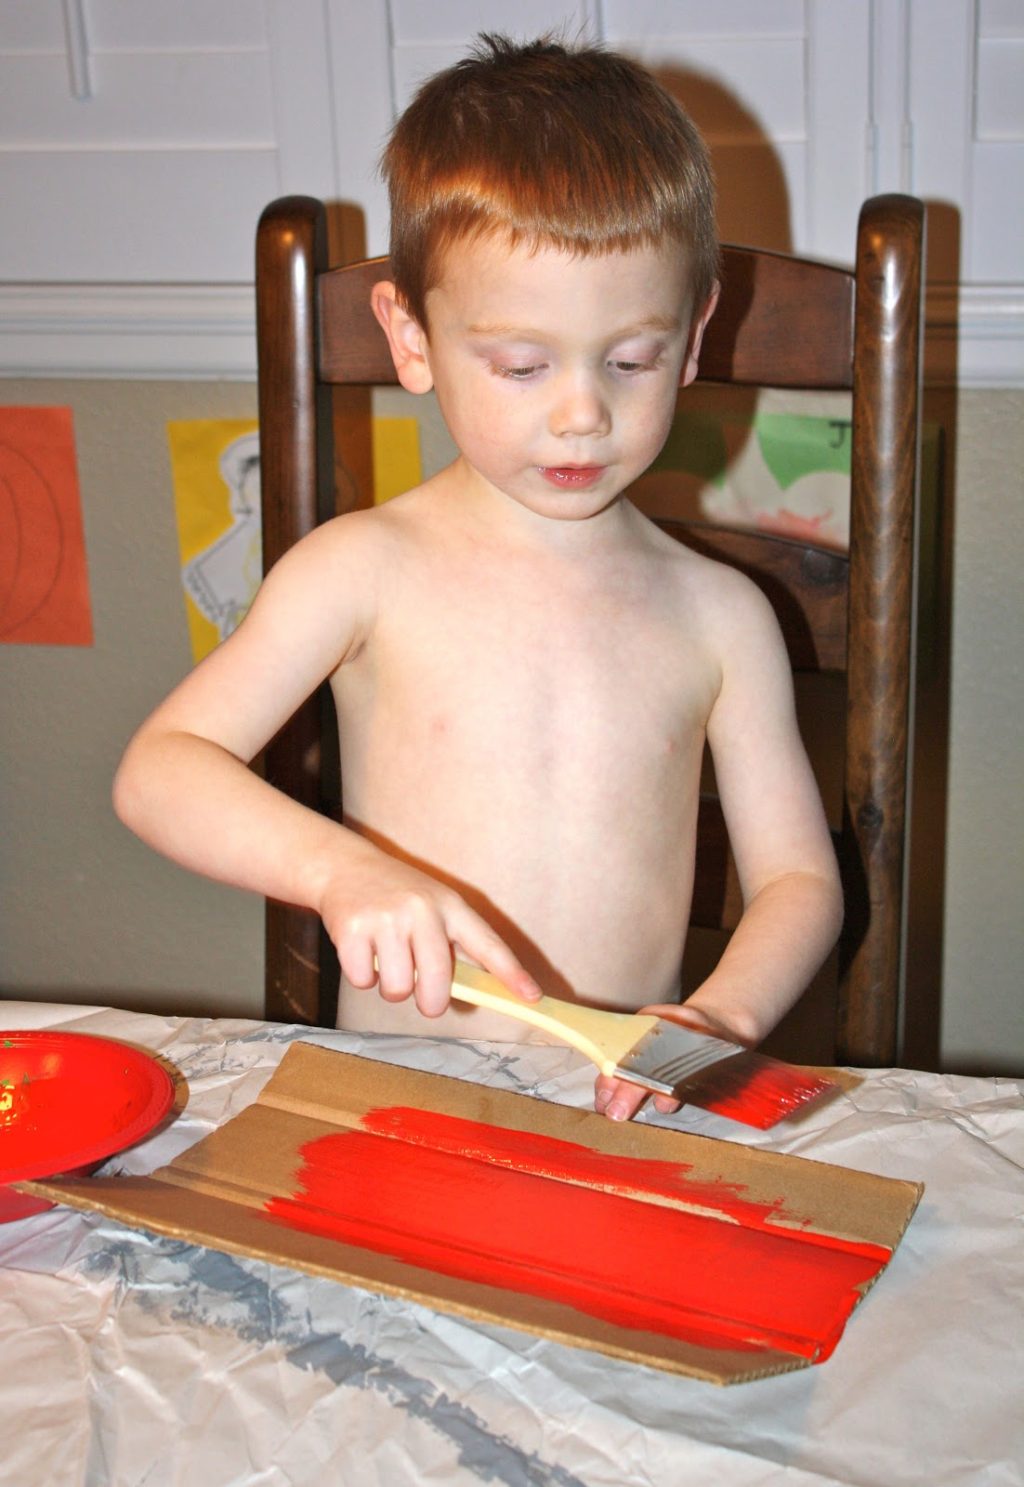
Time for some green paint on the base of the train.
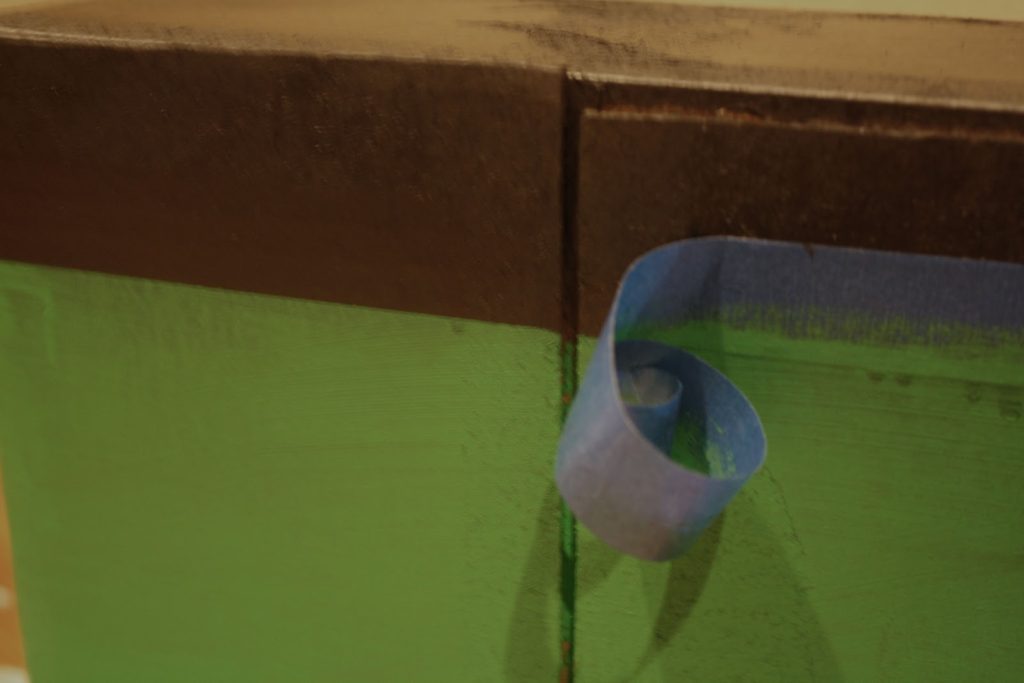
This is the back of the train that I had spray painted (just the top) black. I put painter’s tape on when I added the green paint to get a straight line.
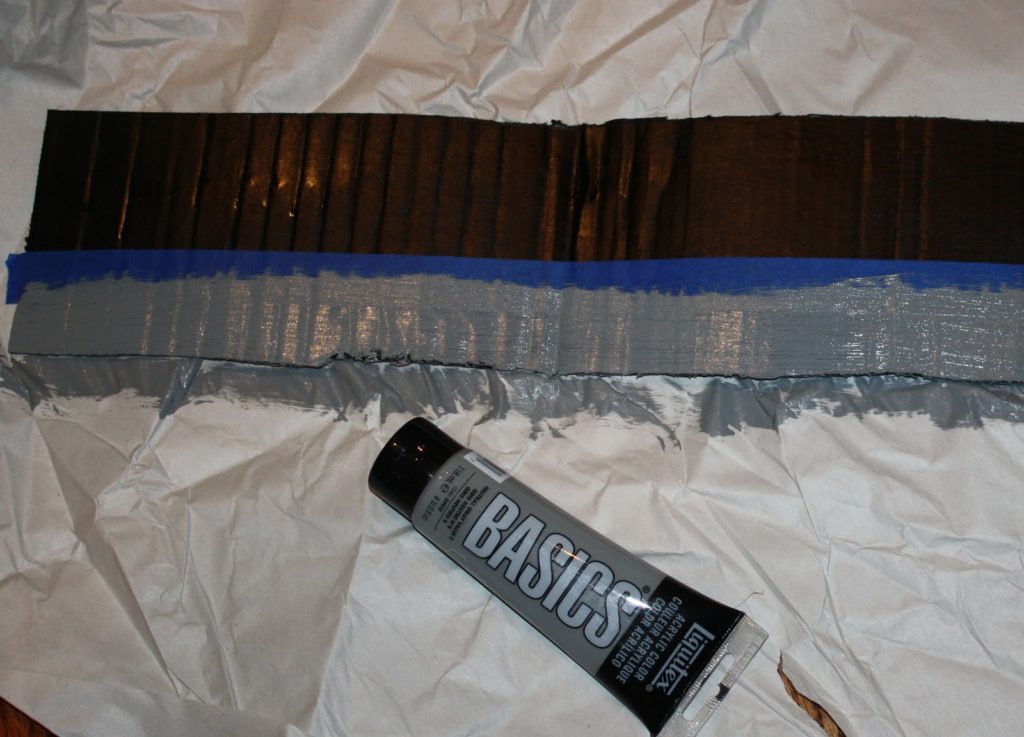
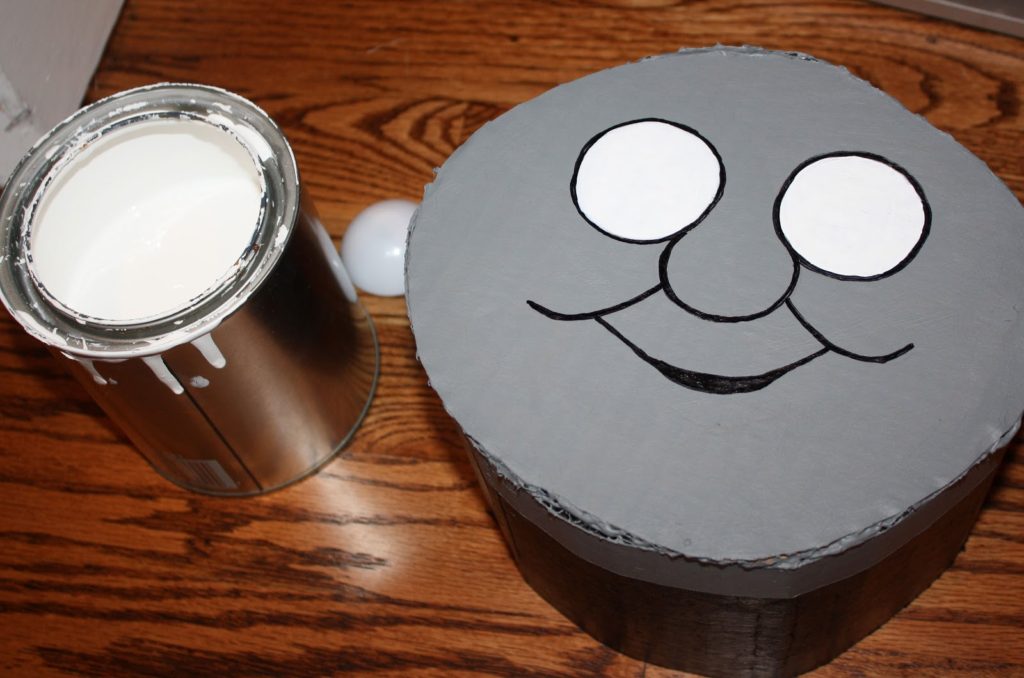
This is the scrap for the face, and I needed the edge to be gray so I used the painter’s tape again to get the straight line.
I had to bend the cardboard a bit to help make it more manipulative and then wrapped it in a circle so I could measure out Percy’s face.
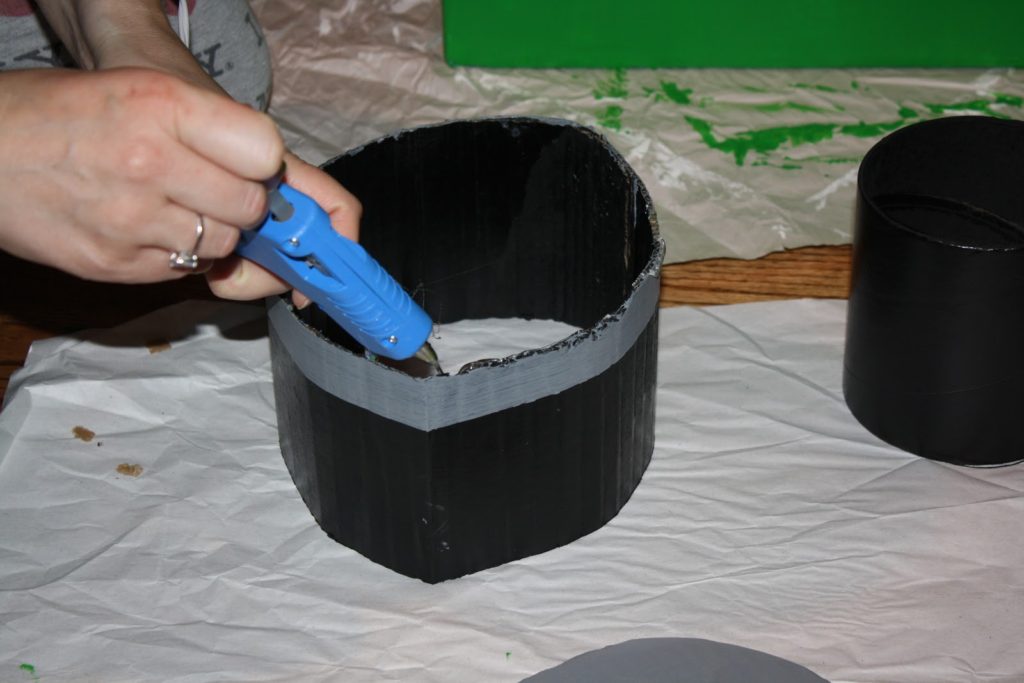
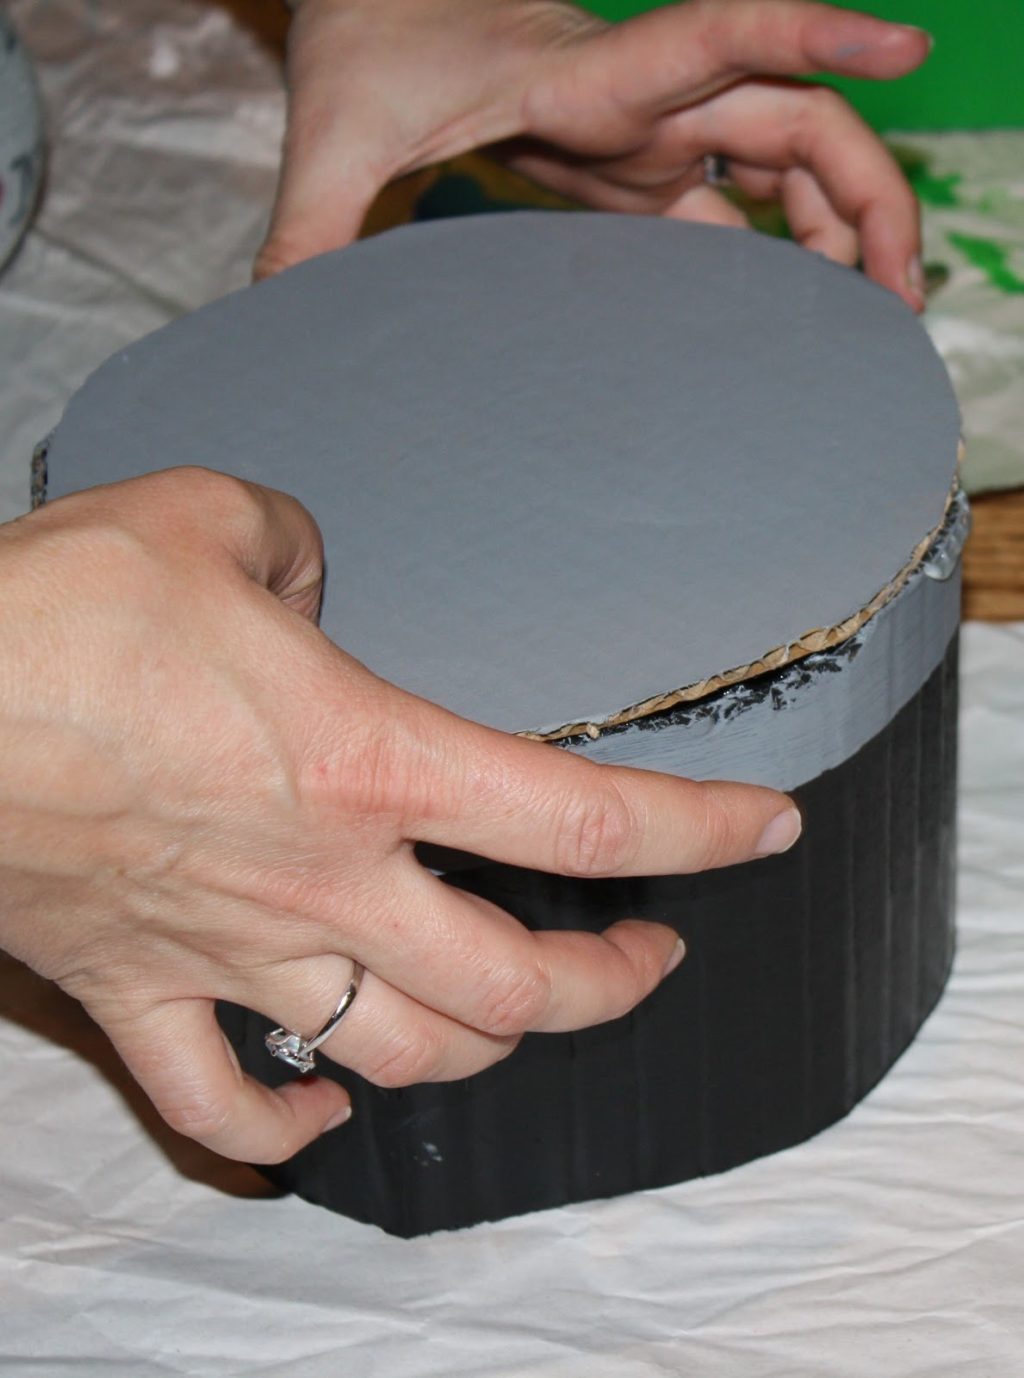
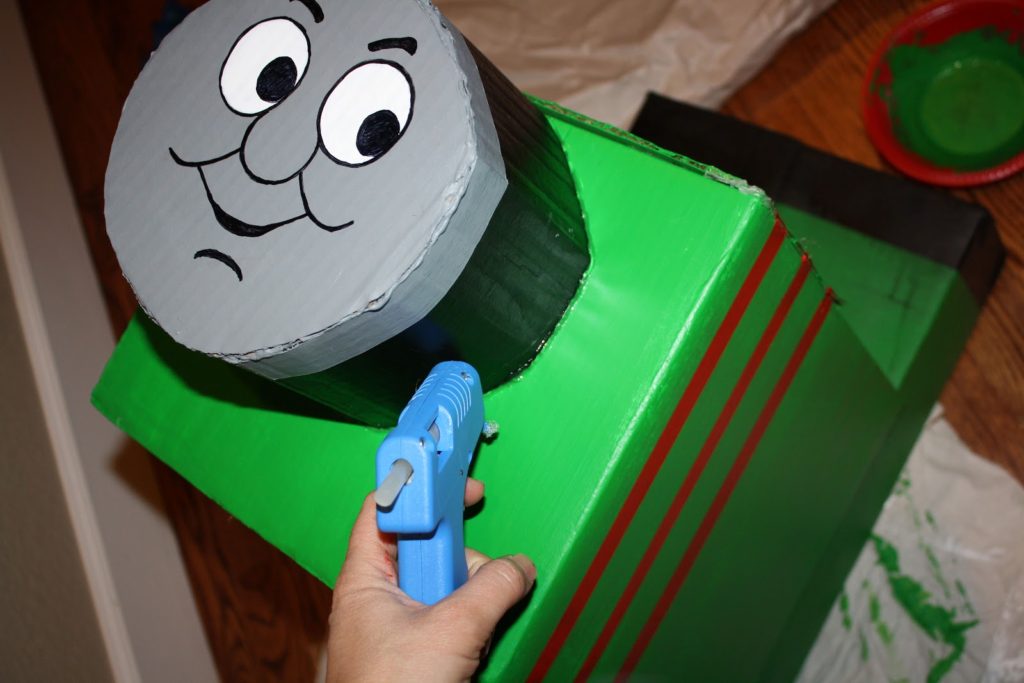
Once cut, I painted it gray, then hot glued it to the front.
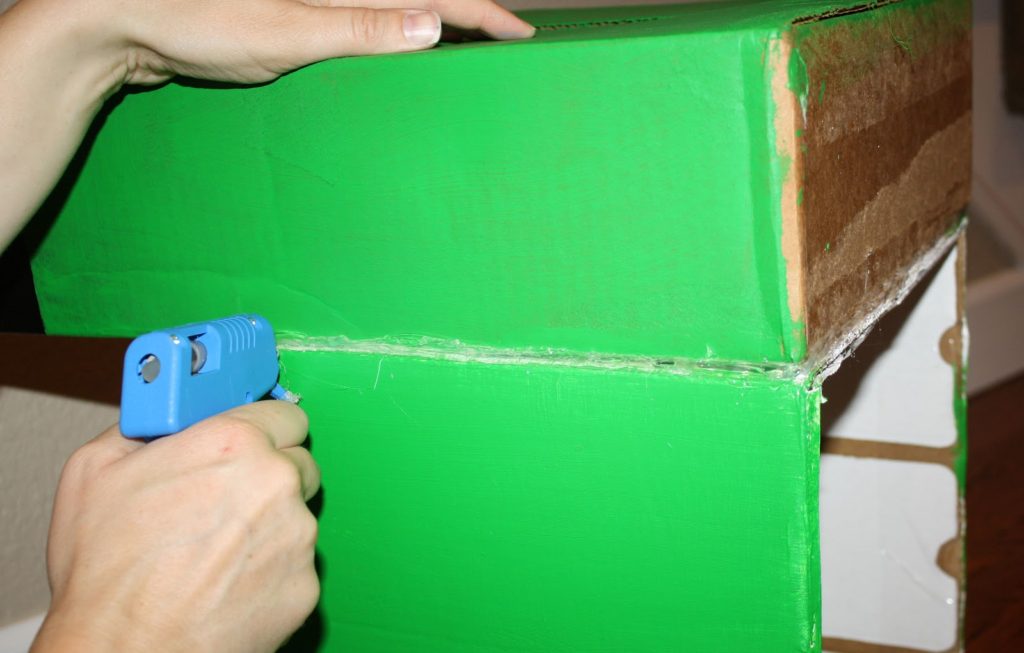
While that dried I attached the back to the base of the train. I was worried about the weight so I used a lot of hot glue.
I put hot glue between the two boxes as well as around the edges. Two coats.
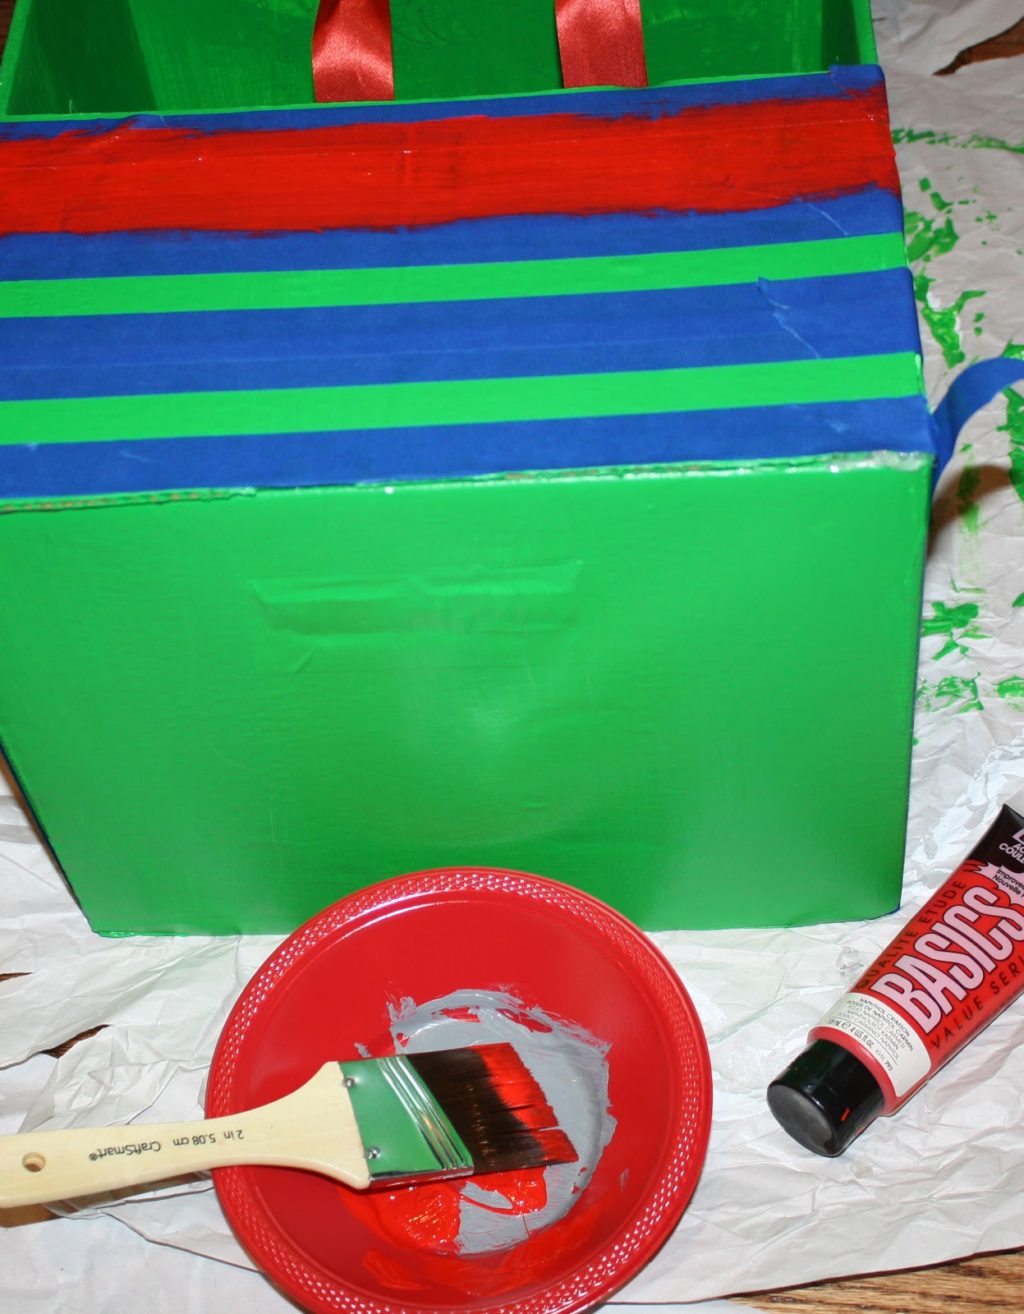
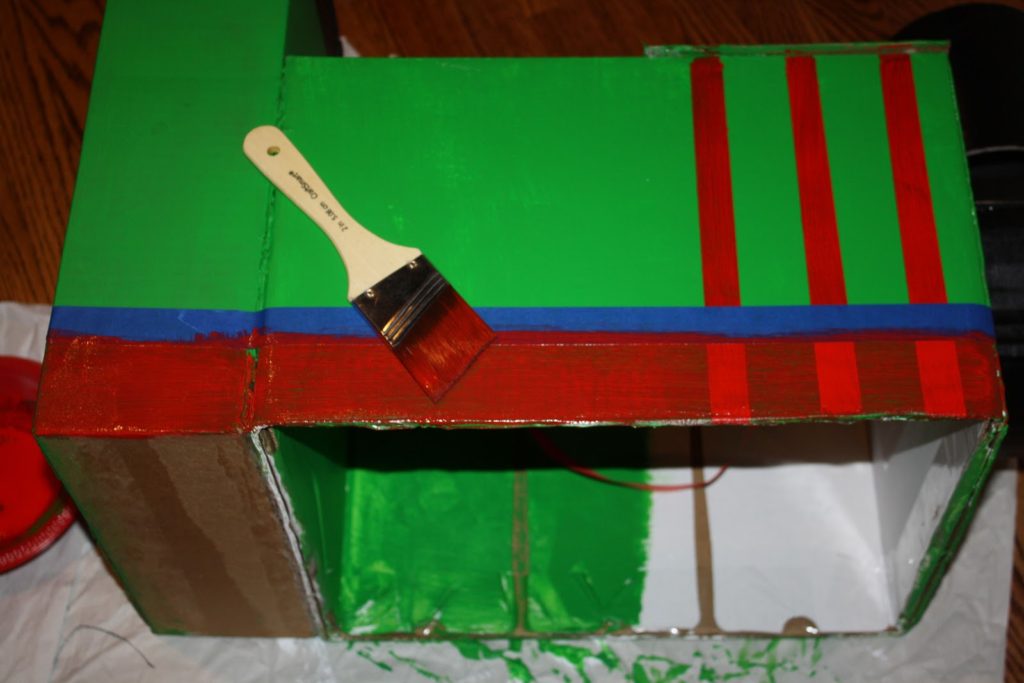
I used painter’s tape for the red stripes on the front of the train. I started putting the tape at the front and back and then worked my way to the middle so the stripes would be even.
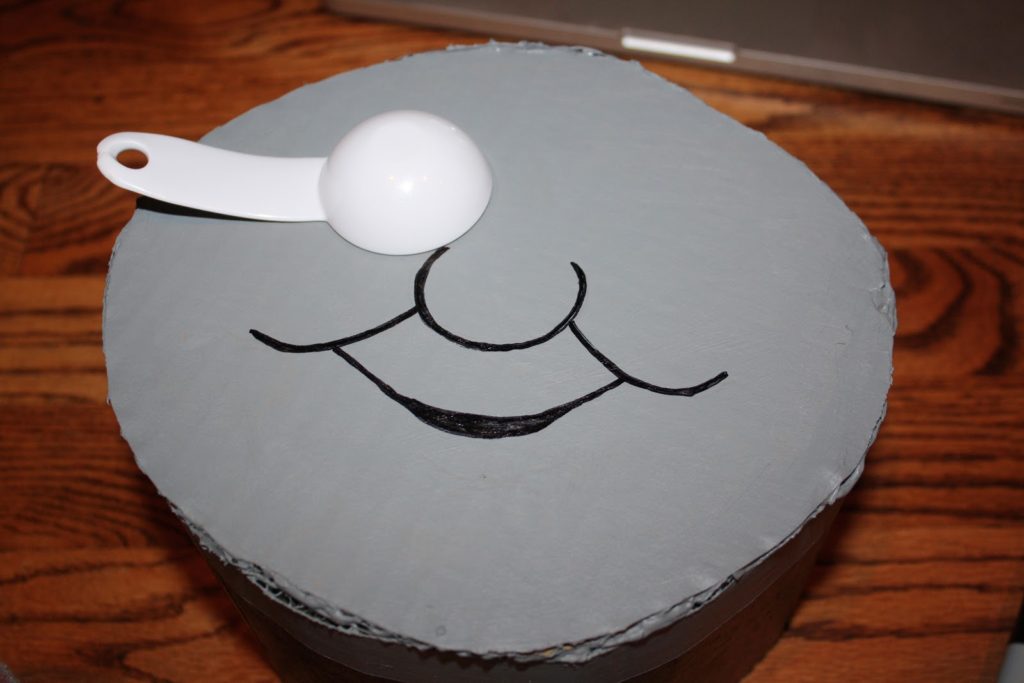
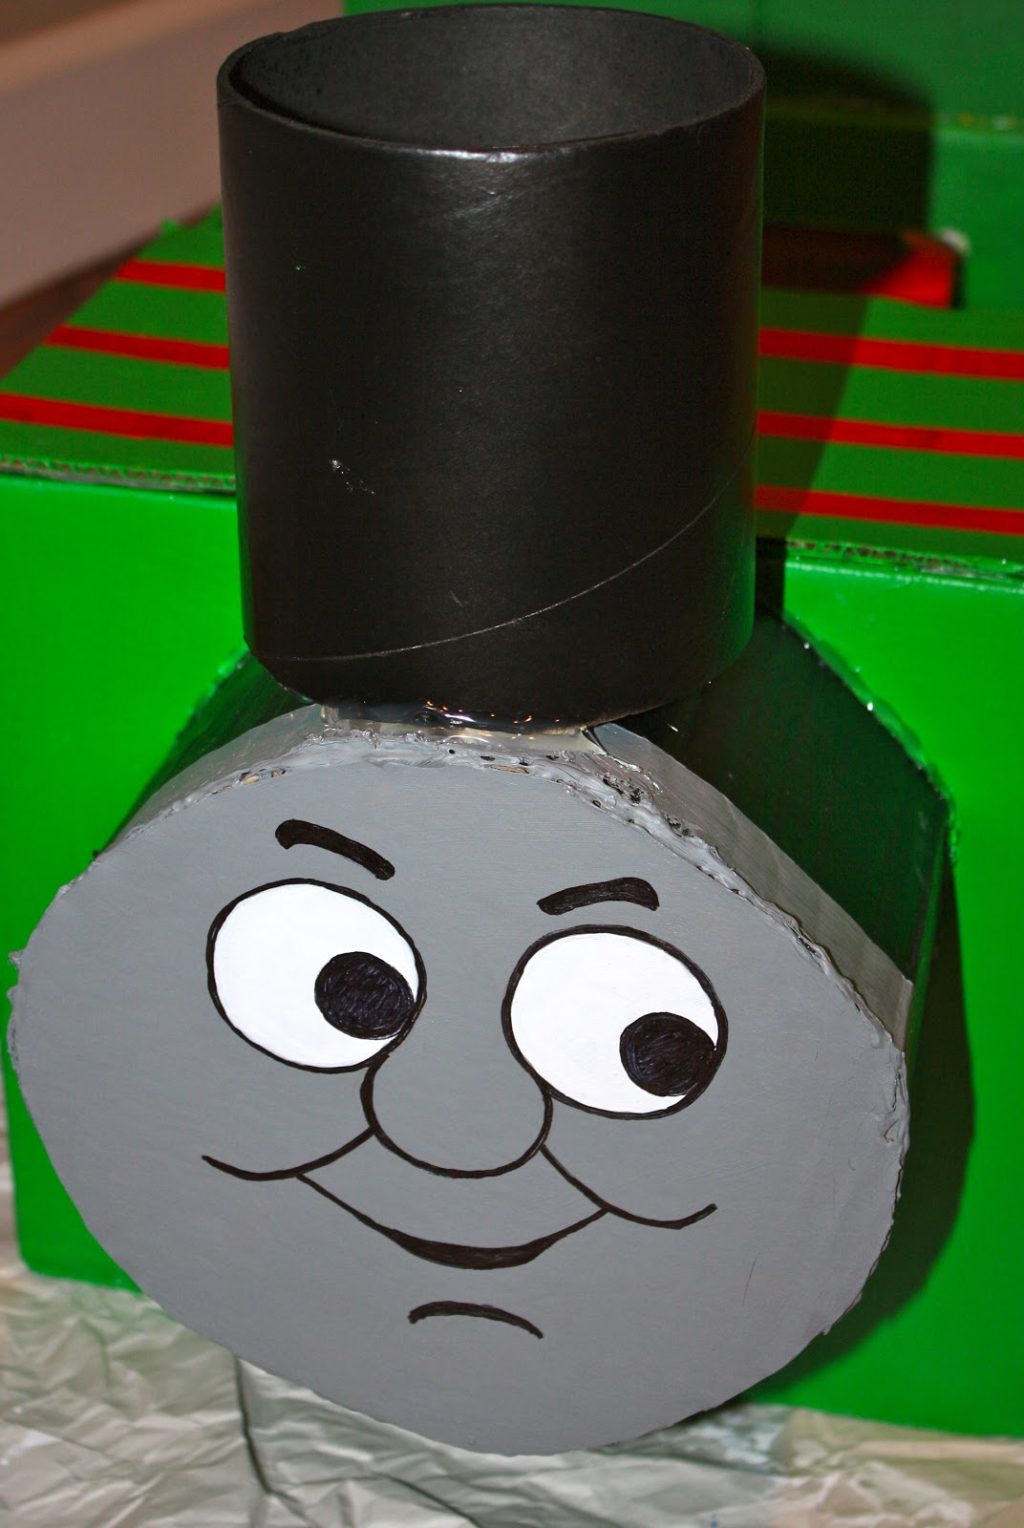
I found a Percy face online that looked easy enough and drew it with a Sharpie. For this step you could also paint it or just print a face from the coloring pages on the Thomas & Friends website. I started with the nose, then drew the cheeks and connected the mouth. I traced with a pencil first, of course. I am not an artist so it took some time to get it in decent shape.
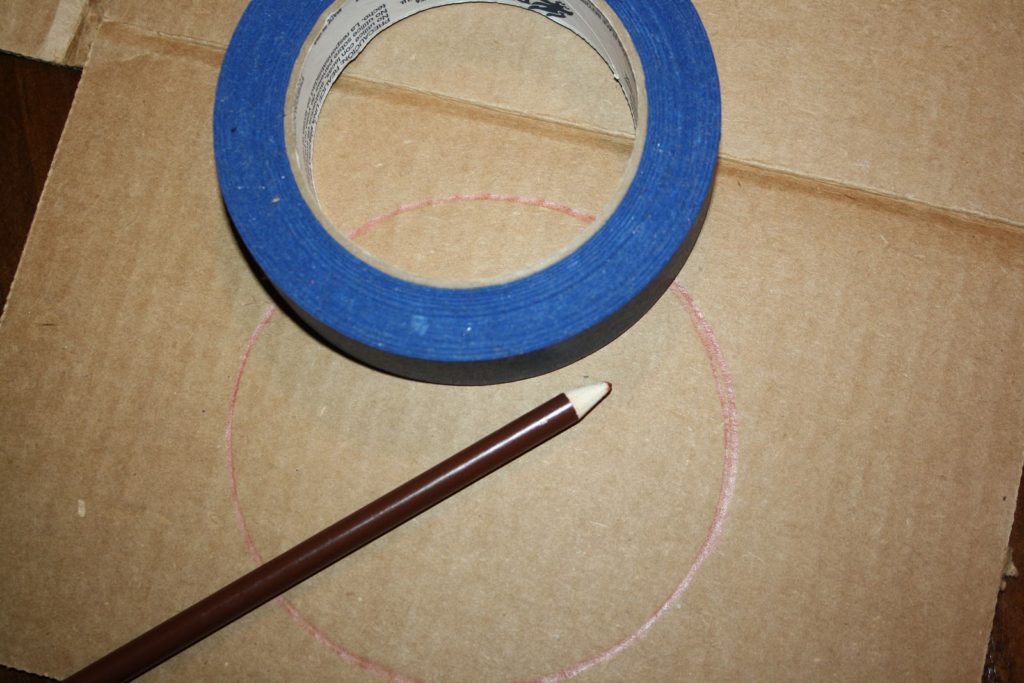
I used all kinds of things around the house to trace the circles. For the eyes, I used a tablespoon.
Then painted them with the same white paint I found in the garage.
To glue on his face, I put hot glue on the inside as well as two coats around it, just in case. It was a hot glue mess.
Funnel on top. This was a little tricky because there were only two small areas to glue in the front and the back. So I did about four coats just in case.
Percy has the red stripe around the bottom so I used the painter’s tape again. I had to do a couple coats to cover the green.
I pulled out another cardboard scrap to make the thing in front (I’m not fluent in train yet) under his face with the lights. This was a job for my other son! I always look for ways they can help.
This started as a smooth strip, but I bent it in couple spots so it would bend into the slanted piece. It’s a smaller piece on the right side to make the slant.
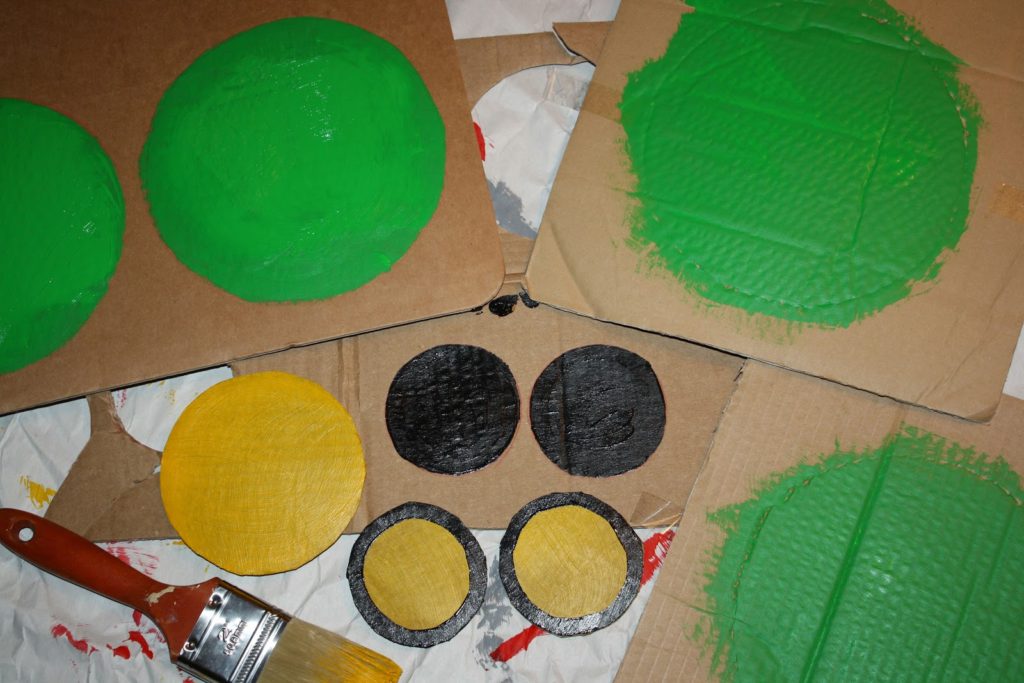
Then I had to make the lights, wheels, etc. I used all kinds of things to trace the circles. Painter’s tape here for the big yellow thing on top, bowls for the wheels, bottom of a cup for the lights and the inside of the wheels.
At first I cut them before painting, but then I realized it was easier to paint and then cut.
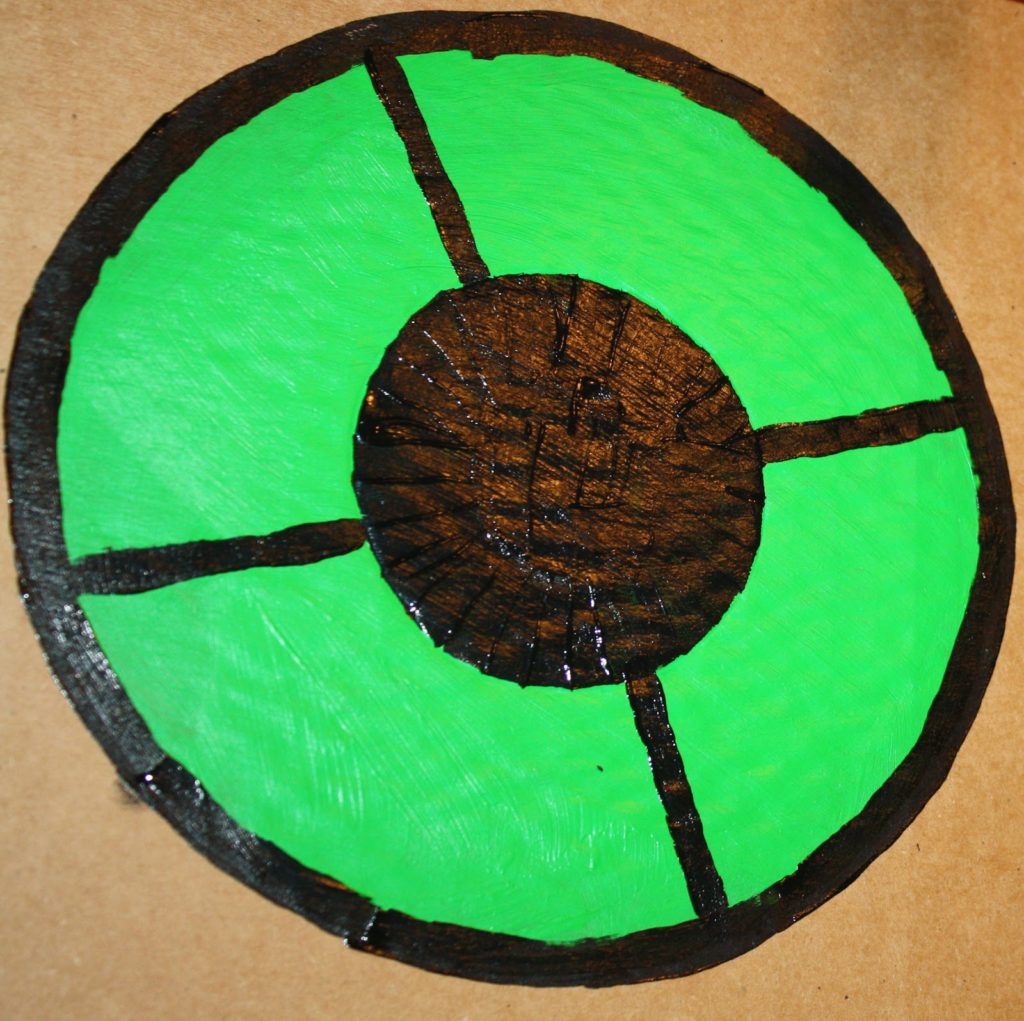
This was the easiest way for me to paint the wheels. I started with the lines here (top, bottom, and two sides), then filled in a line in between each line so they were all even.
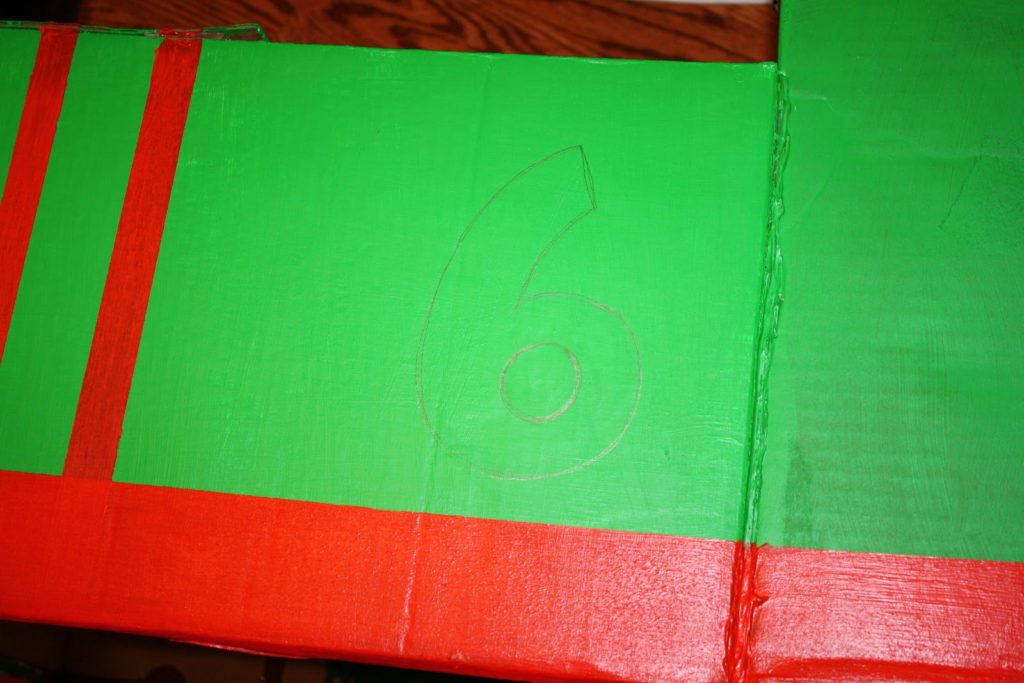
I glued on all the lights and wheels to the train, and then the final touch was the “6”. My husband said I should just skip it, but the boys love recognizing their numbers! I should have printed one out, or printed one from my Cameo, but I decided to freehand it. It was one of the those times when I thought it would be faster to freehand, but you know how that story goes. I painted the inside yellow (yellow paint is the worst, so many coats) and outlined it in red.
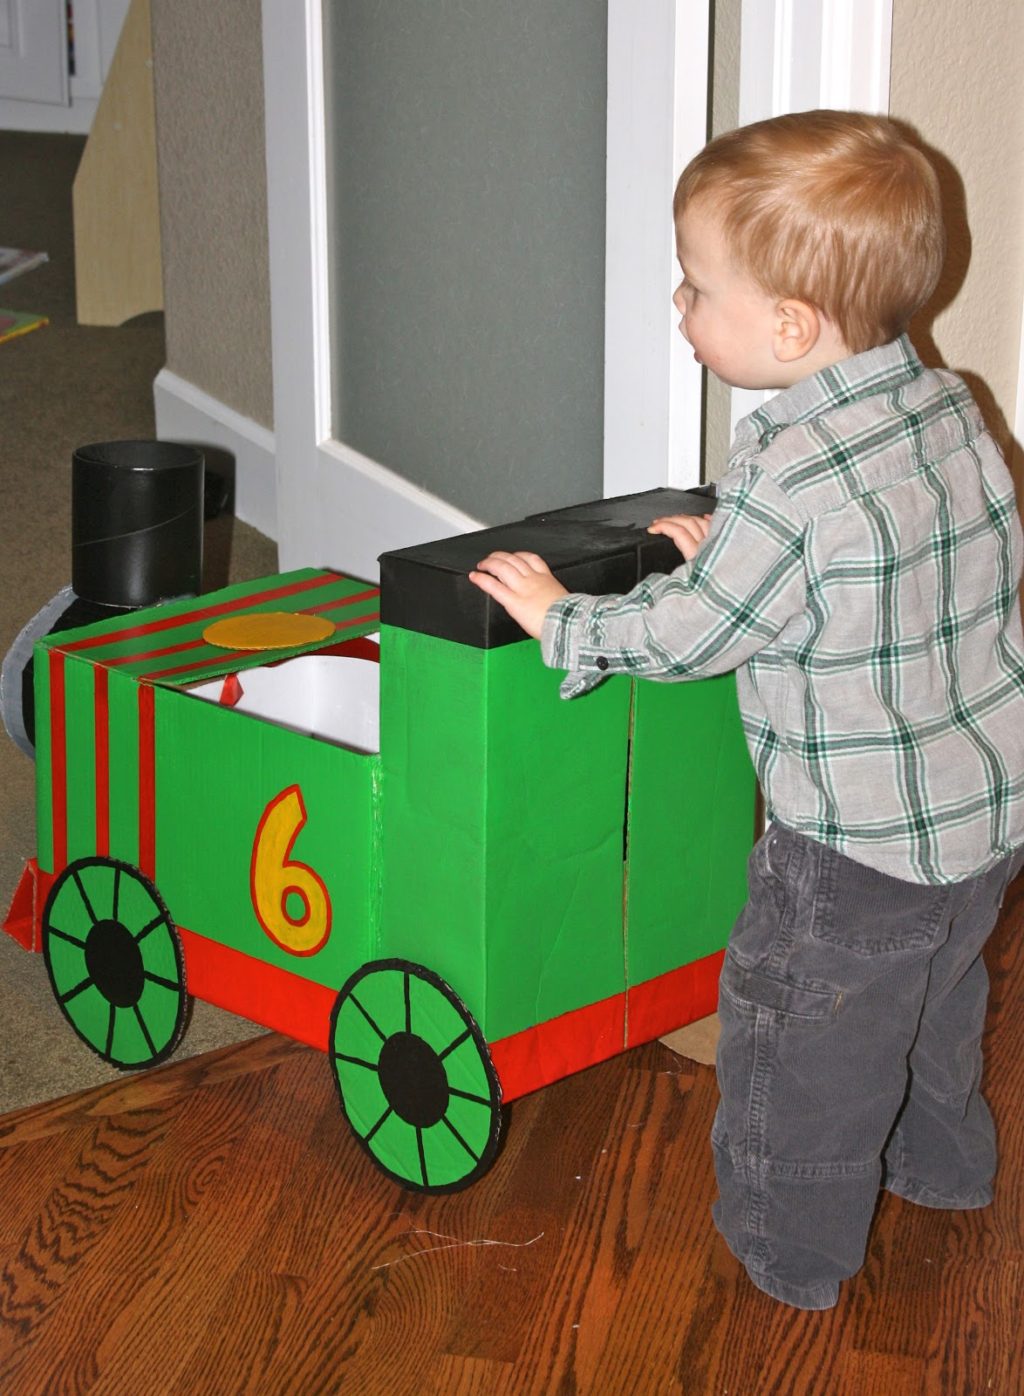
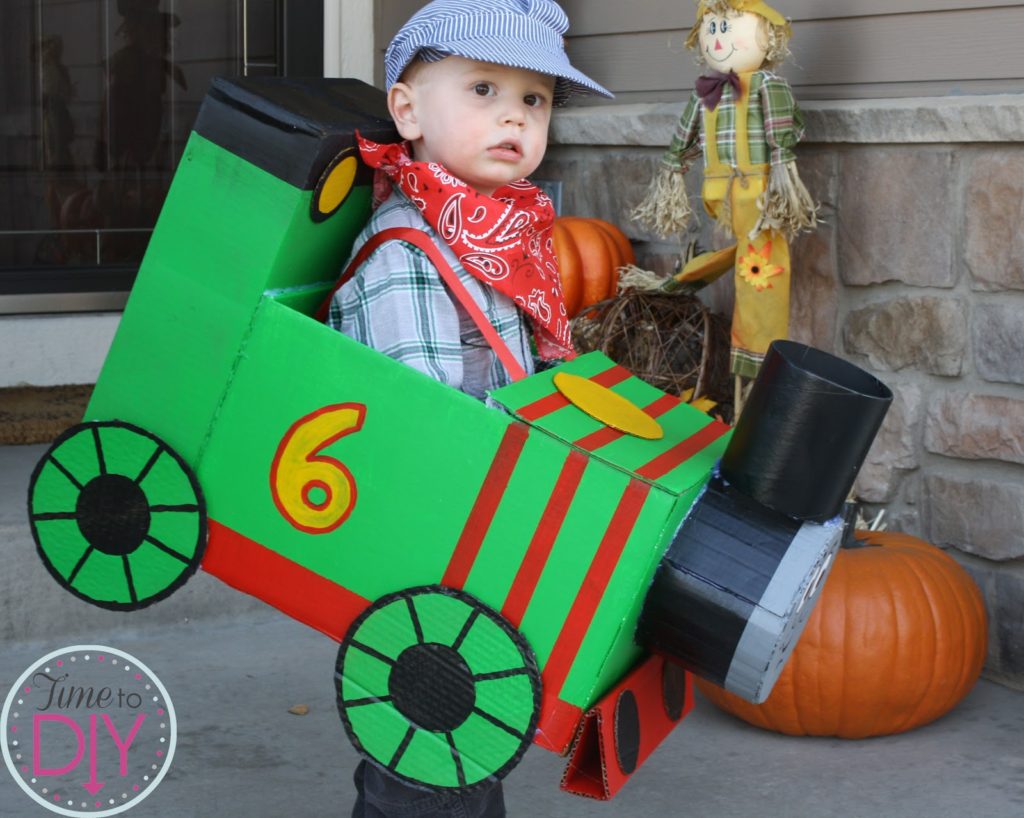
When he first saw it he said, “Percy is sad.” (I always knew my drawing skills weren’t that great) But he did love pushing it around. I know he will love being Percy.
This will also be a fixture in his new train room. Not sure how I will integrate it yet, but it will be there. Unless he decides to push it all around the house, in which case I will just blow up a photo of him in it. Probably will do that either way.
Happy Halloween!
Thanks for stopping by Time to DIY! You can also like my page on Facebook or follow me on Twitter.






Oh my goodness it looks fantastic! What a lucky boy to have you as a mommy. 🙂
Rach
Amazing how simple it can be to communicate with people and have them understand a certain topic, you made my day.
Side and face cutters