Even before kids, we never decorated the master. Once we had kids, it went to the “never” list. But one day I had an epiphany…well, more like a question: why isn’t it more of a priority? We deserve a sanctuary, right?
Later I read an article on Feng Shui and the author said, “I can always tell how much a person takes care of themselves when I see their bedroom.” I don’t think that’s totally true because I know a lot of people who couldn’t care less about decor, but it does tend to be last on the list when there are common areas that need to look presentable.
But it was a good point: it’s important to take care of yourself and have your space. So we decided to go for it.
I was especially happy because I could go wild with my version of my favorite show, HGTV’s “High Low Project.” Except we didn’t start with expensive items so it was really a cross between “High Low” and “Design on a Dime.”
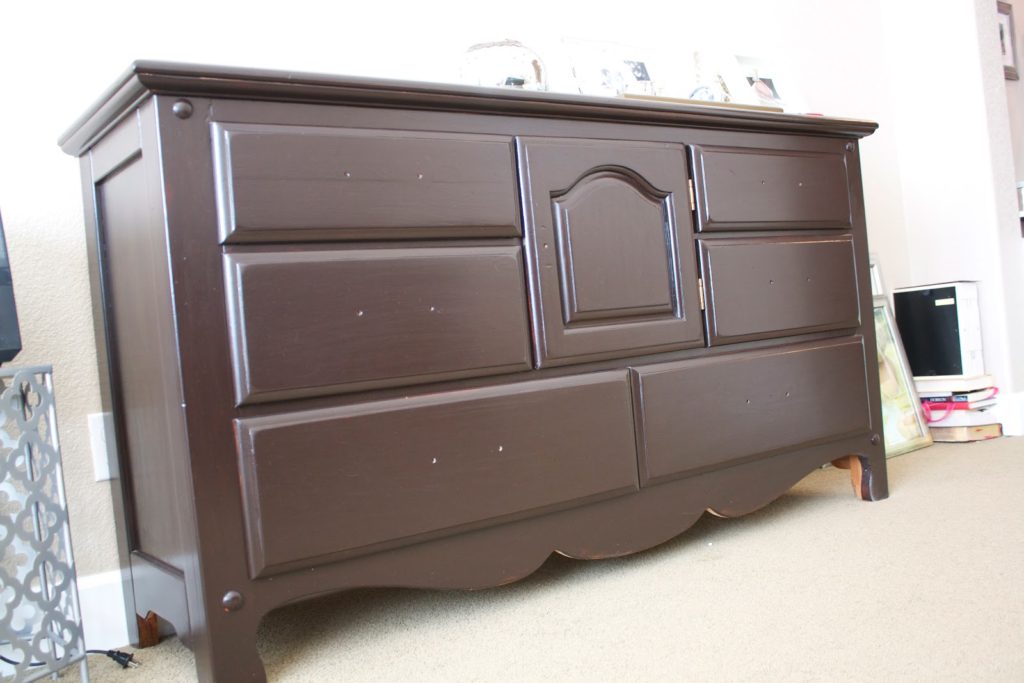
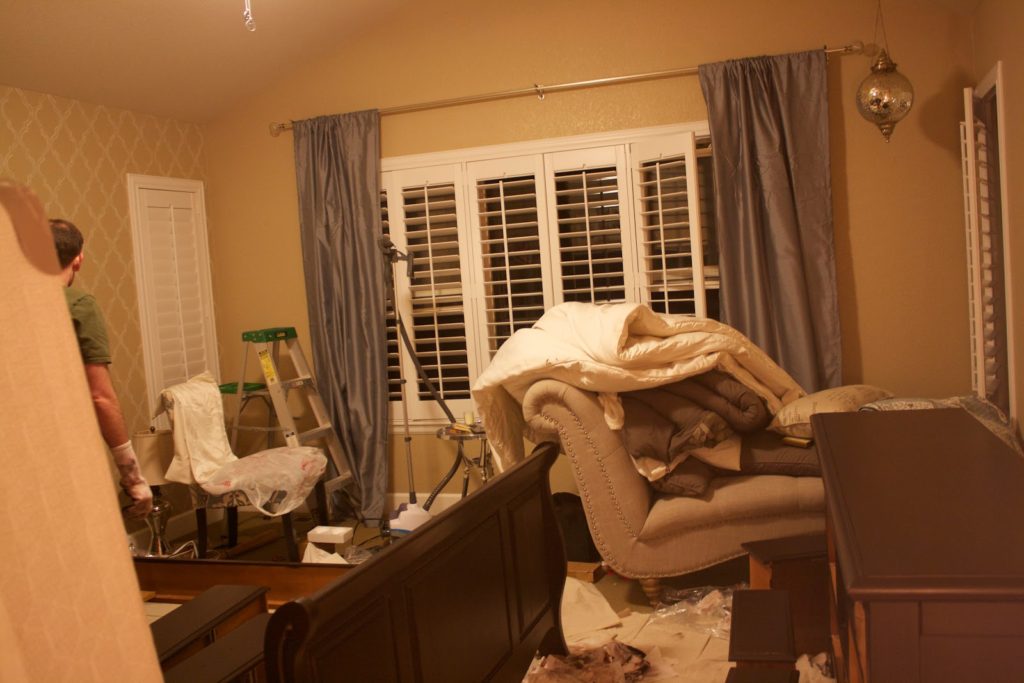
Here’s what we started with.
Our nightstands were from Pottery Barn Kids. Yes, Kids.
And this…Well, I don’t want to say it’s horrible because then I might be featured in some “first-world problems” video, but it definitely could use some sprucing up.
We started with a Pinterest board (master ideas), a budget ($2,000) and a theme (hotel glam with Moroccan/Indian touches) and then we came up Phase 1:
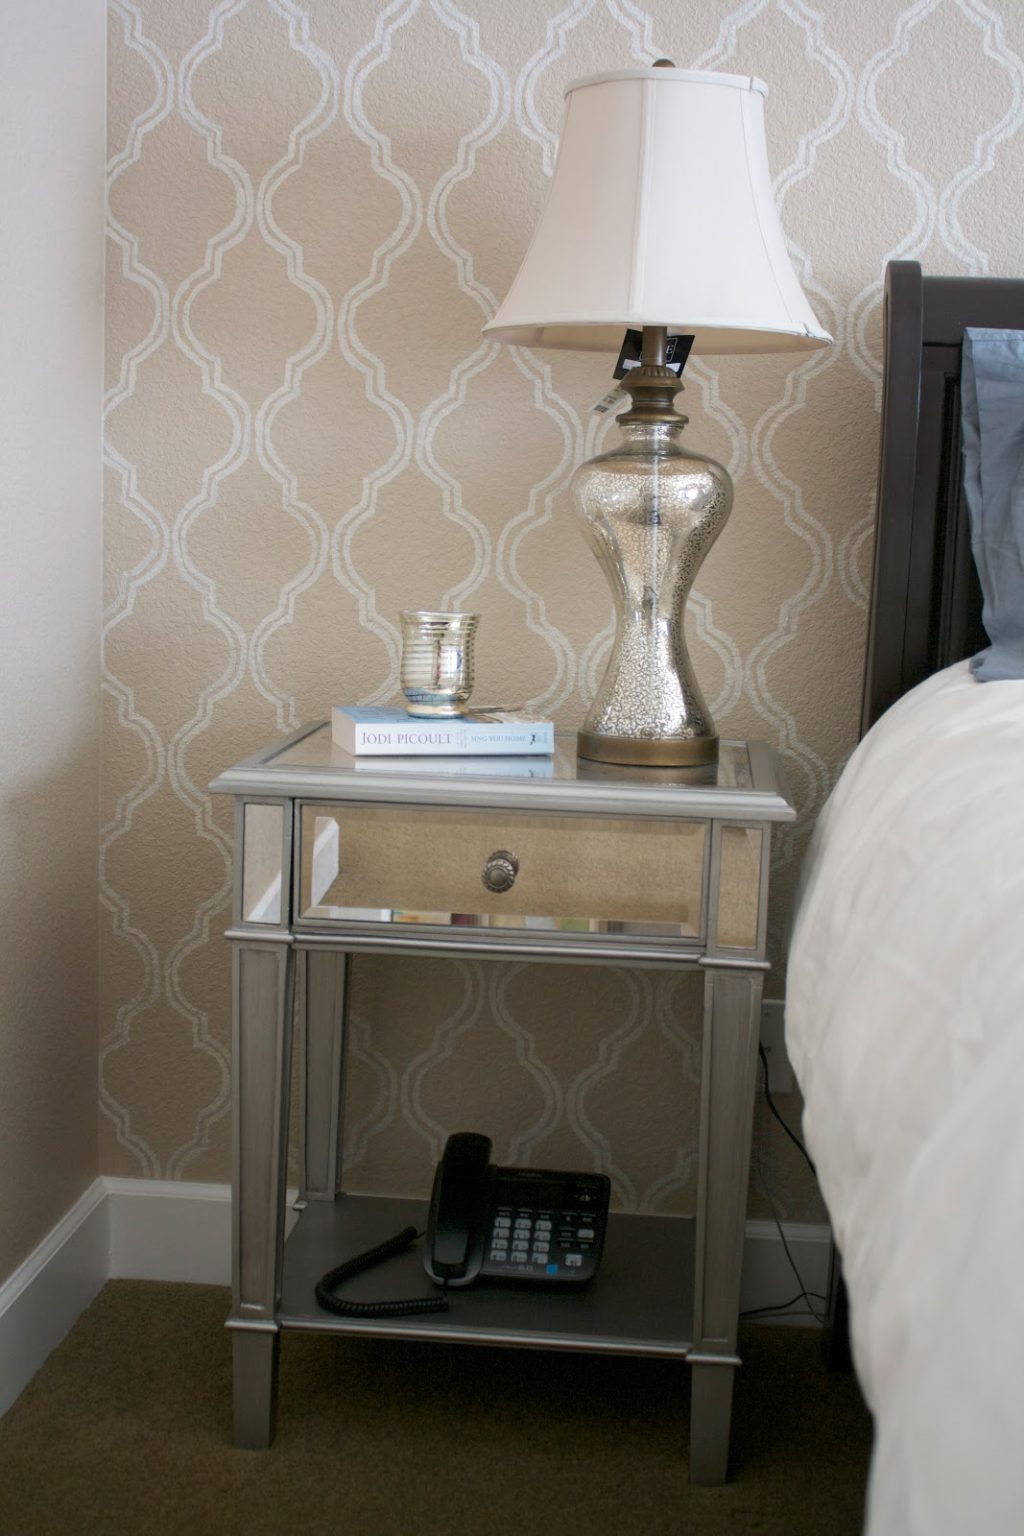
- Stencil bed wall
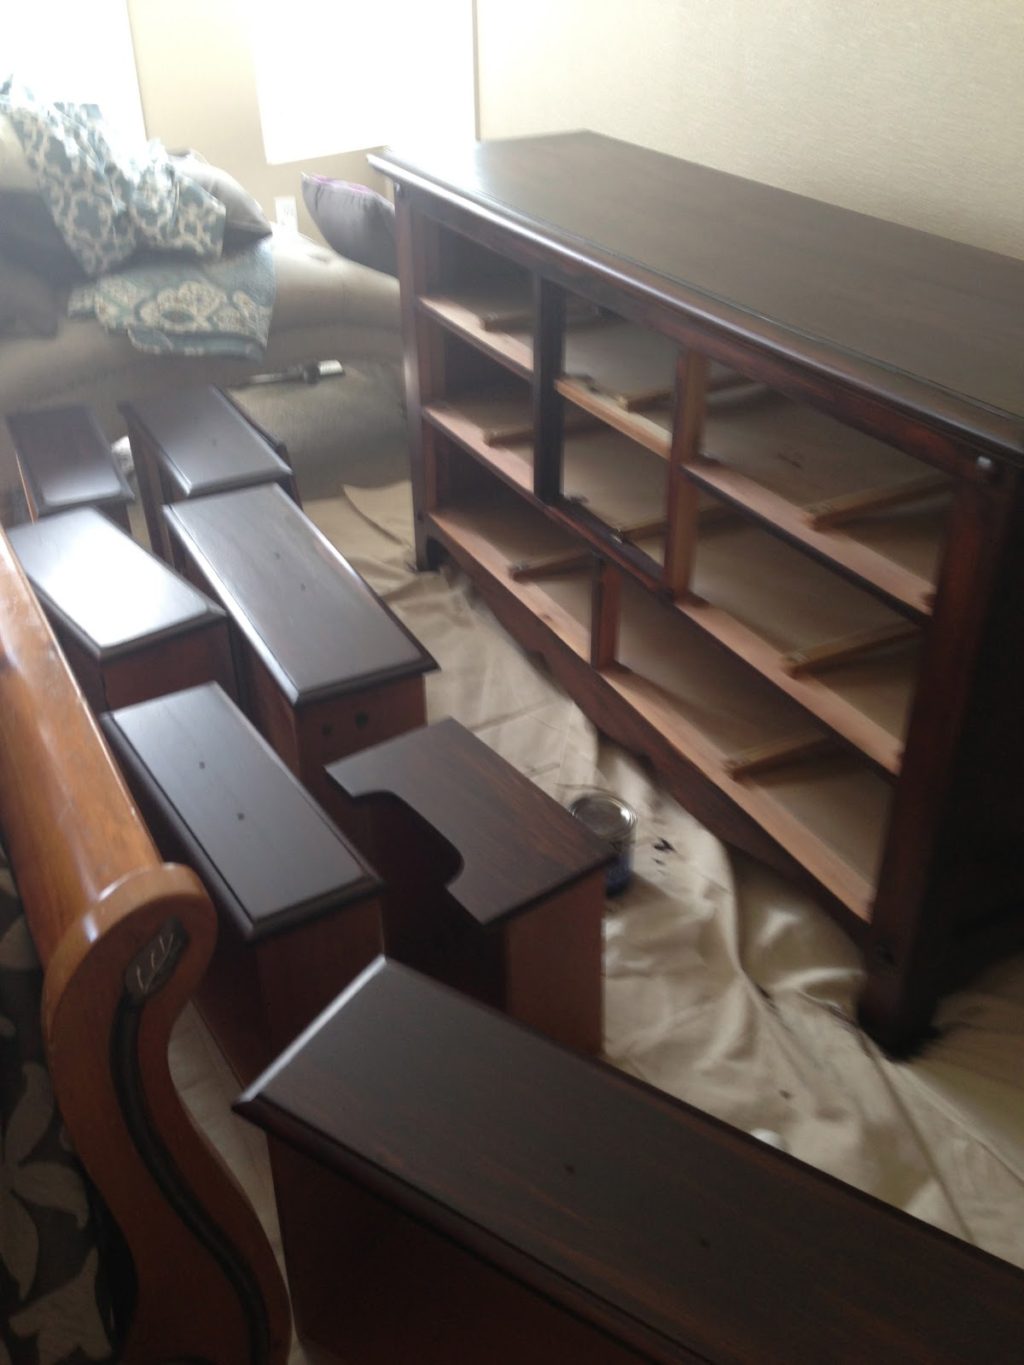
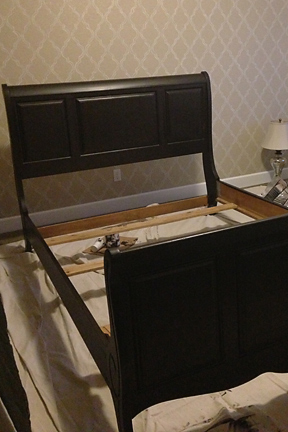
- Stain furniture
- Buy some furniture
We gave ourselves two weeks, and it took about four. Of course.
Stencil
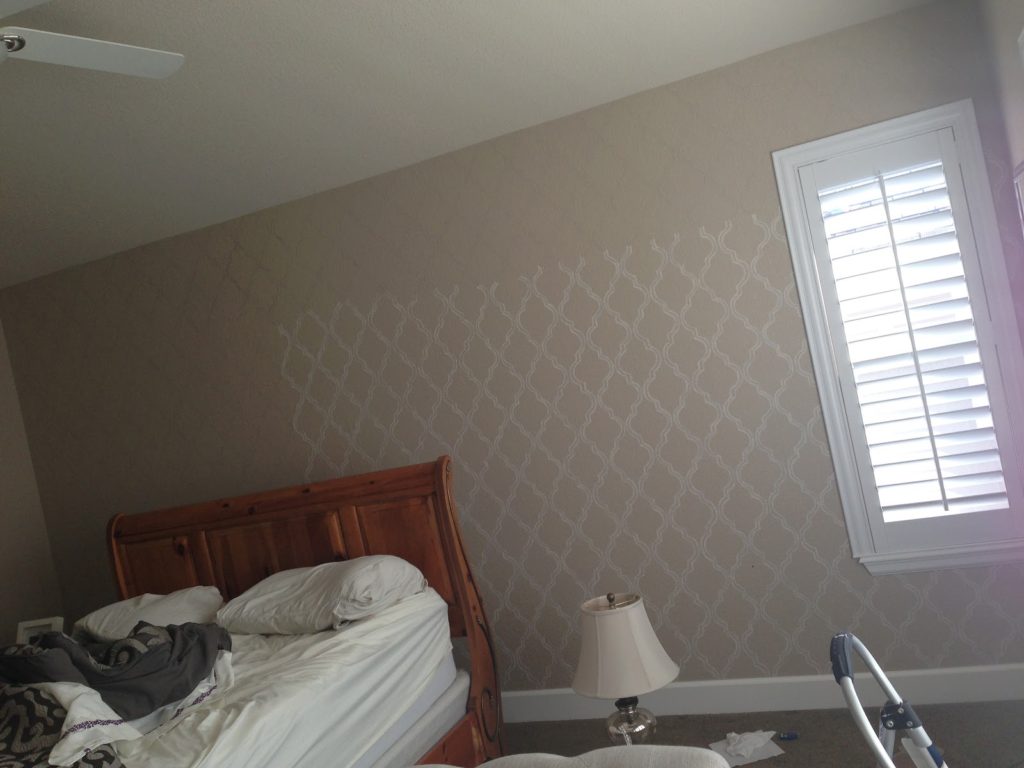
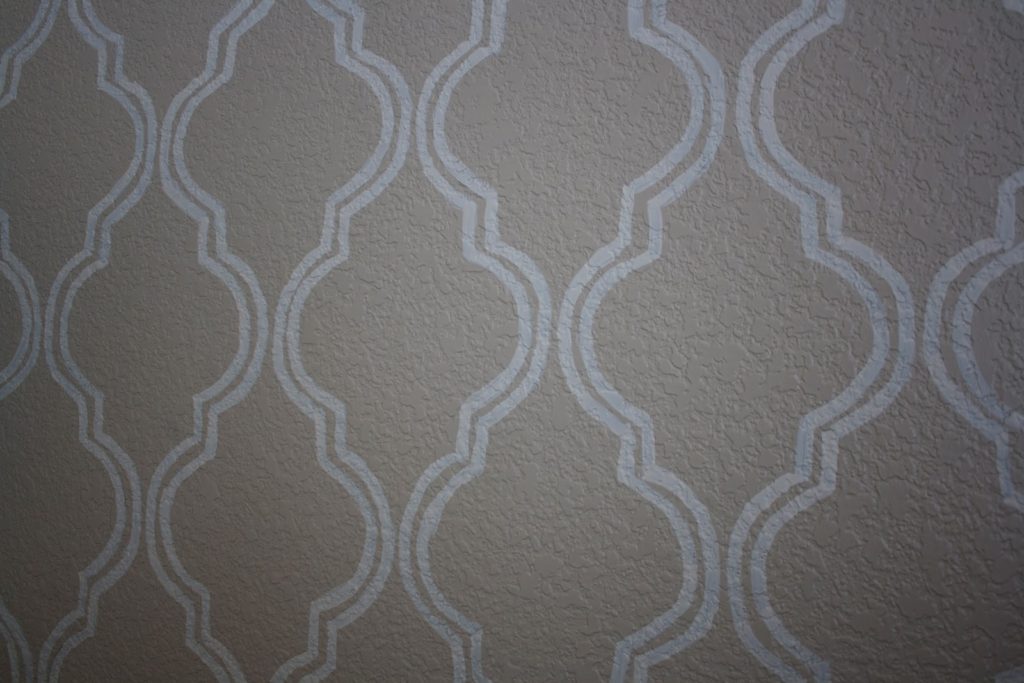
Hubby doesn’t want to paint any of our walls because “buyers like neutral colors.” So we decided to just add a stencil to the bed wall.
I looked at a lot of stencils online, and not only were they $45+, but I wasn’t sure if it would work with our textured walls.
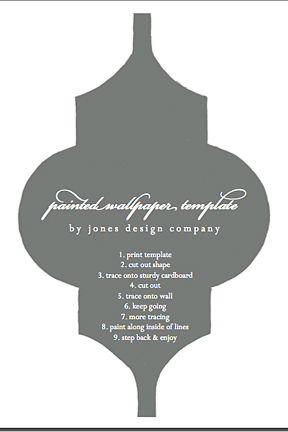
Then I found this gem: painted wall paper from Jones Design Company. I downloaded the stencil for free – whoo hoo!
I cut the stencil on thin cardboard to trace. And then I traced every.single.one, row by row the wall. I used pencil first, then painted it with our leftover ceiling paint. Unfortunately, it needed a second coat.
Everyone asks how long it took: I don’t really know because I worked on it here and there for two weeks, but probably around 15 hours.
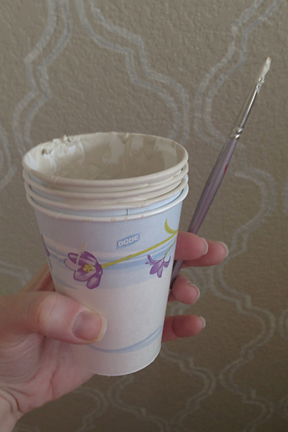
I used a brush that I got from Michael’s and kept the paint in this cup for days.
Stain
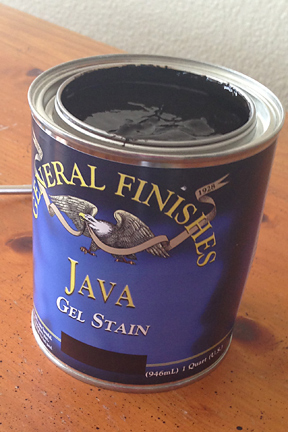
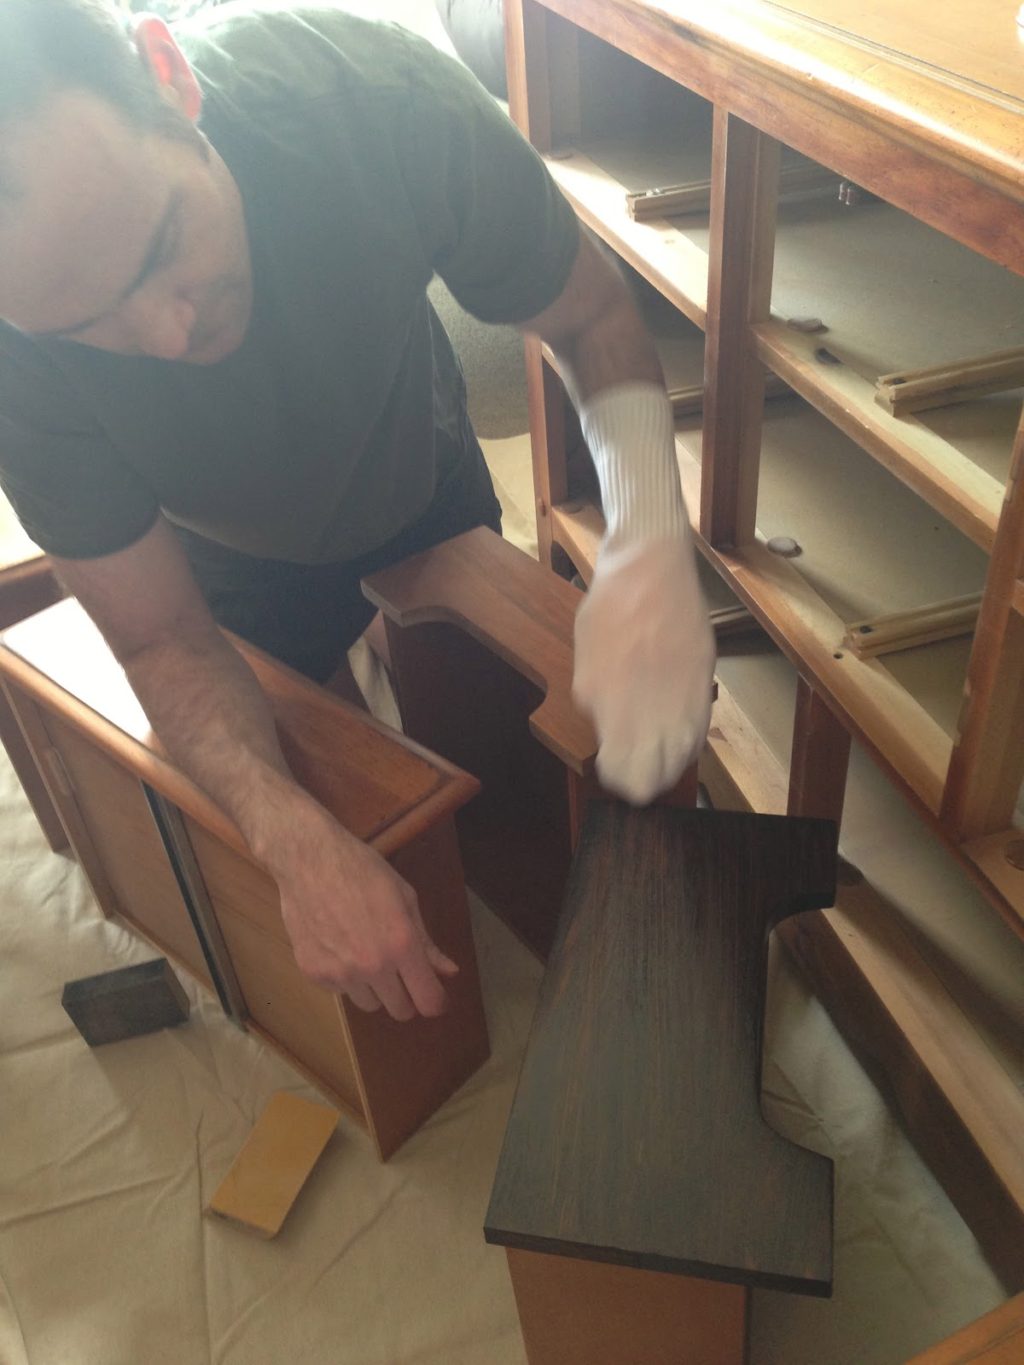
Hubby took on the staining project. We went with a staining tutorial from Monica Wants It. She says there is no substitute for this stain that we got on Amazon, and I believe her. It worked well.
Check out her tutorial if you want to see all the steps.
No hardware yet because it’s in the garage waiting to be spray painted.
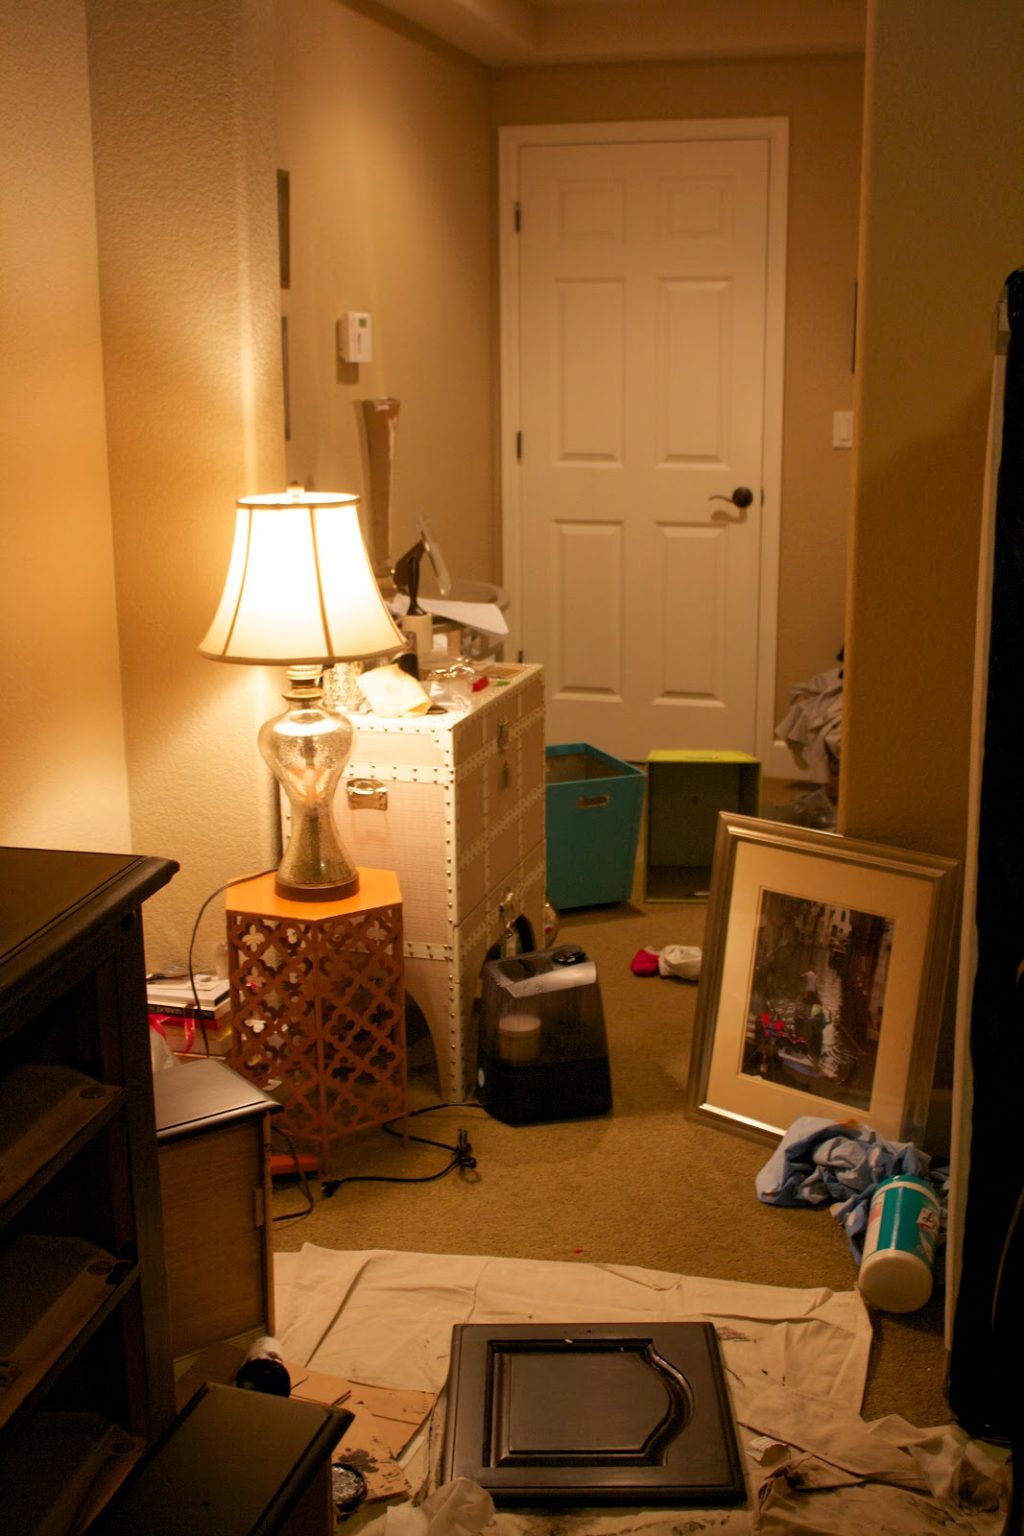
Somehow these two projects along with the furniture acquisition turned our room into a tornado zone.
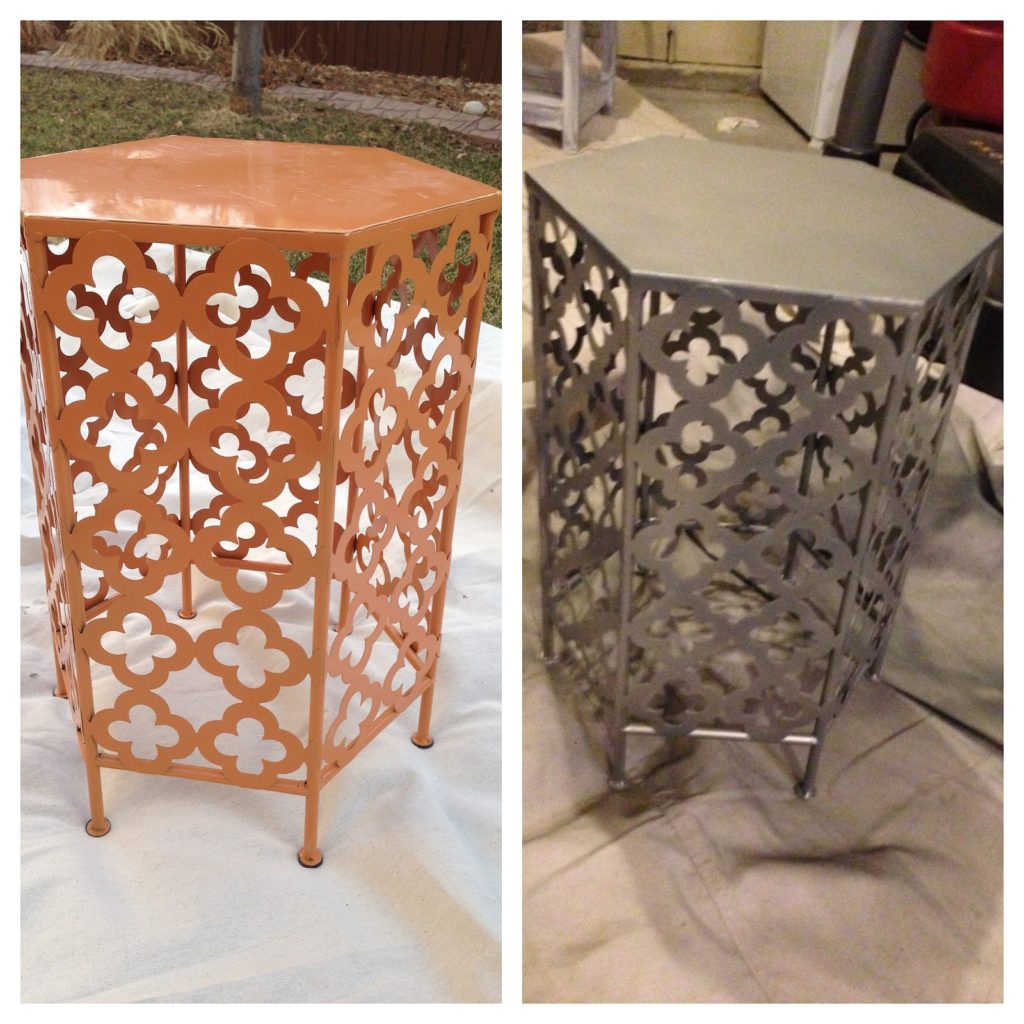
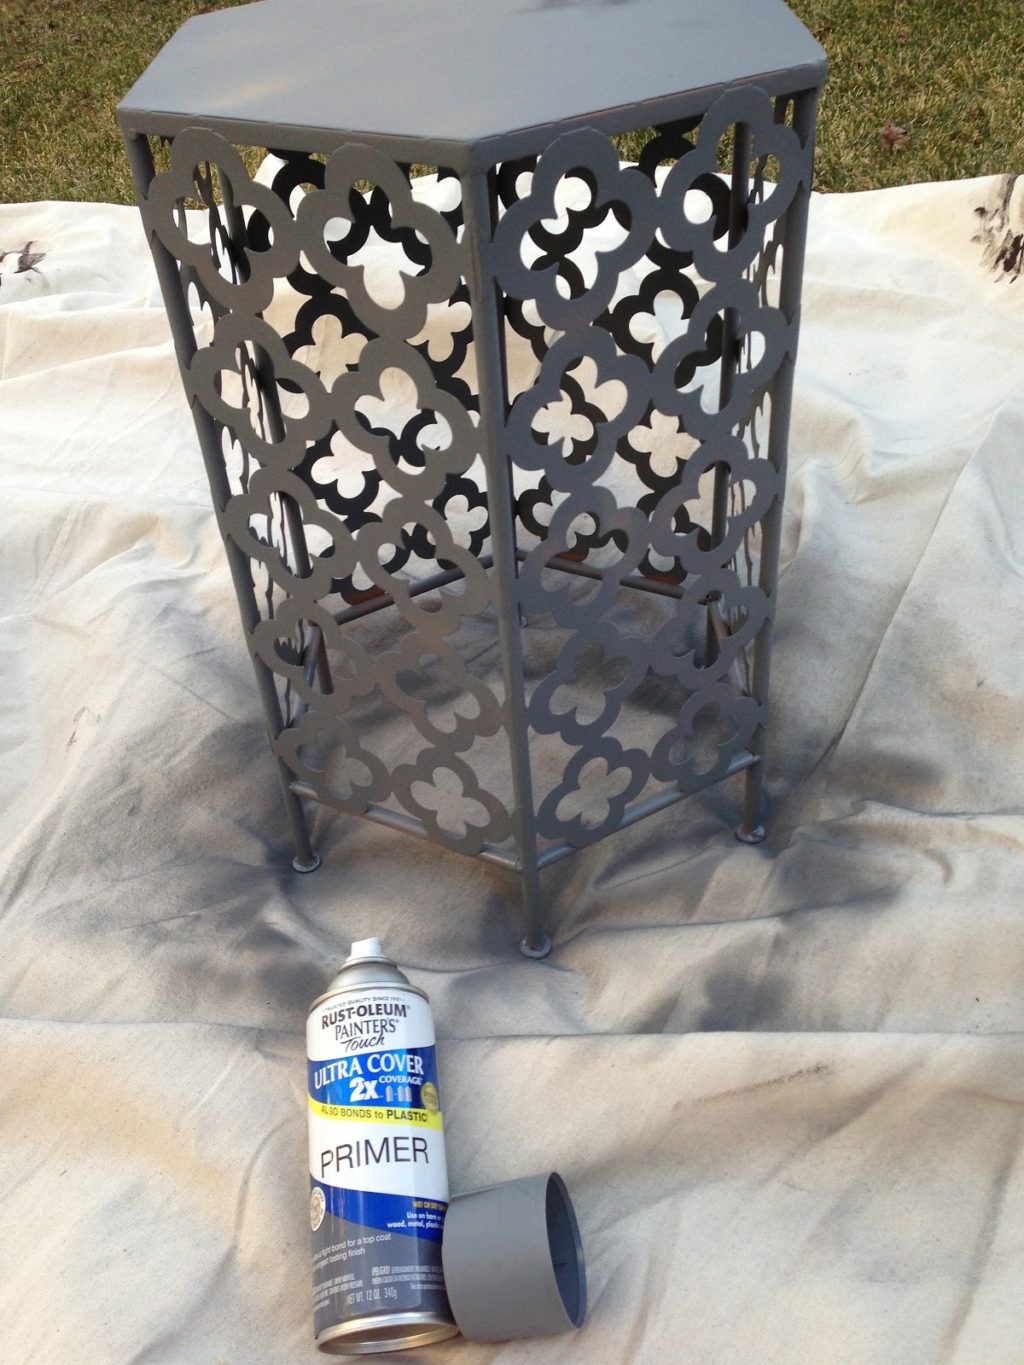
One more project made its way into Phase 1: This table fit our decor perfectly, but it was the wrong color. I was going to try to integrate it as a secondary color, but it became too hard so I went with the spray paint route.
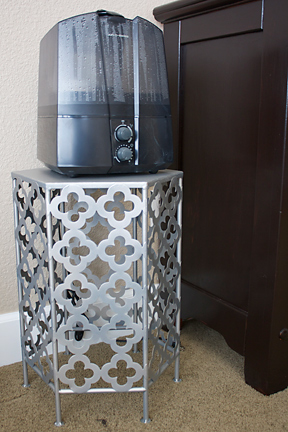
I started with a couple coats of primer and then sprayed over it with a brushed nickel finish. Then I used a topcoat seal and it cracked the finish – not sure what happened there. It may have been too cold. So I sanded it down and used the brushed nickel again.
Perfect humidifier stand, right?
Furniture
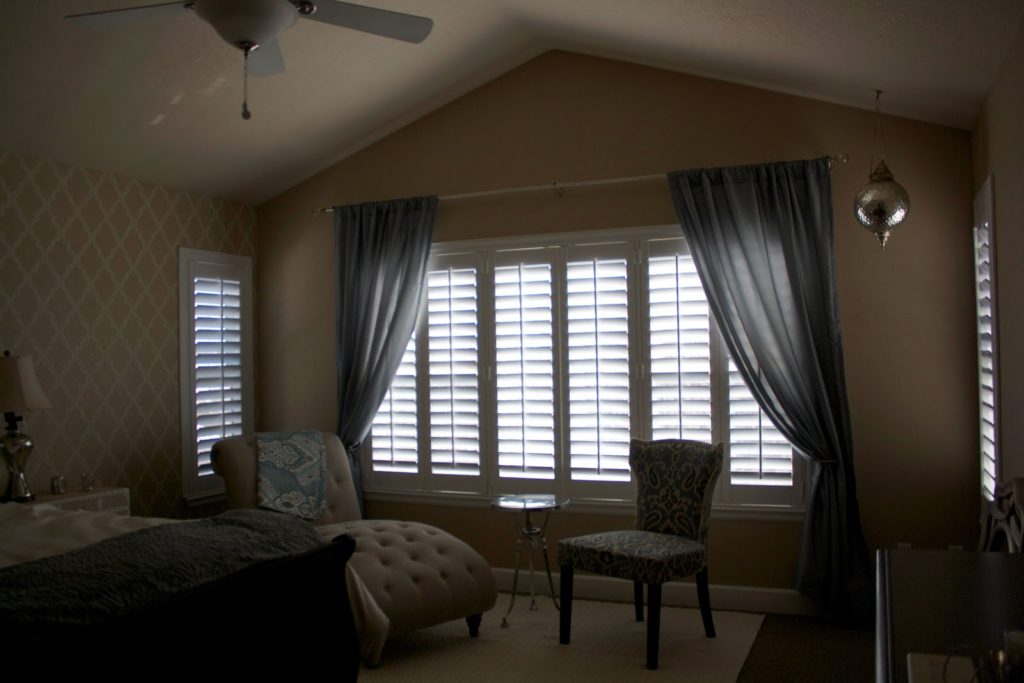
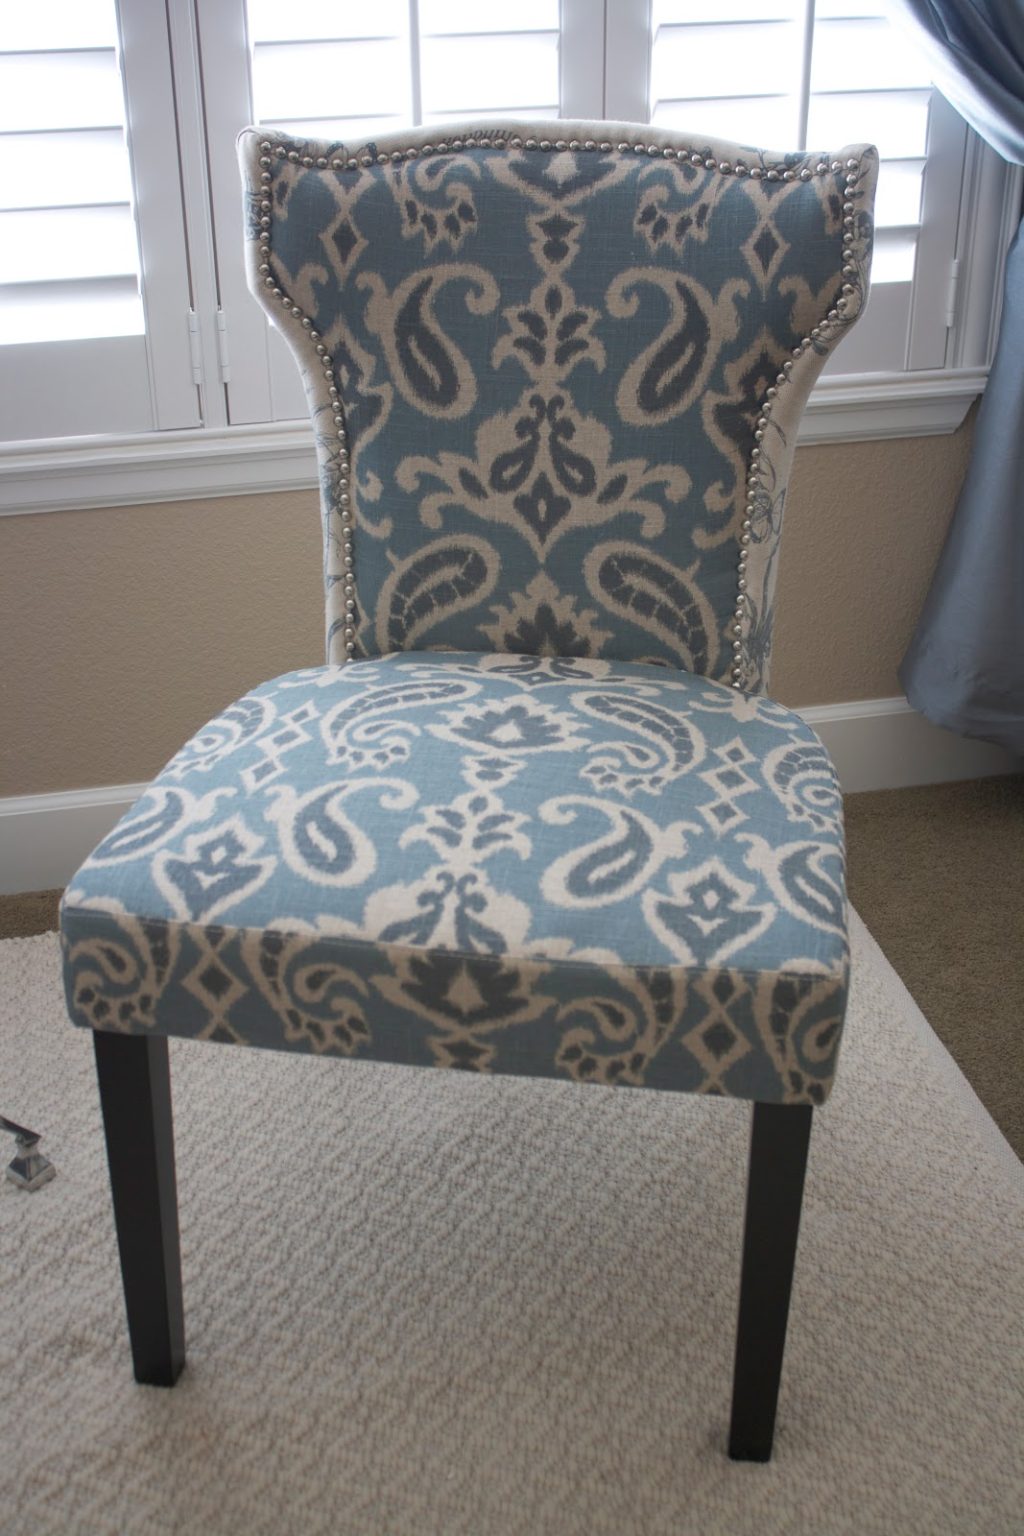
We moved our bed so we could set up a sitting area by the windows. We got this chair from American Furniture Warehouse for $69. The 5×7 rug is from Target and it is regularly $129, but it was a restock so we got it for $91.
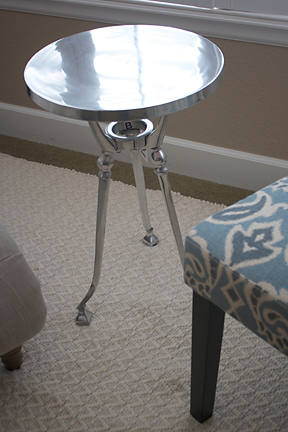
This side table is from Home Goods, $100. I will be removing the “B” sticker.
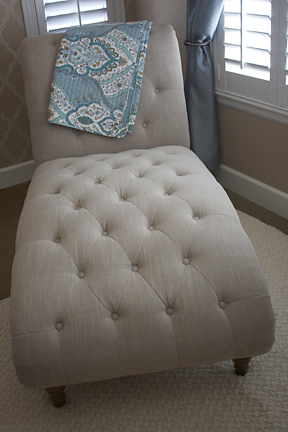
We got the Chaise Lounge from American Furniture Warehouse for $279 and the throw from Home Goods, $29. The throw was the inspiration for the room’s color scheme.
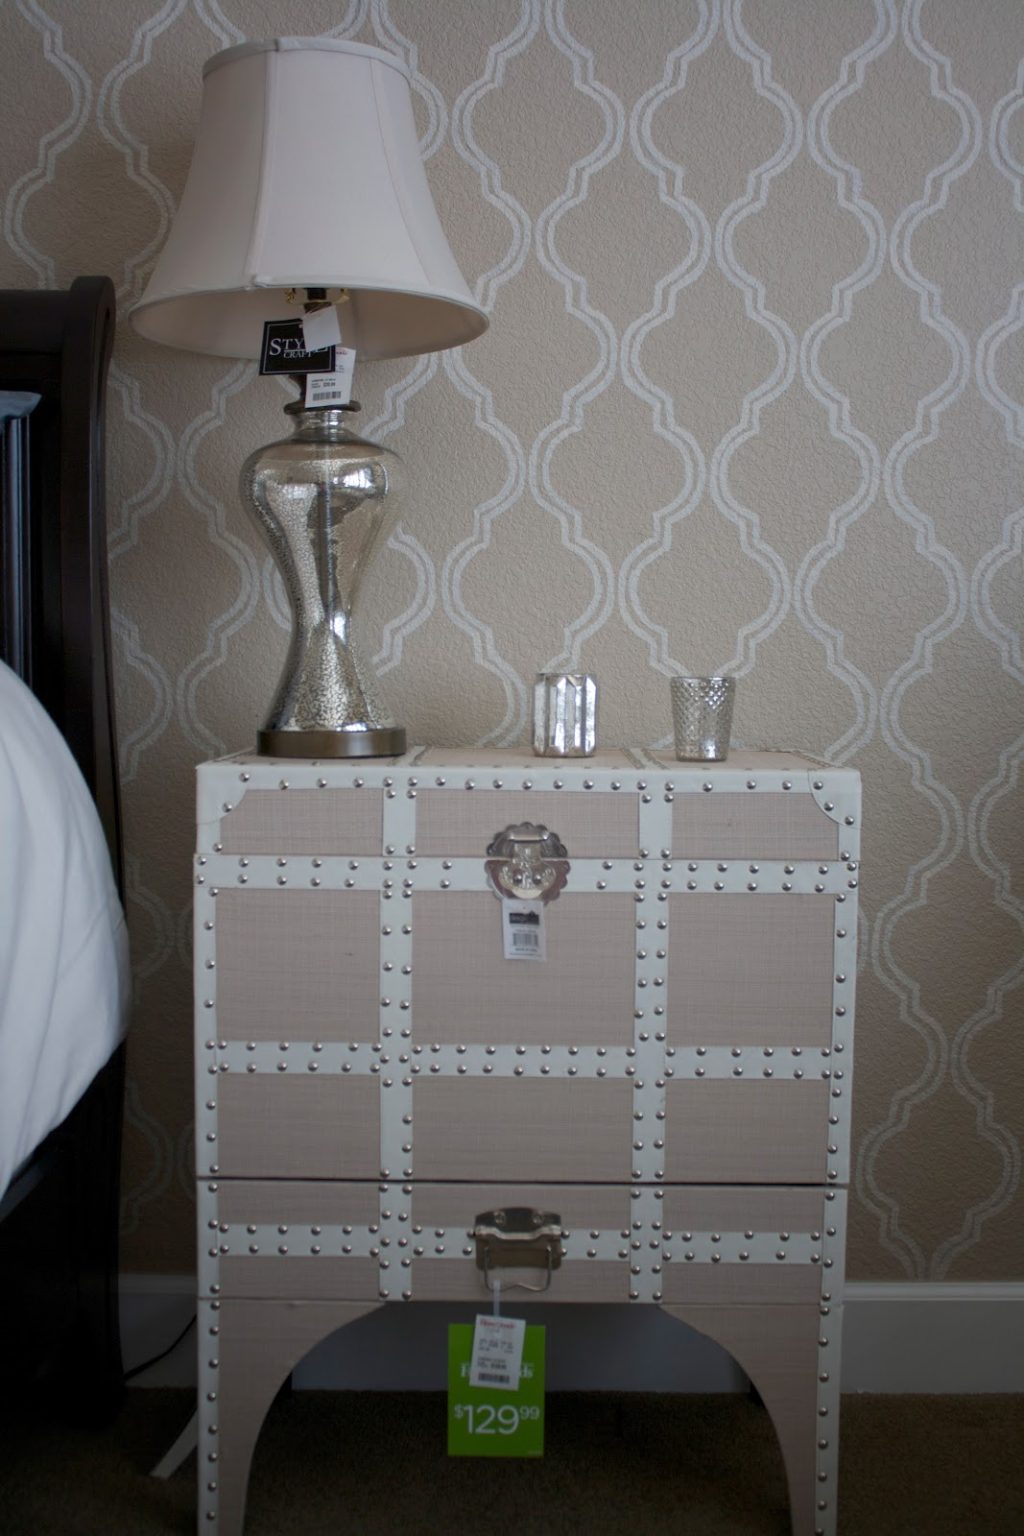
This chest is one of my faves, $129 from Home Goods. Mercury glass lamp is also from Home Goods, $39. We got a set for both nightstands.
Designer Candice Olson says not to go matchy-matchy with nightstands so we went with the Pier 1 Hayworth Nightstand for the other side. It was $249, but we got it on sale for $200. I’m in love with it.
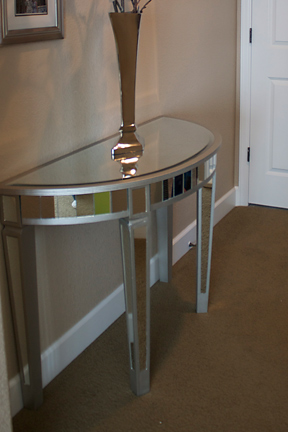
As you can probably tell, I’m really into the mirrored/silver look. We got this entryway table from American Furniture Warehouse, $100.
This is my favorite piece of the whole room: a handmade Indian oil lamp turned candle holder. We got it from Home Goods, $29.
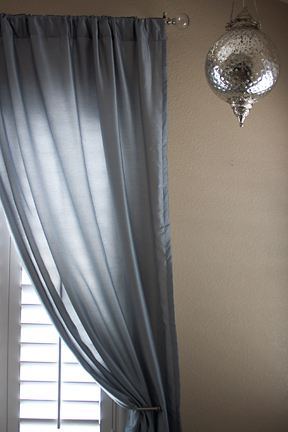
We got the Studio Finley Curtain Panel from JC Penney for $35 each. The Vintage Glass Ball Finial Drape Rod with the Vintage Holdbacks are from Pottery Barn. I had cardmember certificates so I got both the rod and the holdbacks for $100. Gotta love those cardmember perks!
Here it is, all put together. The photo is a little dark, but I will try to get a better one in my next phase.
We love our sitting area – we can enjoy tea there in the mornings. Just kidding, but I do often sit there to decompress during nap time/quiet time. When the fam is in town to watch the monkeys we may enjoy tea there.
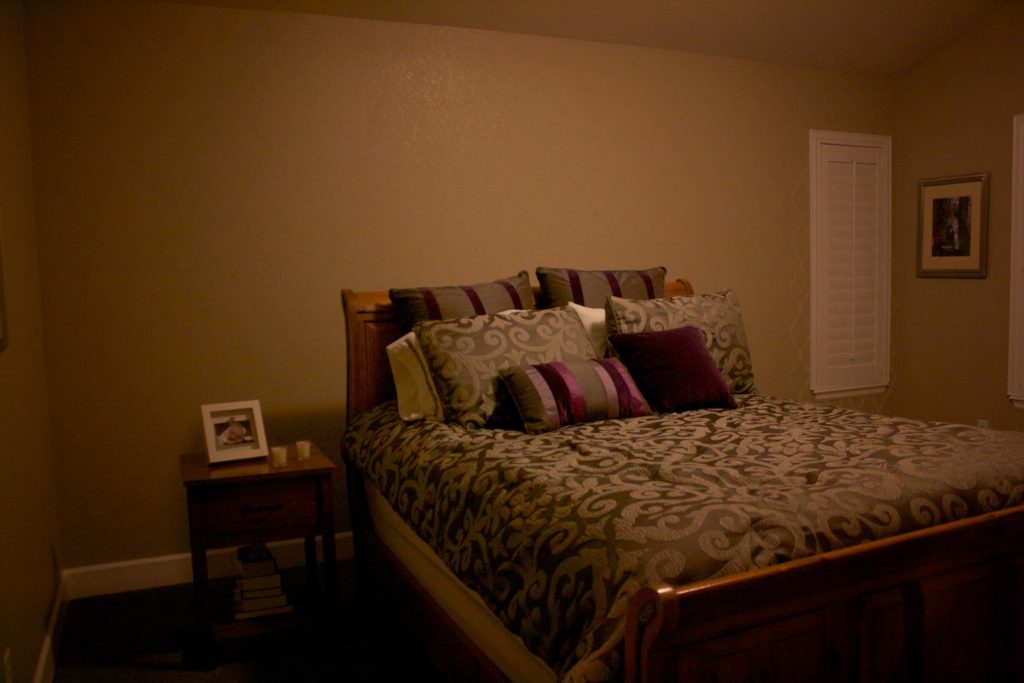
I’m cringing as I’m posting this next photo because the bed isn’t finished. It needs euros and throw pillows, which I need to make. I know, first-world problems, but it’s almost like sharing a story or a piece of art before it’s done.
I wanted a simple cream-colored comforter so I could do some bold patterns with the pillows. We finally found the Studio Movement Comforter Set that included the comforter and shams for $130 at JC Penney.
We also got the Royal Velvet Pure Perfection Sheet Set in Porcelain Blue. Designer Sabrina Soto says you have to go with Egyptian cotton, and we’ve been pleased.
And of course I couldn’t resist that Royal Velvet Carved Faux-Fur Throw for $30! It’s so “hotel glam” – perfect.
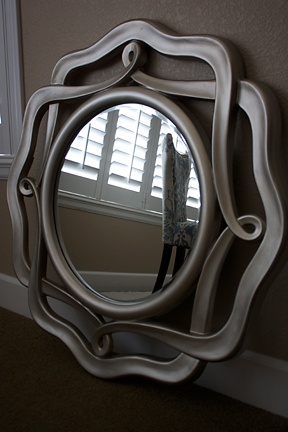
Phase 2 and beyond will include tabletop and wall decor, pillows, and entryway (what Hubby calls “the foyer”). Here’s a sneak peak.
Thanks for stopping by Time to DIY! You can “like” my FB page or follow me on Twitter.






Looks so great! Love the stenciled wall and all the nice touches. Inspiration for me to one day finish up our master bedroom. Must feel so good to have a little retreat for yourselves! That stenciled wall and refinished furniture had to be a lot of work, but the end result is well worth it. Can't wait to see phase 2!
Thank you, Kari! I can't wait to see YOUR latest project! And pics of the little guy going in it. Praying for a smooth ride until the end! 🙂
This looks amazing!! Love all the details and pieces you've added, and the blue hues are very soft and relaxing…perfect for your morning tea! 🙂 The stenciled wall looks awesome. After you're finished with the whole project, you might need to take a special trip to the Dollar Tree…I've heard they have great deals on those finishing touches! 😉
I was laughing out loud at your comment – so awesome. Thank you for the compliments! I'm off to have some tea now. Haha!
It looks so awesome! The stencil is just amazing!! Love the idea and you made it looks so perfect! WOW!!! I love the American furniture stuff, and the end tables. I looked at the blue chair you got for our house at one point! Looks like a great place to read or blog:) Can't wait to see phase 2!! you are so talented!
Aw, thank you, Kelly! That is funny that you also looked at that chair. I loved it and what a great price! Thanks again! 🙂