I just love candles during the holidays so it’s no surprise I suggested a holiday candle jar for a MOPS craft. But before I get going, I have to give a shout-out to my husband for being #1 Hubby. He’s always awesome and helpful with the kids, but he did a lot this weekend so I could attempt to get things done. It’s great having a loving husband who is always supportive of my crafty crazy endeavors.
Now, the MOPS craft…
- Fall leaf candle jar
- Christmas candle jar
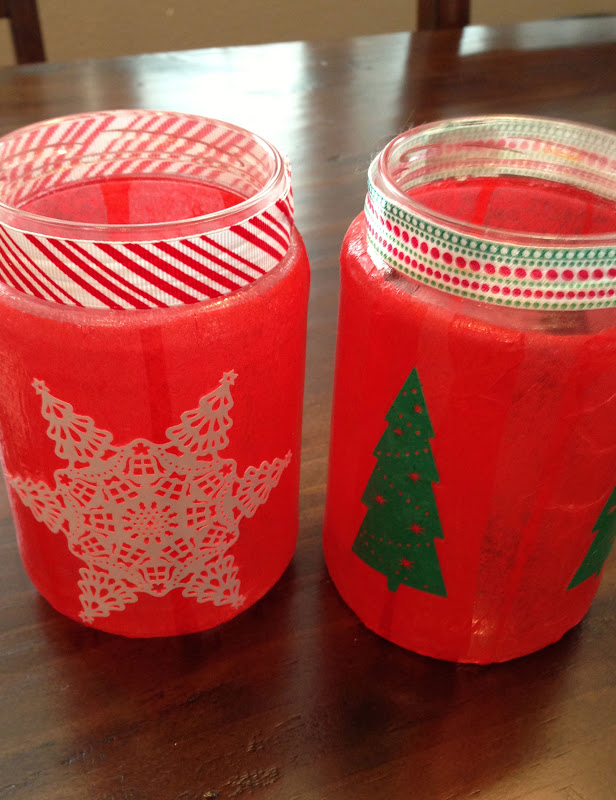
- Fall or Christmas candle jar covered in tissue paper
The best part about this craft is the reusing jars part. Take out those pasta sauce, pickles or salsa jars out of the recycling bin so you can transform them into decor!
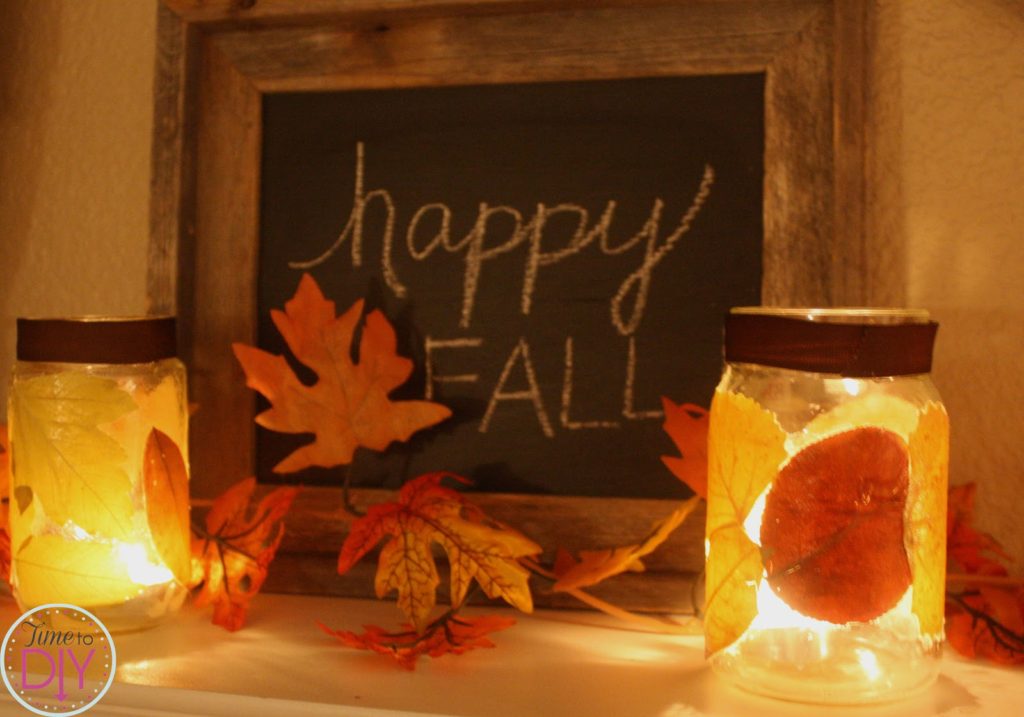
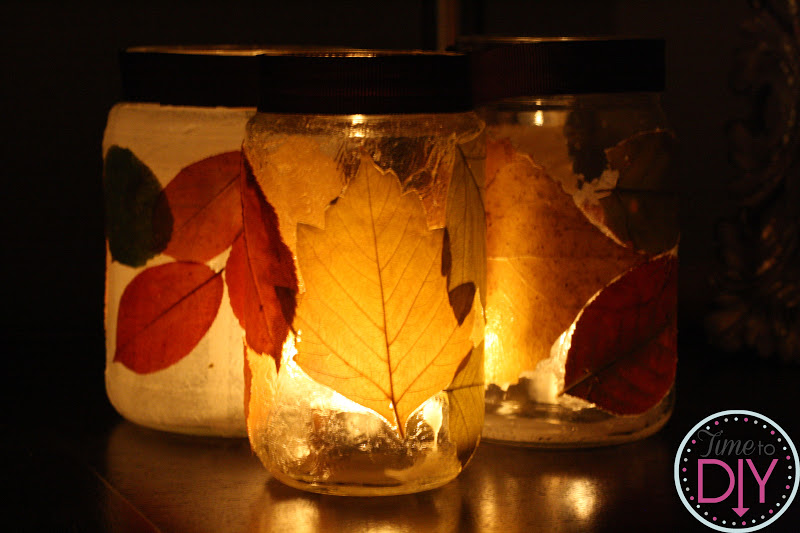
For the fall leaf jars, I used the tutorial from Gingerbread Snowflakes.
It was a little harder than I thought. Some of the leaves didn’t stick well to the jar. It works best to apply the mod podge to the jar and then put on the dry leaf. Be patient, you may have to press for some time.
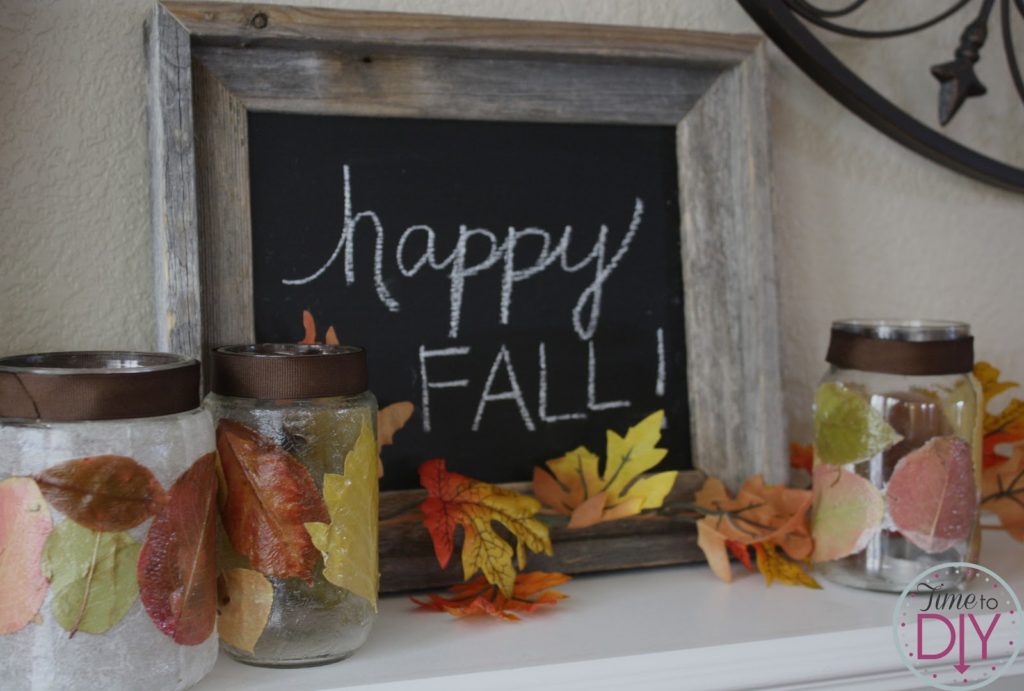
I tried one with a white tissue paper base (on the top left) to see if the leaves stuck better. It didn’t really work any better, and I didn’t love the look of it.
One thing I added was brown ribbon on the rim of the jar to finish it off. I applied using hot glue. I like the candles next to my homemade chalkboard on my mantel.
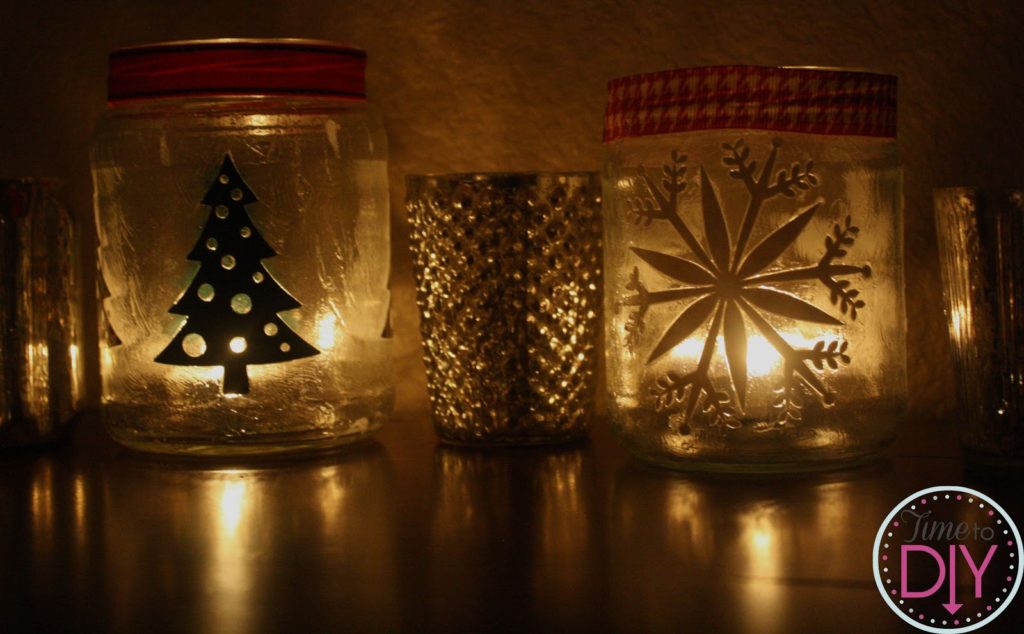
Since some might be thinking about Christmas decor, we decided to give the Christmas option as well. This one I did with my cousin while she was in town. It was a treat to craft with her!
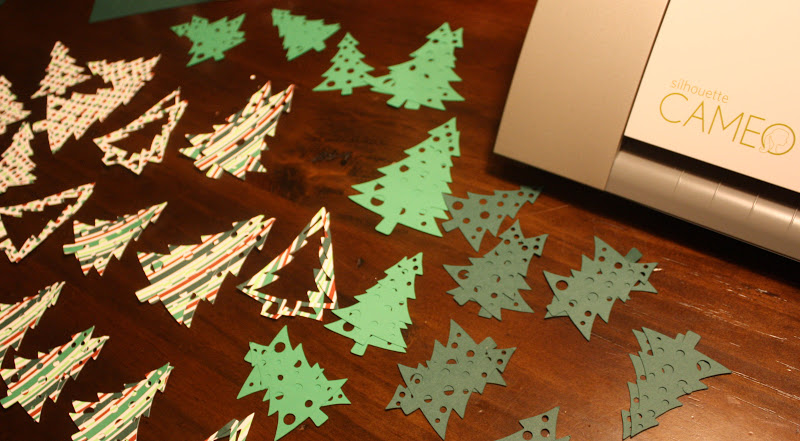
I started by printing the snowflakes and trees on card stock using my Cameo Silhouette, but you could also use regular punches (you can get at any craft store), too.
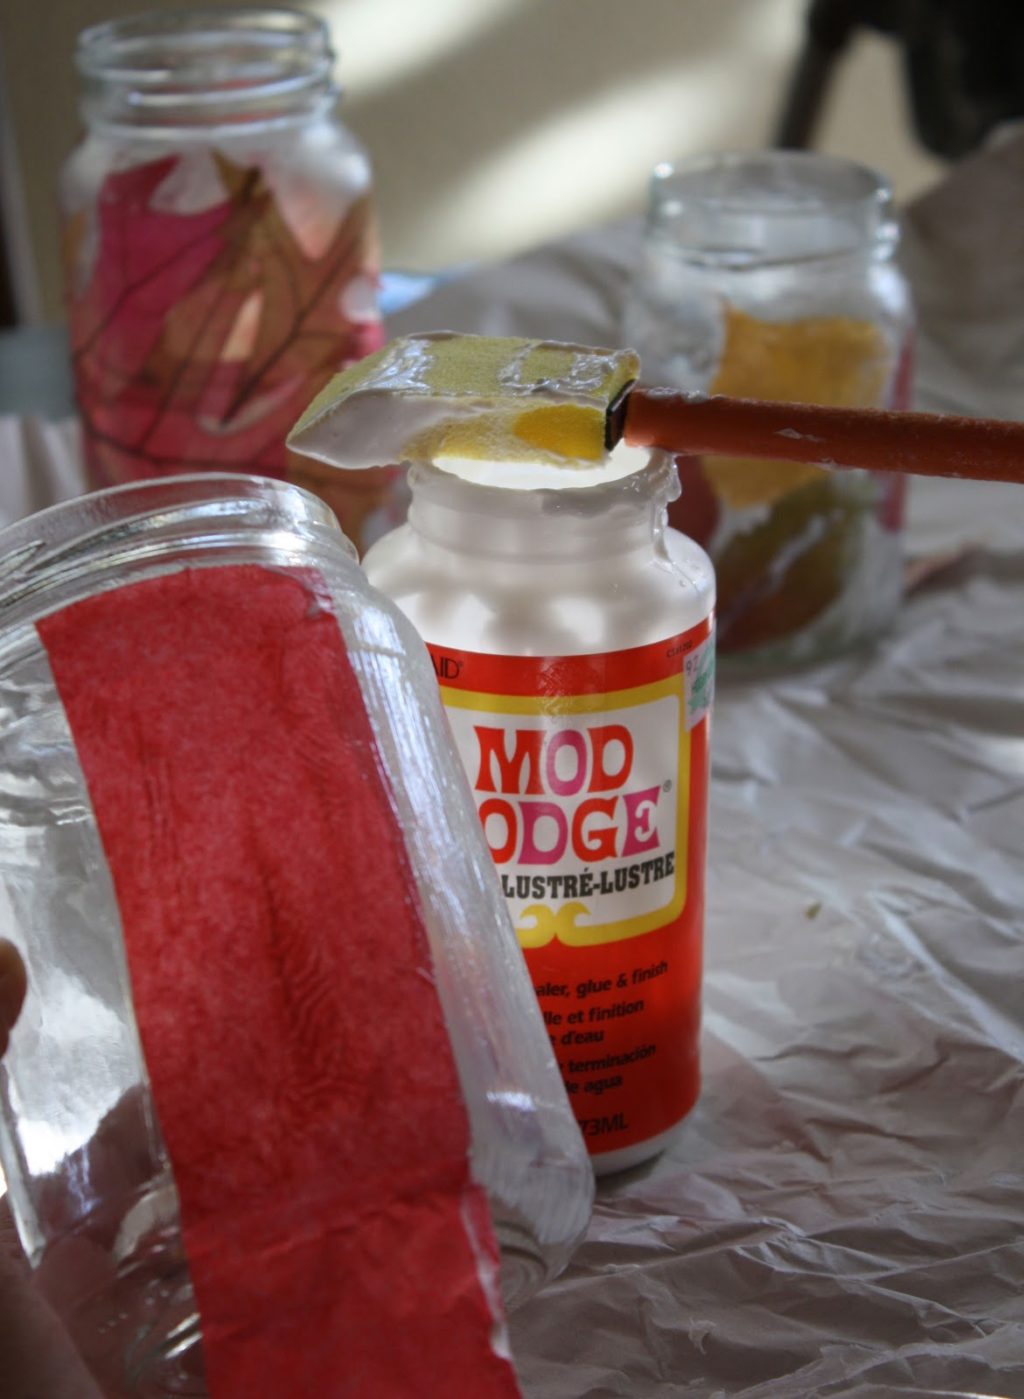
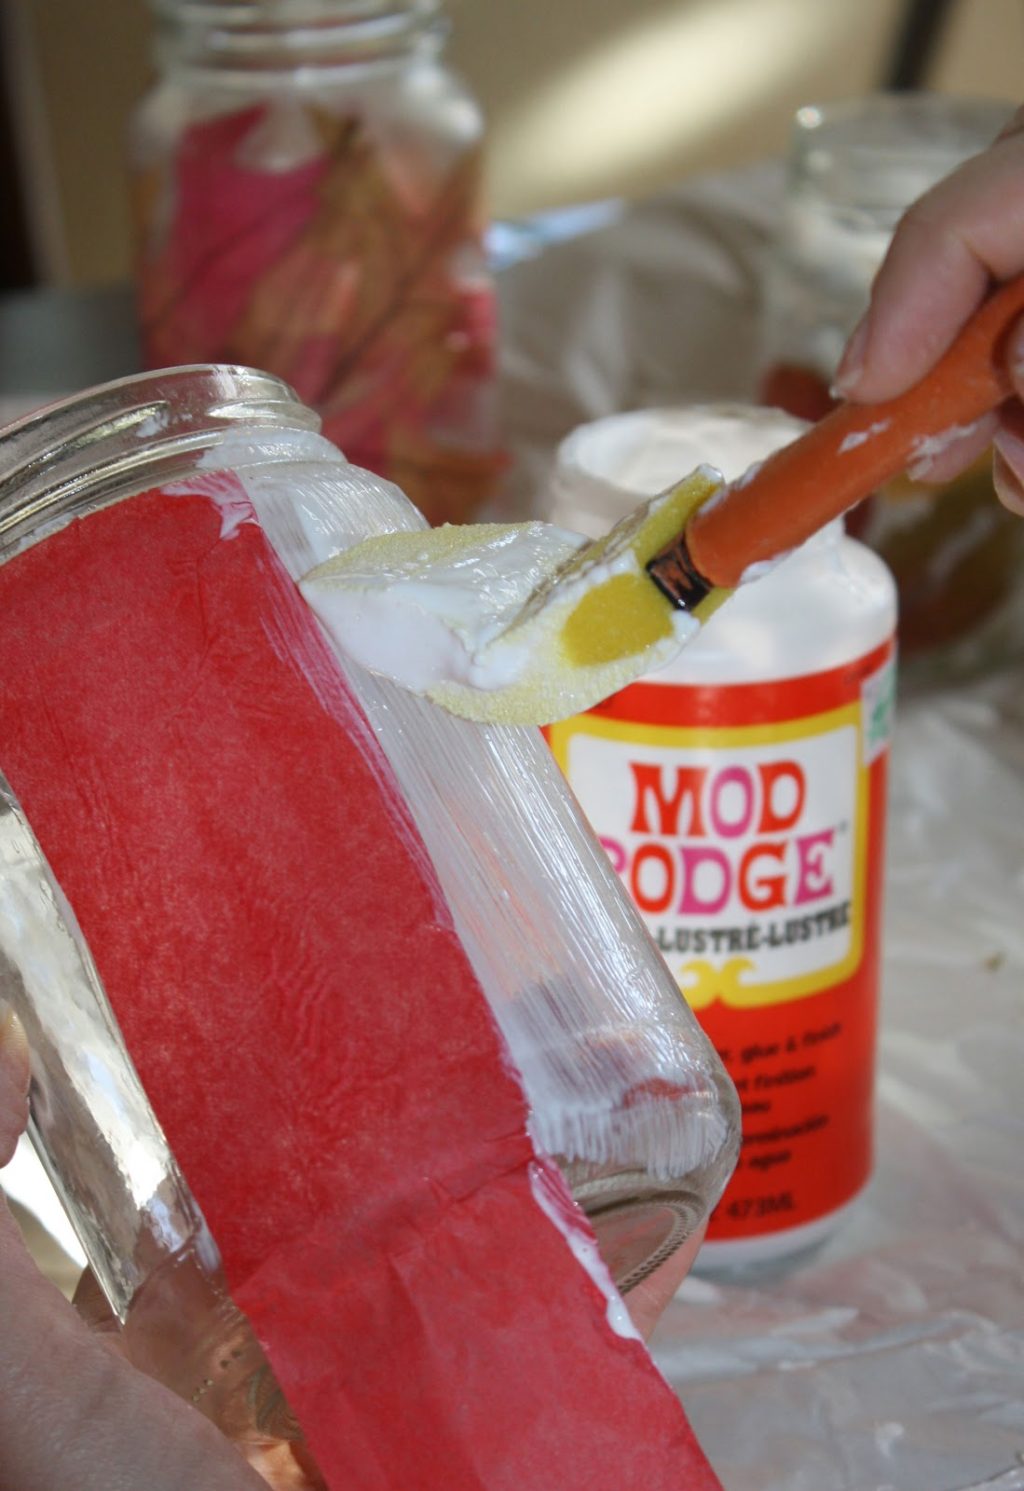
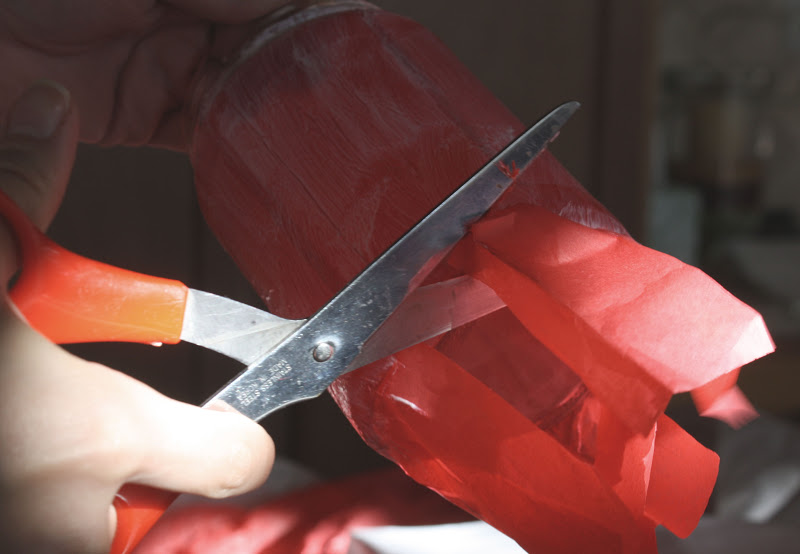
Next step is mod podging the tissue paper to the jar. We cut strips of tissue paper lengthwise, mod podged the jar, and then applied the strip overtop.
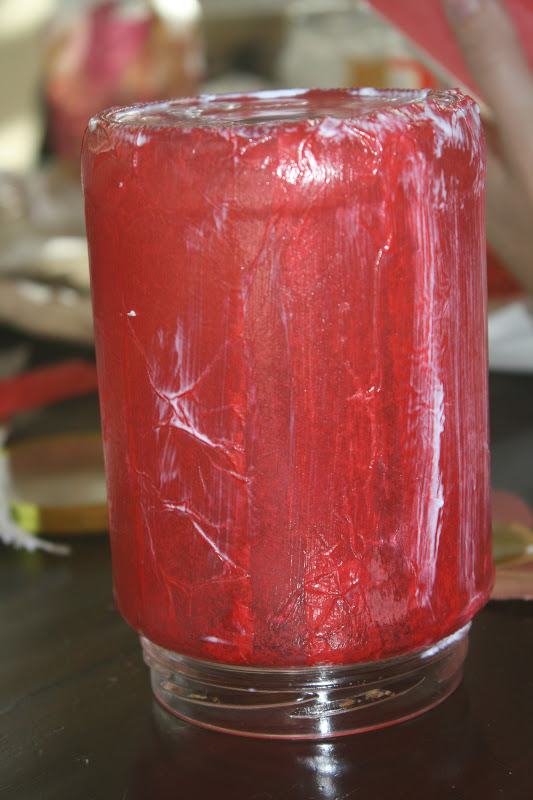
We continued that process until the jar was covered.
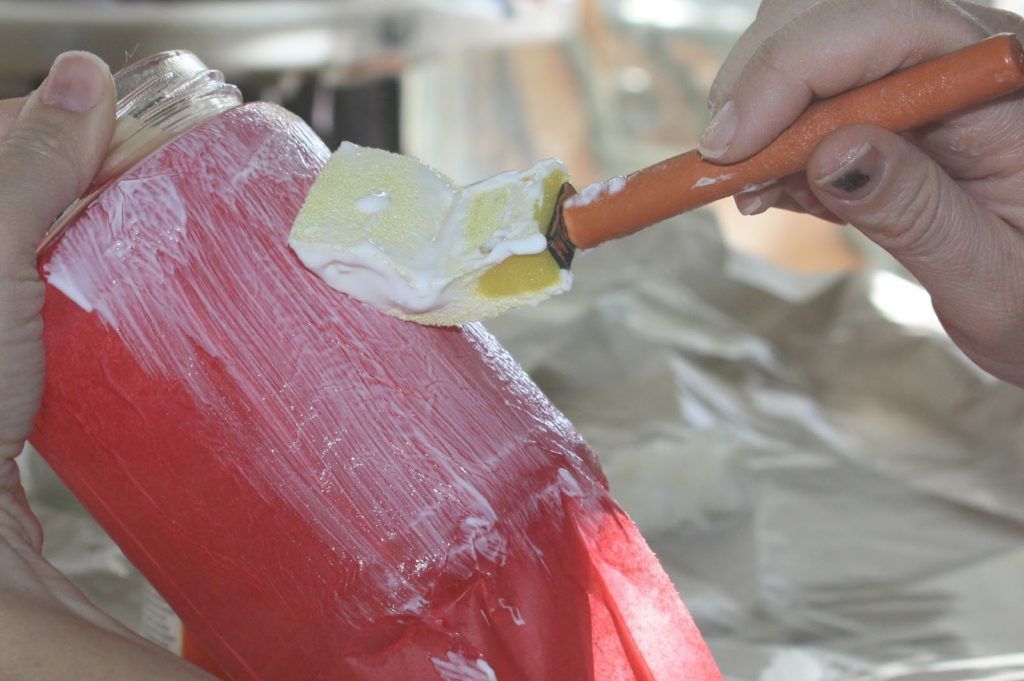
Once covered, we applied a second coat of mod podge over the tissue paper.
Then cut off the ends and mod podged them to the bottom of the jar.
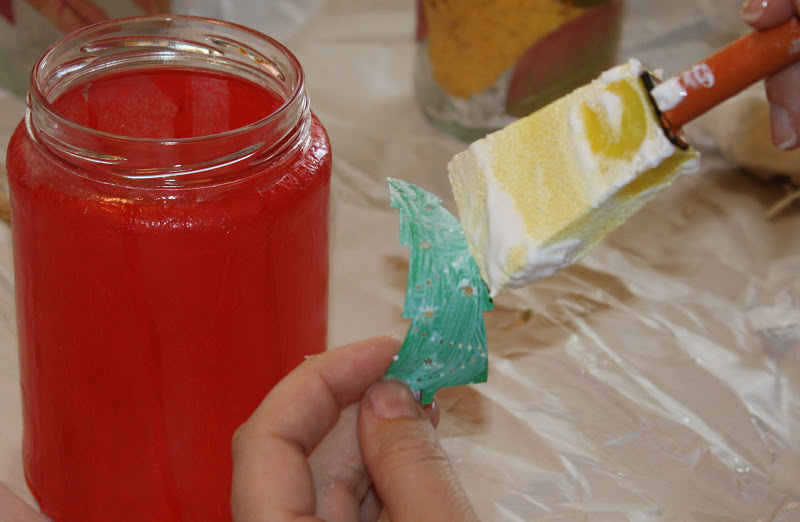
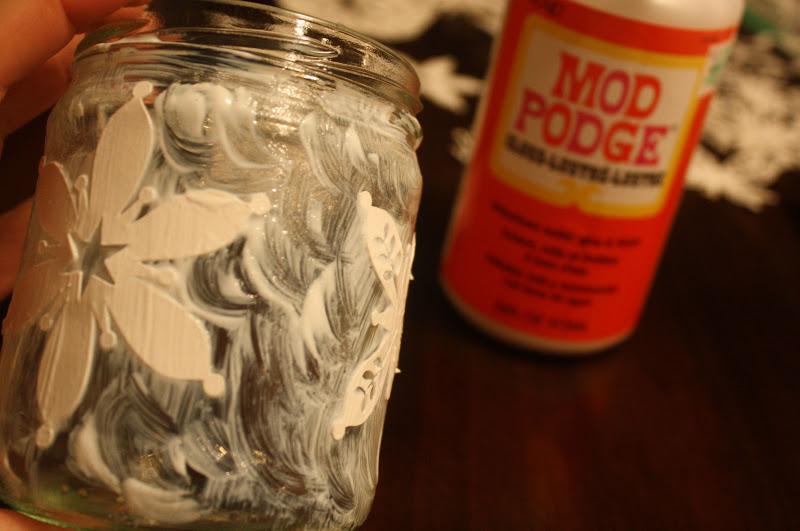
For the cut-out (tree) application, we mod podged the back of the tree first, but you can also mod podge the jar and then apply the tree. Either way works fine.
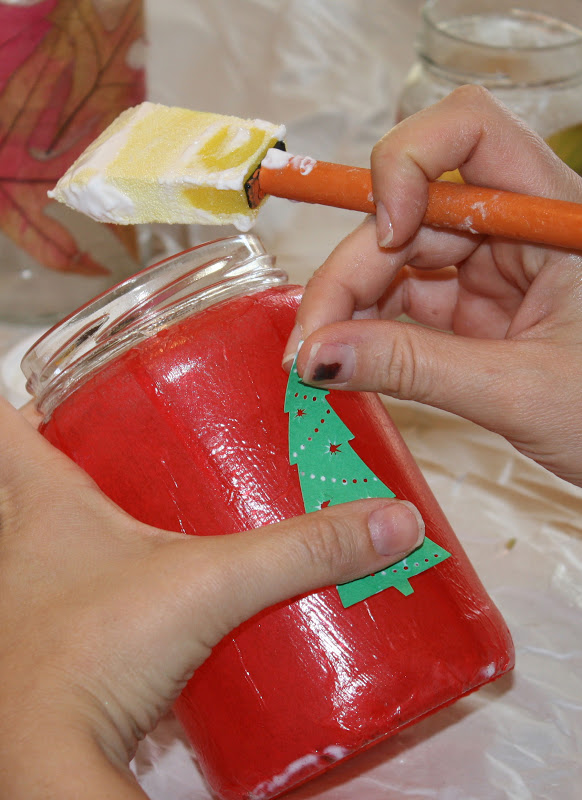
Then we placed the tree in the middle of the jar.
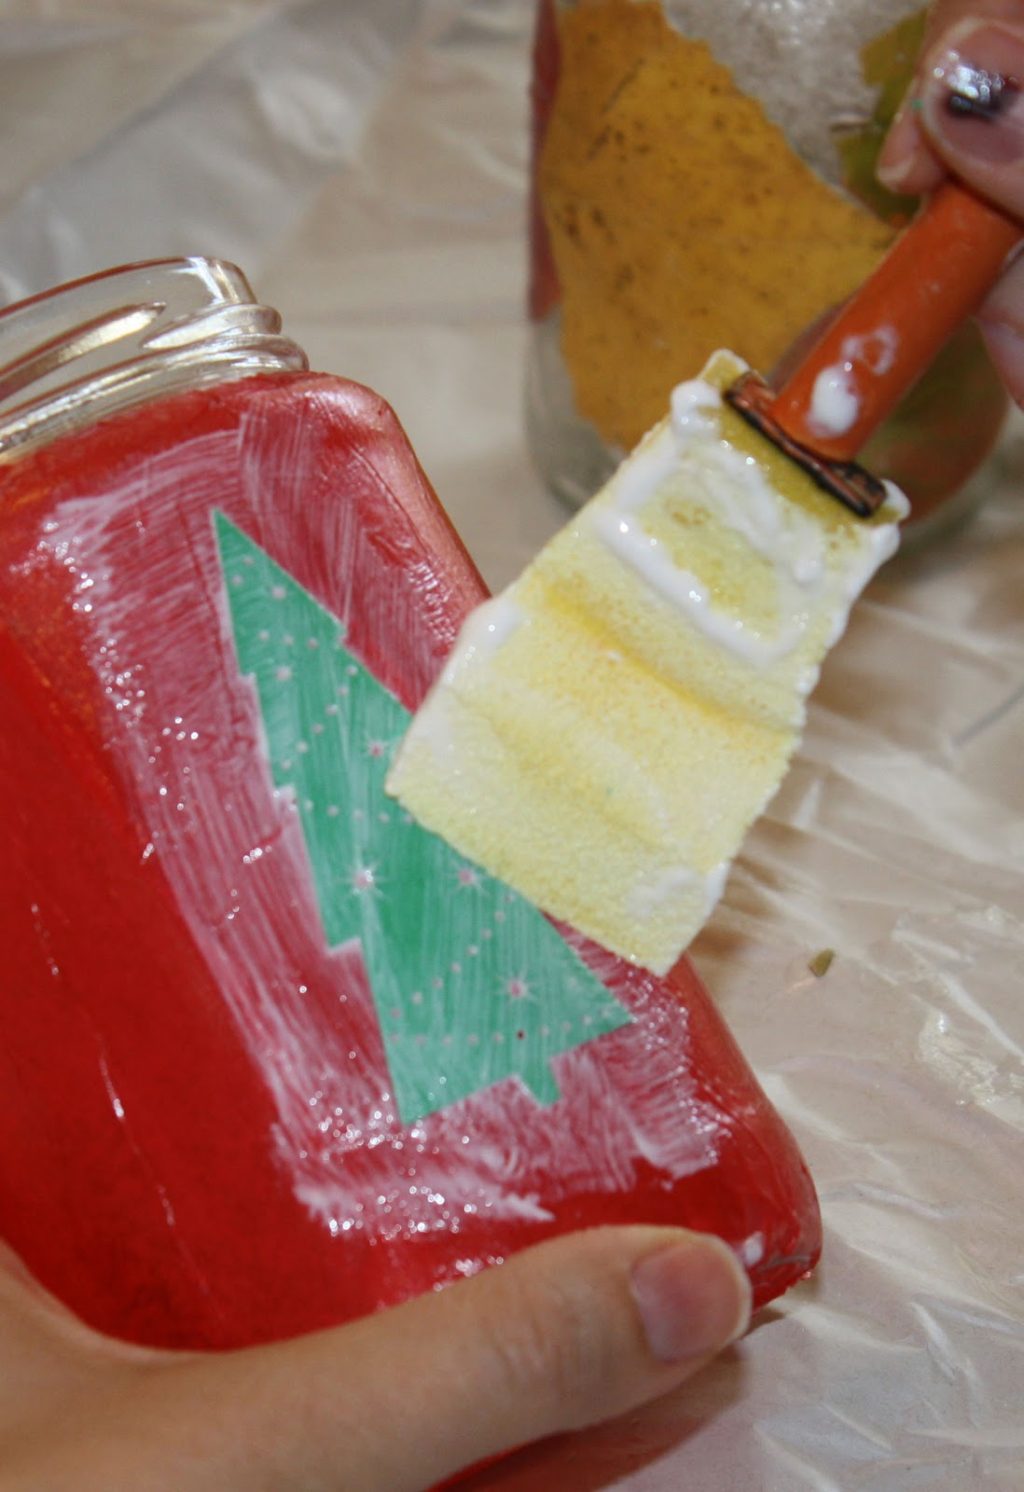
And mod podged over it.
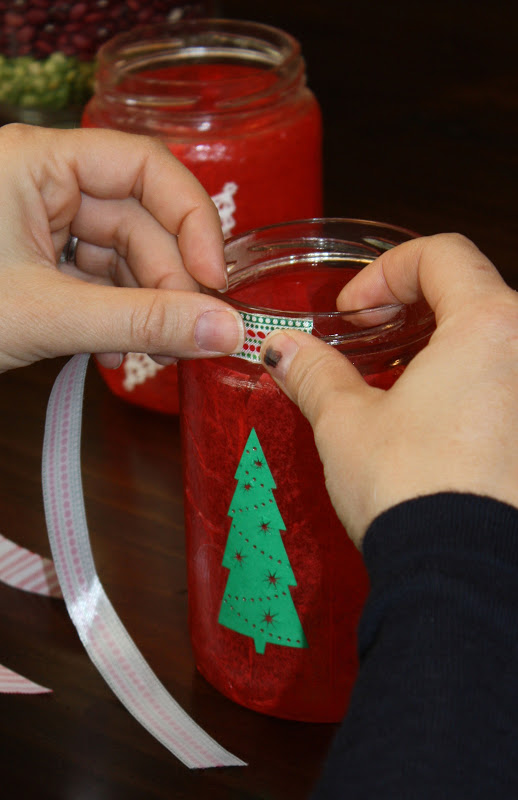
Repeat with as many cut-outs as you’d like. Then finish it off with ribbon. I hot glued the ribbon side and applied it to the jar.
Then sealed it with more hot glue when I looped it around.
Tissue paper version complete. Hooray!
But I kept wondering, how would it look without the tissue paper…
So I printed some more snowflakes and trees since I needed those for MOPS craft day anyway.
This time I used some patterned paper for the trees, as well as a light and dark green.
I tried to get as many trees on one page as I could to save paper.
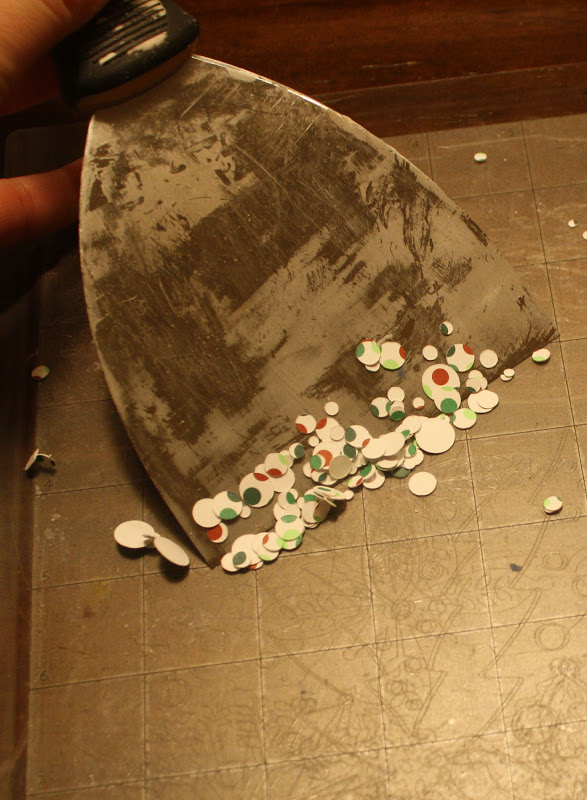
I typically have a hard time getting the scraps off my mat, but this time I used our spackle scraper. Much easier!
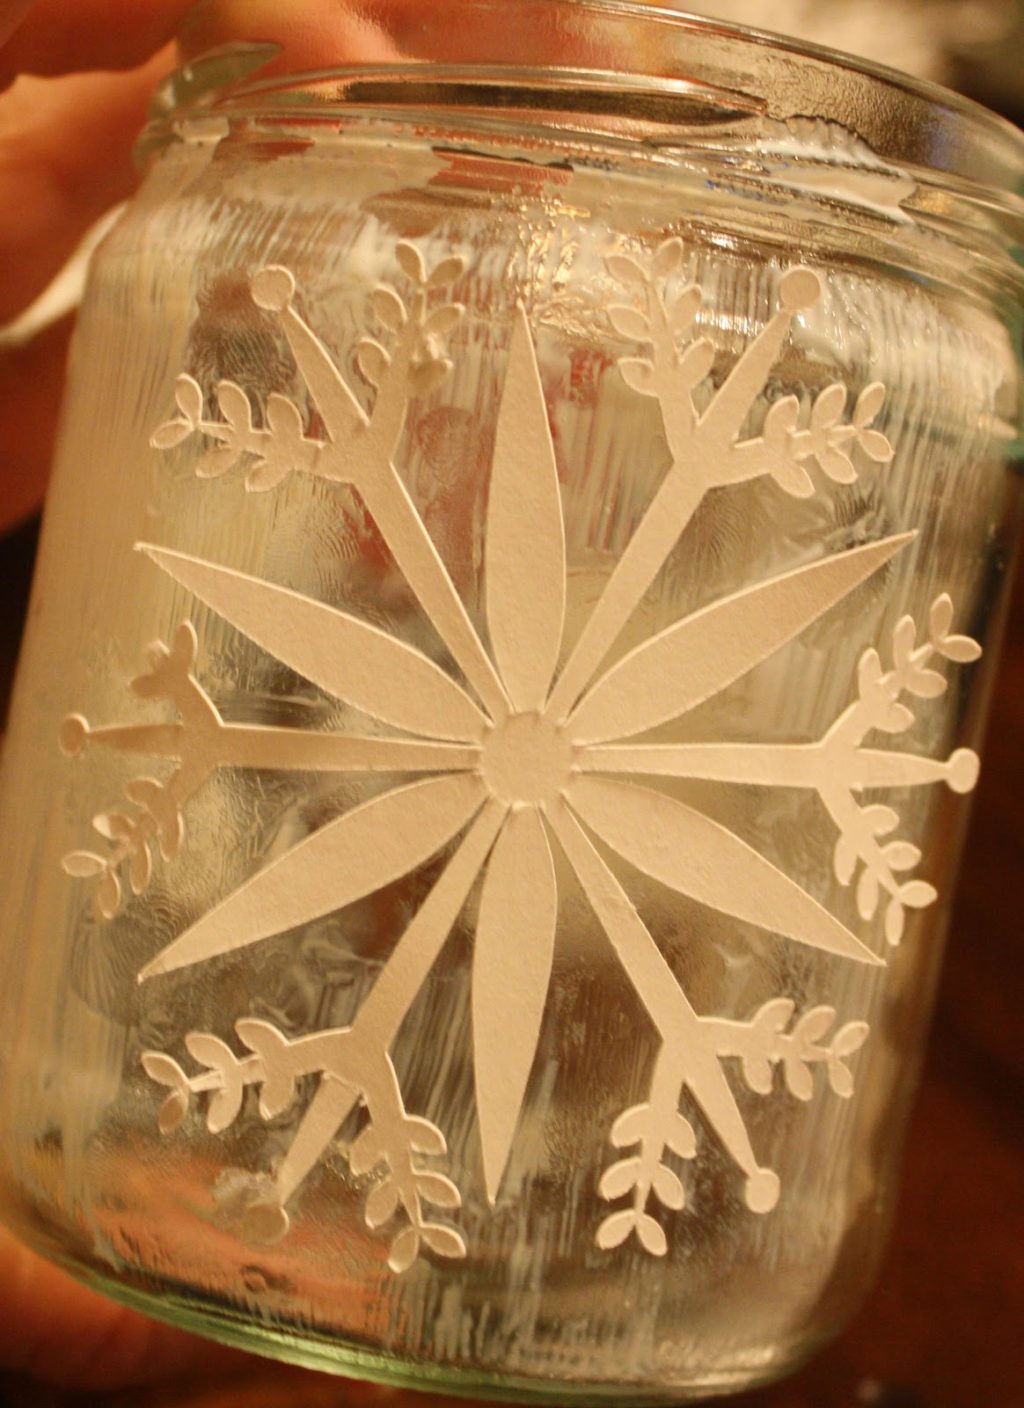
You know the drill by now, I mod podged the glass and applied the snowflake, and two other snowflakes of different designs. It didn’t want to stick at first but I just kept pressing.
I applied a coat of mod podge over top right away, and tried to give it a design in the final mod coat. I think the verb is “stipple”.
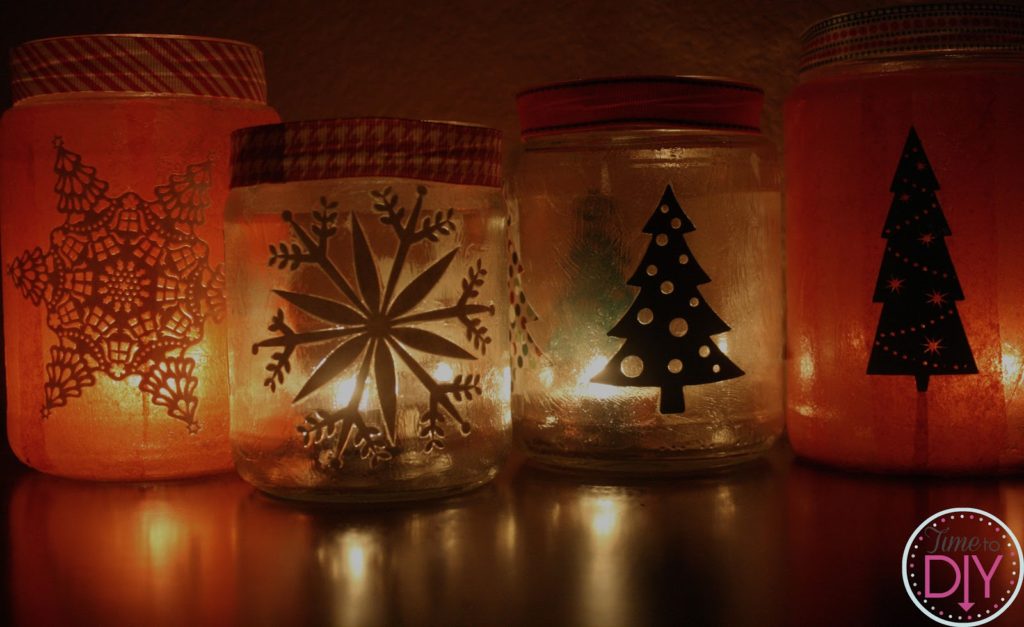
Then I finished it off with ribbon and added the tea lights. Tea lights are best because they are easy to take out and replace with no candle build up. I don’t think I would want a higher candle with the ribbon on top of the jar either, just to be safe.
Like the leaf jar, I preferred the non-tissue paper version, but I’m glad I have both for a variety. I have mine on the mantel as well as in my kitchen. They would be great incorporated into a centerpiece (maybe with some greenery) as well.
Can’t wait to see what the MOPS ladies create!
Thanks for stopping by Time to DIY! You can also “like” my page on Facebook or follow me on Twitter.
Thanks for stopping by Time to DIY! You can also “like” my page on Facebook or follow me on Twitter.








Those are so cute with the candles!!