Happy Monday! Hope you had a nice weekend and are ready to tackle the week! A couple of my 2017 goals are to print more photos and get more walls decorated. Gallery walls are my favorite because you can add meaningful pieces and create interest with different textures and shapes. Although they are like a puzzle and can be intimidating sometimes, right? I’ve got a few tips and tricks for ya, especially if you’re on a budget!
This is a gallery wall that I created for my daughter’s room, but the concept and design will work for any room in the house.
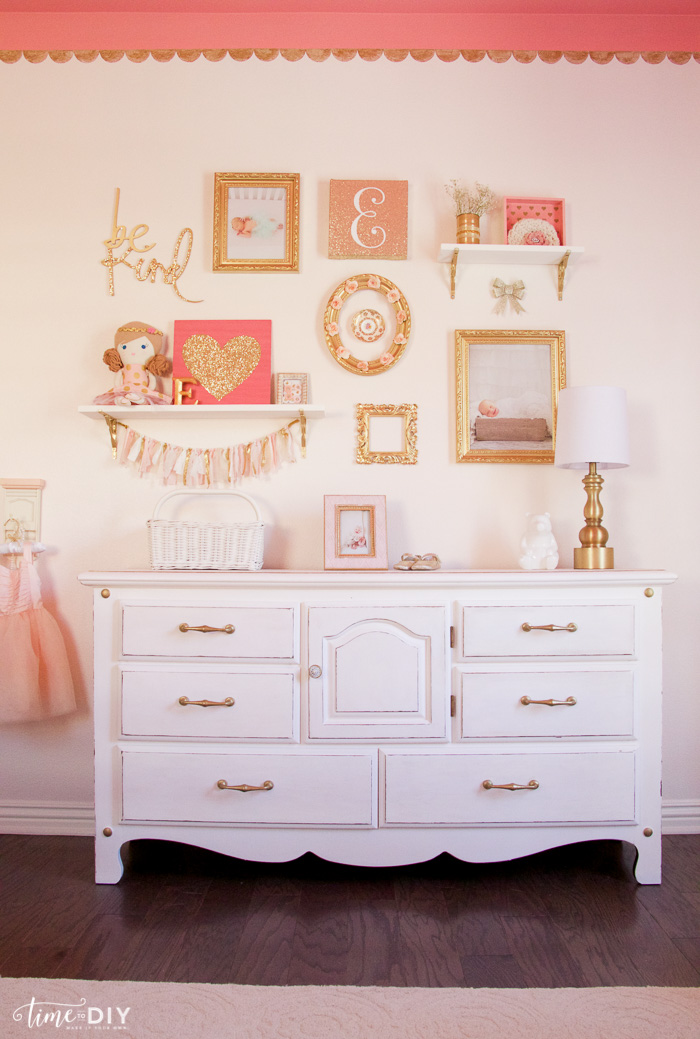
Step 1: Gather all your decor.
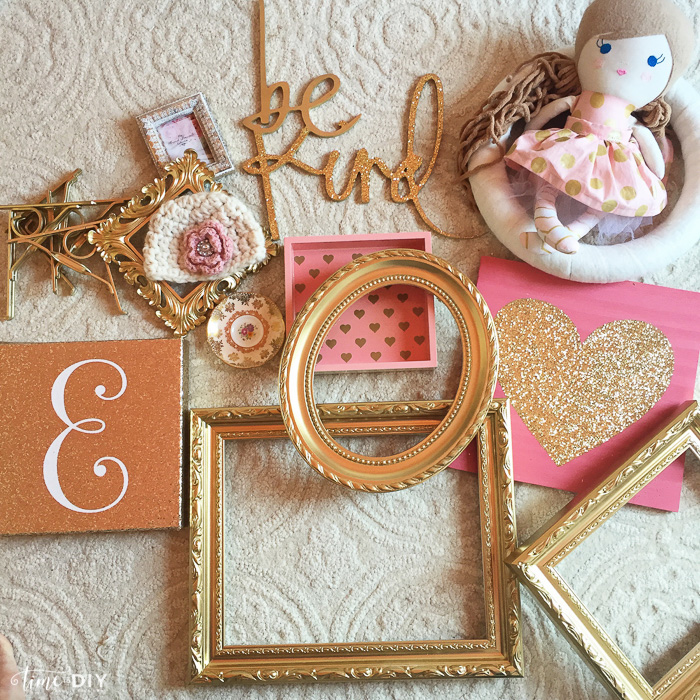
Gather anything and everything, focusing on pieces that are meaningful, pretty or interesting (shape or texture). Start by shopping your house, and I mean the whole house! I found a gold bow in Christmas decor, a small plate and a gold tin can in the kitchen, and some shelf brackets in the garage.
For meaningful decor, I chose a newborn hat and doll. I also love using letters or numbers, so I bought a couple at Marshall’s and Hobby Lobby on clearance.
Also look for things you can repurpose or paint. I pulled all these frames from my daughter’s nursery and spray painted them gold.
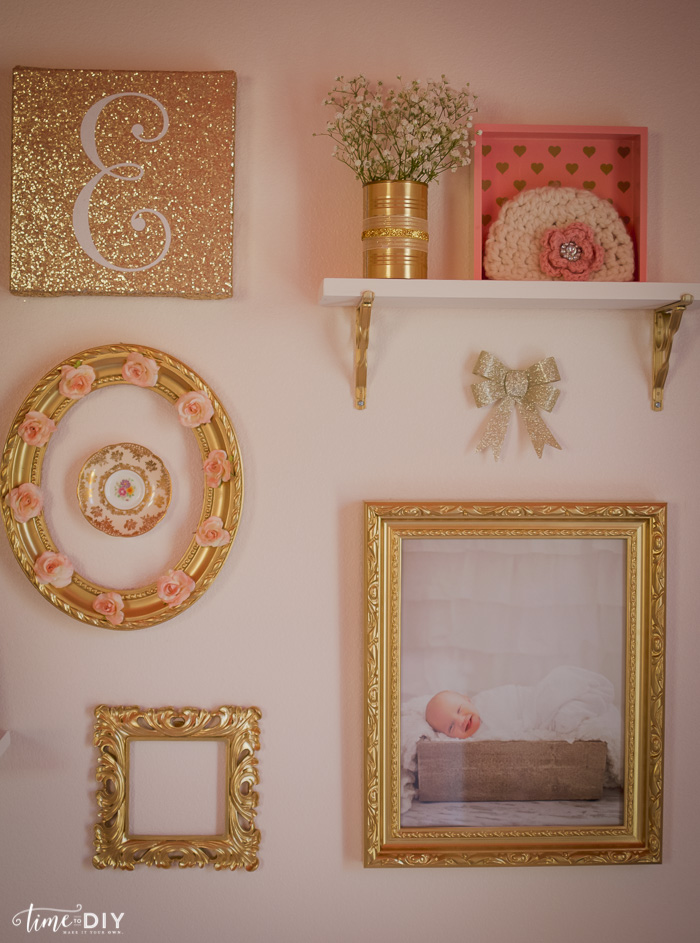
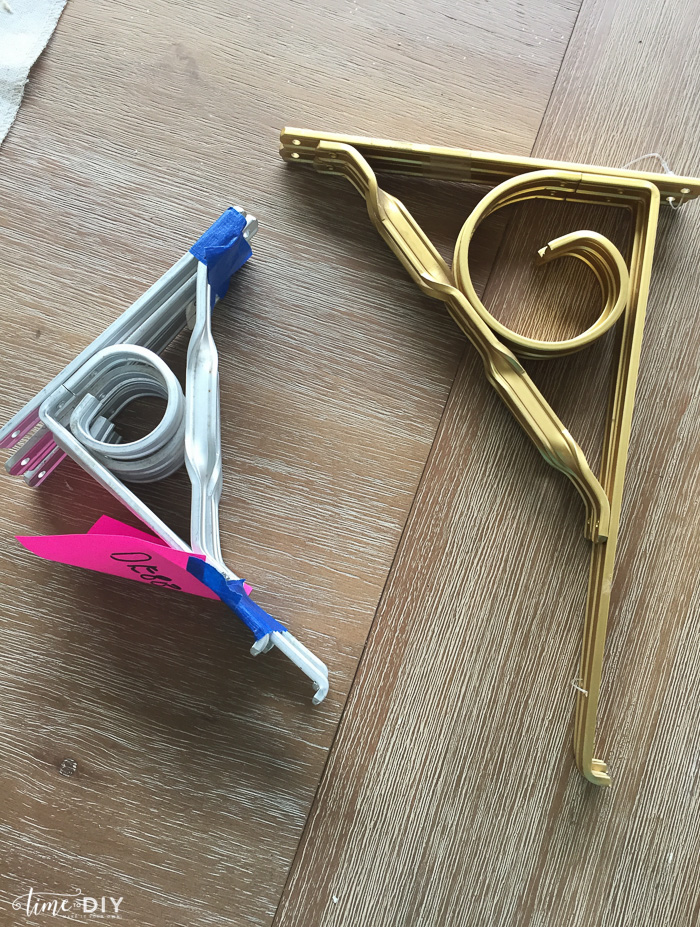
And these shelf brackets that came from my grandma’s house got a gold makeover as well. I got the wood from Home Depot (they can make the cuts) for the shelves and then painted them white.
Shelves and ledges are great for kids room gallery walls because you can swap out easily when they have new special items, awards, etc.
And, of course, I love to DIY decor so I painted and glittered the Heidi Swapp ‘Be Kind’ wood cutout along with a heart on a piece of wood (at Queen Bee Craft Night with Katie from Just Add Sunshine).
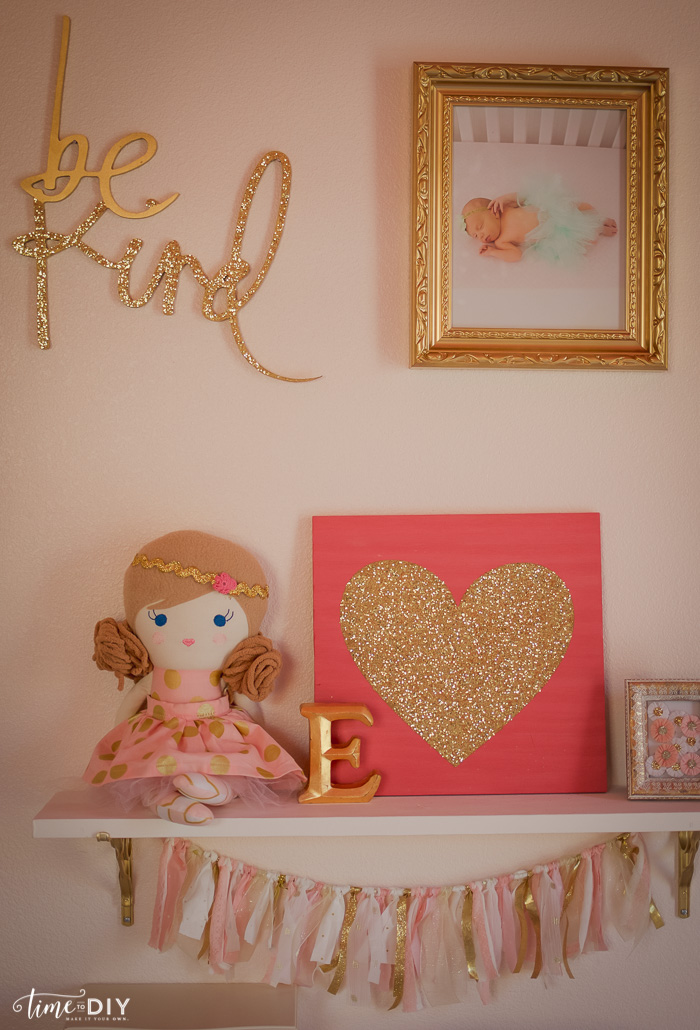
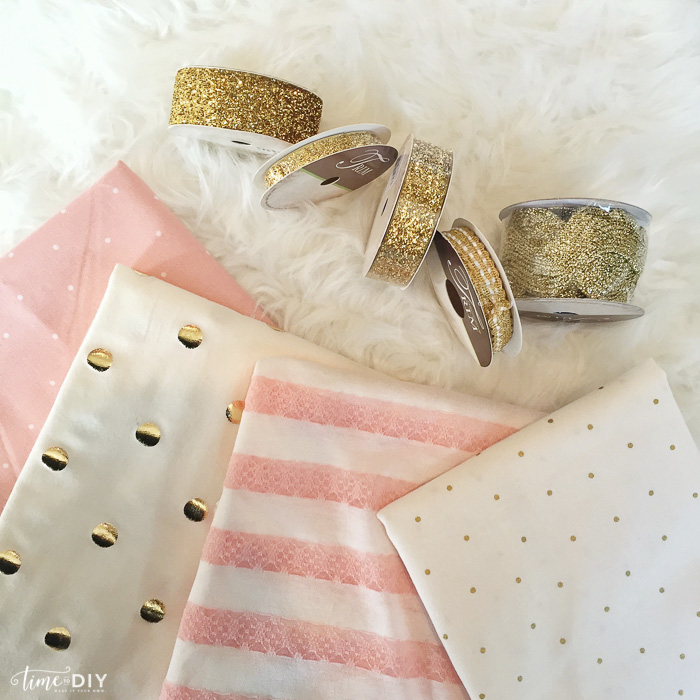
And I also made a banner with some ribbon, fabric, and lace scraps.
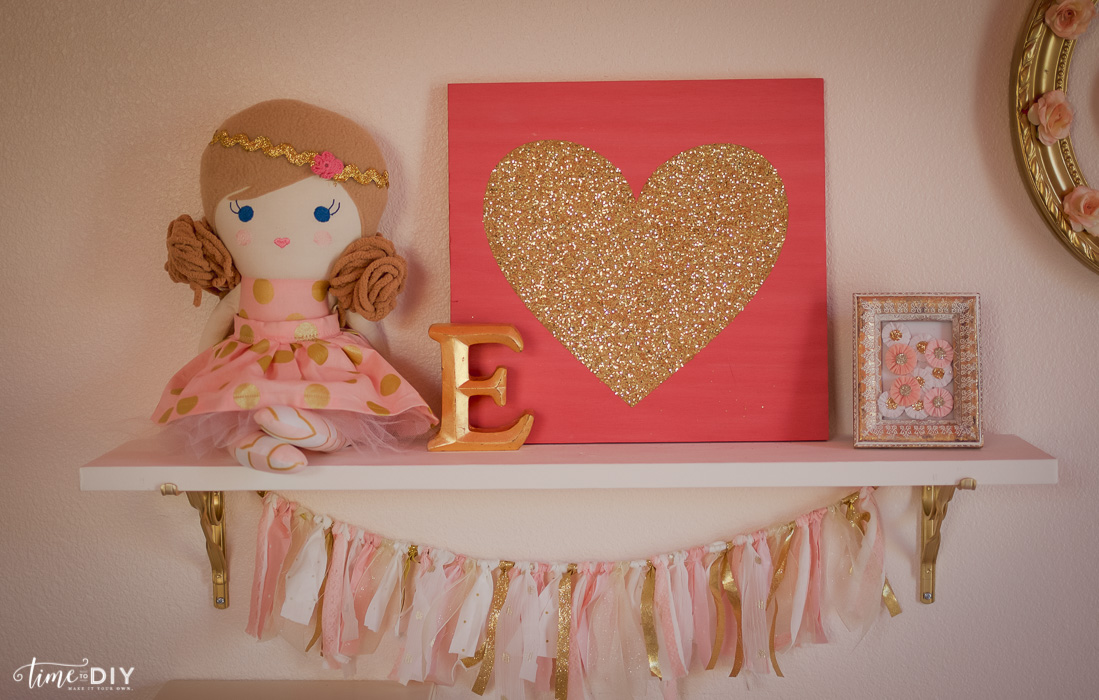
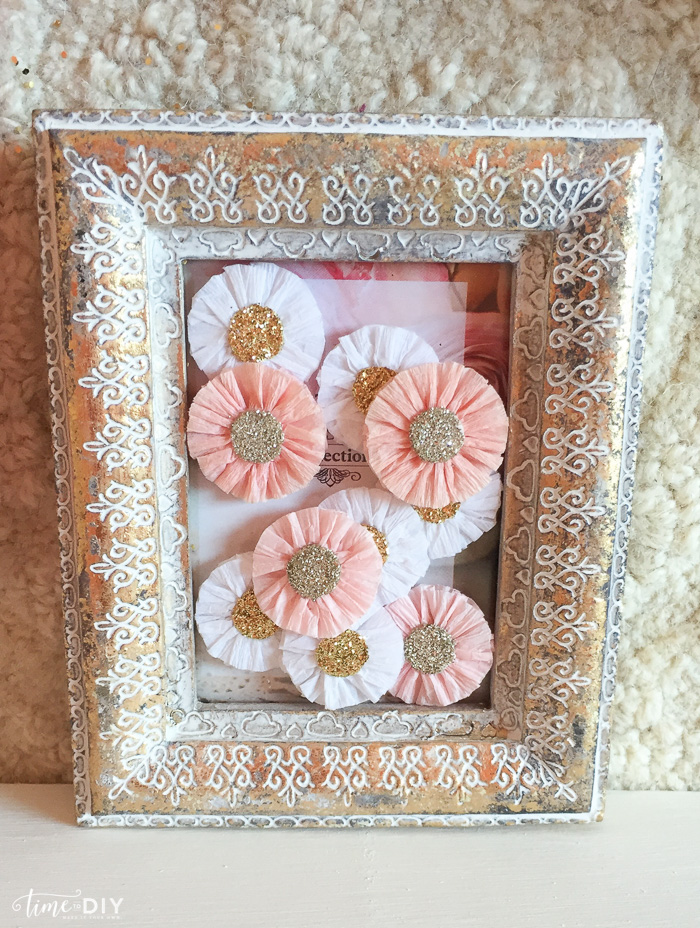
I added the paper flowers to the little gold frame.
And you can even dress up a can with some ribbon and baby’s breath!
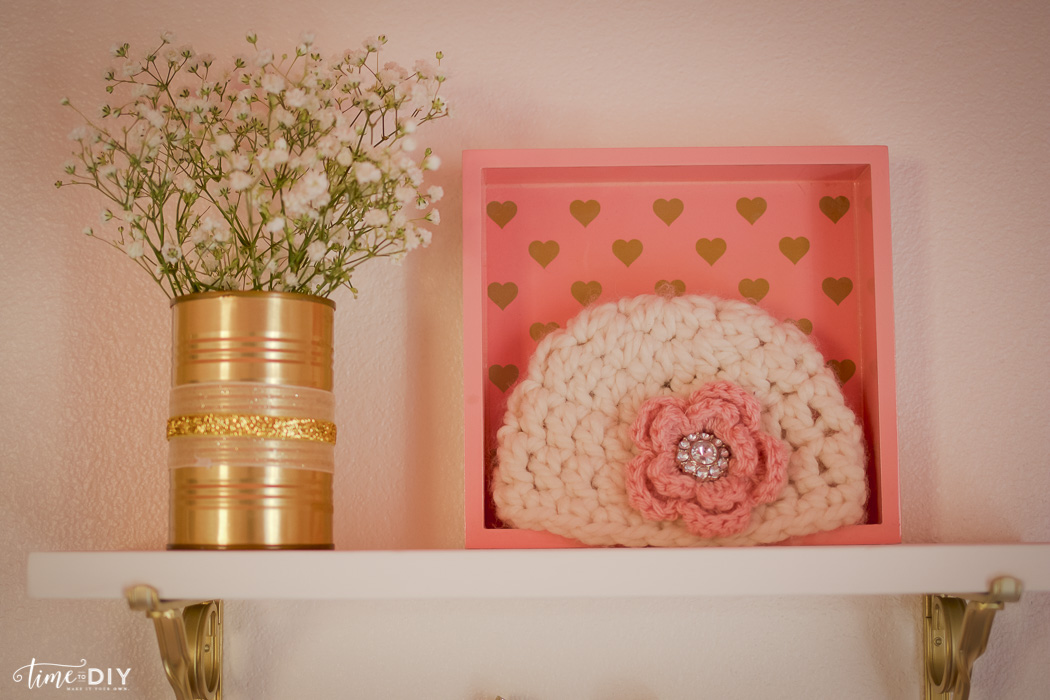
I smile every time I see that newborn hat- brings back so many cute memories.
To spruce up the oval frame, I hot glued some flowers.
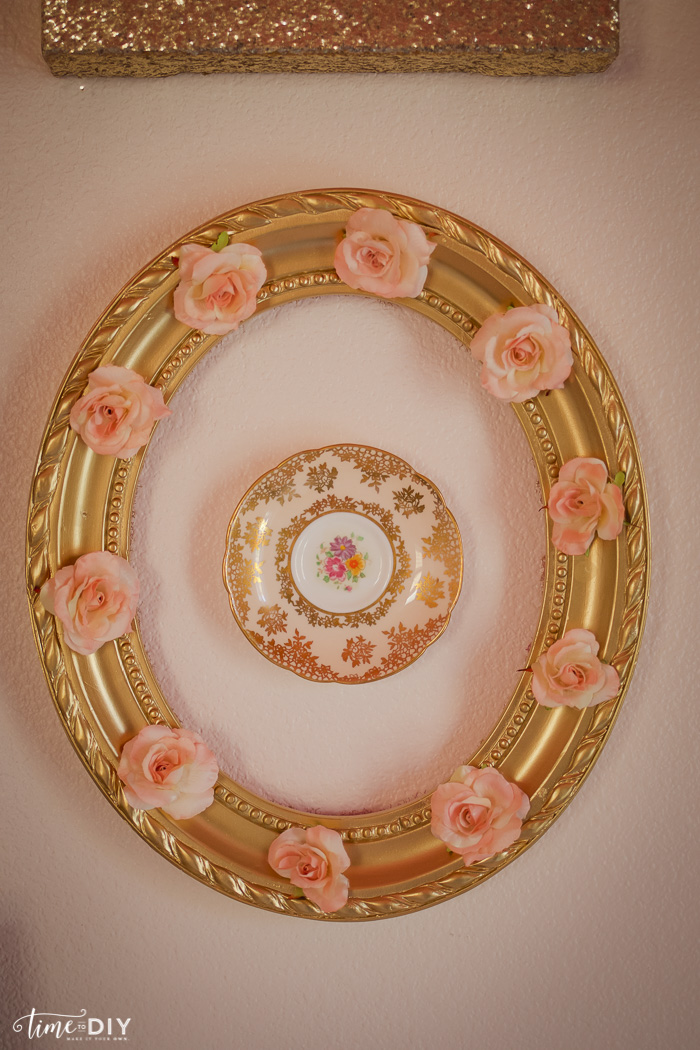
Then it’s time to put it all together…
Step 2: Measure and draft on the floor.
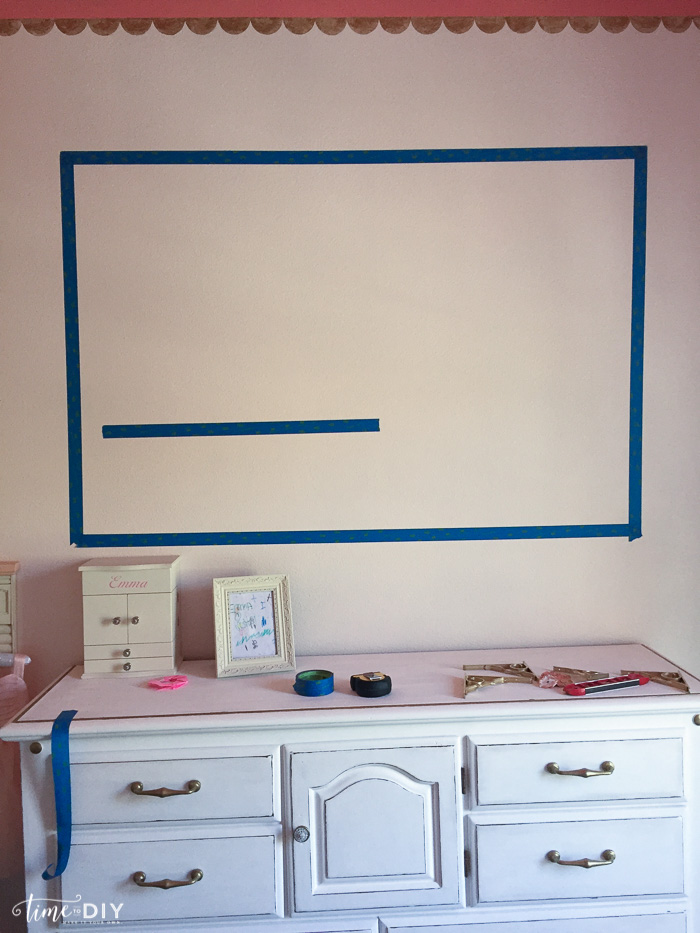
I tape off the area, measure, and then draft on the floor so I can play around and see what works.
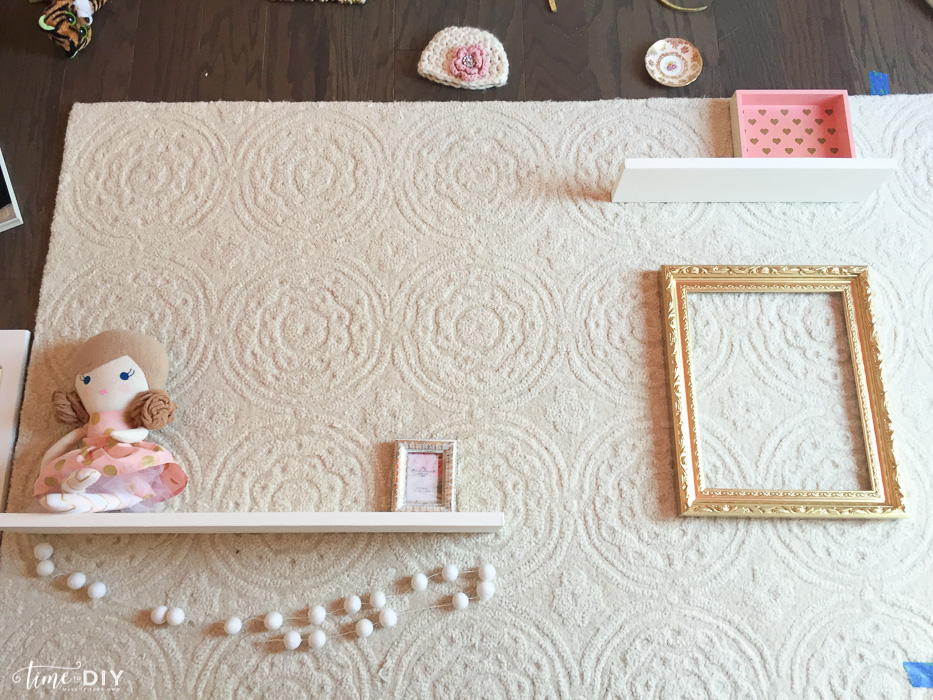
I started with the shelves (longer shelf on the bottom since it’s “weightier”), and styled them with some of the larger items so I knew how much room I had left.
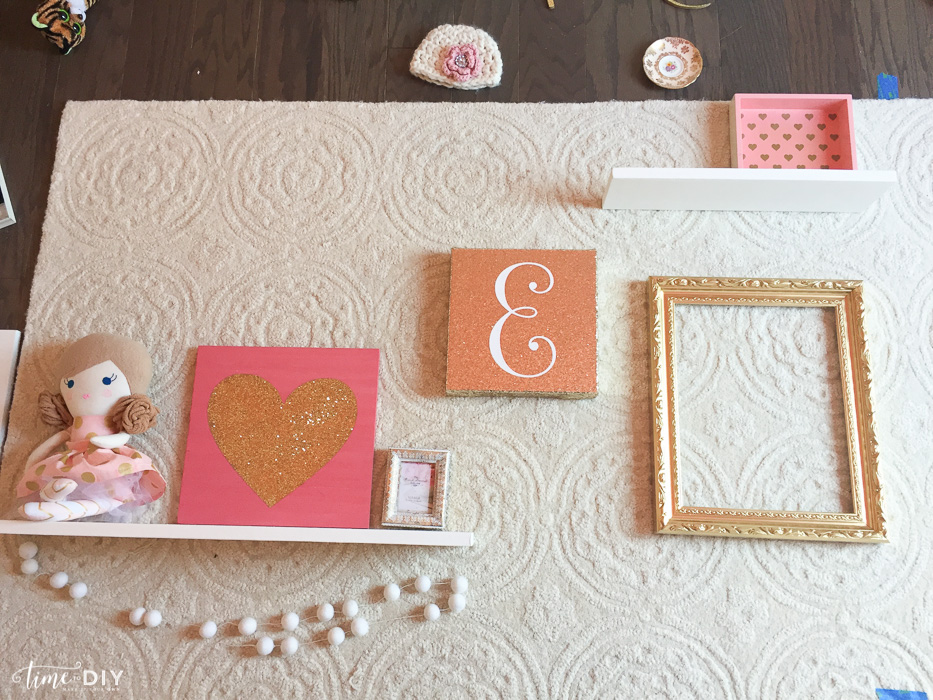
I always start by placing the biggest pieces to help create balance.
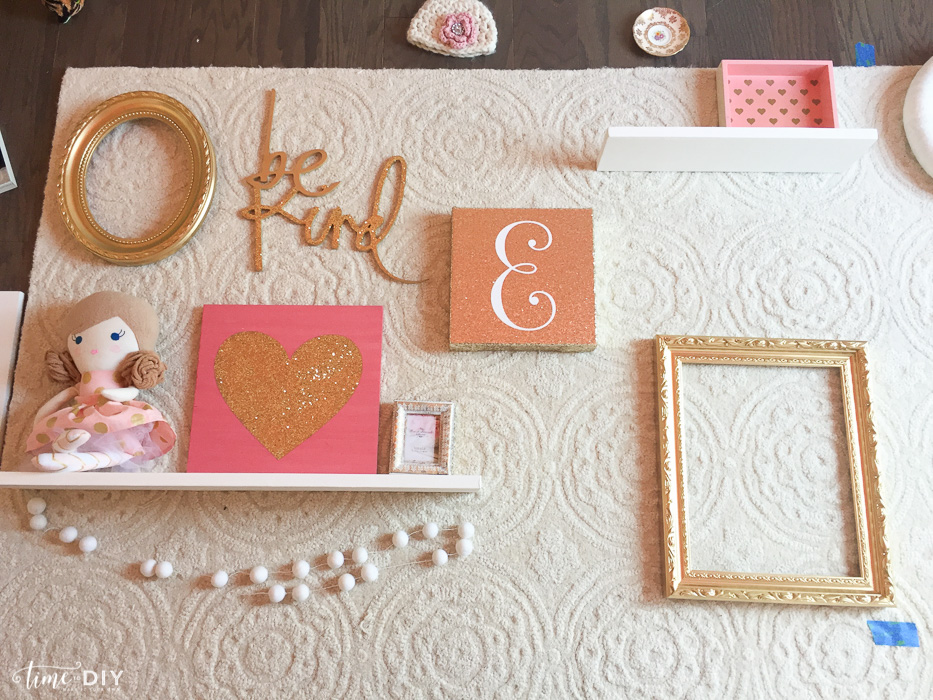
I try to mix up the straight and curved edged pieces with equal amount of spacing (as much as I can) in between each piece.
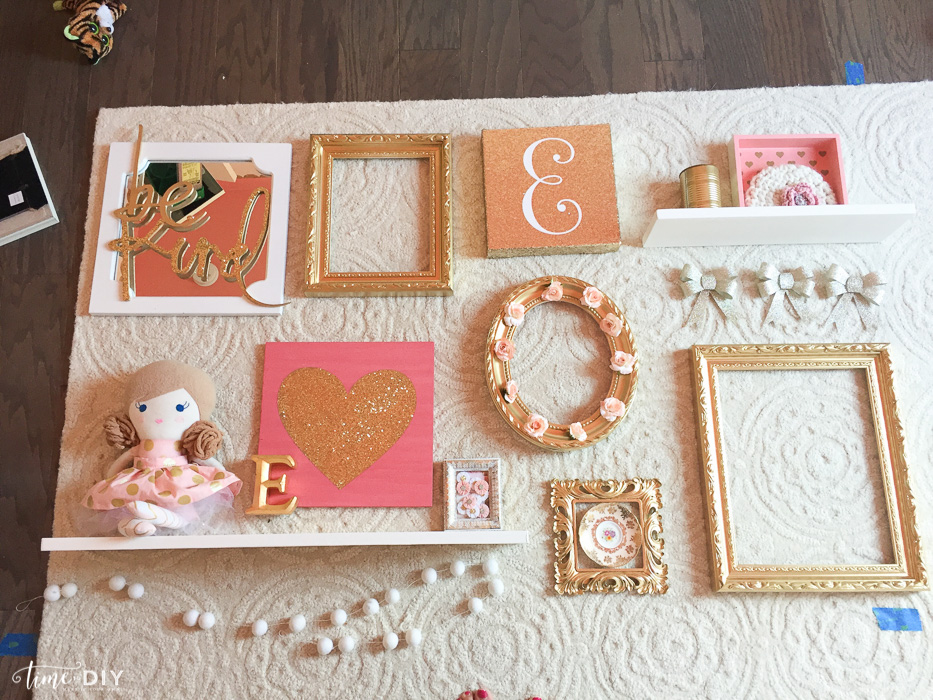
I ended up having too much decor and had to remove some things to make it all work.
Step 3: Tape and hang!
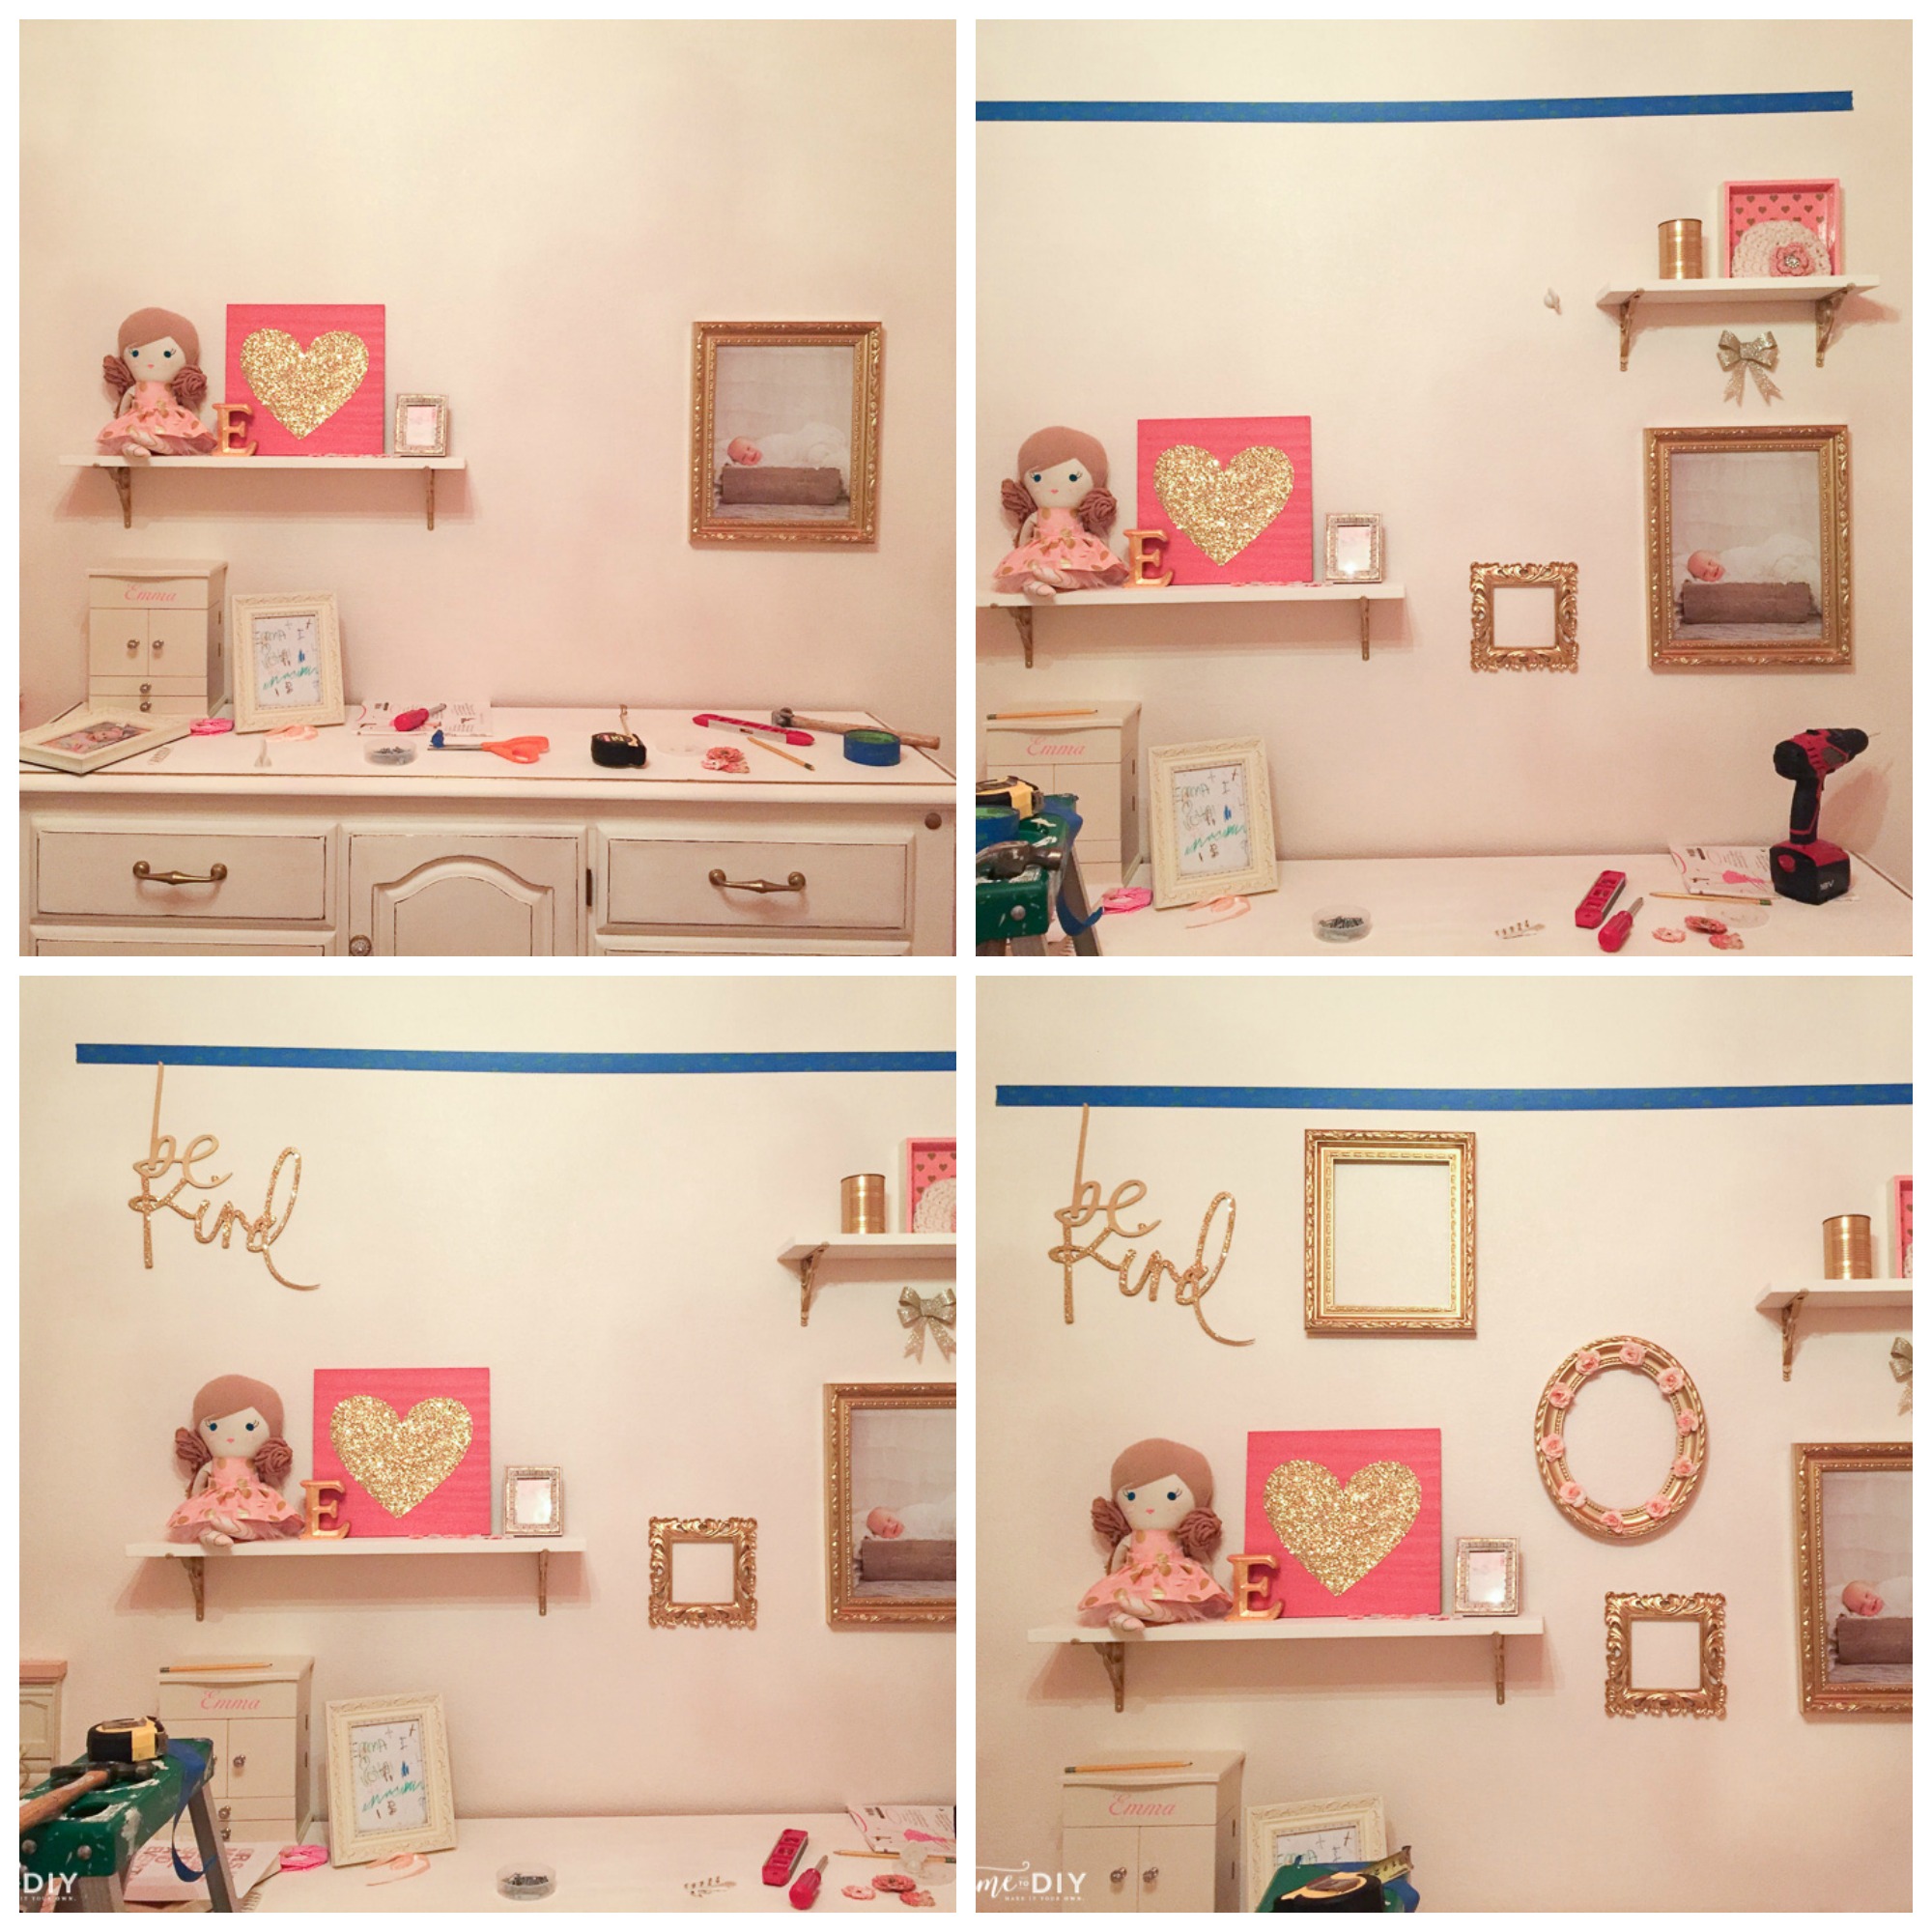
I use both nails and 3M Command strips and start at the bottom and then work my way around each corner, and end with the middle so I can center it better.
And that’s it!
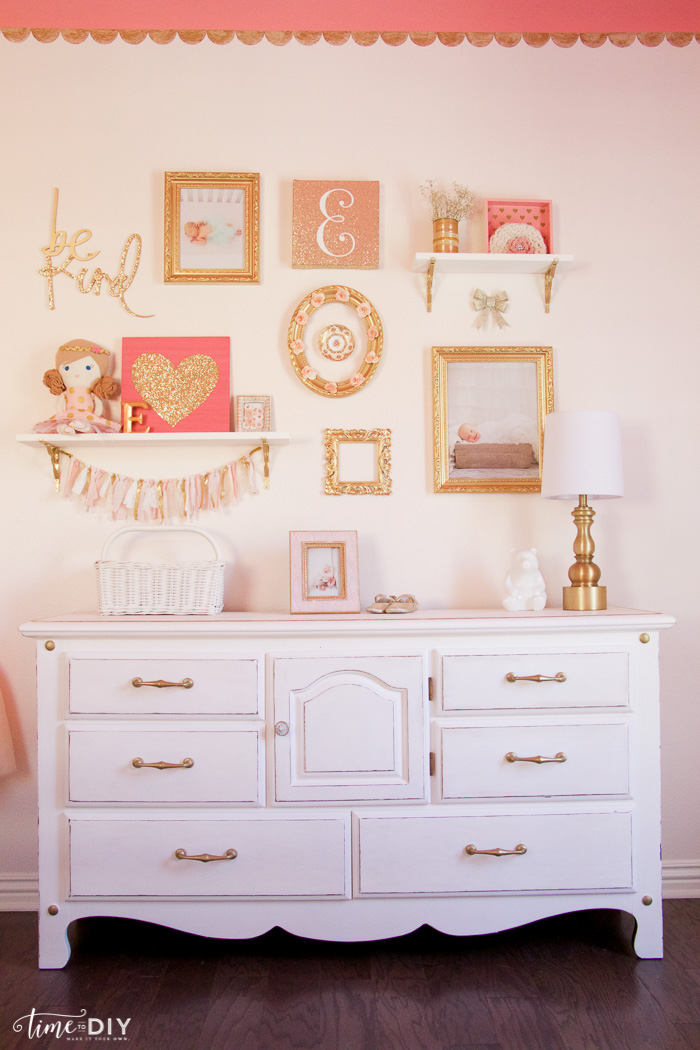
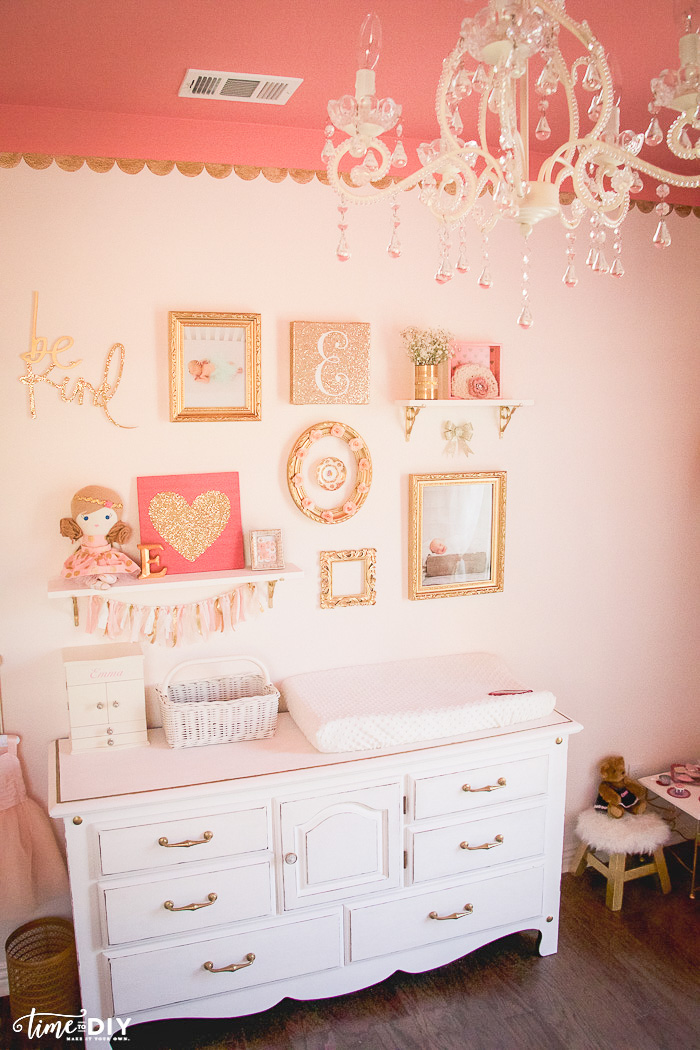

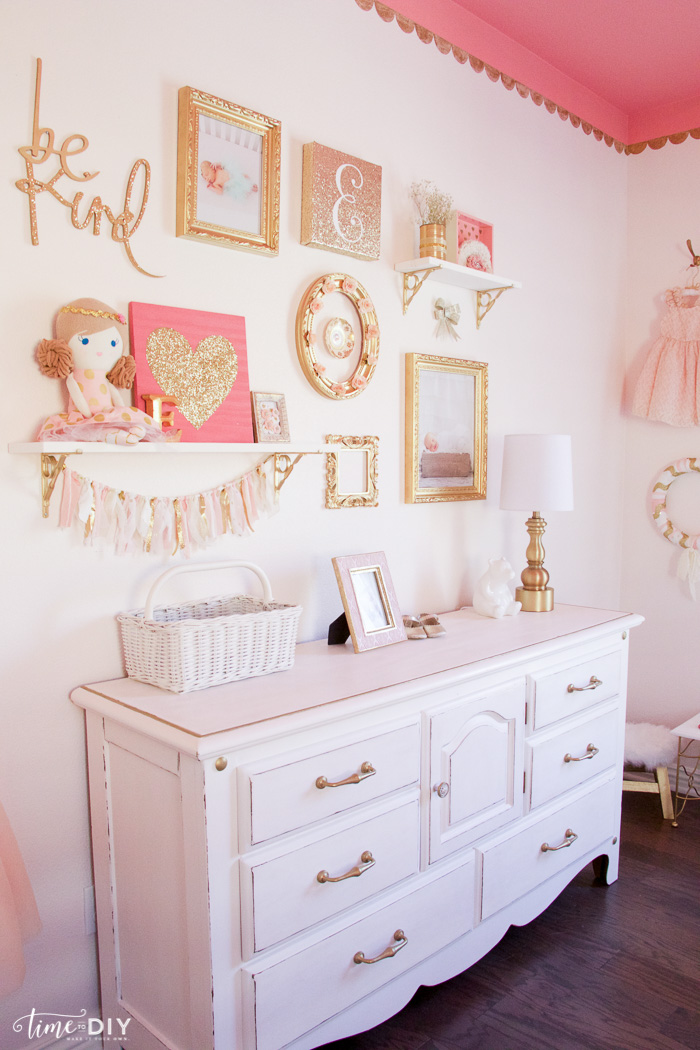
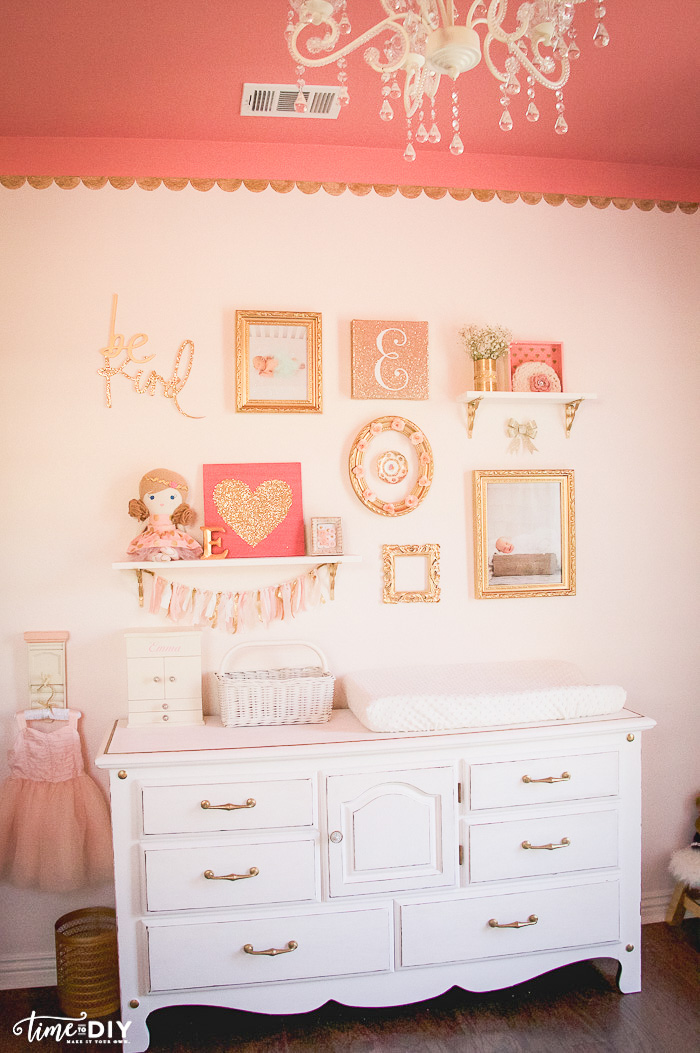
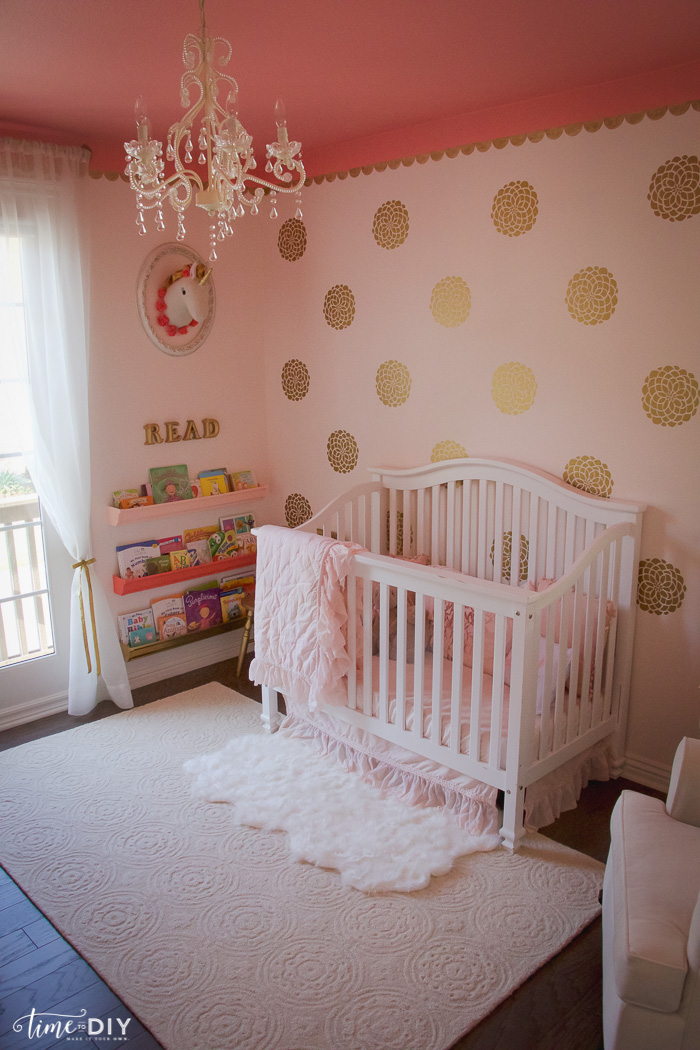
If you’d like to see the full room, check out the Toddler Room Reveal. I recently took out her crib to make it more of a “big girl” room and will be sharing that soon!
For more DIY decor and ideas, follow me on Facebook | Instagram | Twitter. Hope you have a wonderful day!


Leave a Reply