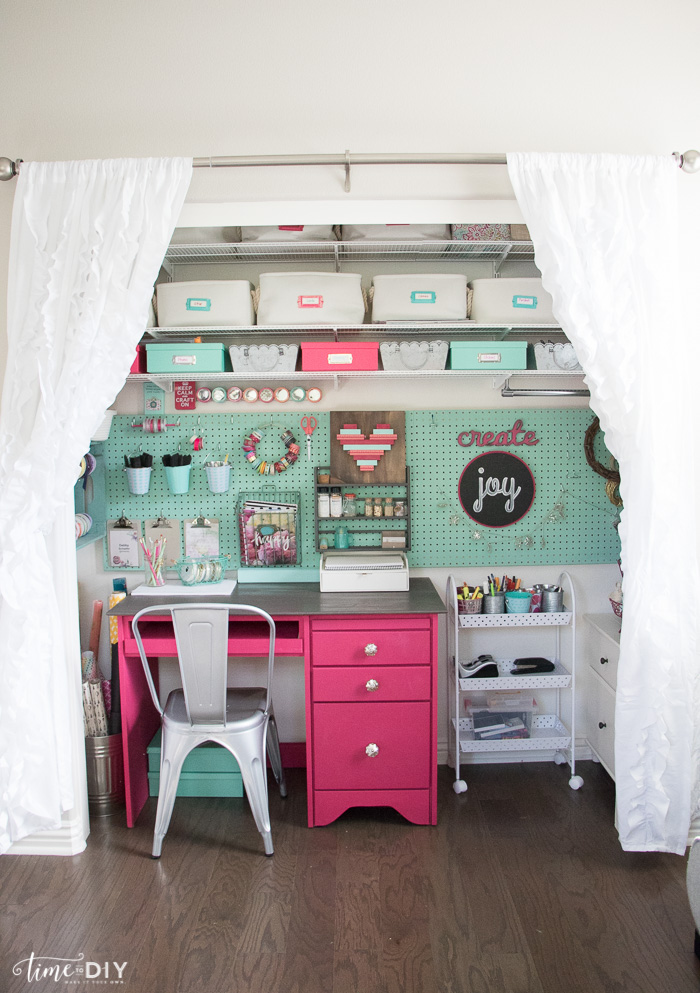
Creating a craft closet in our guest room was one of the best things I did for my organizational sanity. I obviously have lots of crafting supplies, and my kids have a lot as well, so before this makeover everything was constantly in chaos and supplies were spread on all surfaces and even the floor. so having guests stay in there was out of the question.
Until my son’s kindergarten teacher gave use a desk, and it inspired this closet workspace!
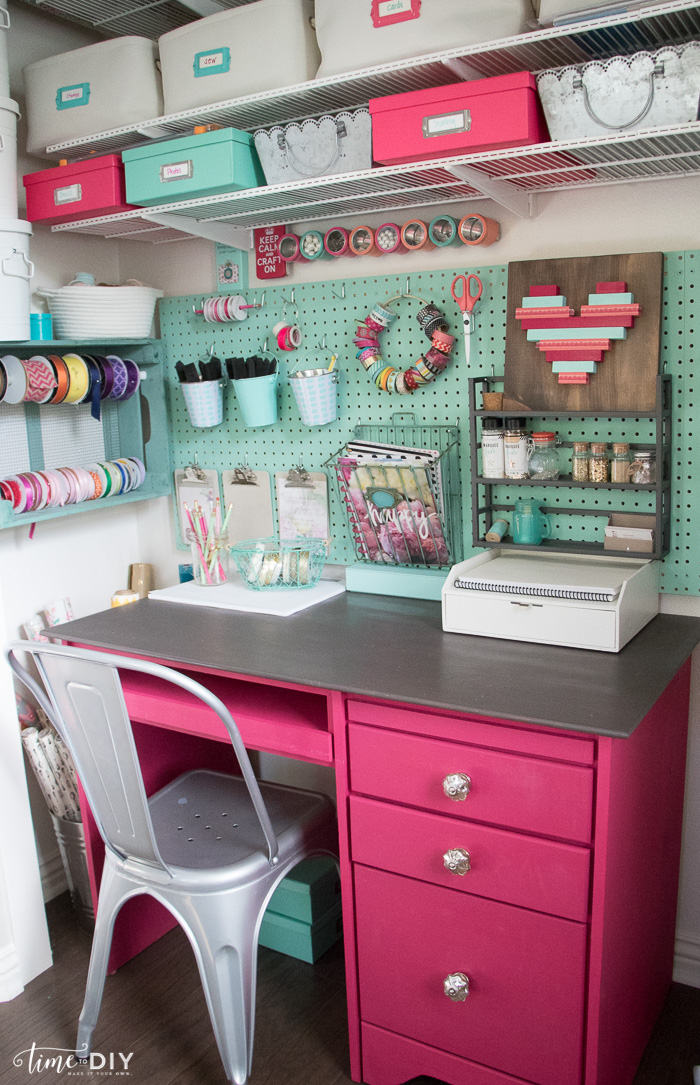
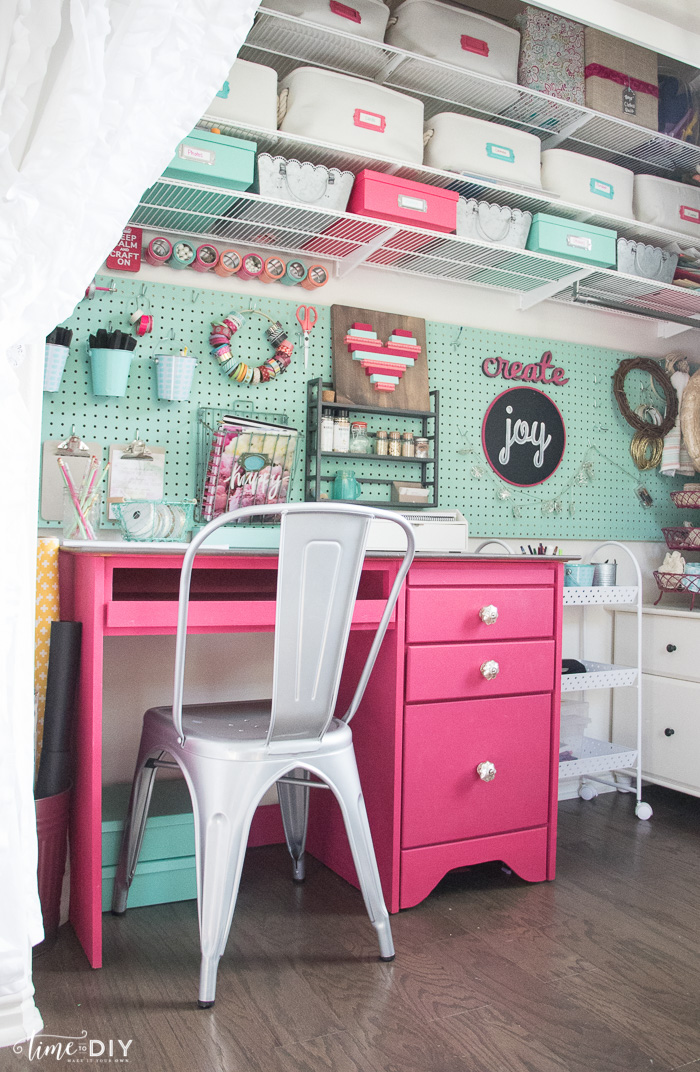
It was the perfect place to add a workstation with some shelf and wall storage.
My first step was getting some inspiration, so I went to Michael’s and found all kinds of organizational goodies.
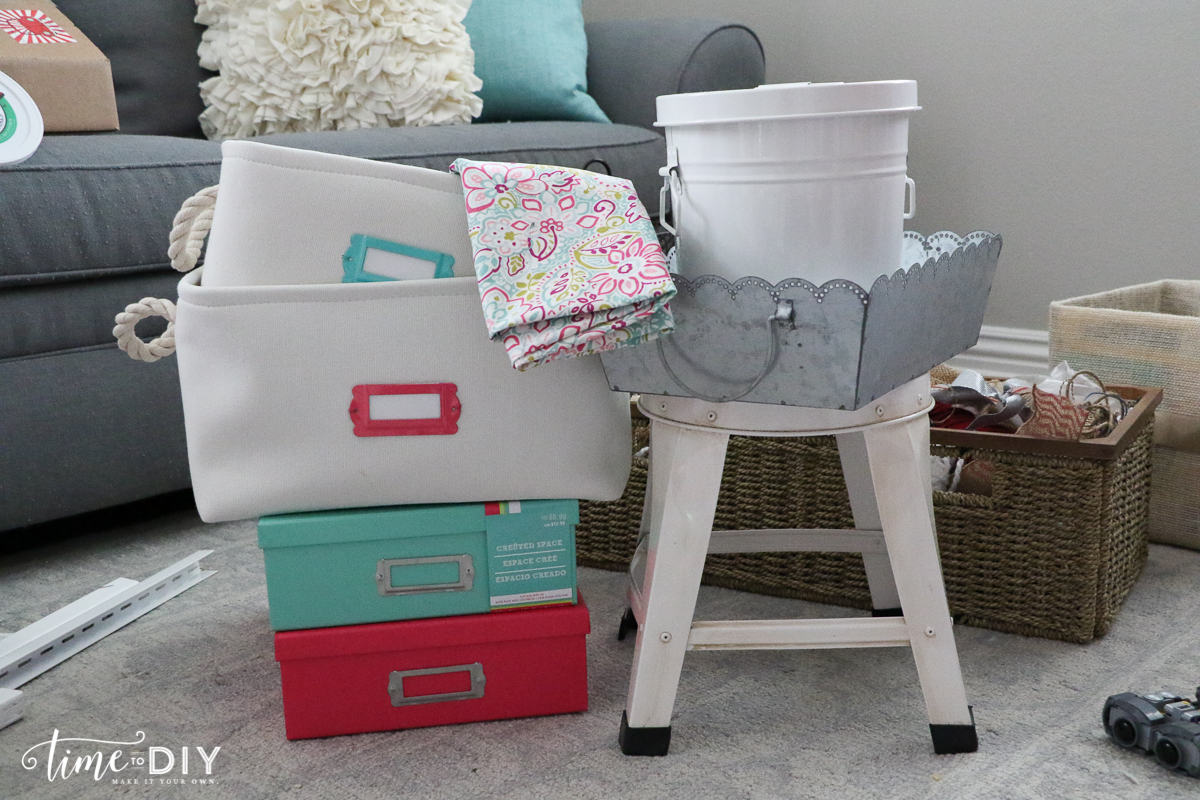
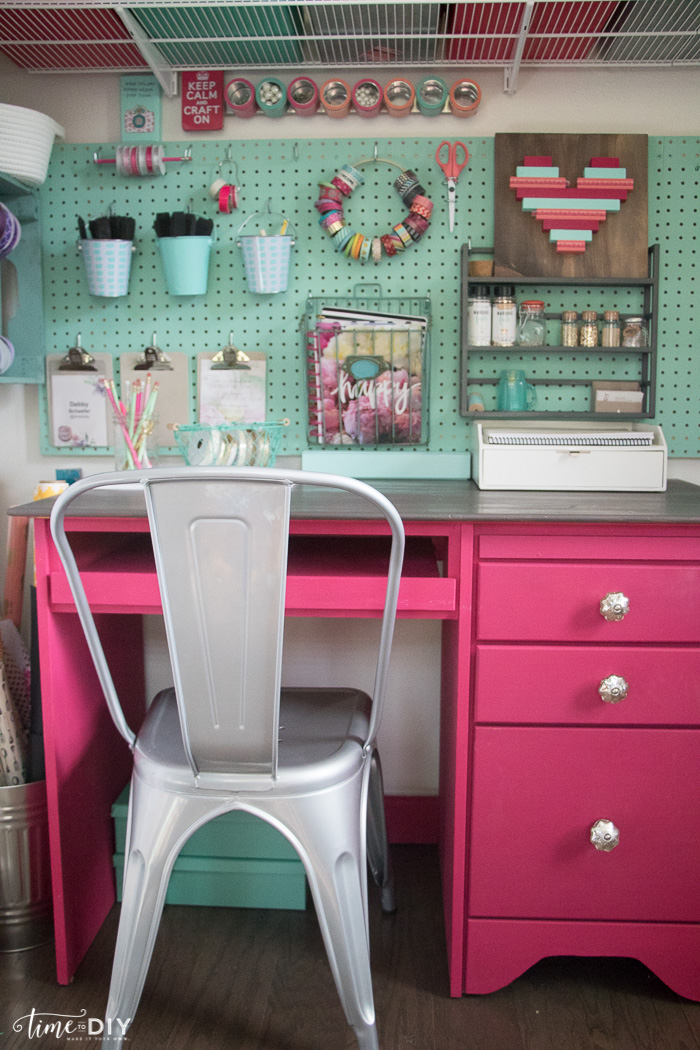
And then that prompted the pink desk makeover because, why not have a pink desk?
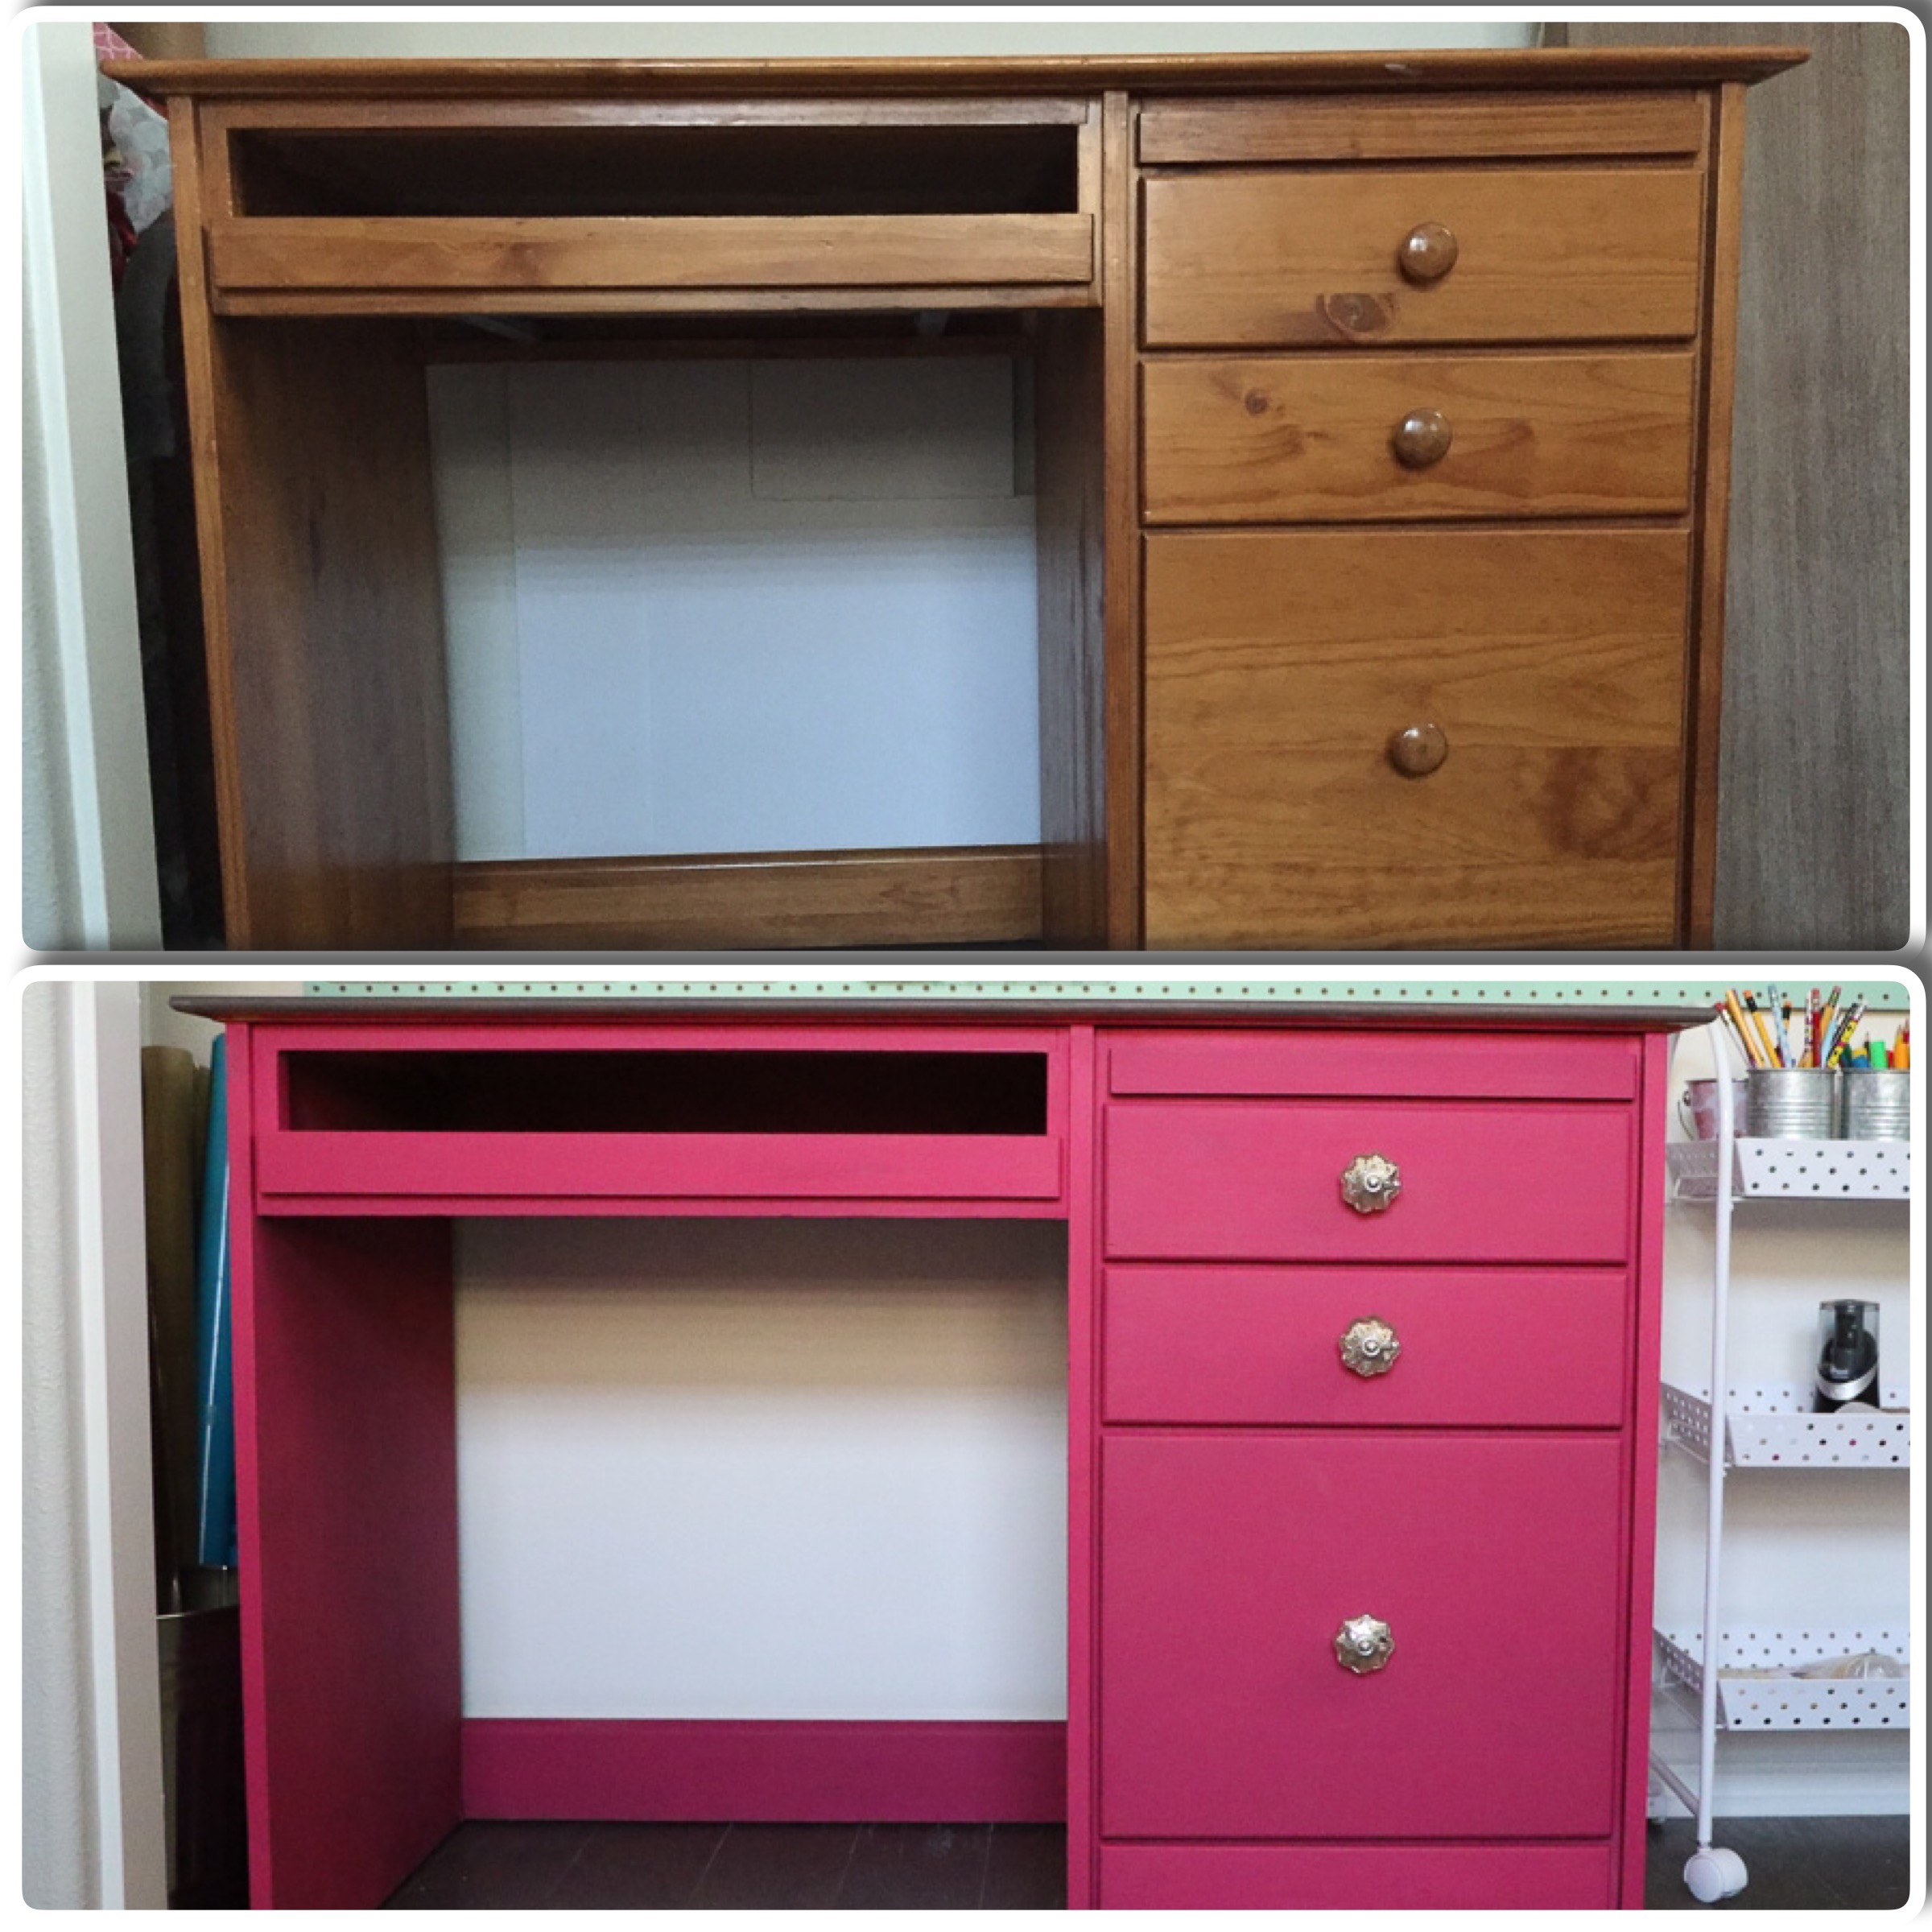 And then it was time to clear the closet and put up some shelving to make better use of the space.
And that meant removing everything from the closet, eek!
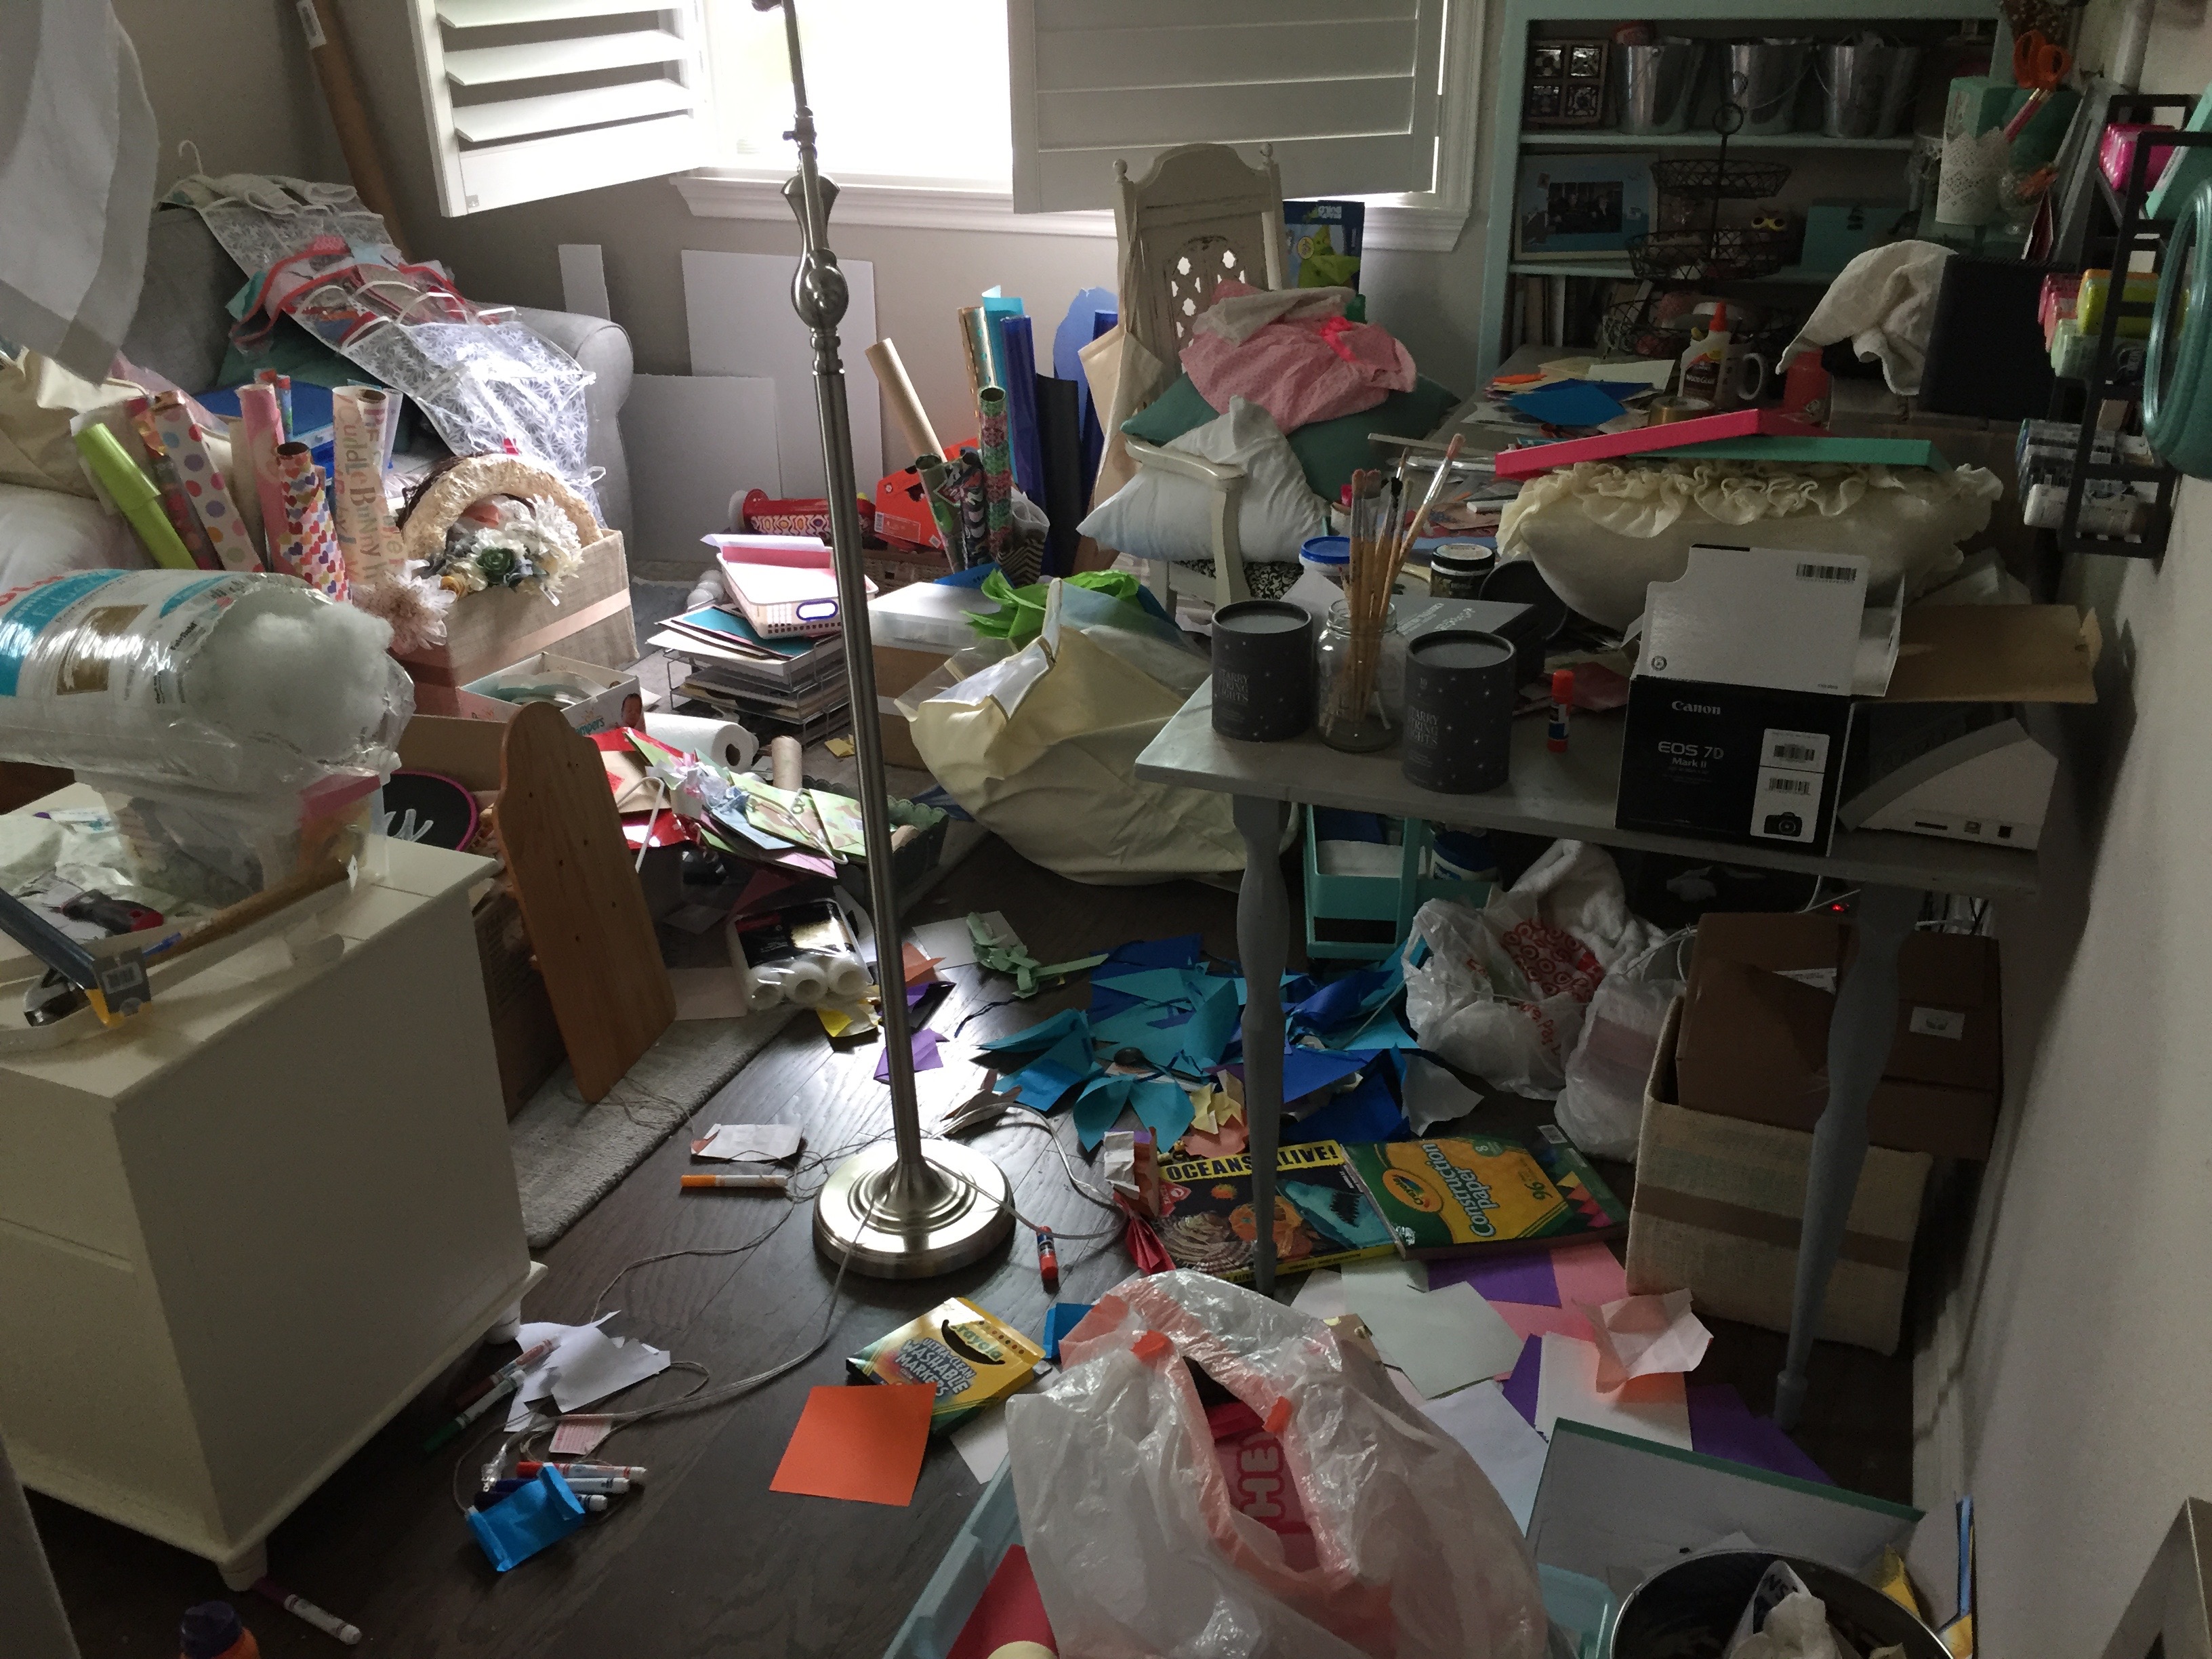
Crazy, huh? I’ve since decluttered and purged, but that’s a different post.
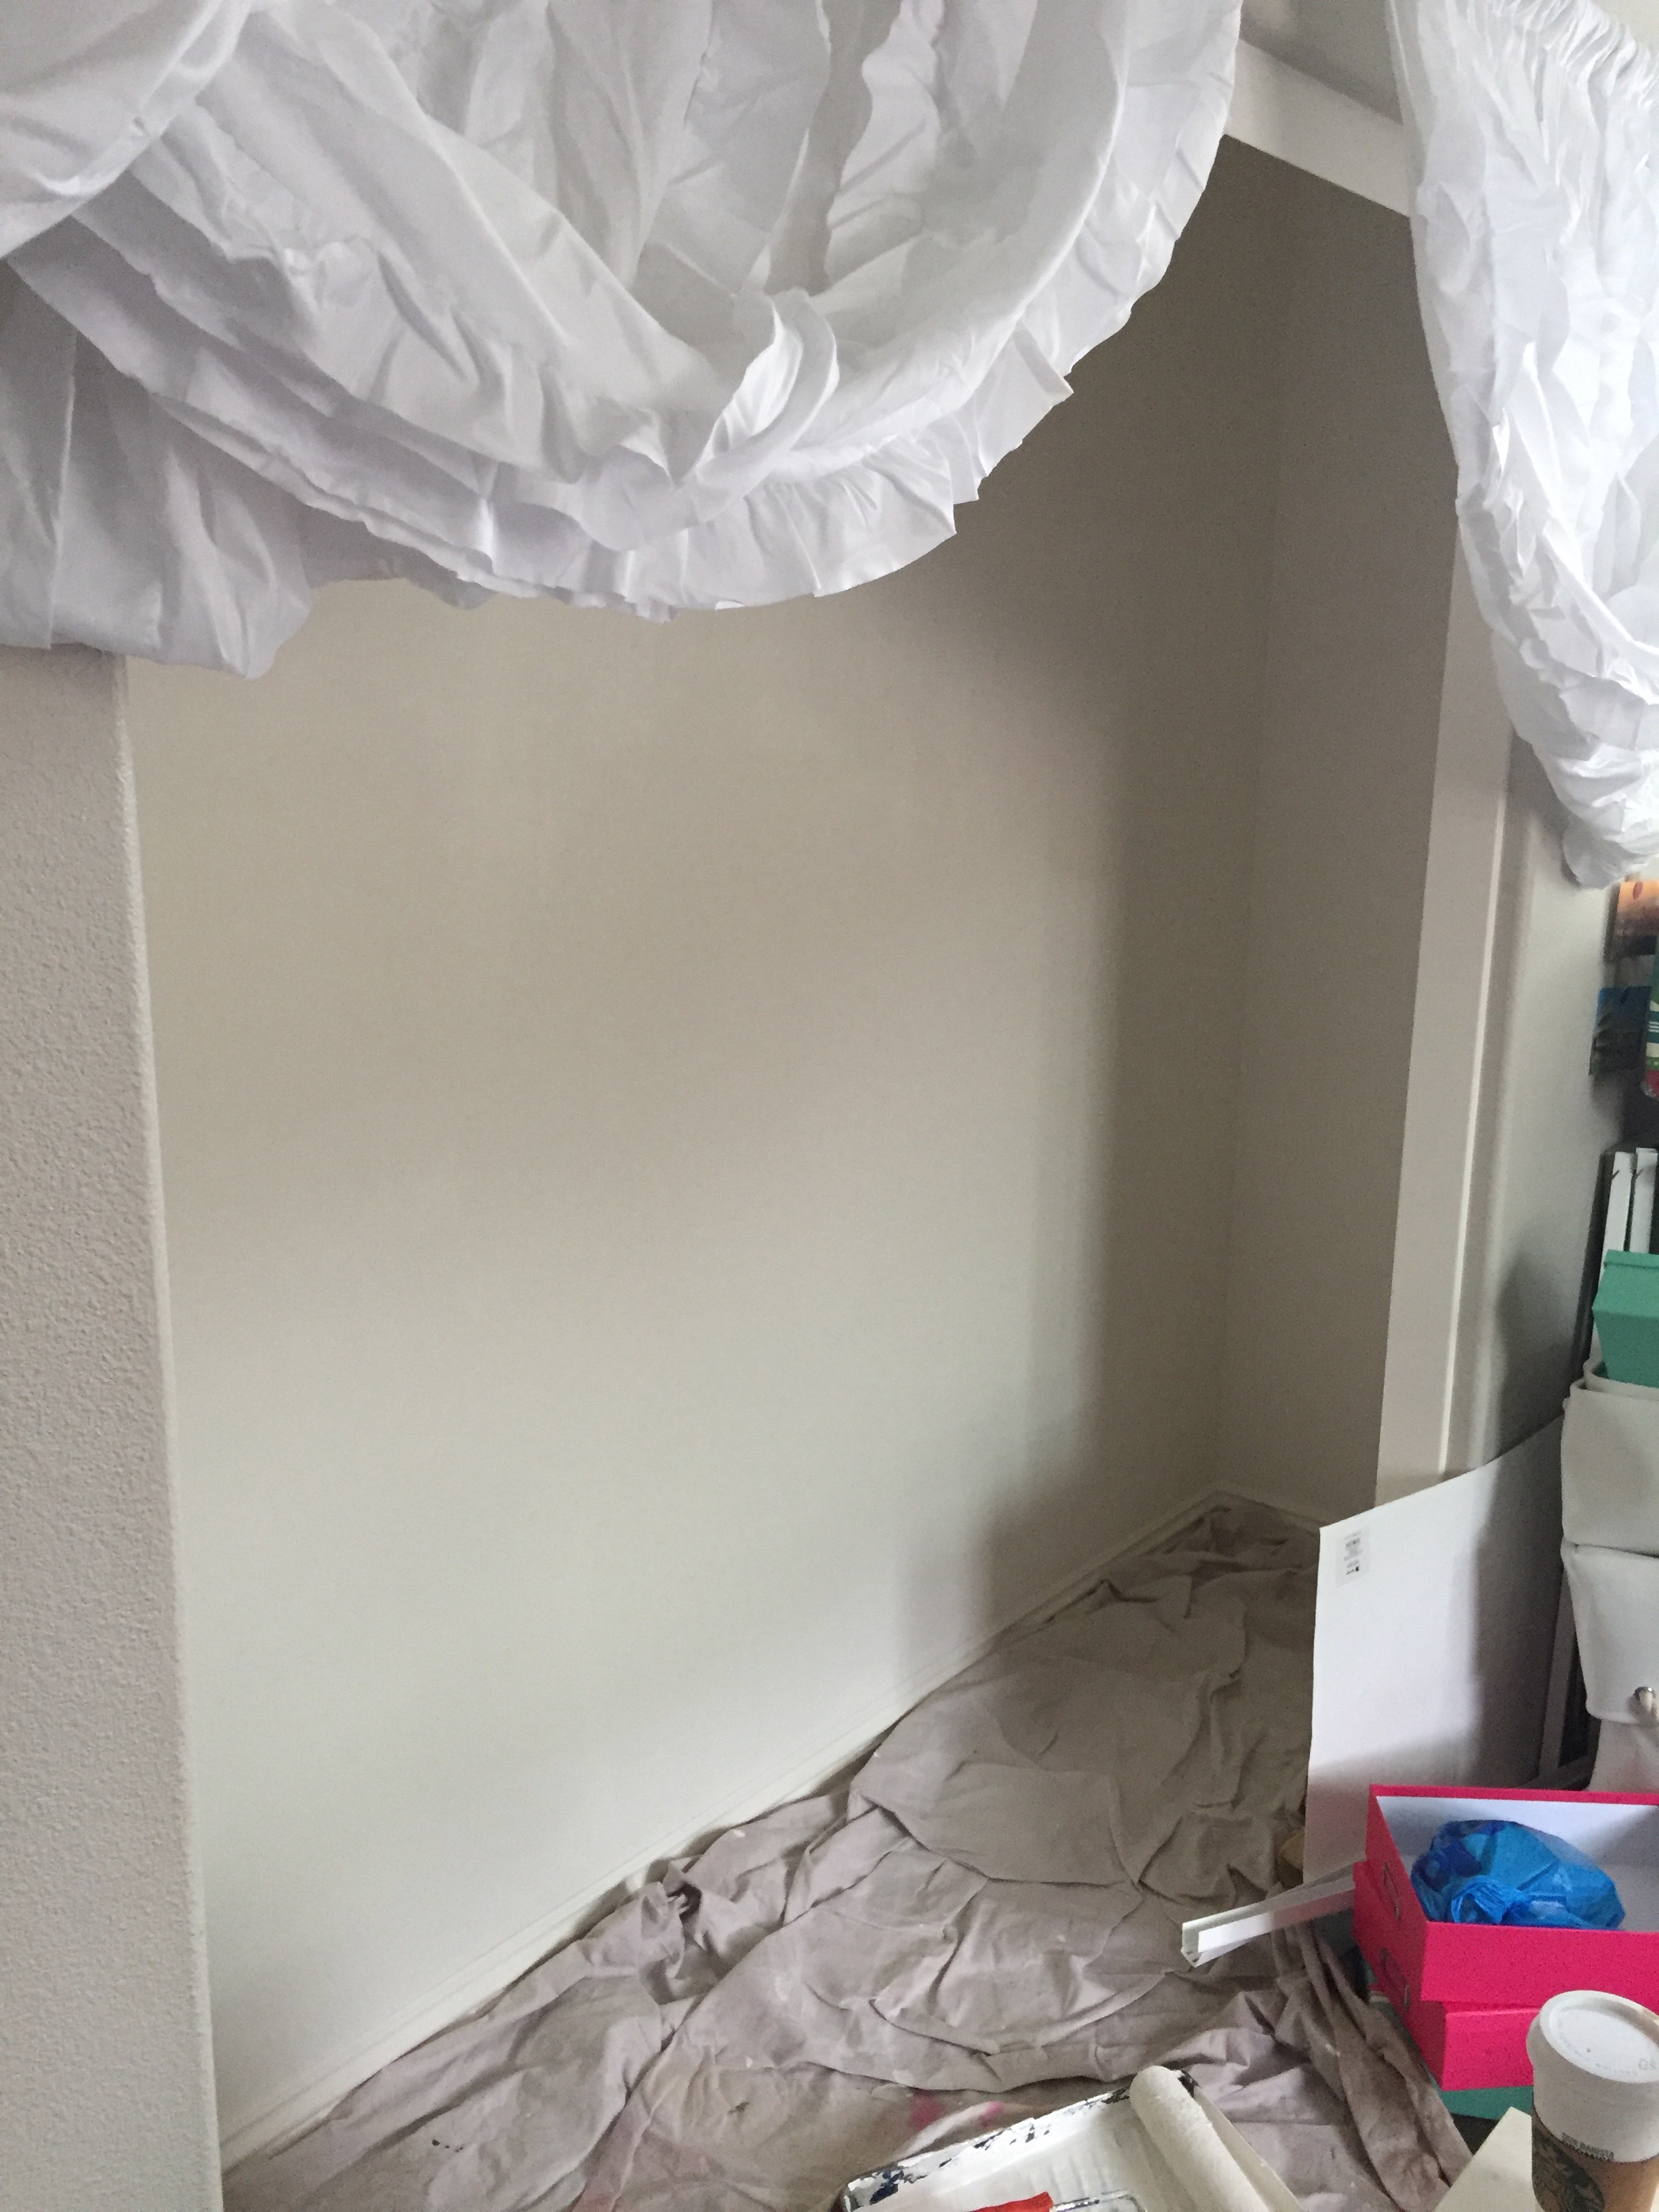
Then we removed the builder (pointless) shelving.

This may have been the hardest part of the whole project, but it was worth it! We were wishing we had just told the builder to keep the closets empty.


We used the Elfa closet system from Container Store – they are so easy to install!
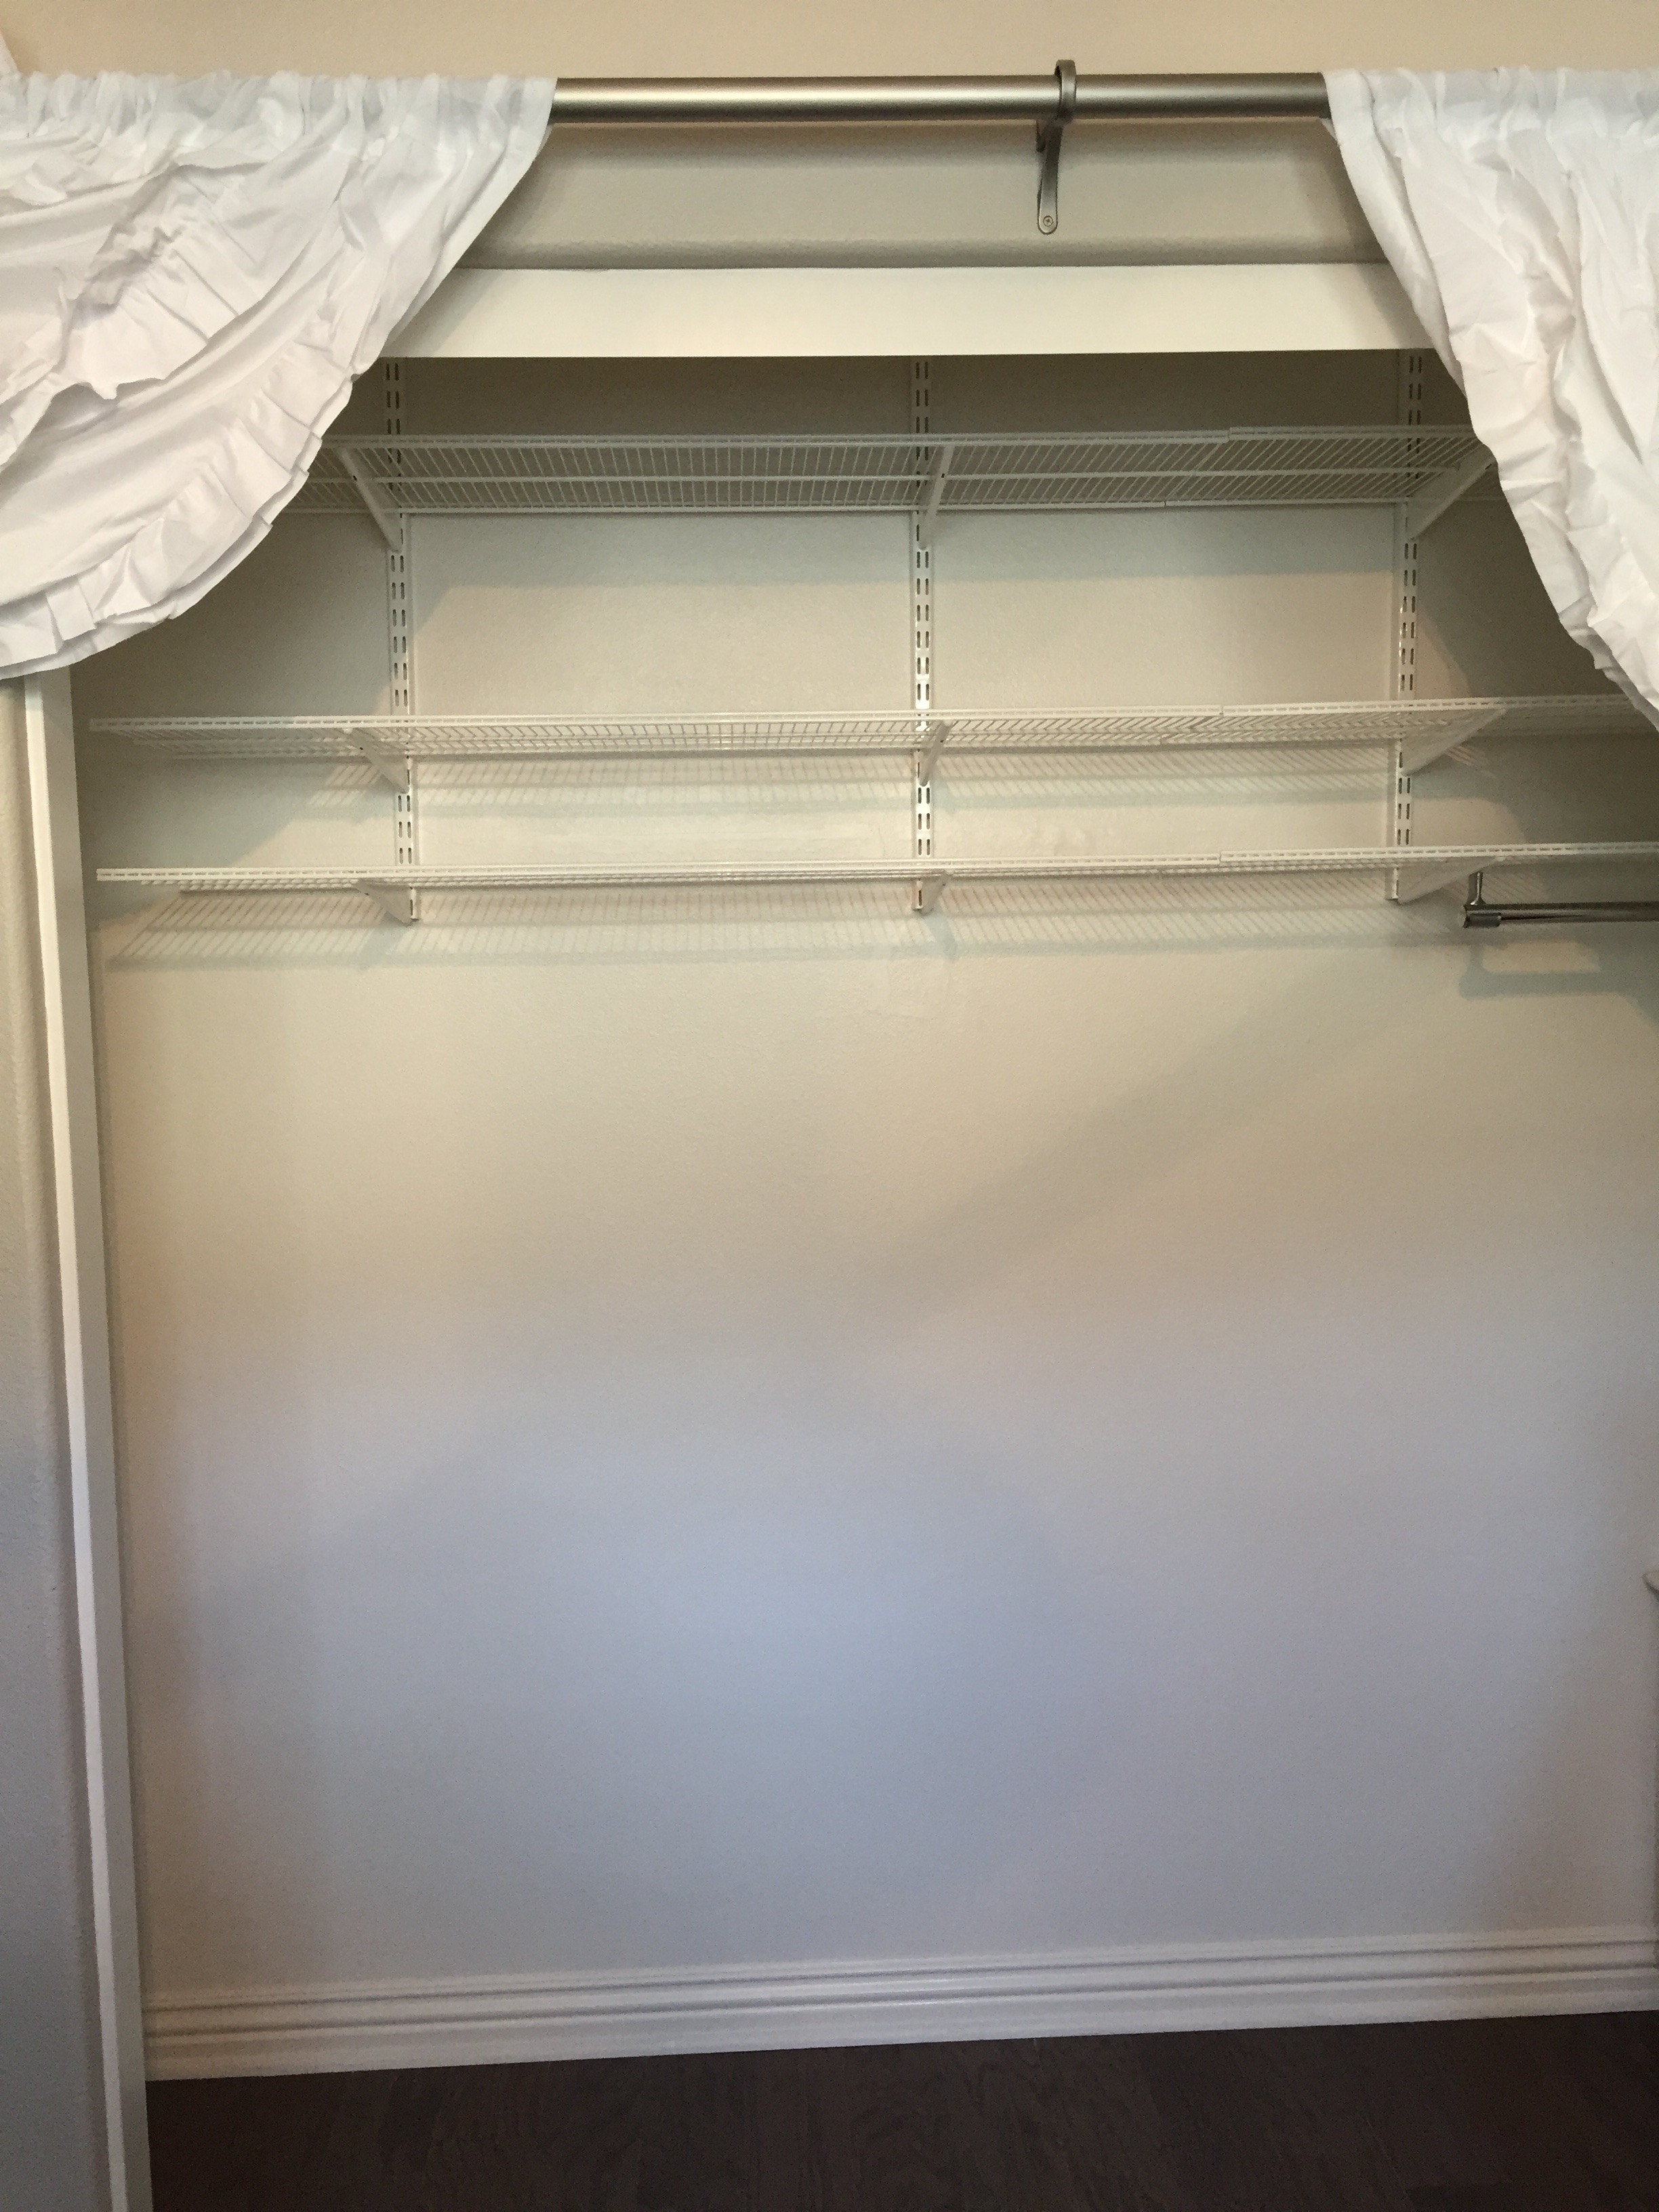
What I love about their system is that you can also install the small hanging rod. We obviously don’t need a full one, but it’s nice to have some hanging space for guests.
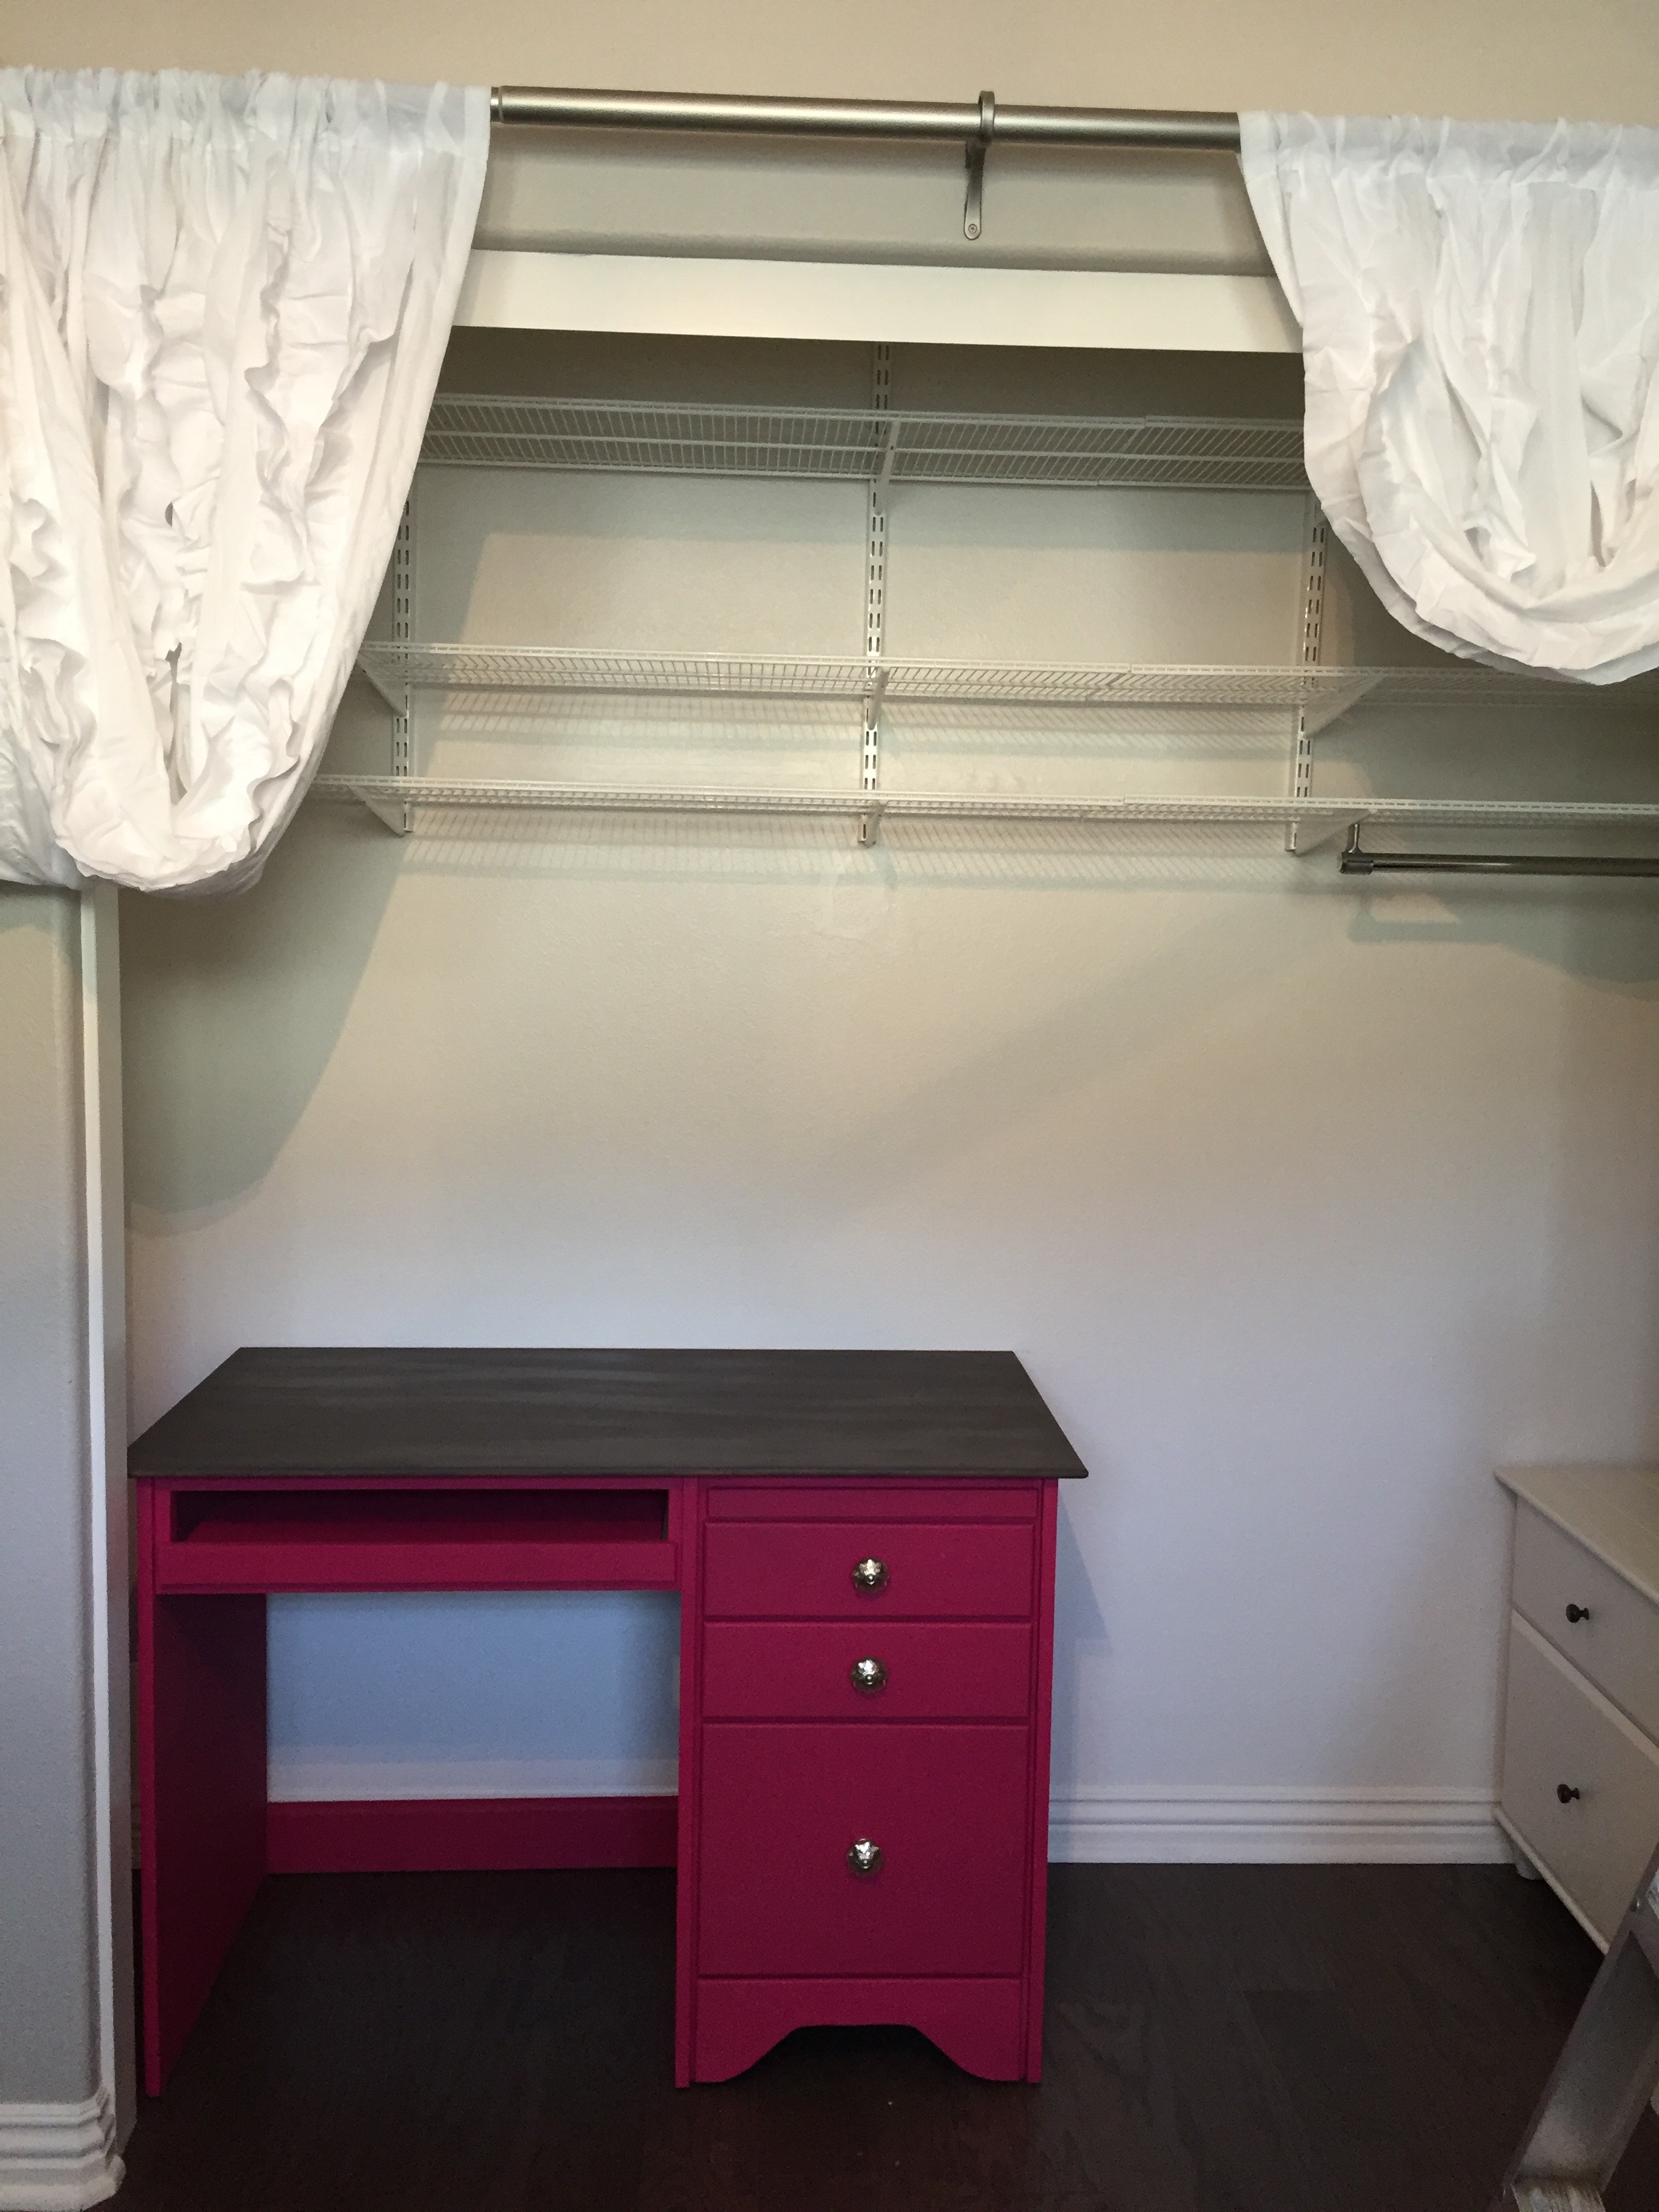
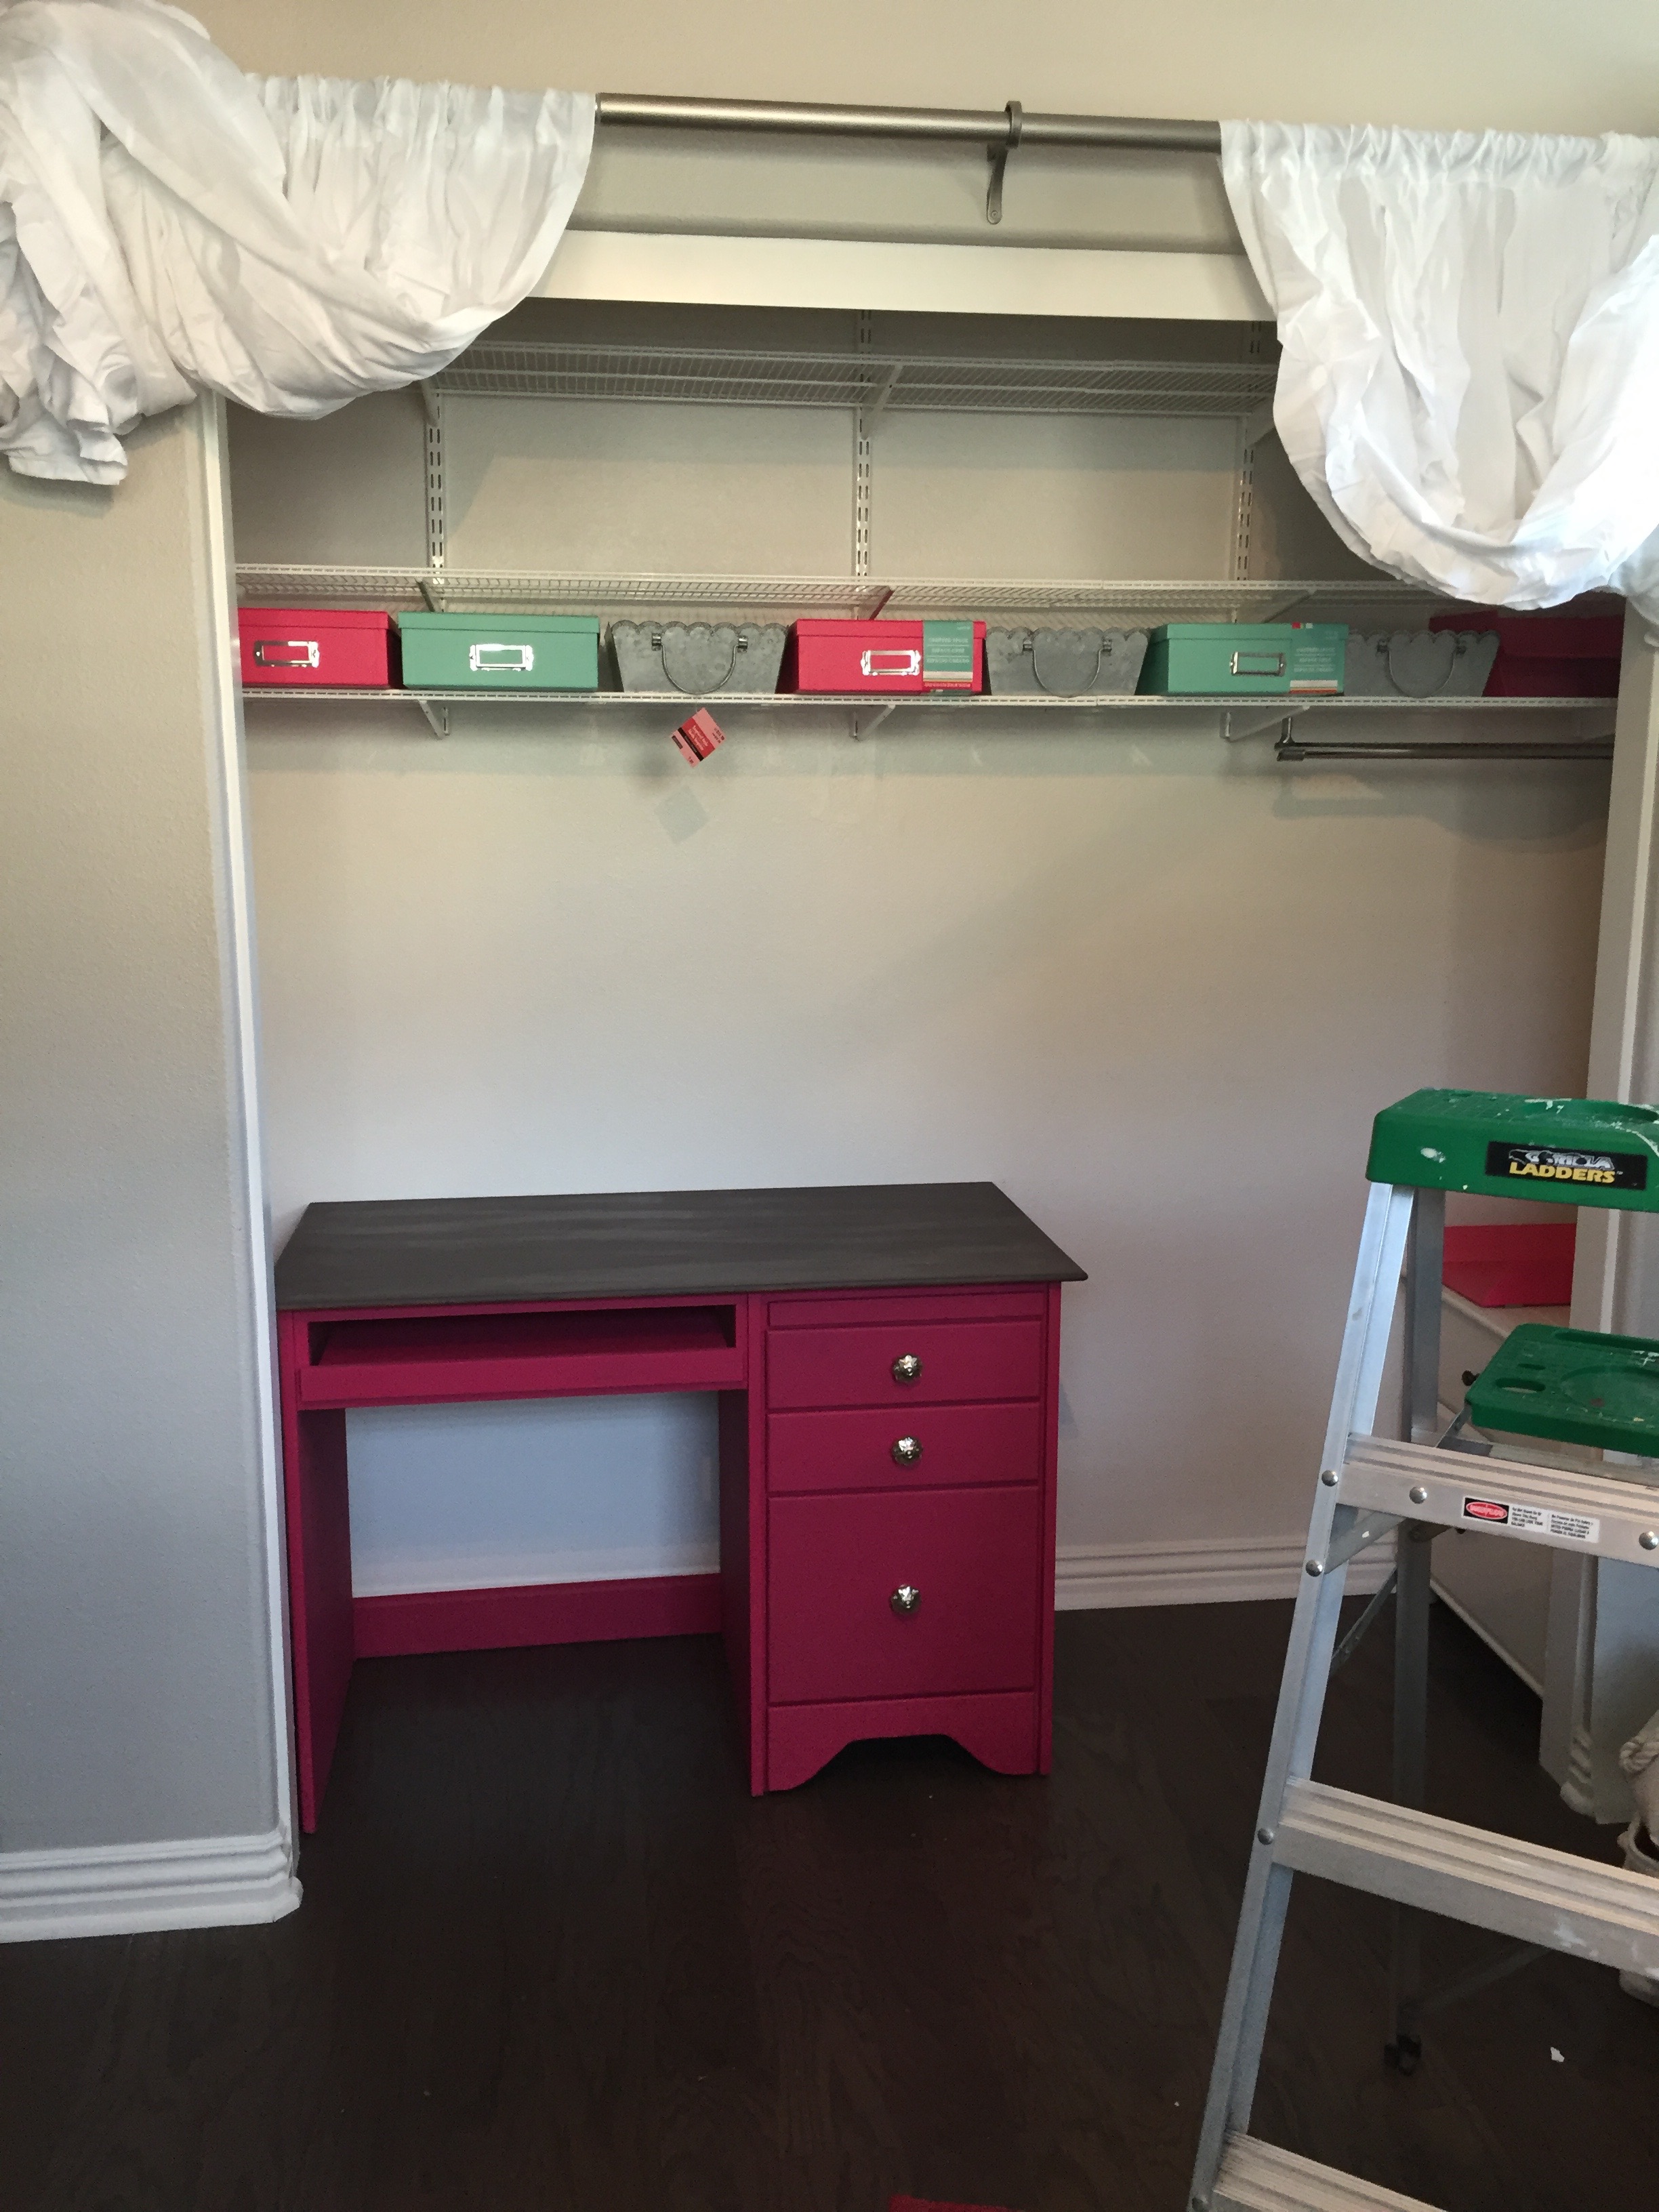
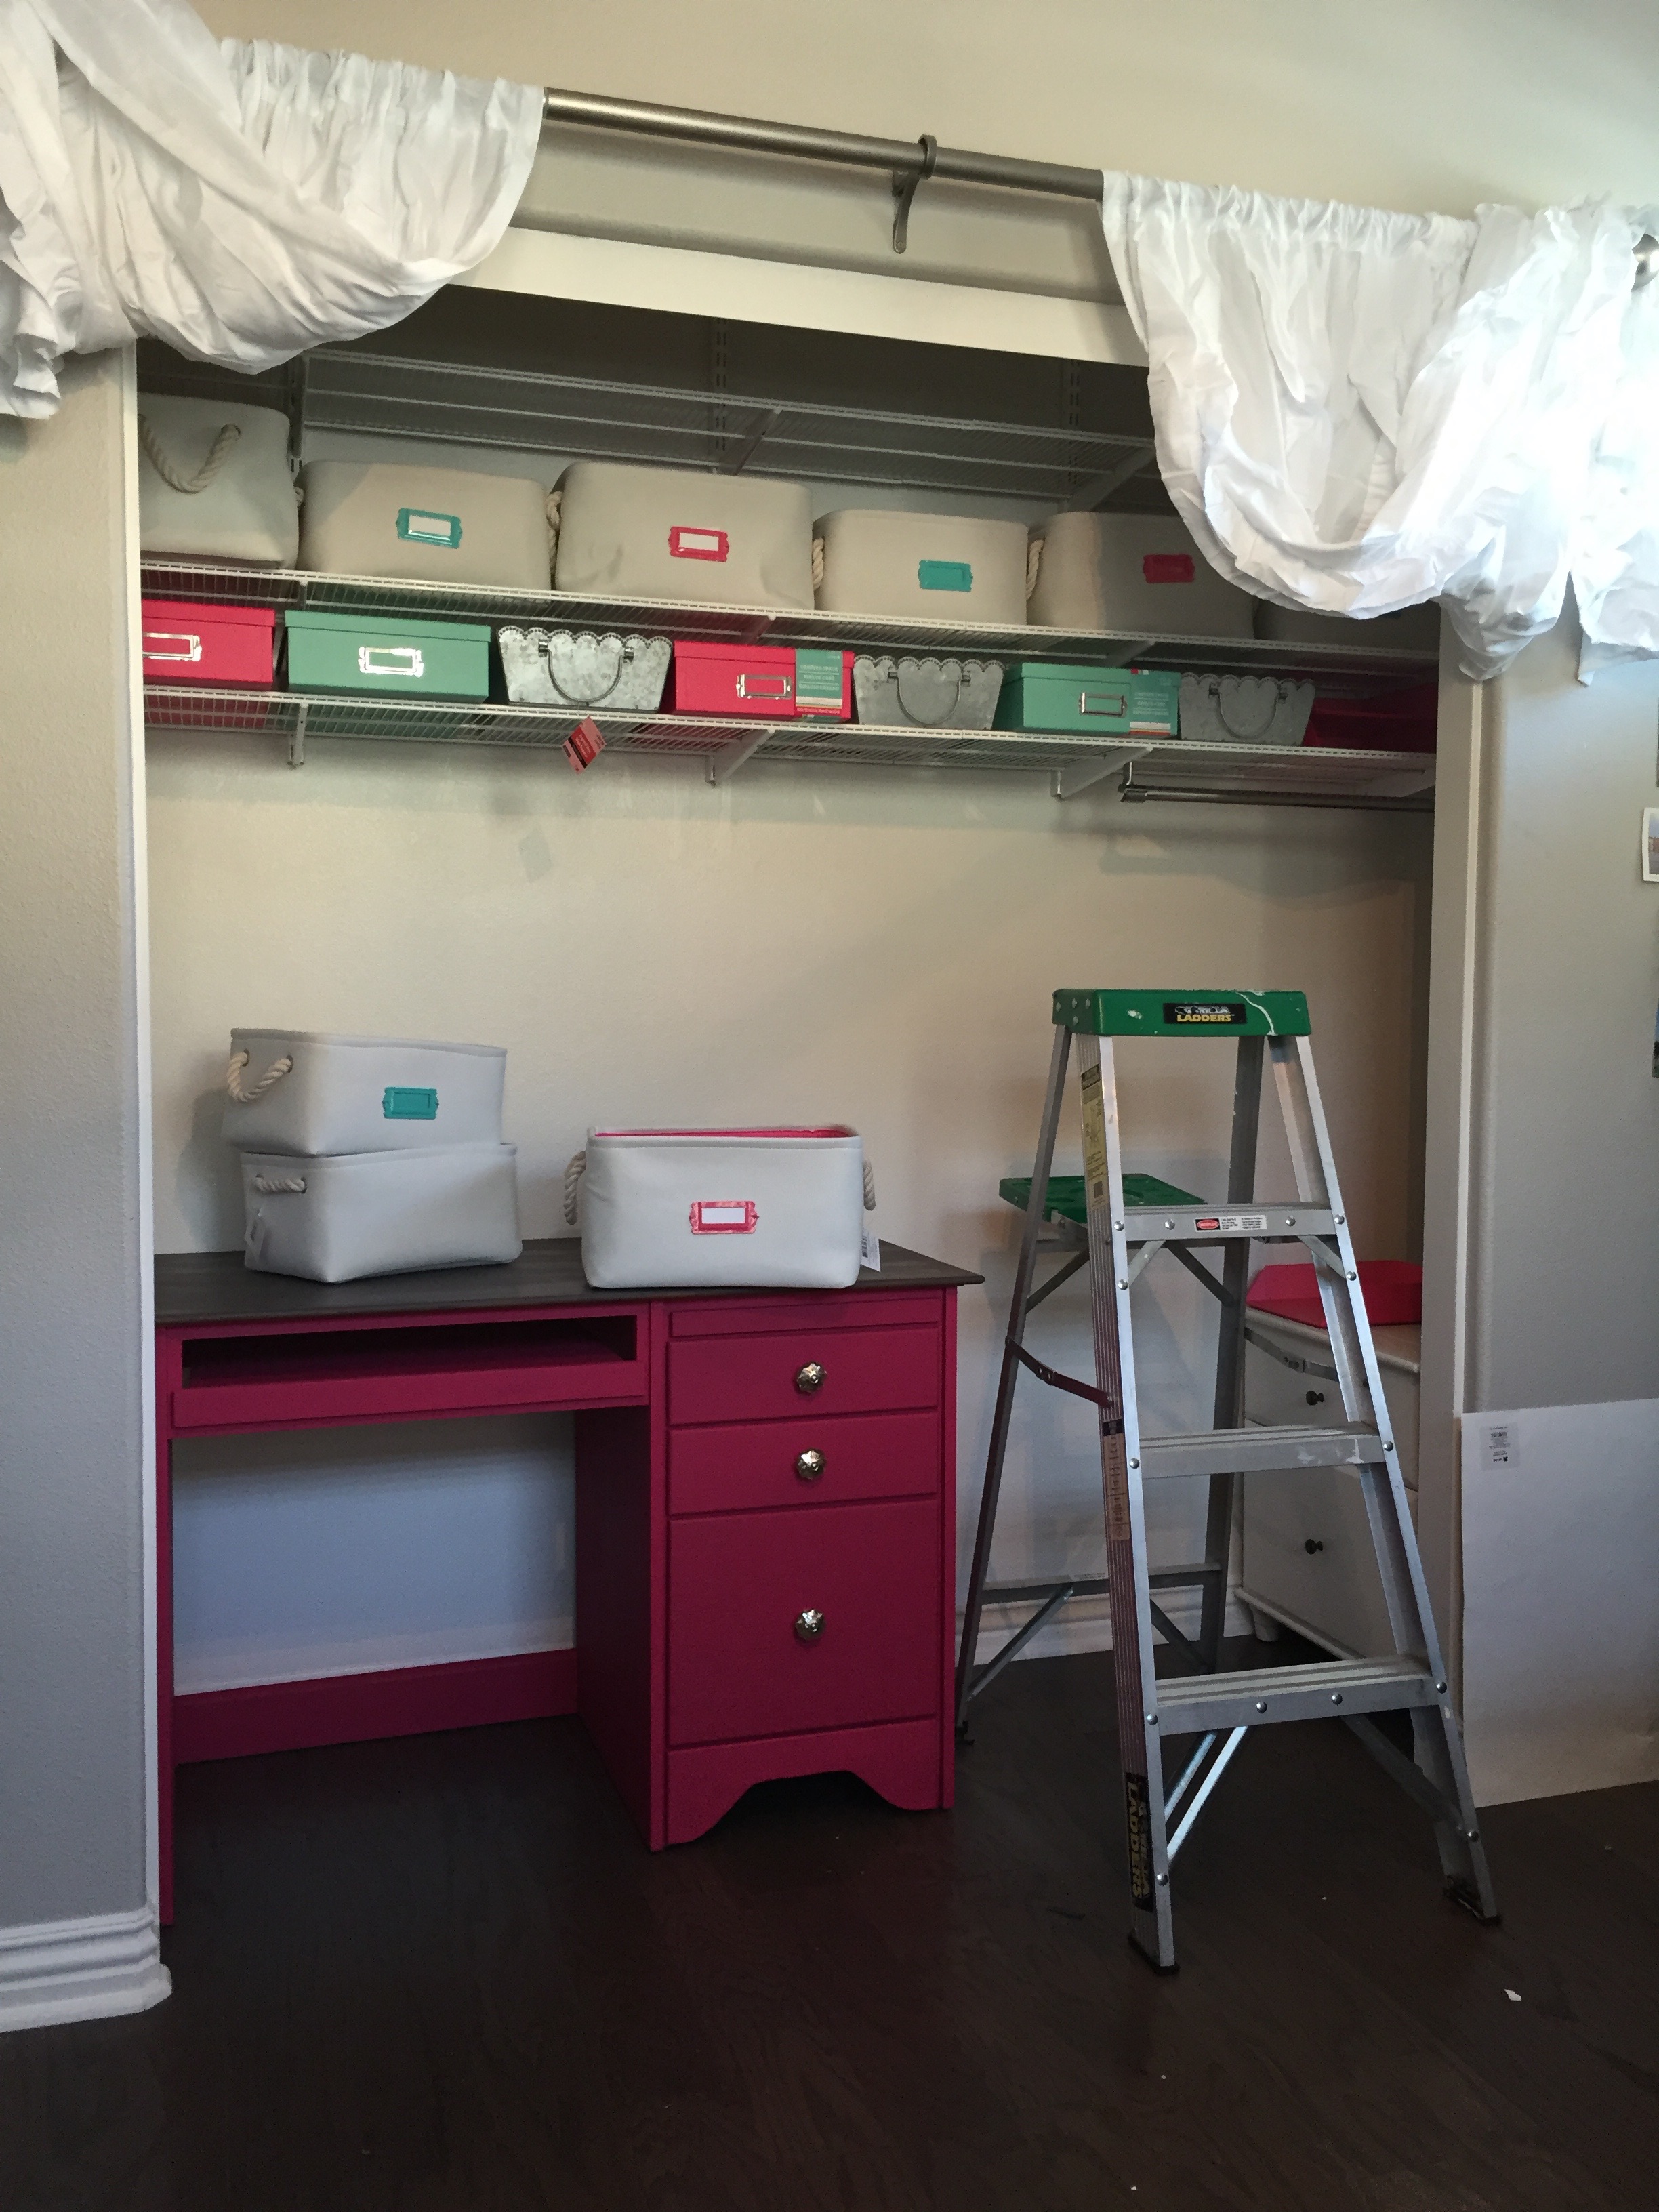
The bins fit perfectly (because we installed the shelves to match them, ha!).
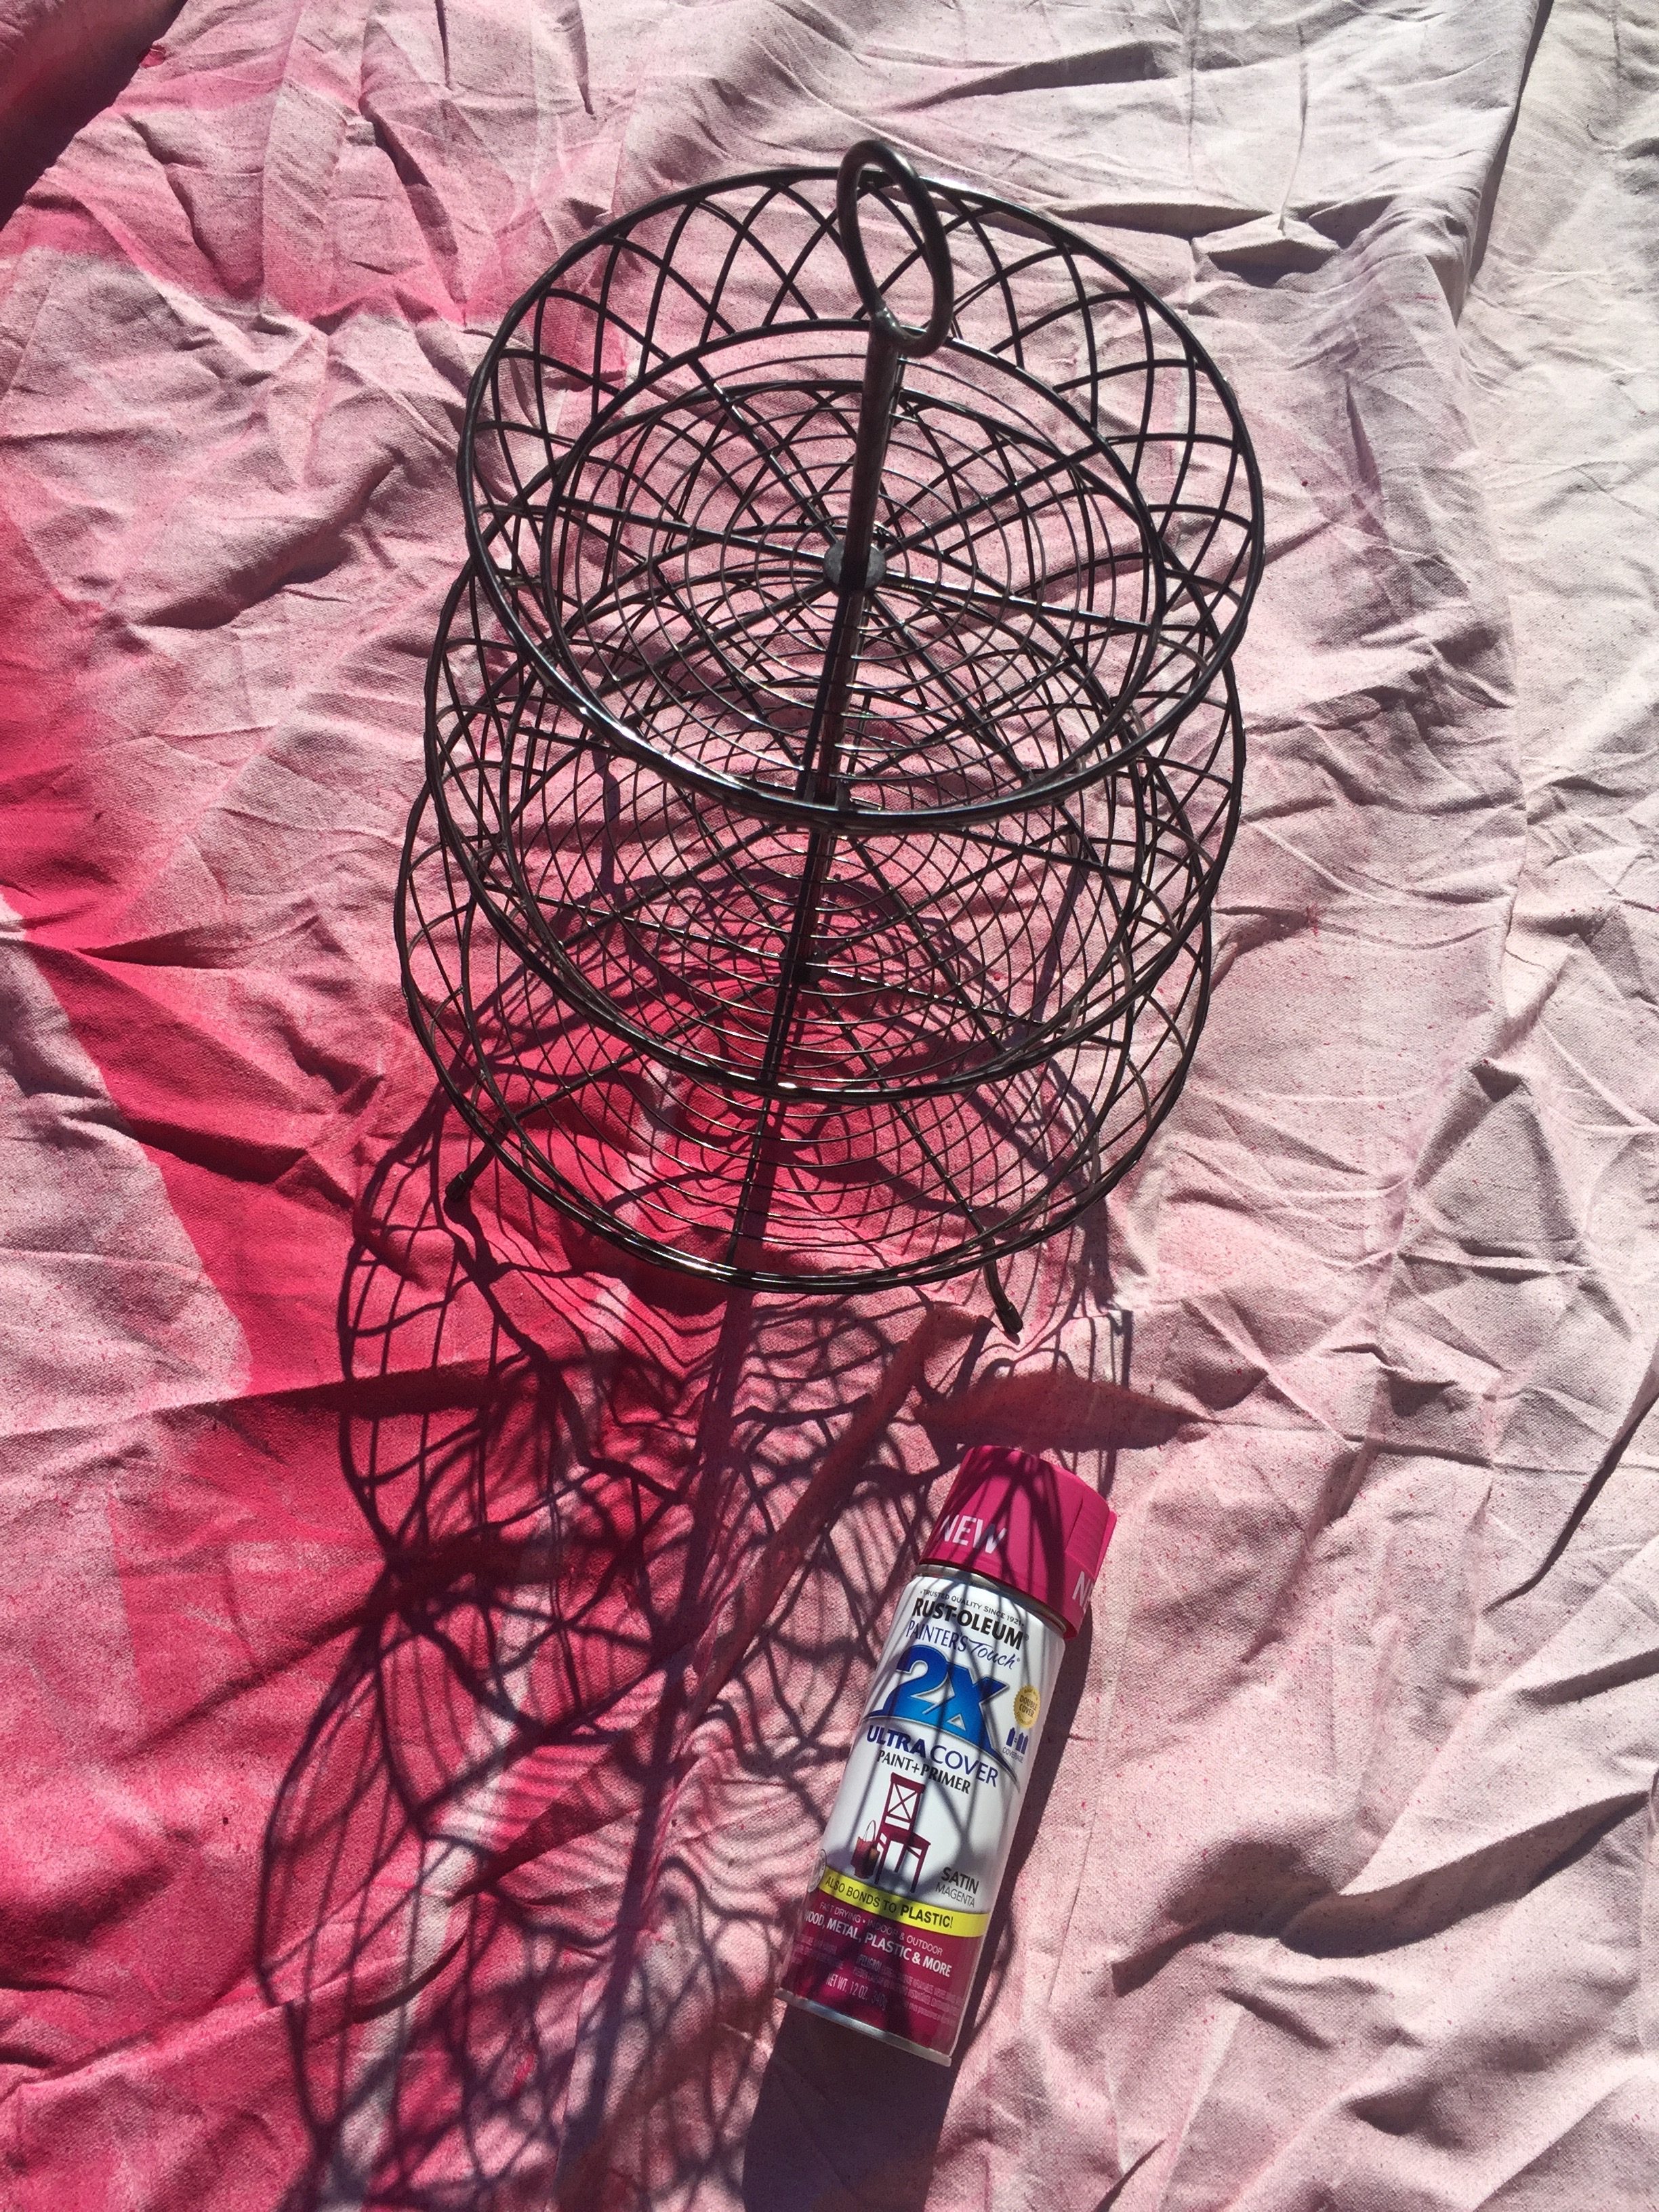
Then it was time for painting the pegboard. And while I was at it, I sprayed one of my trays.
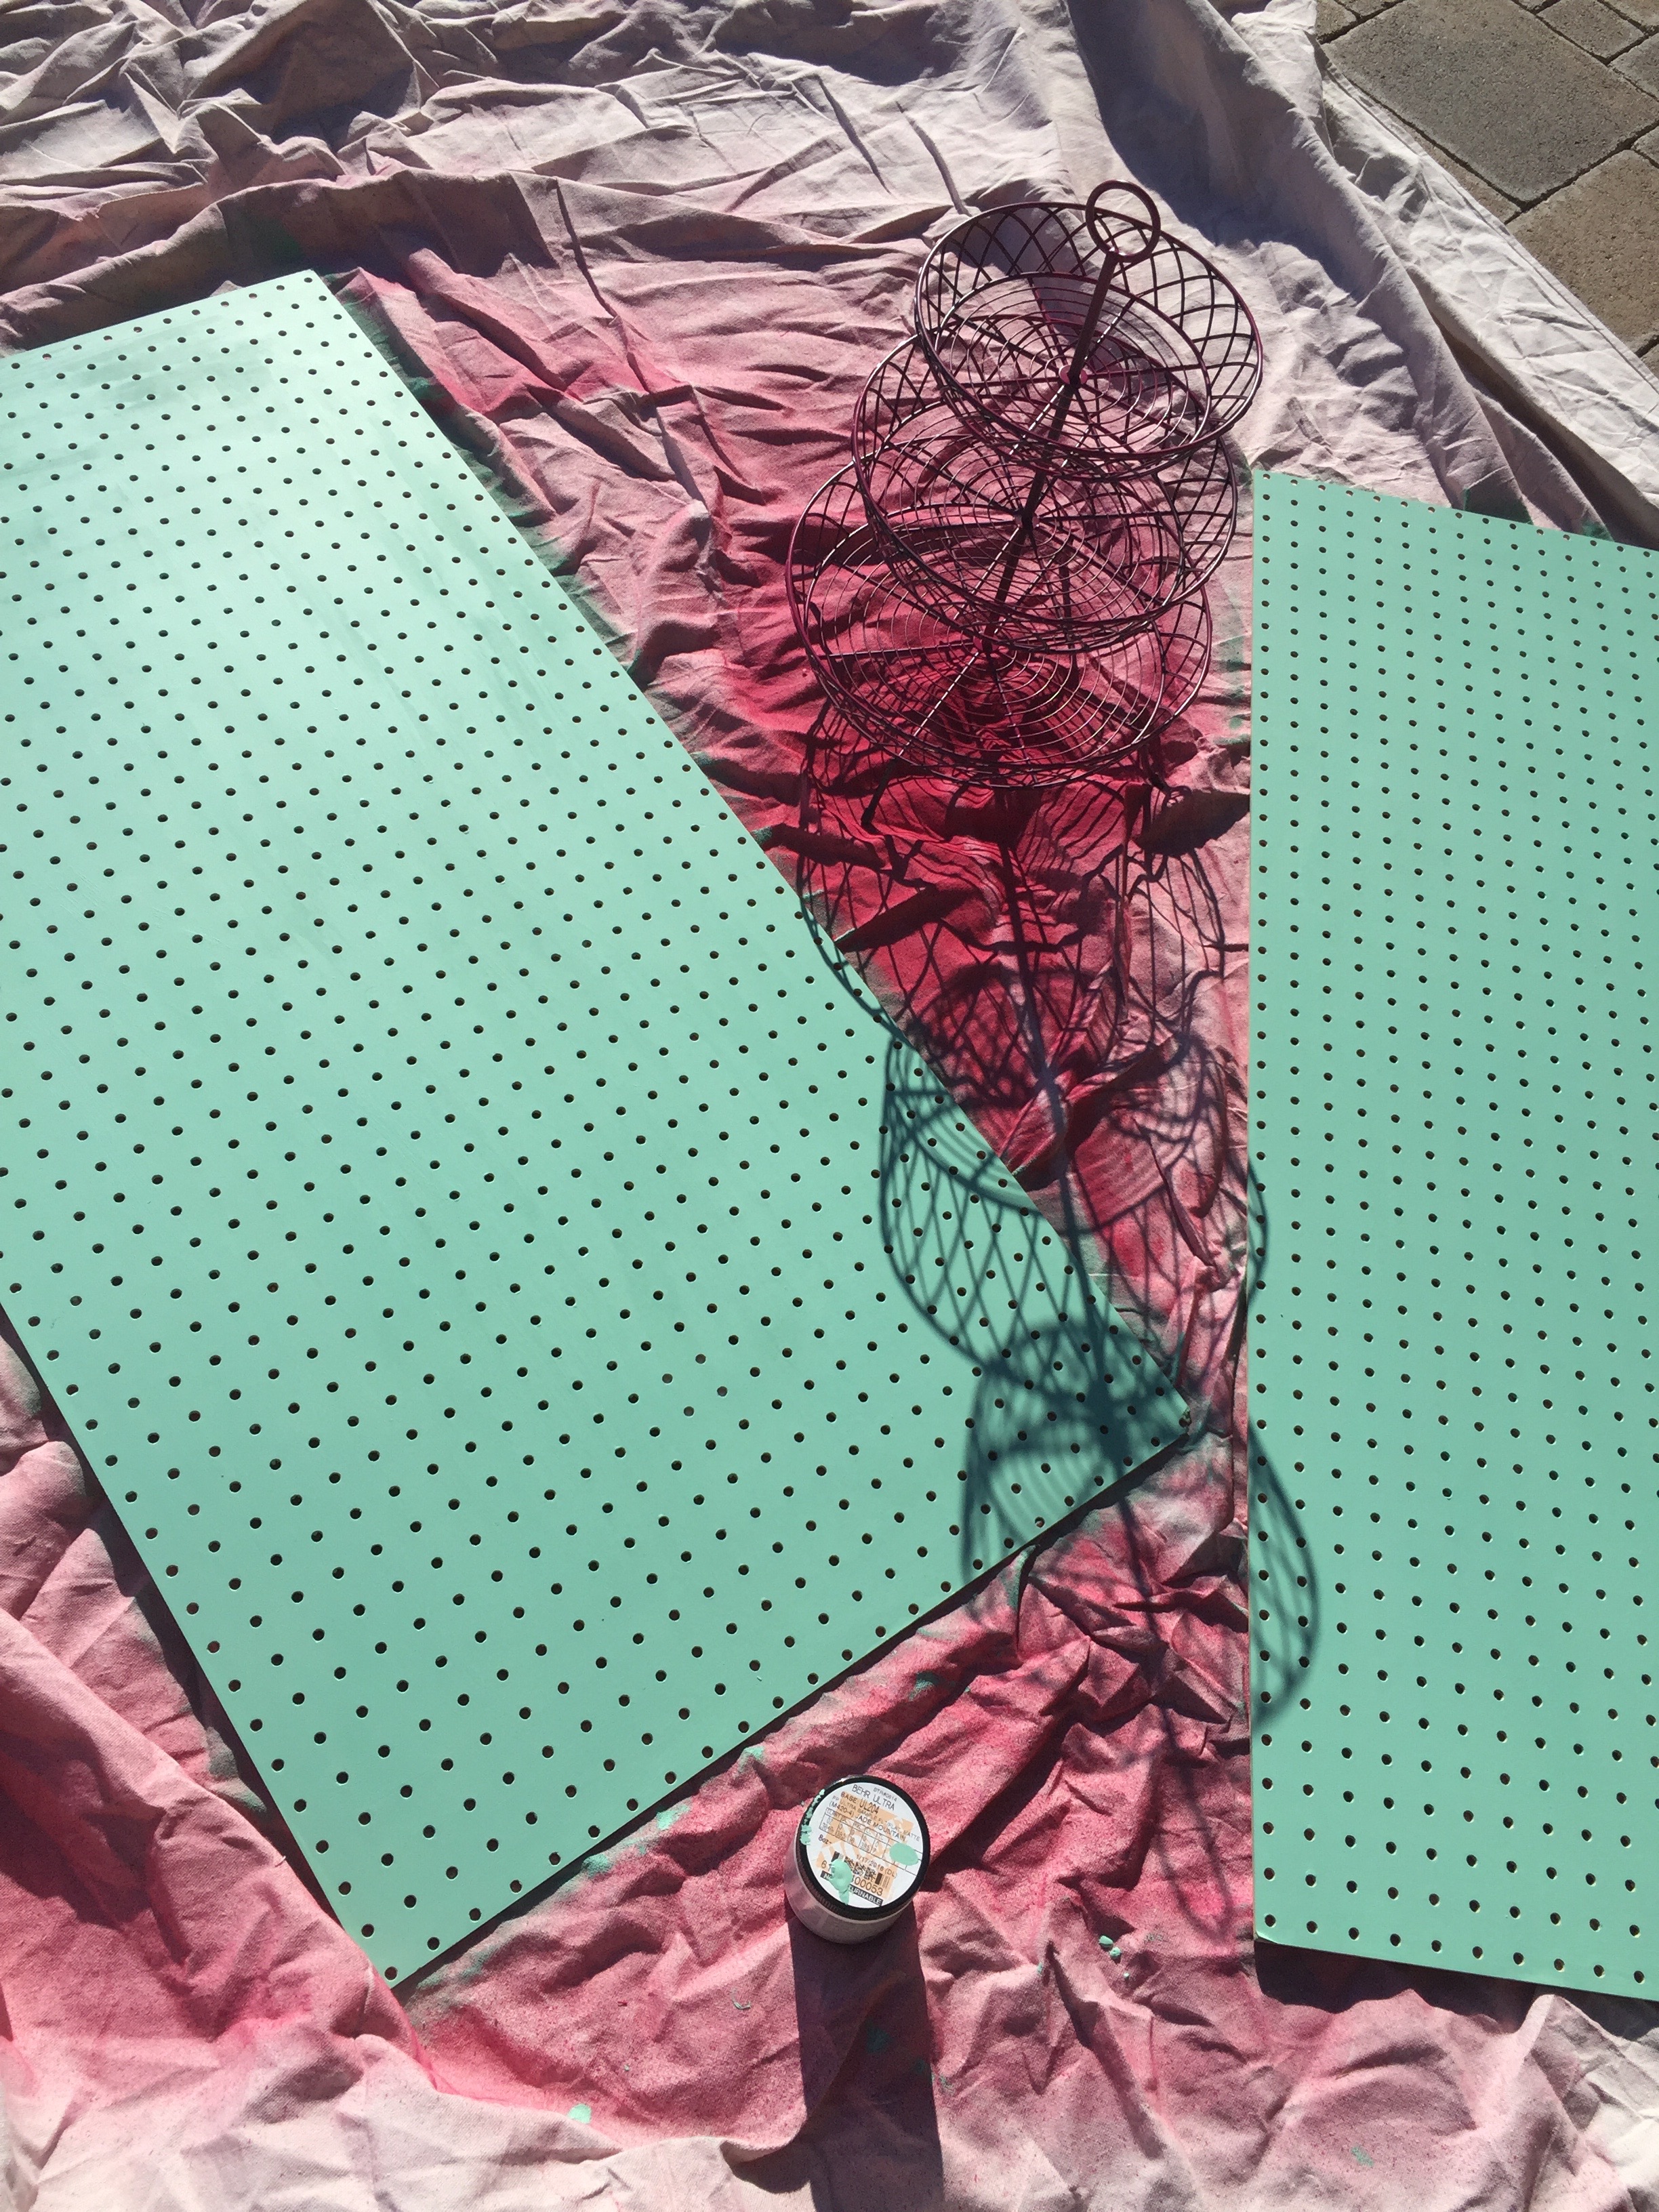
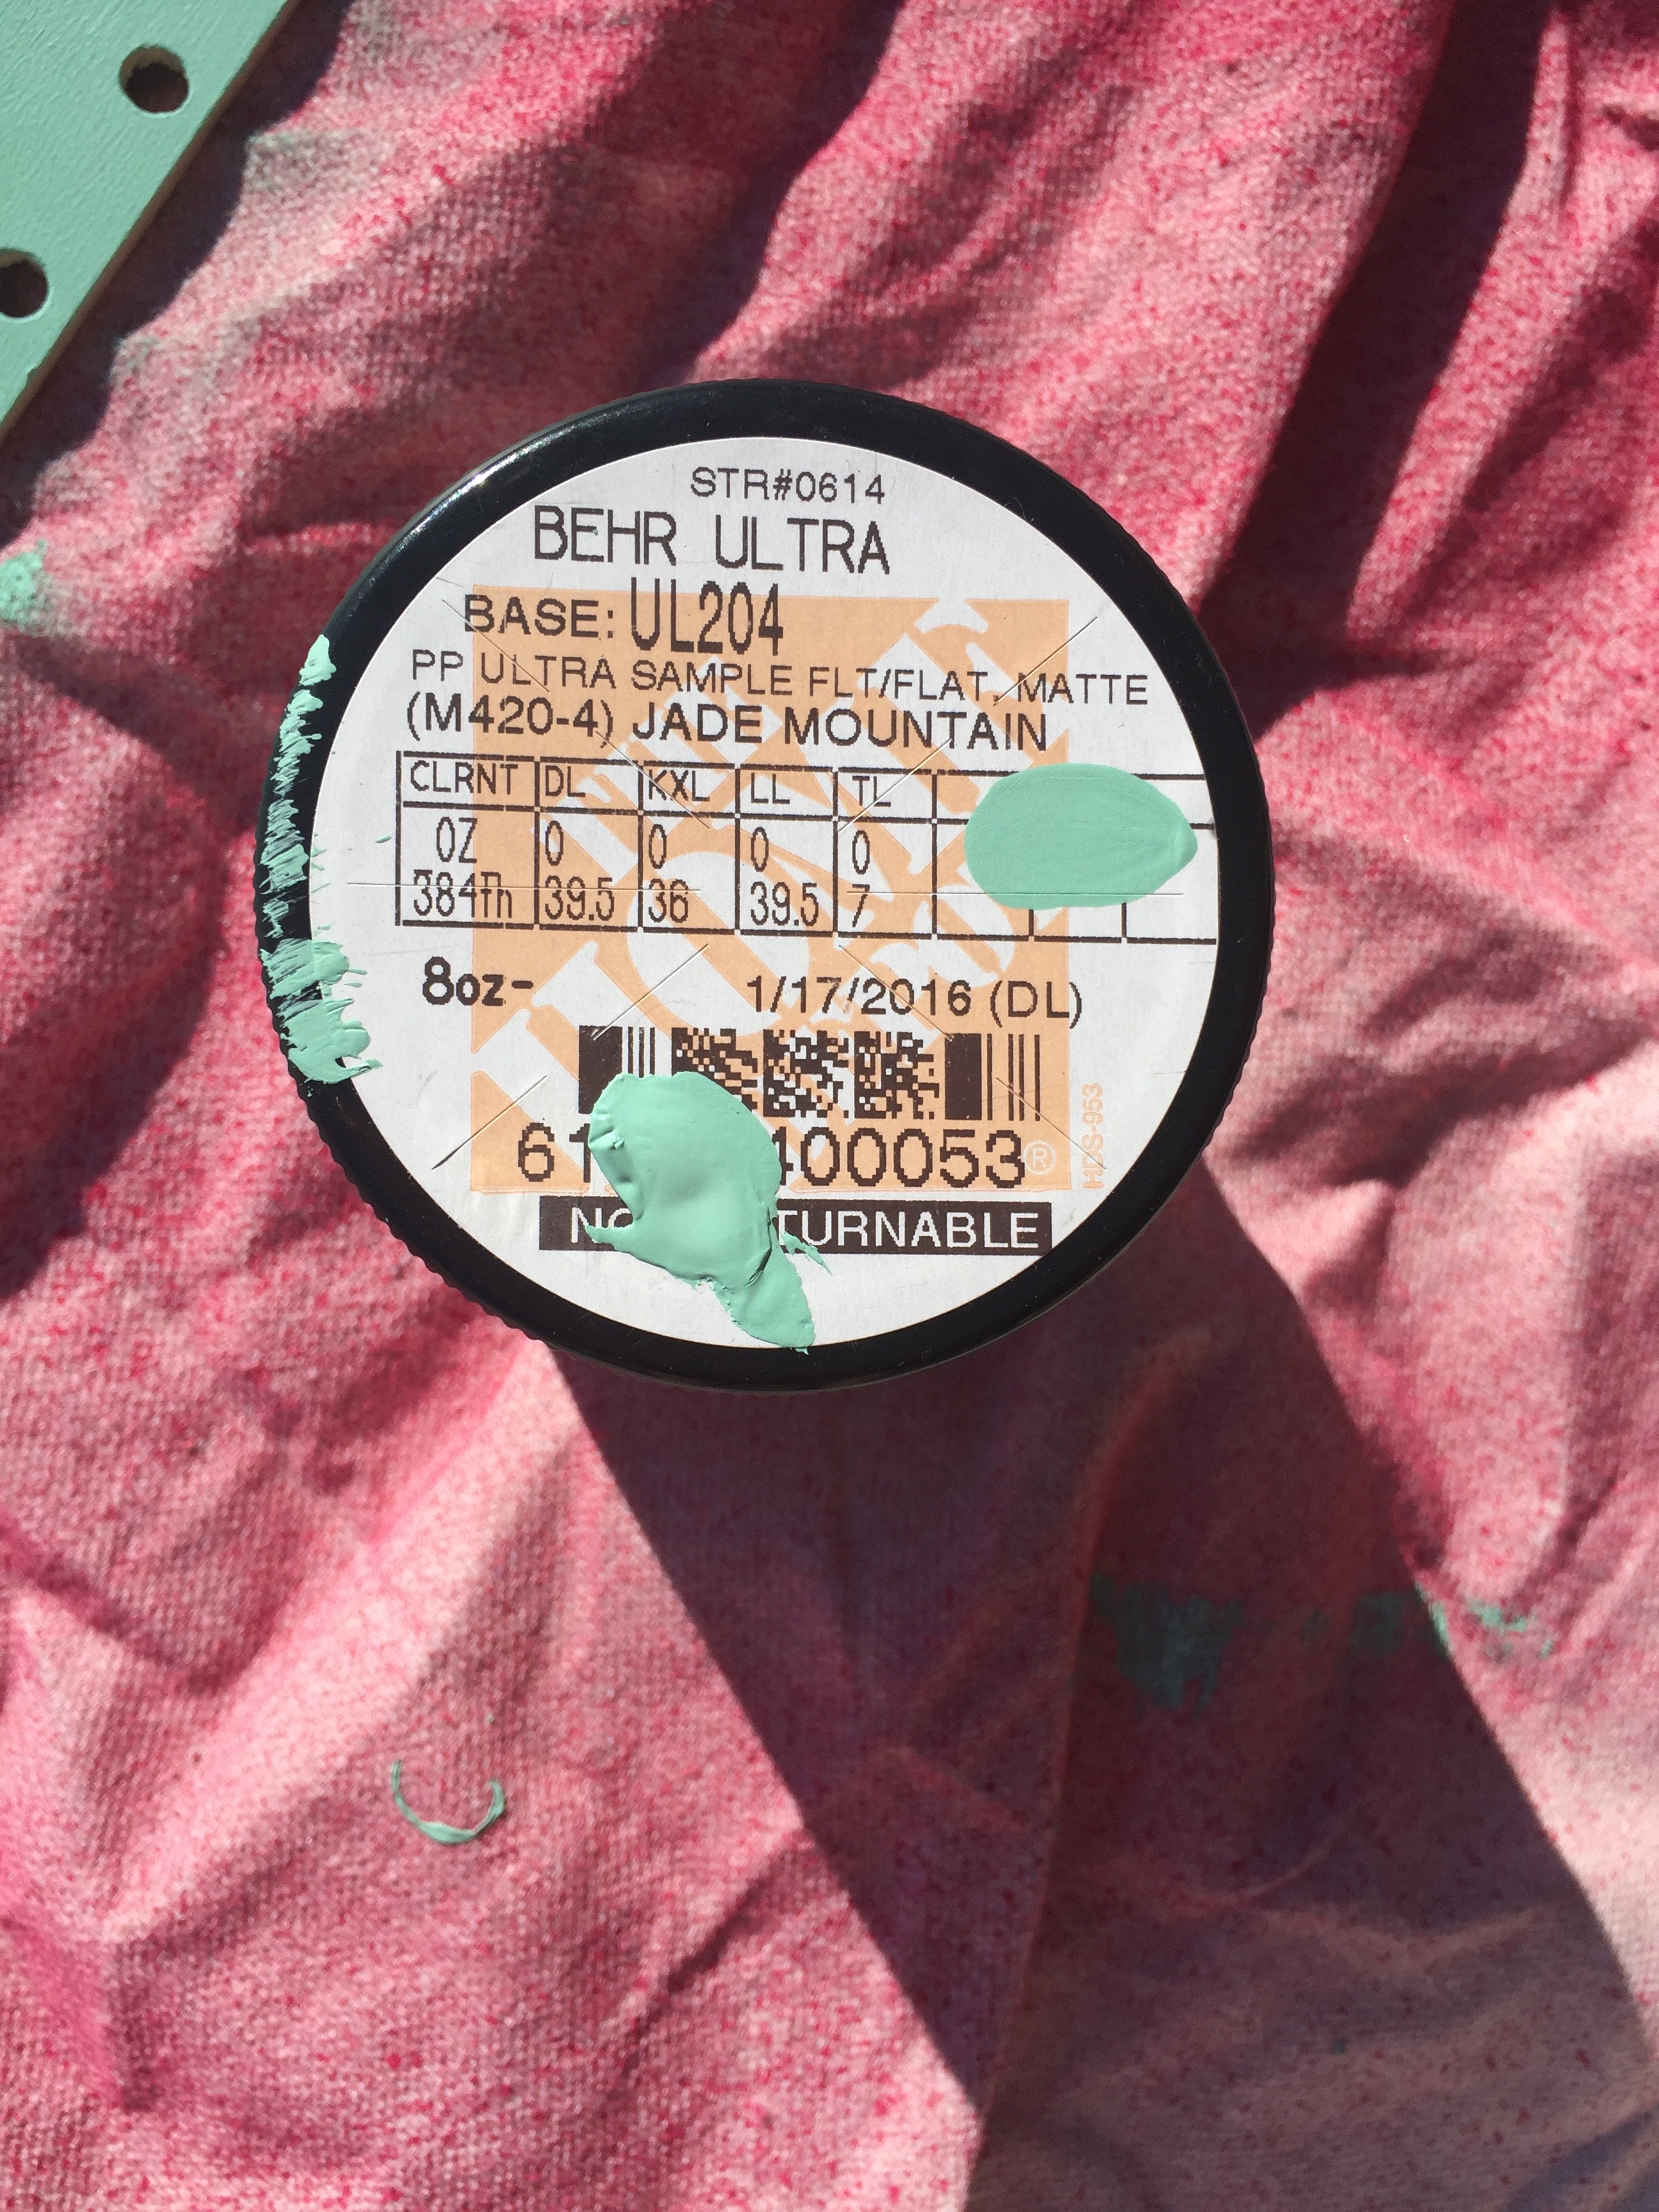
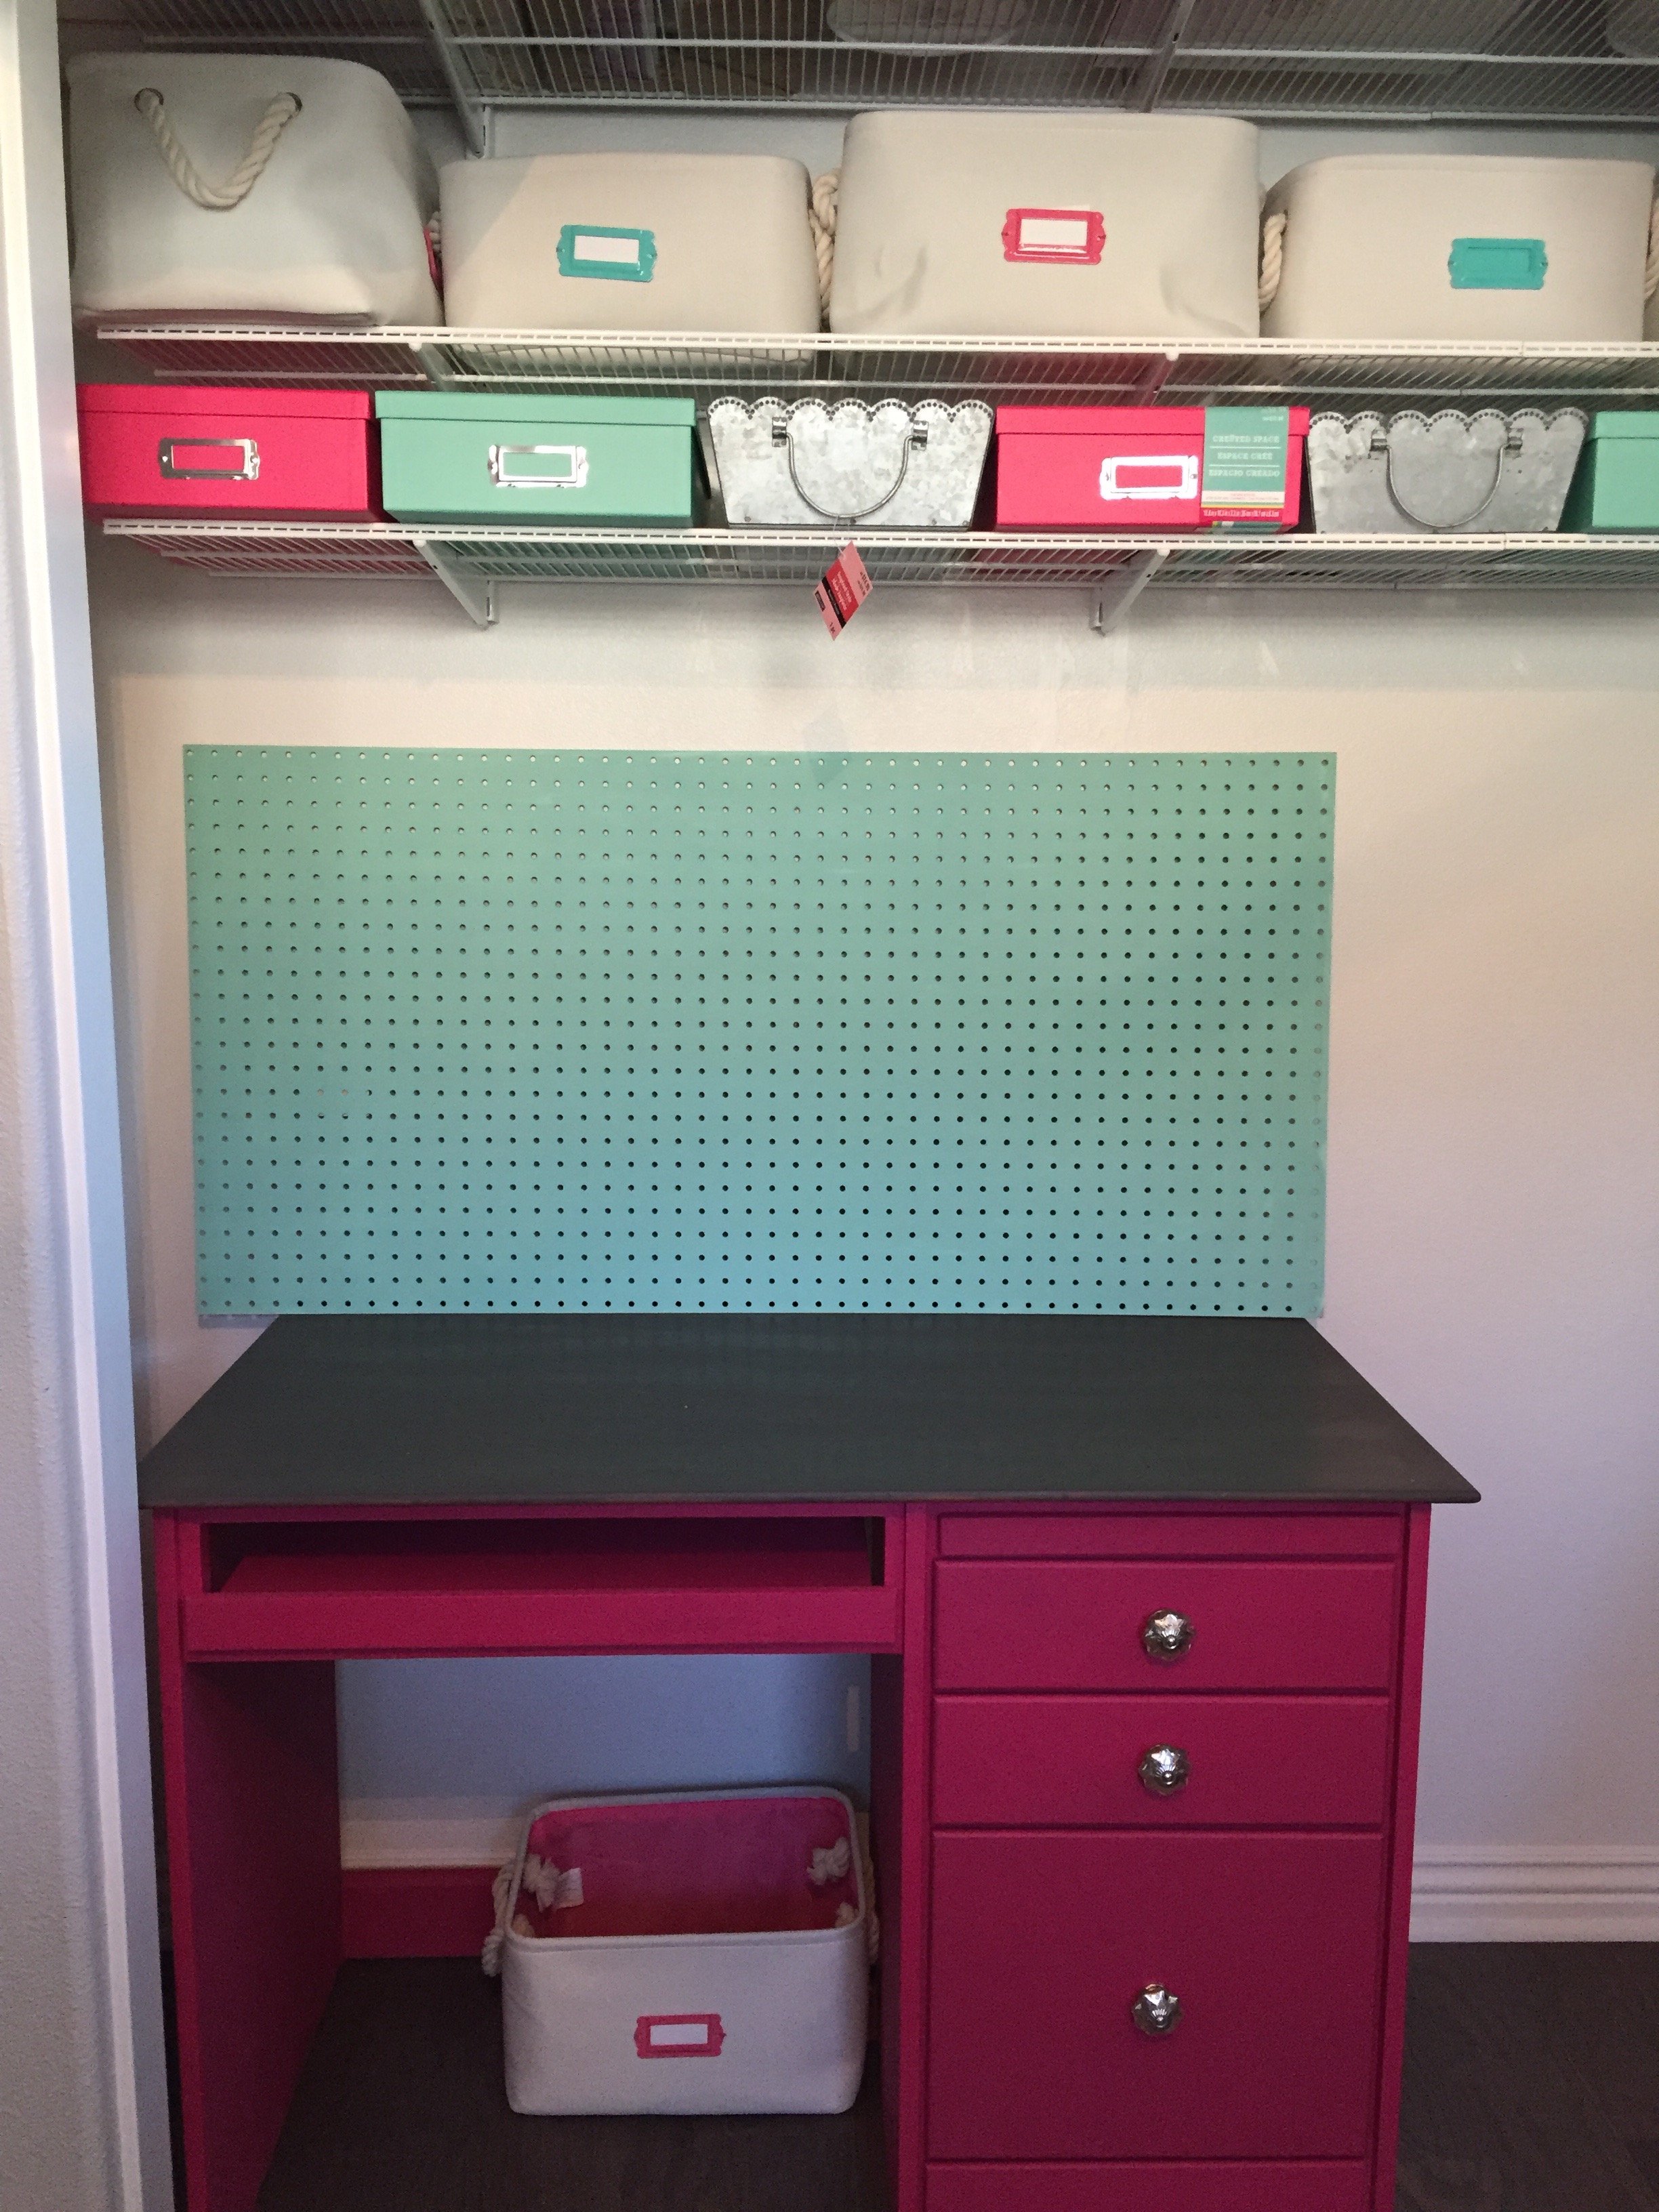
Once it was painted, I made sure I liked the look with the rest of the space.
This is what we used to mount the pegboard.

Along with these screws.

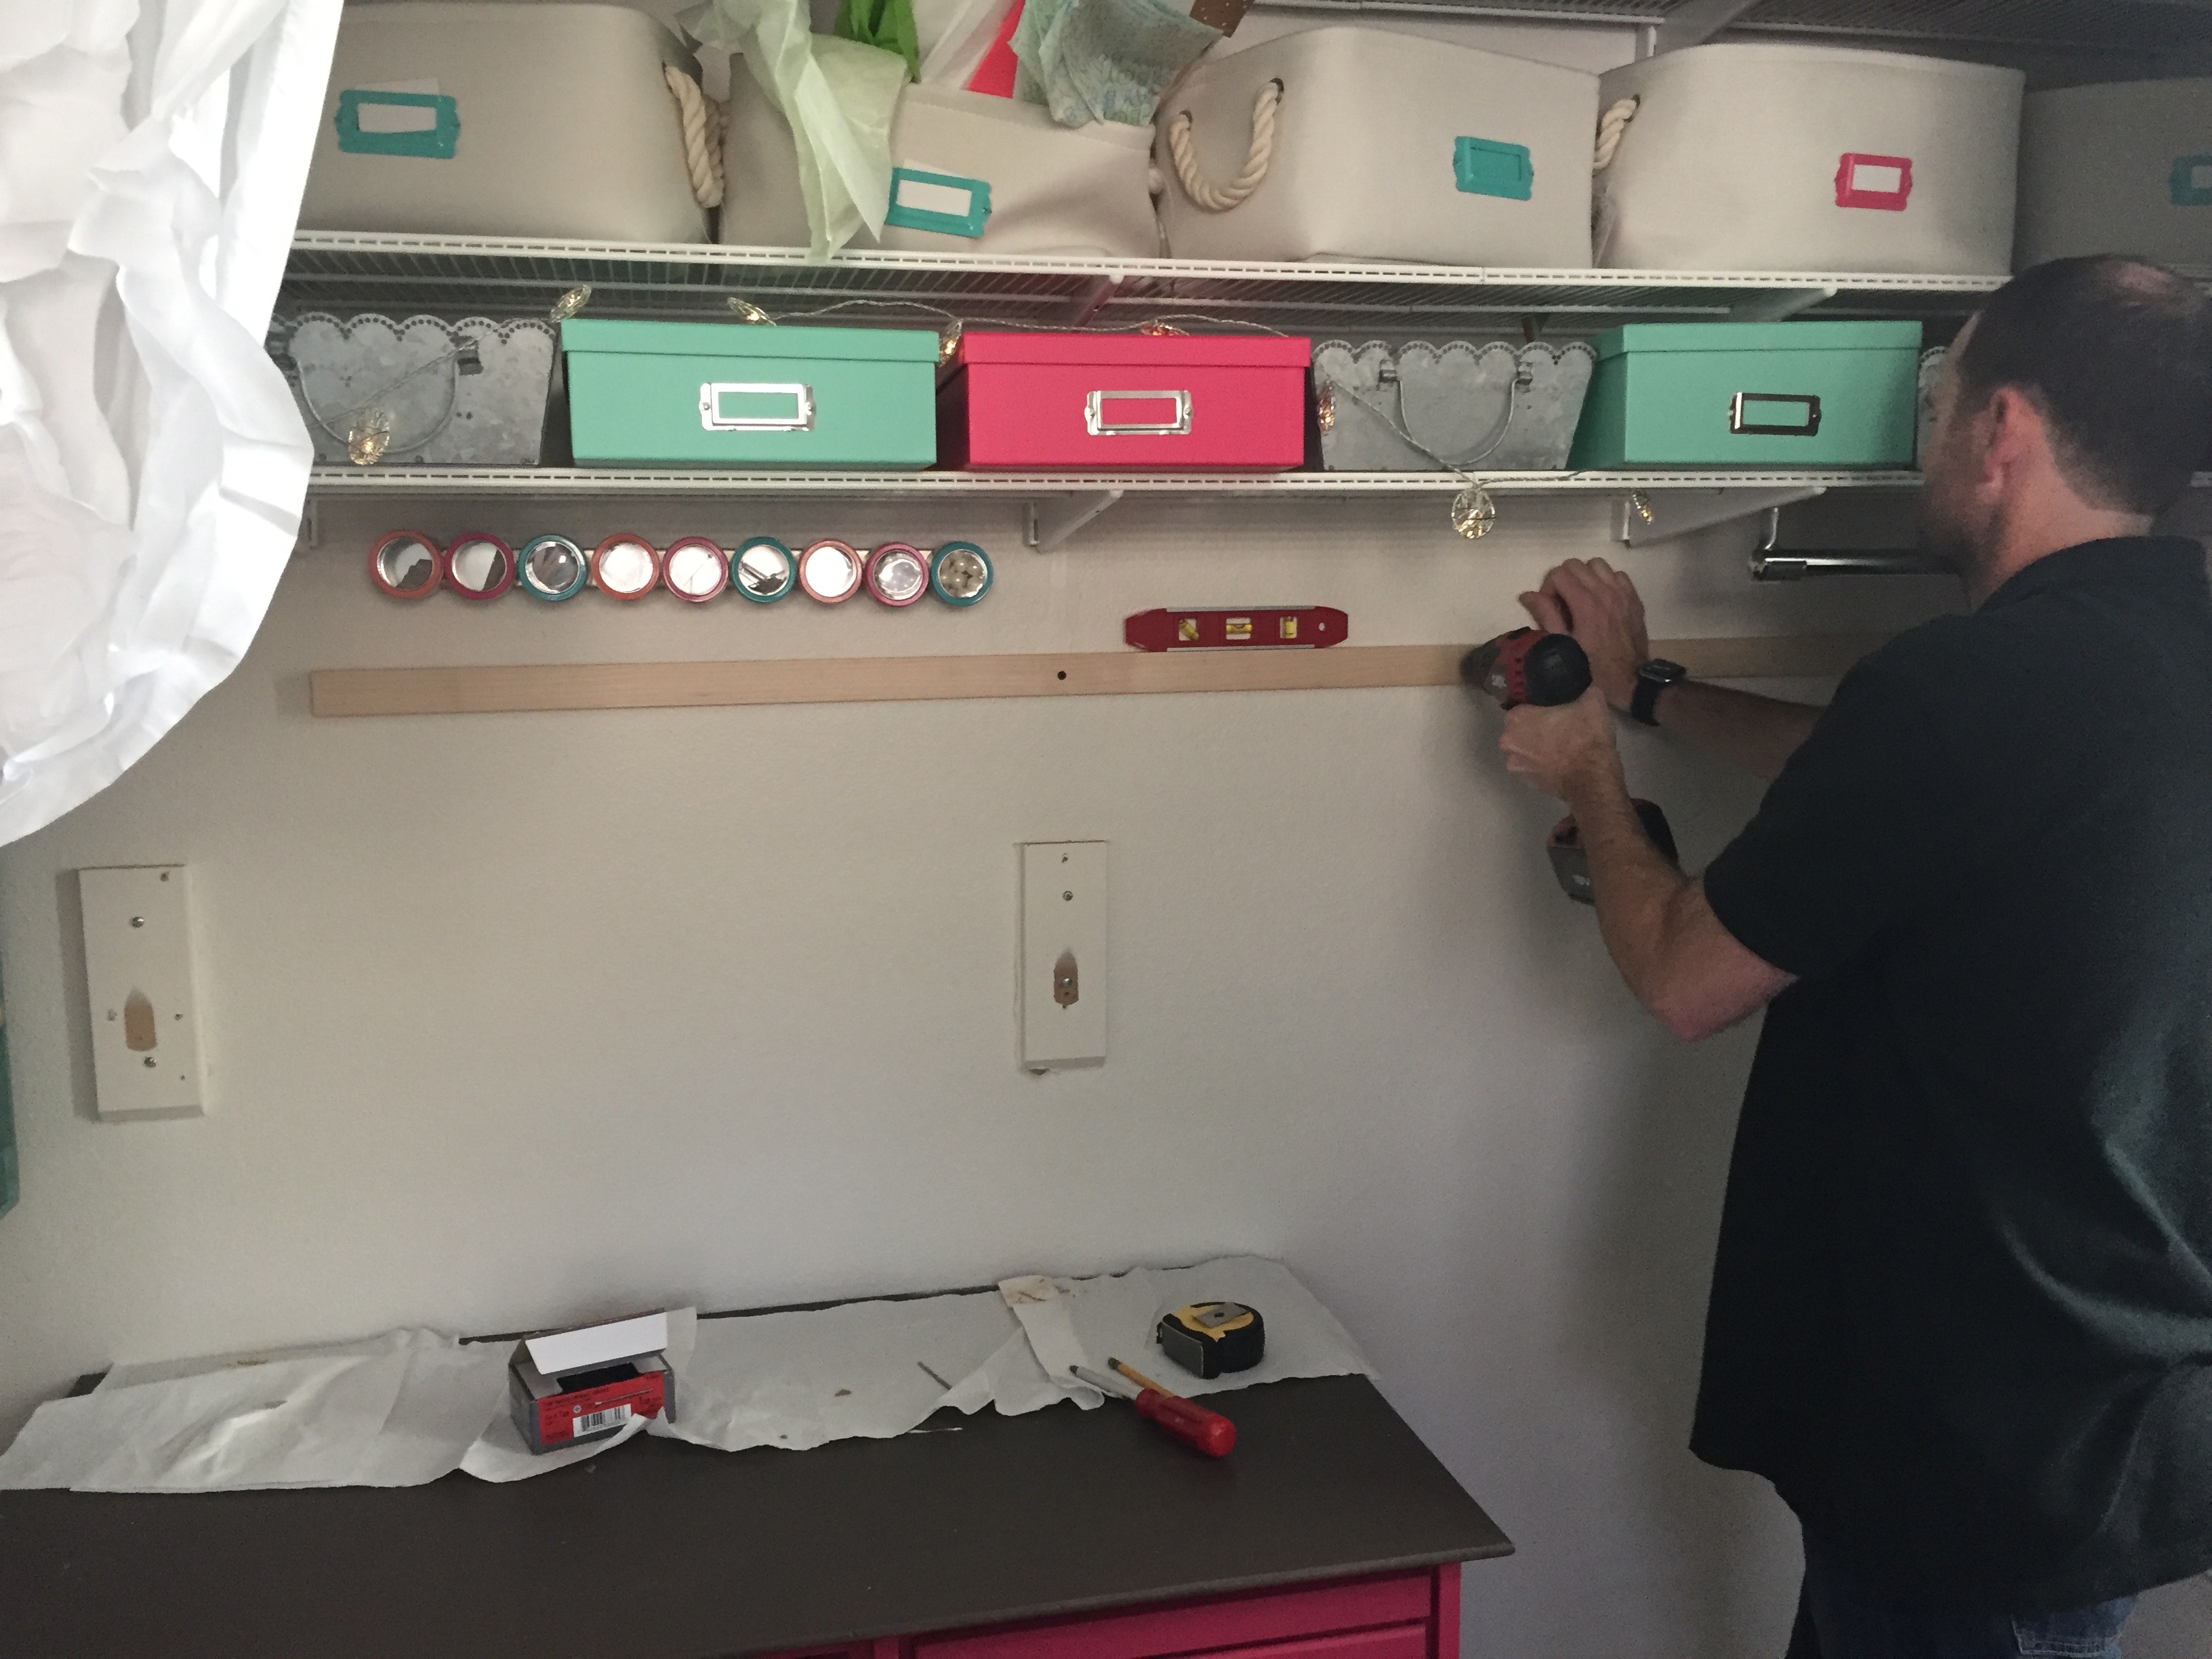
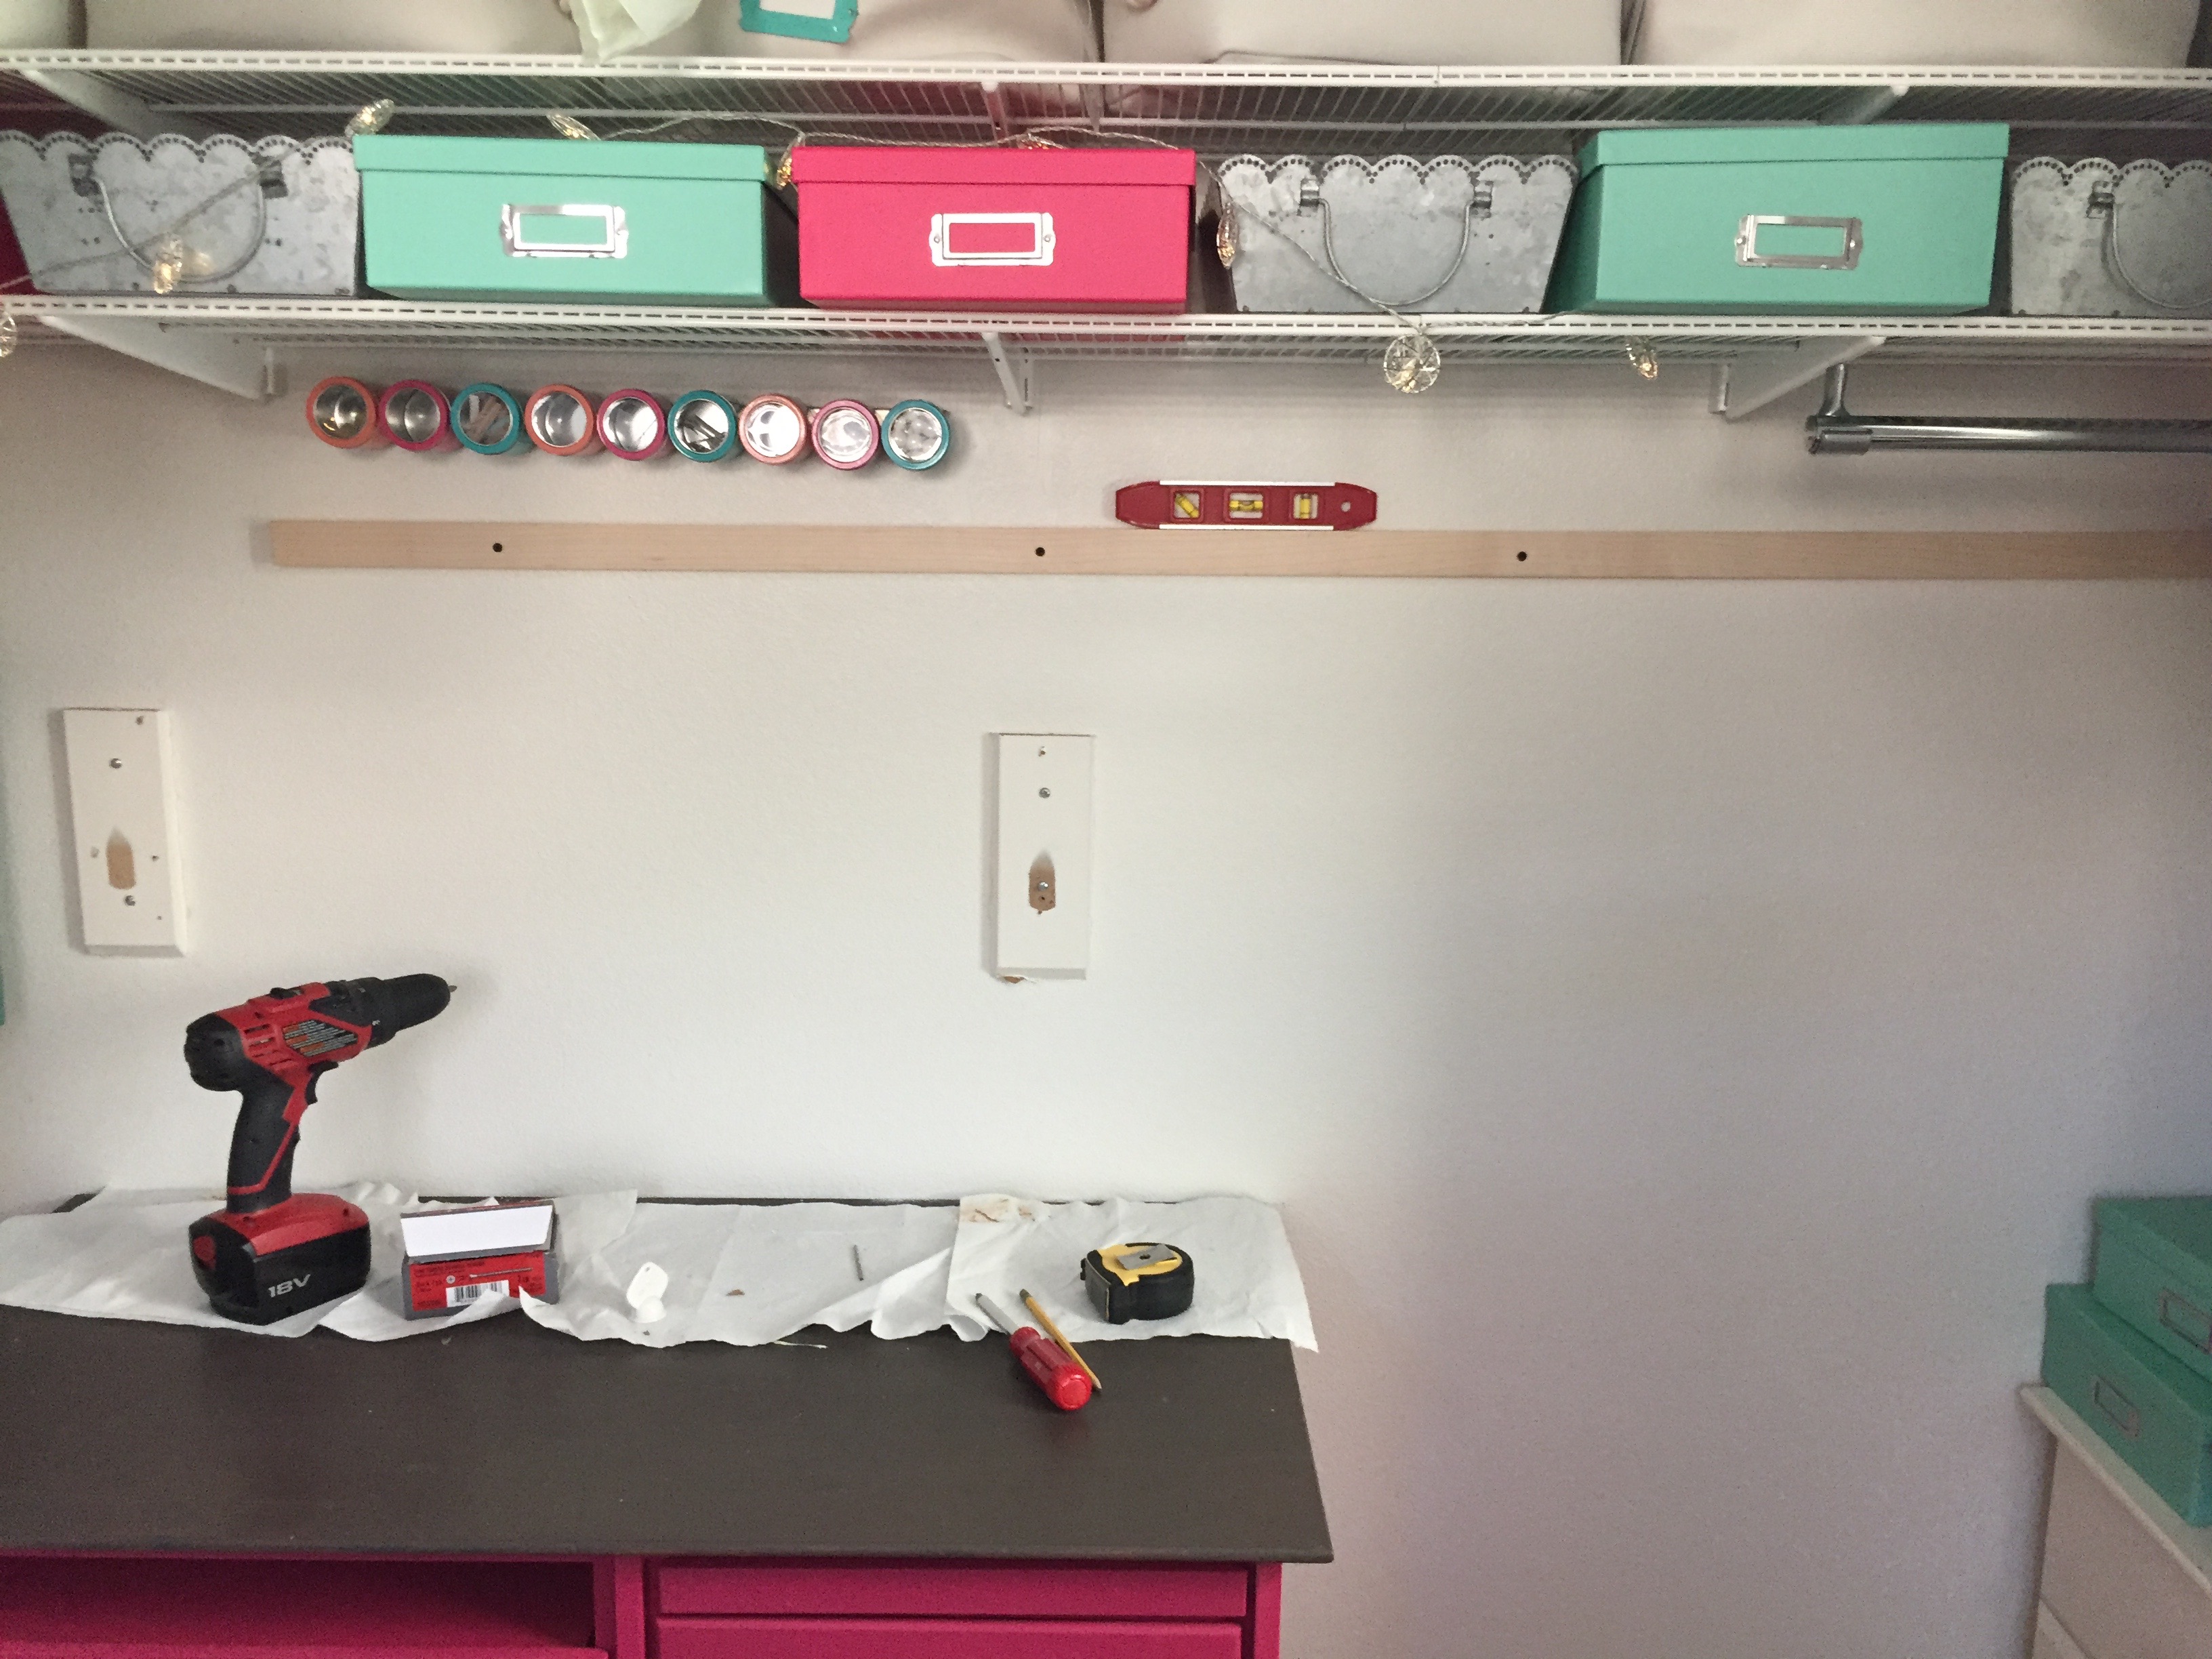
The end placement is a little wacky because we were trying to hit studs.
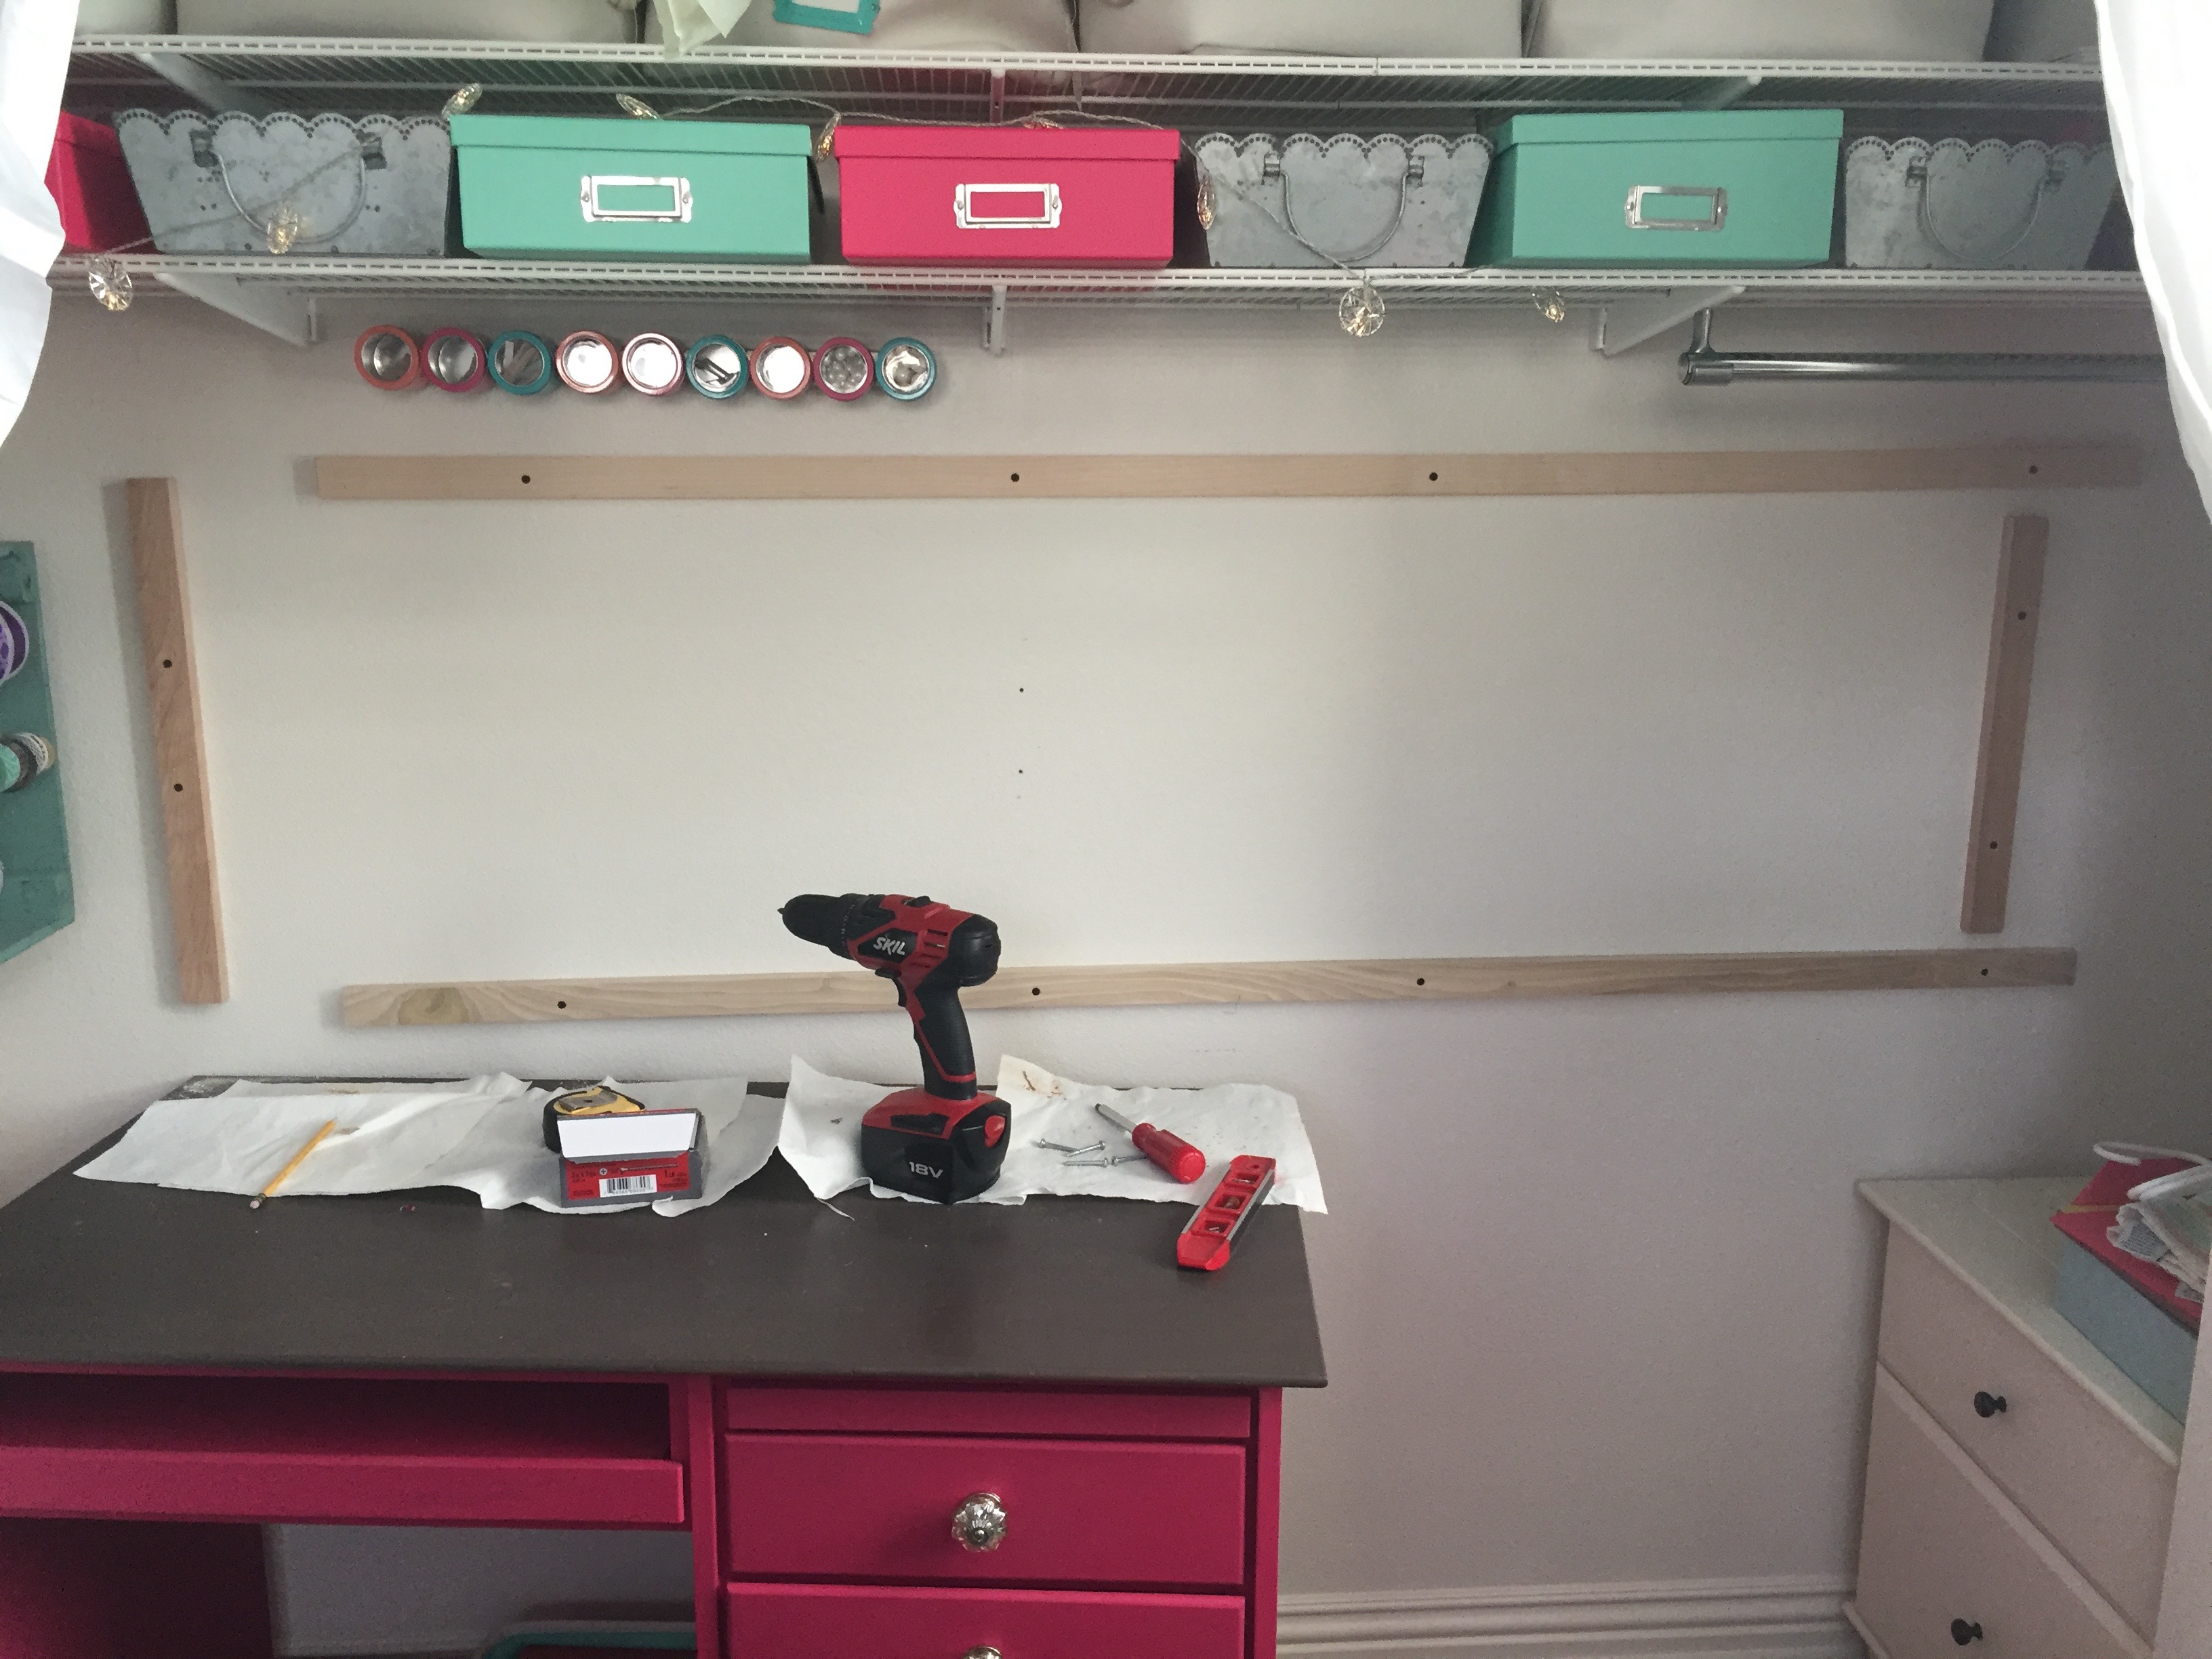
And then the pegboard was ready to go up!
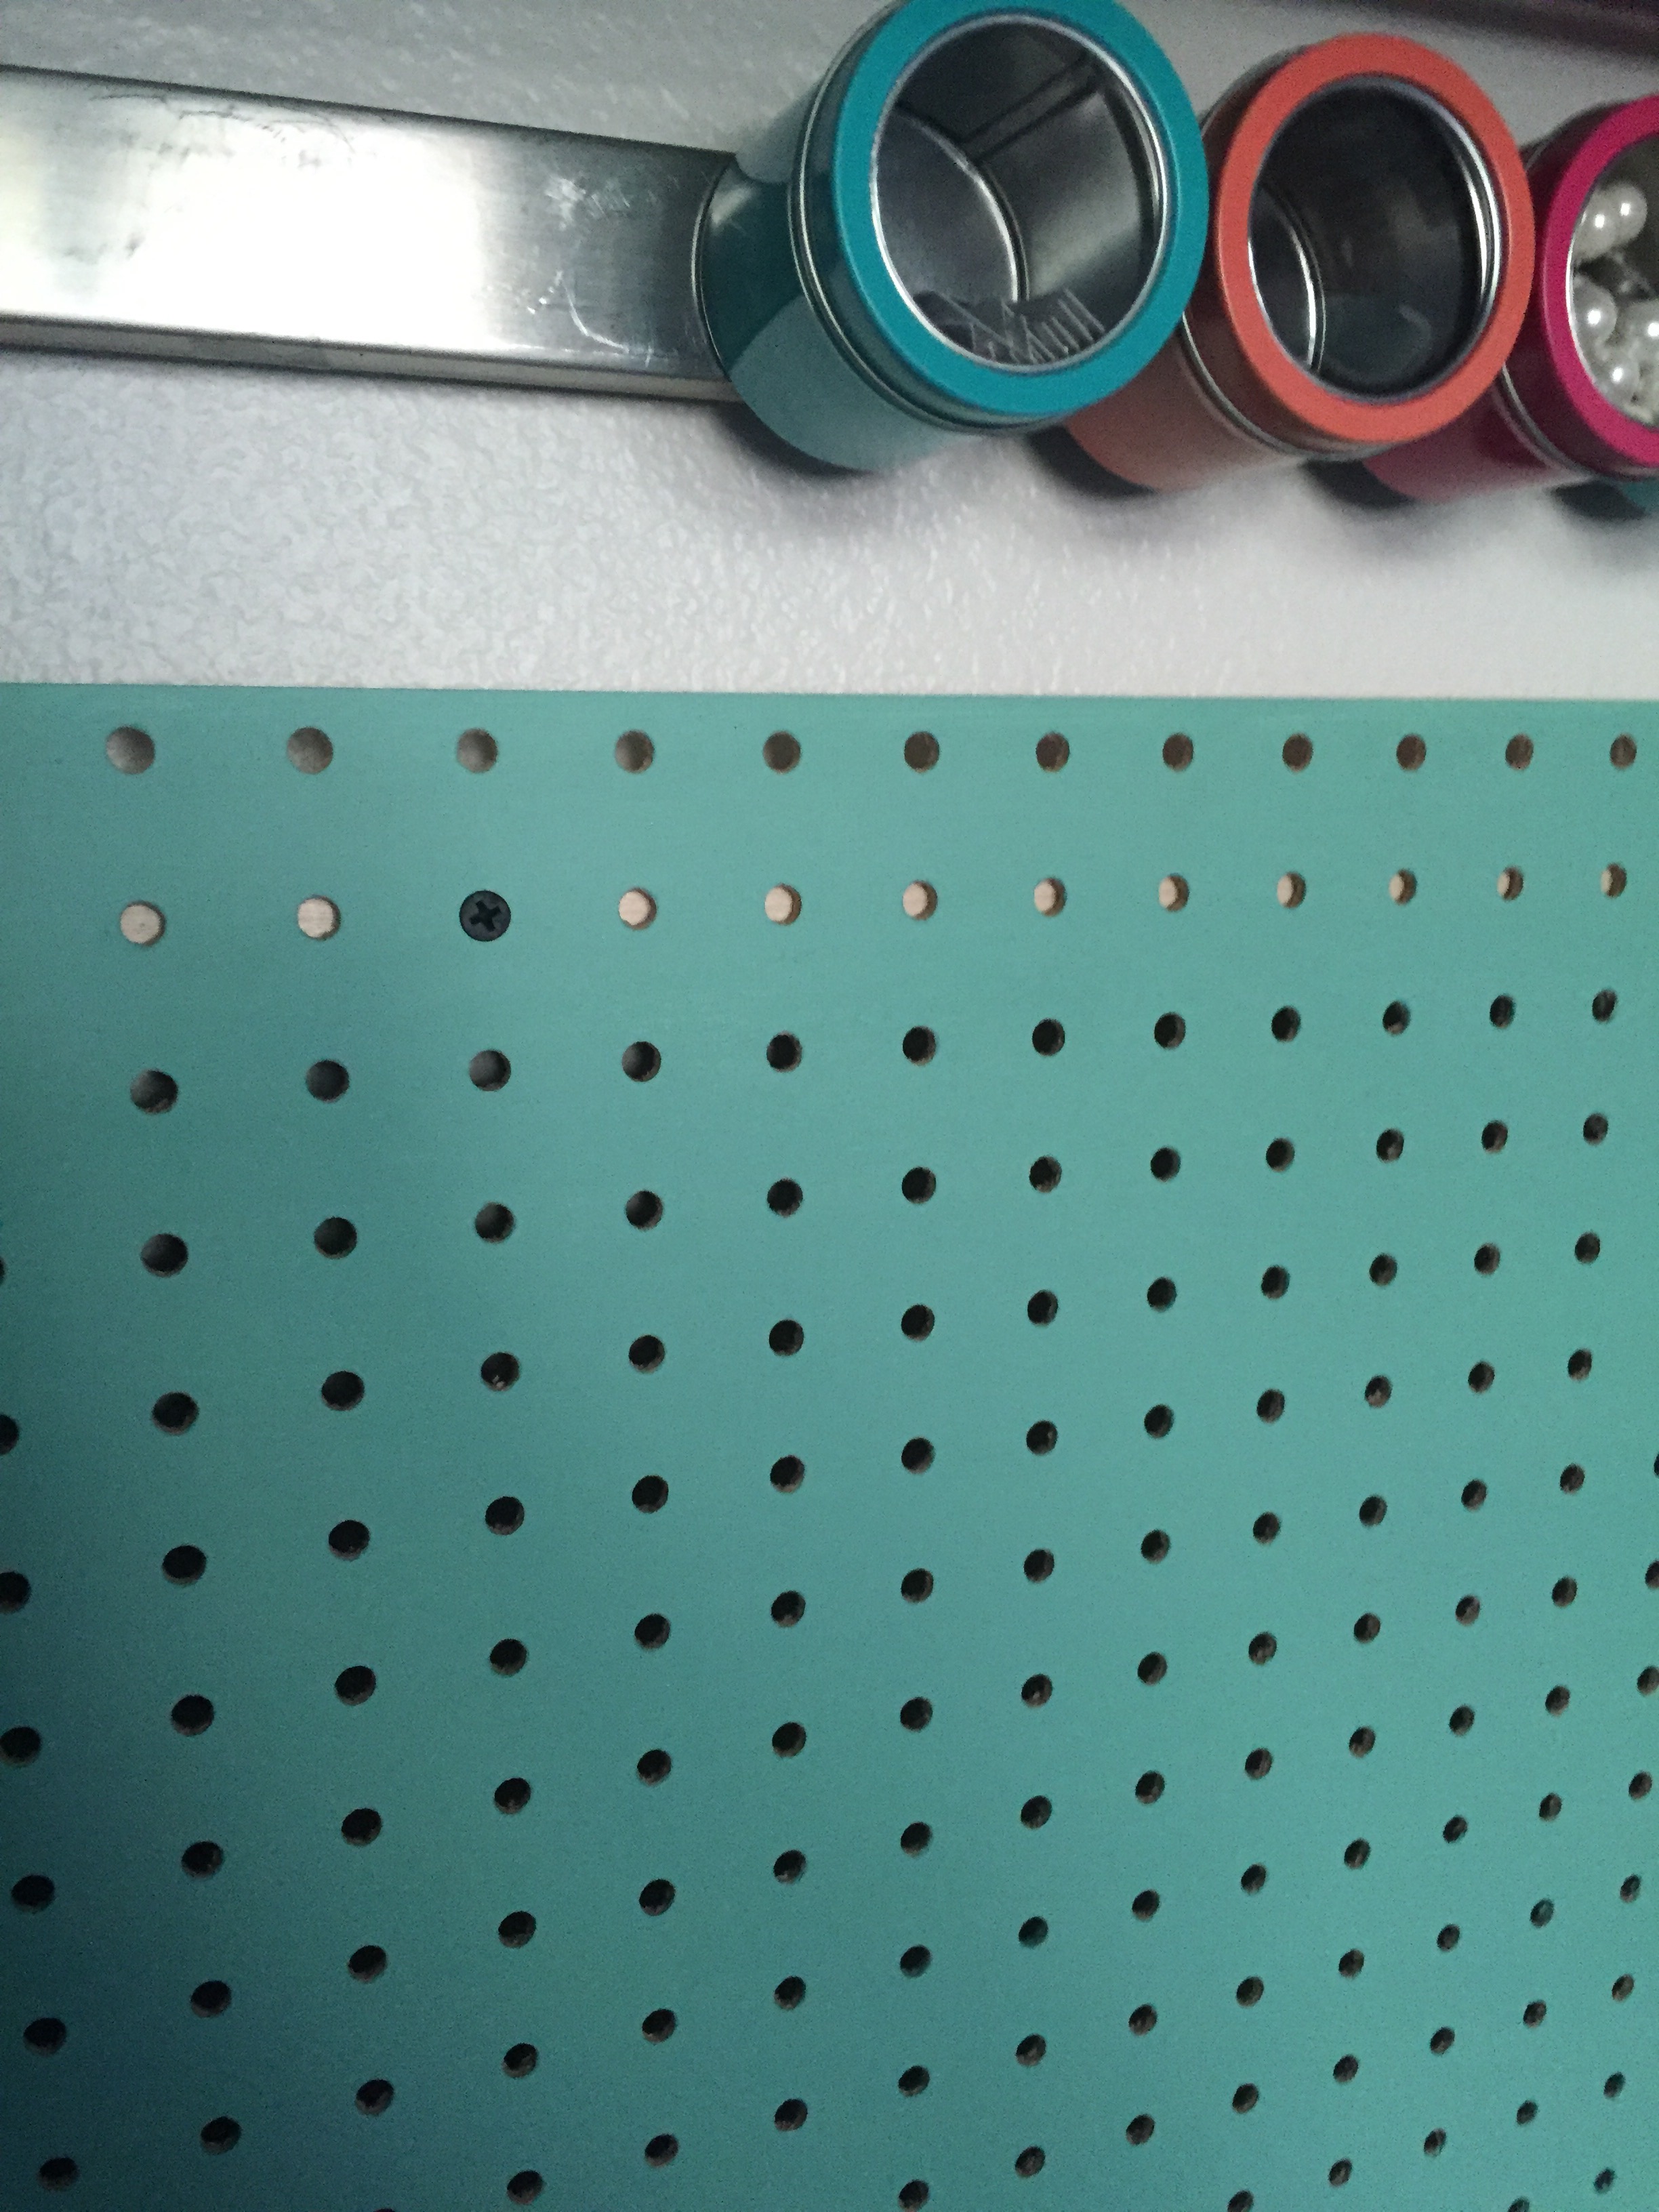
In hindsight, I would have painted the boards that went underneath, but they don’t really show anyway.
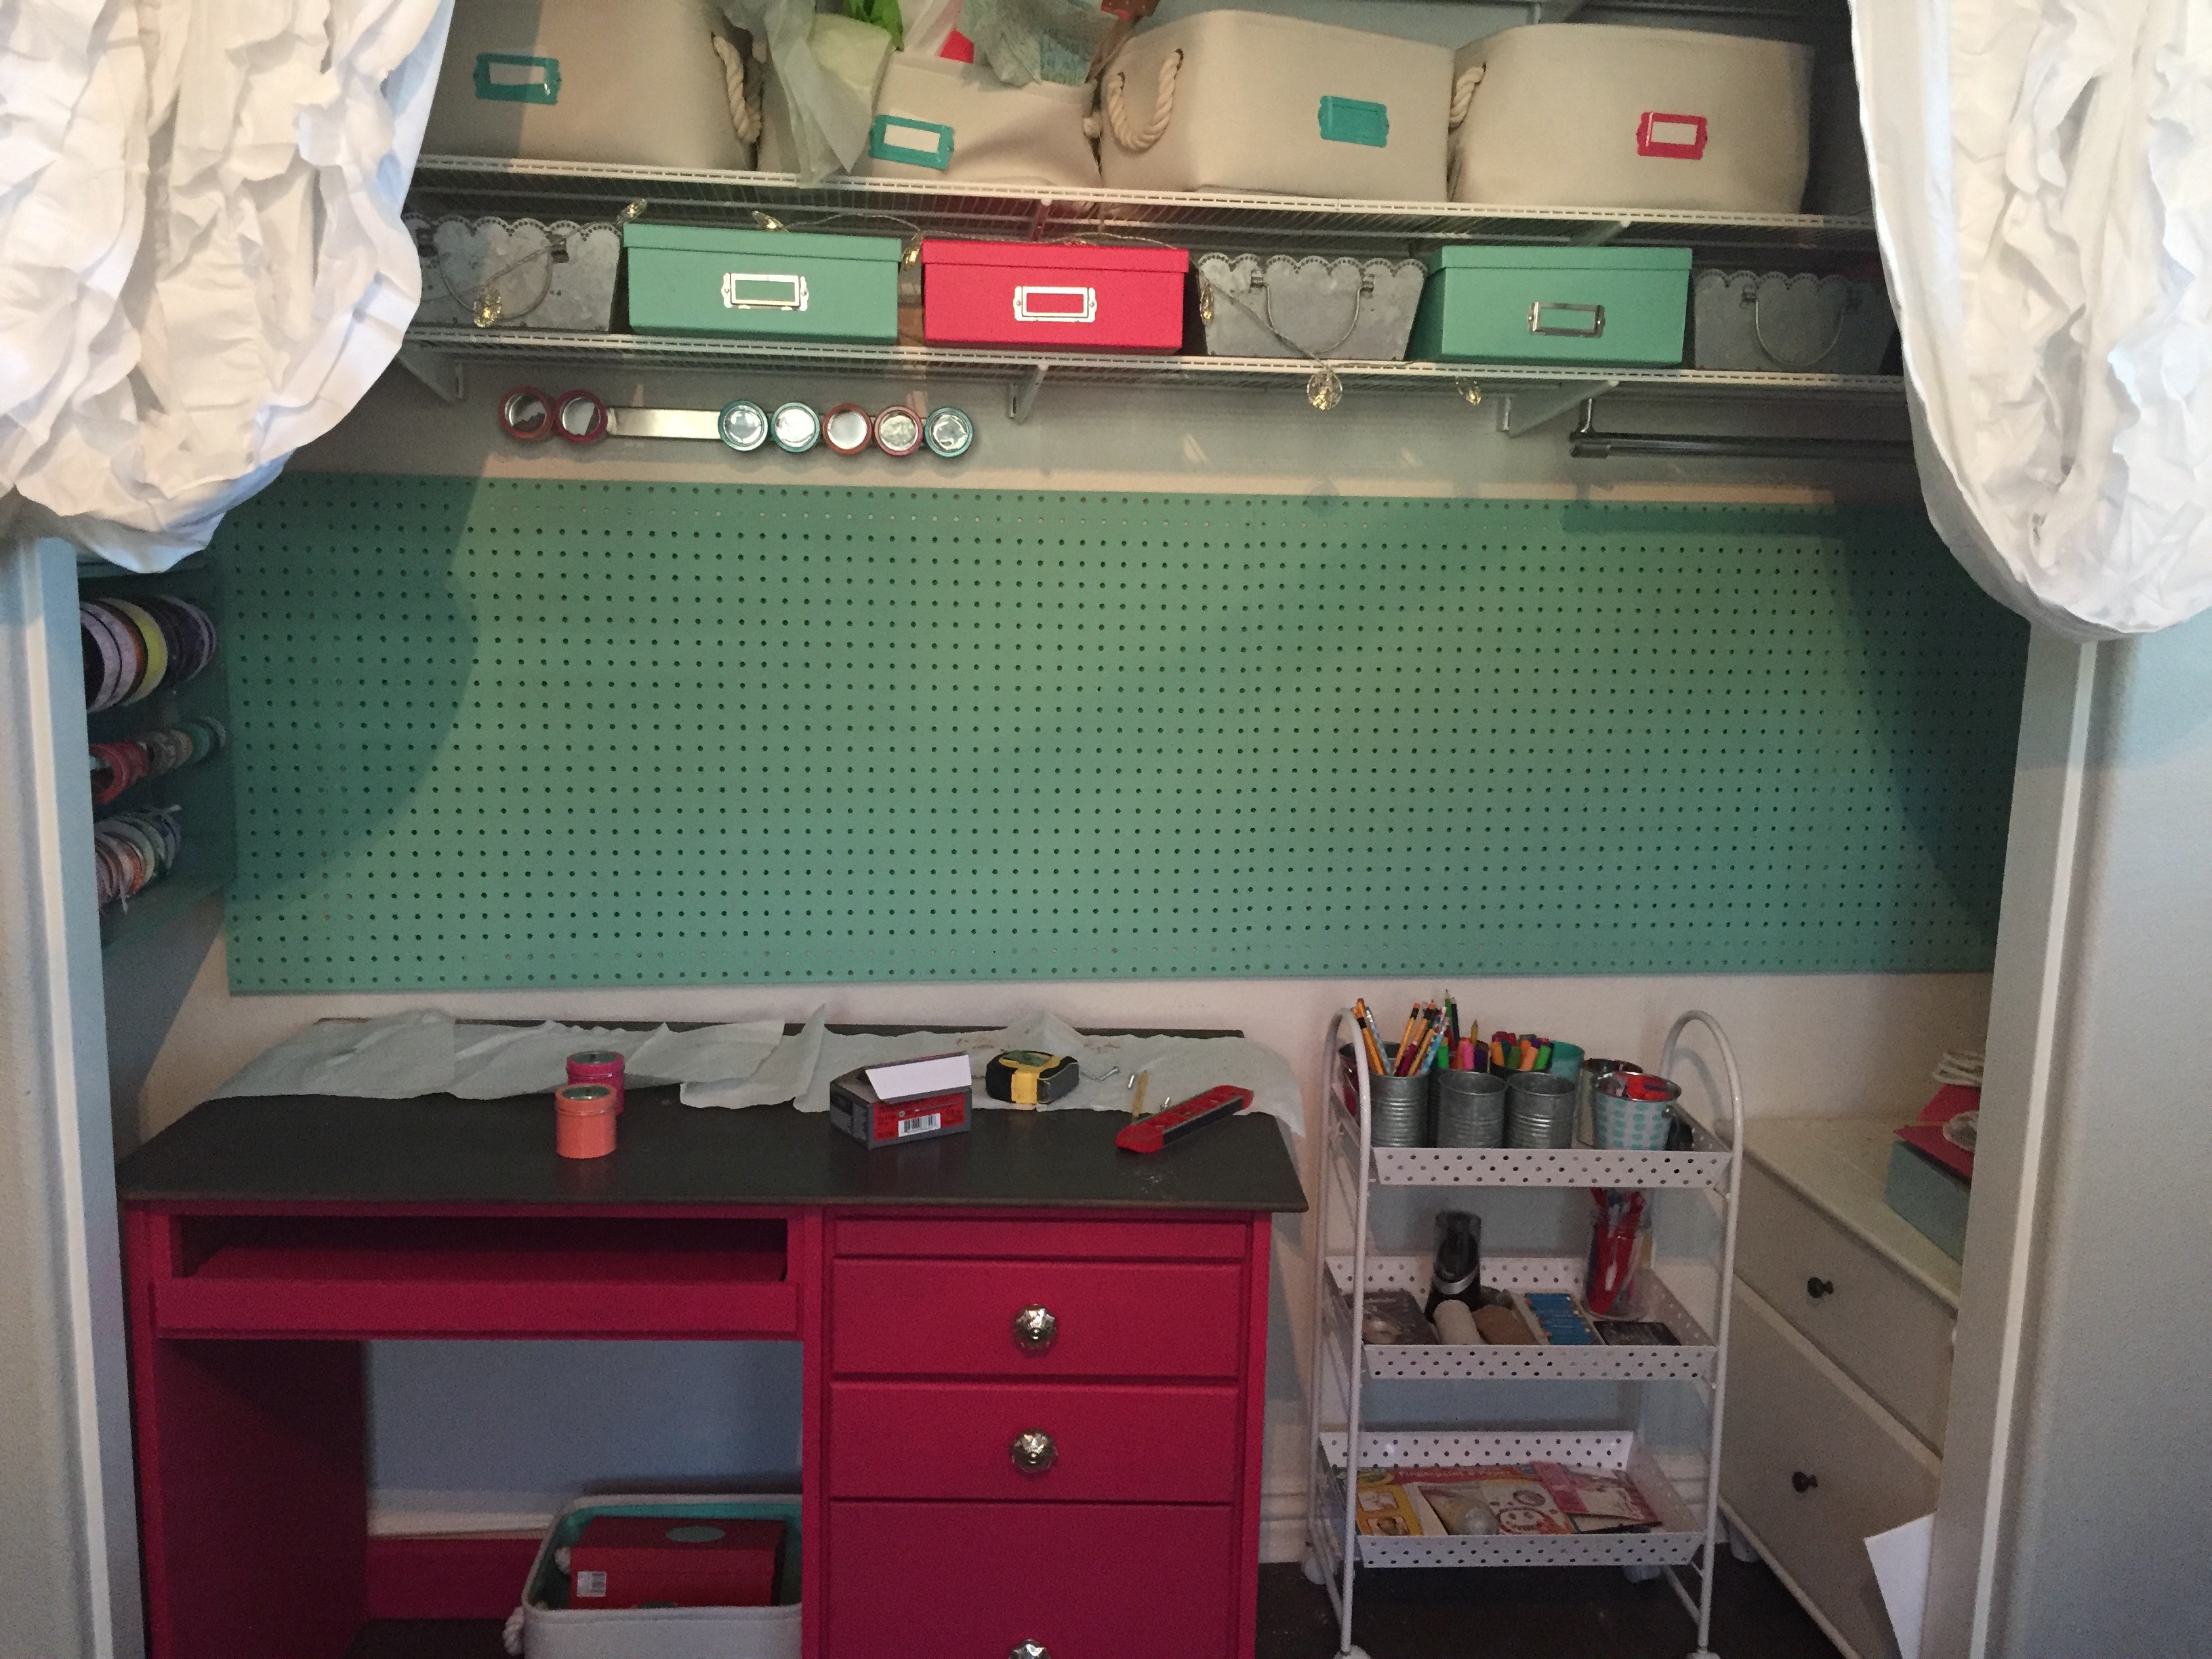
And because I had a lot of stuff, I laid it out on the floor first to see how I could organize it on the pegboard.
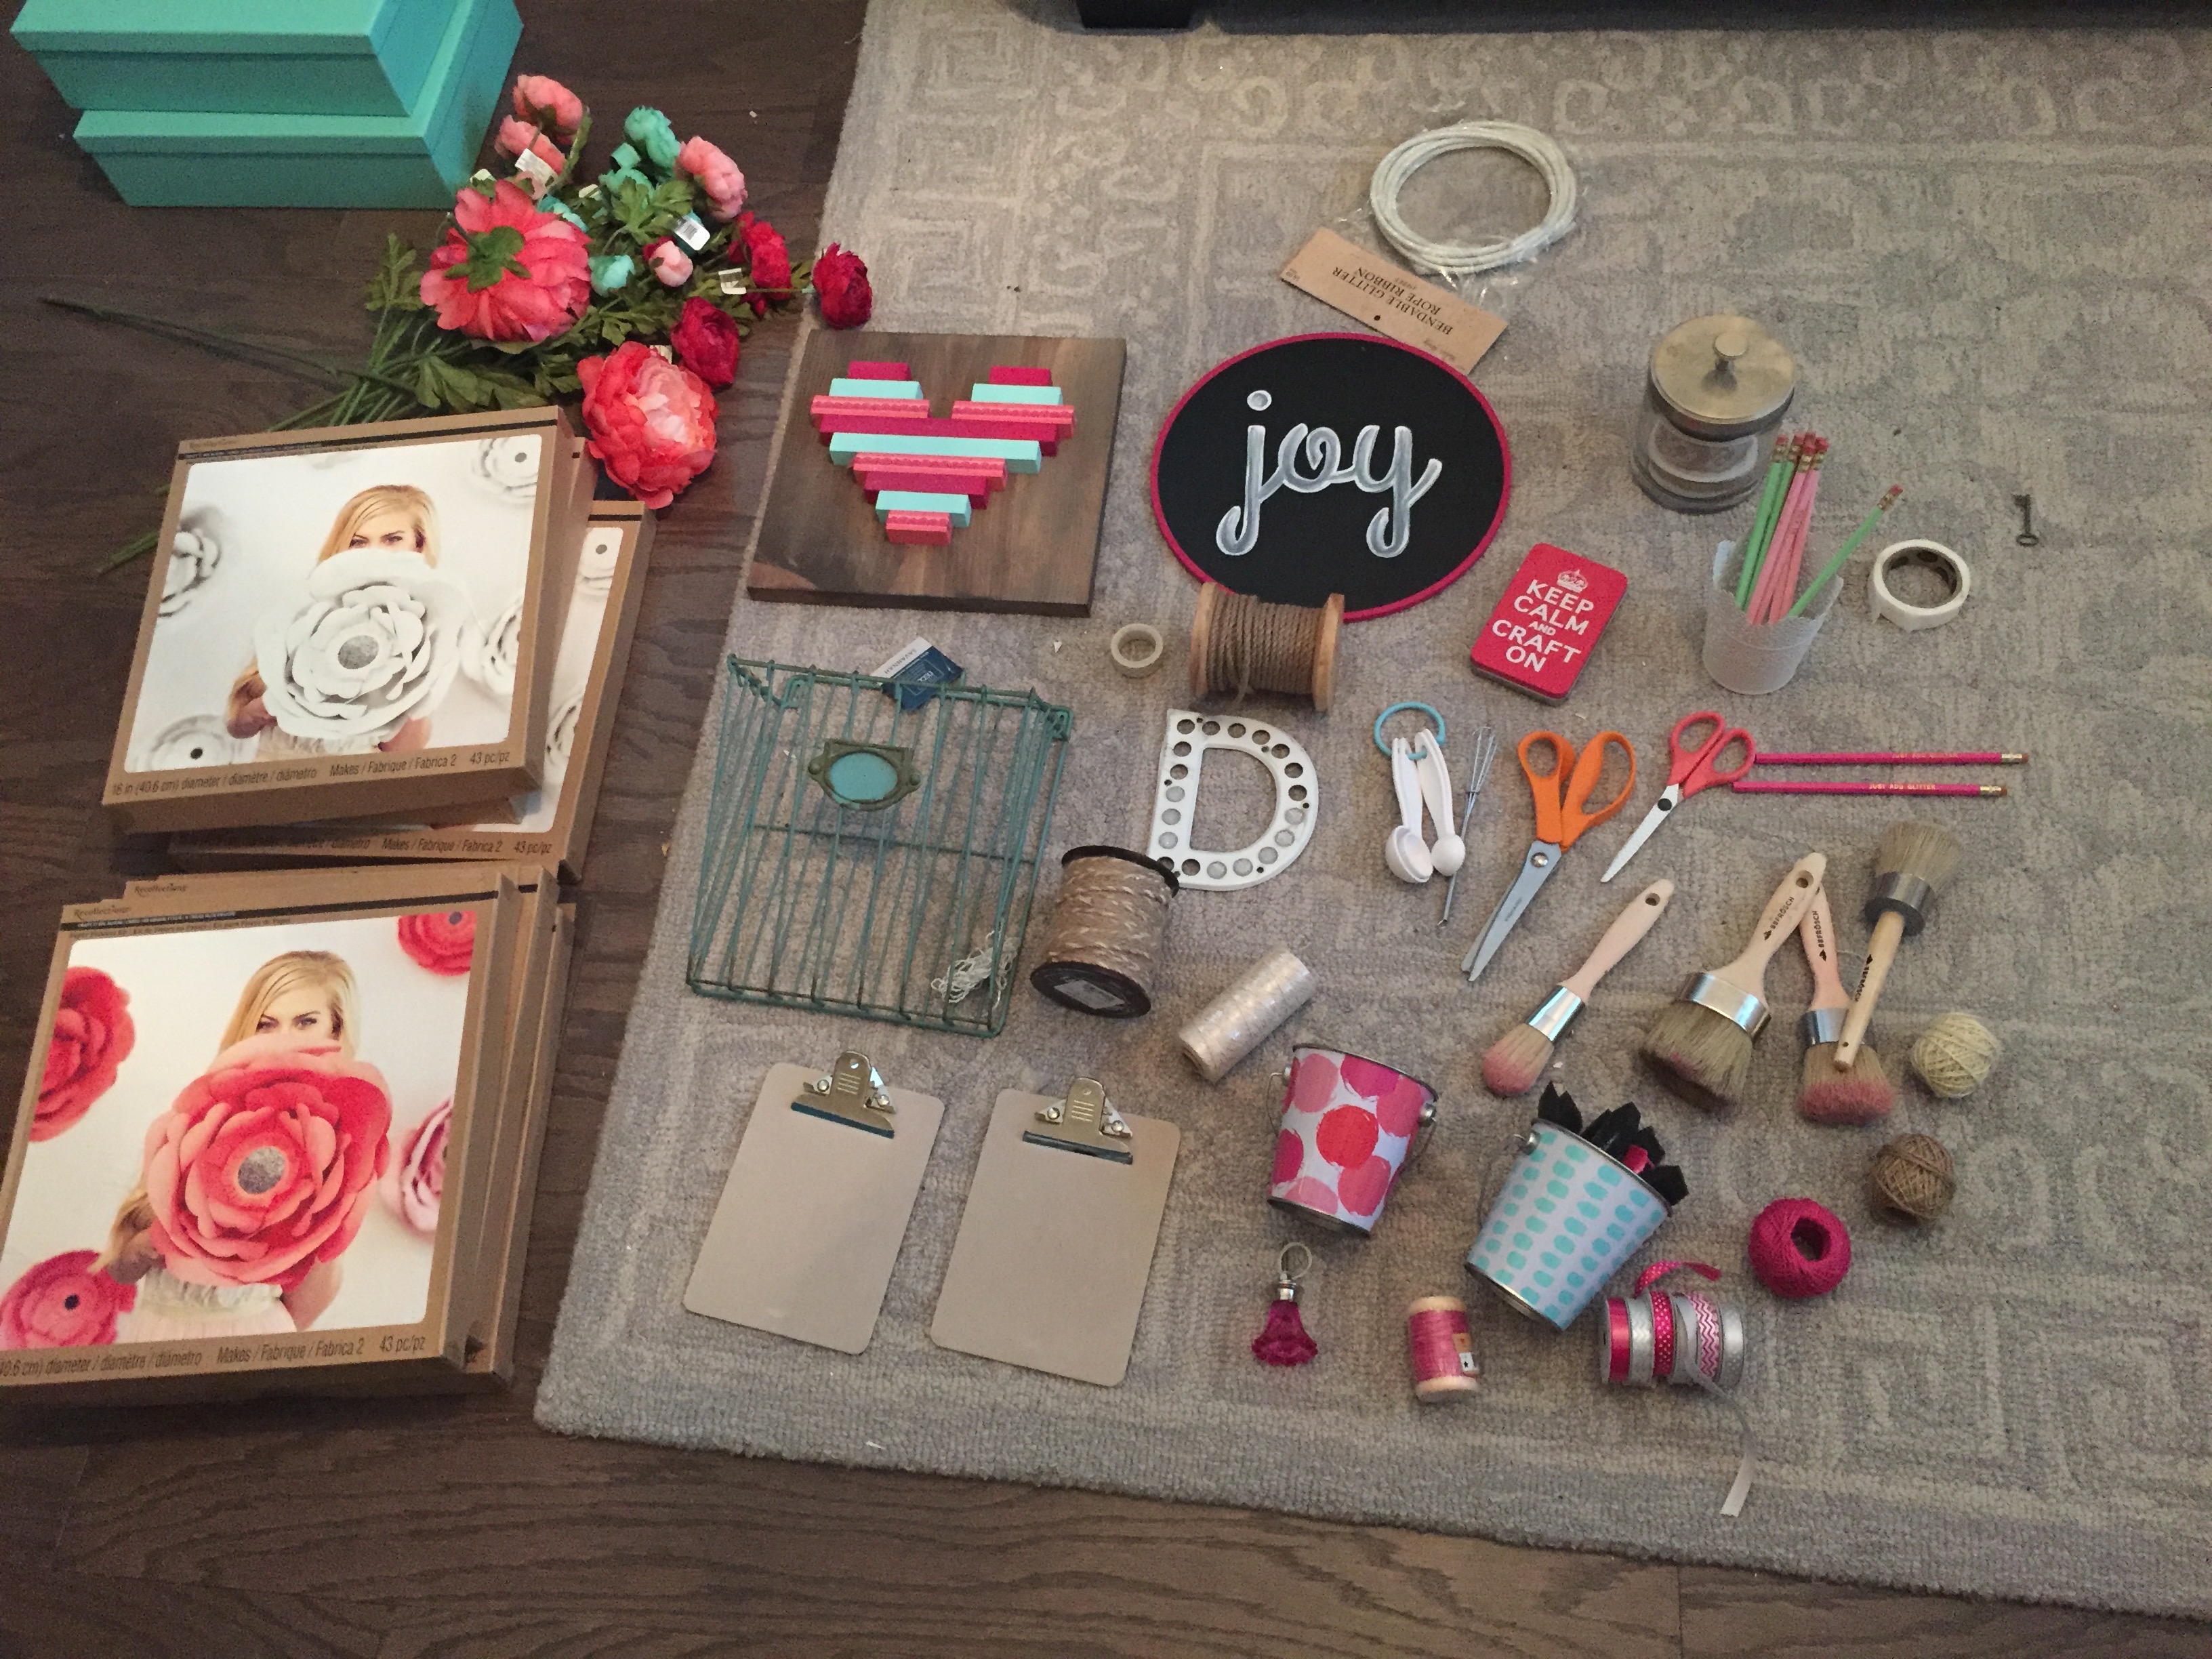
And then I started filling it all in using the pegboard hanging kit from Home Depot. Loved all the hooks that were included in the kit.
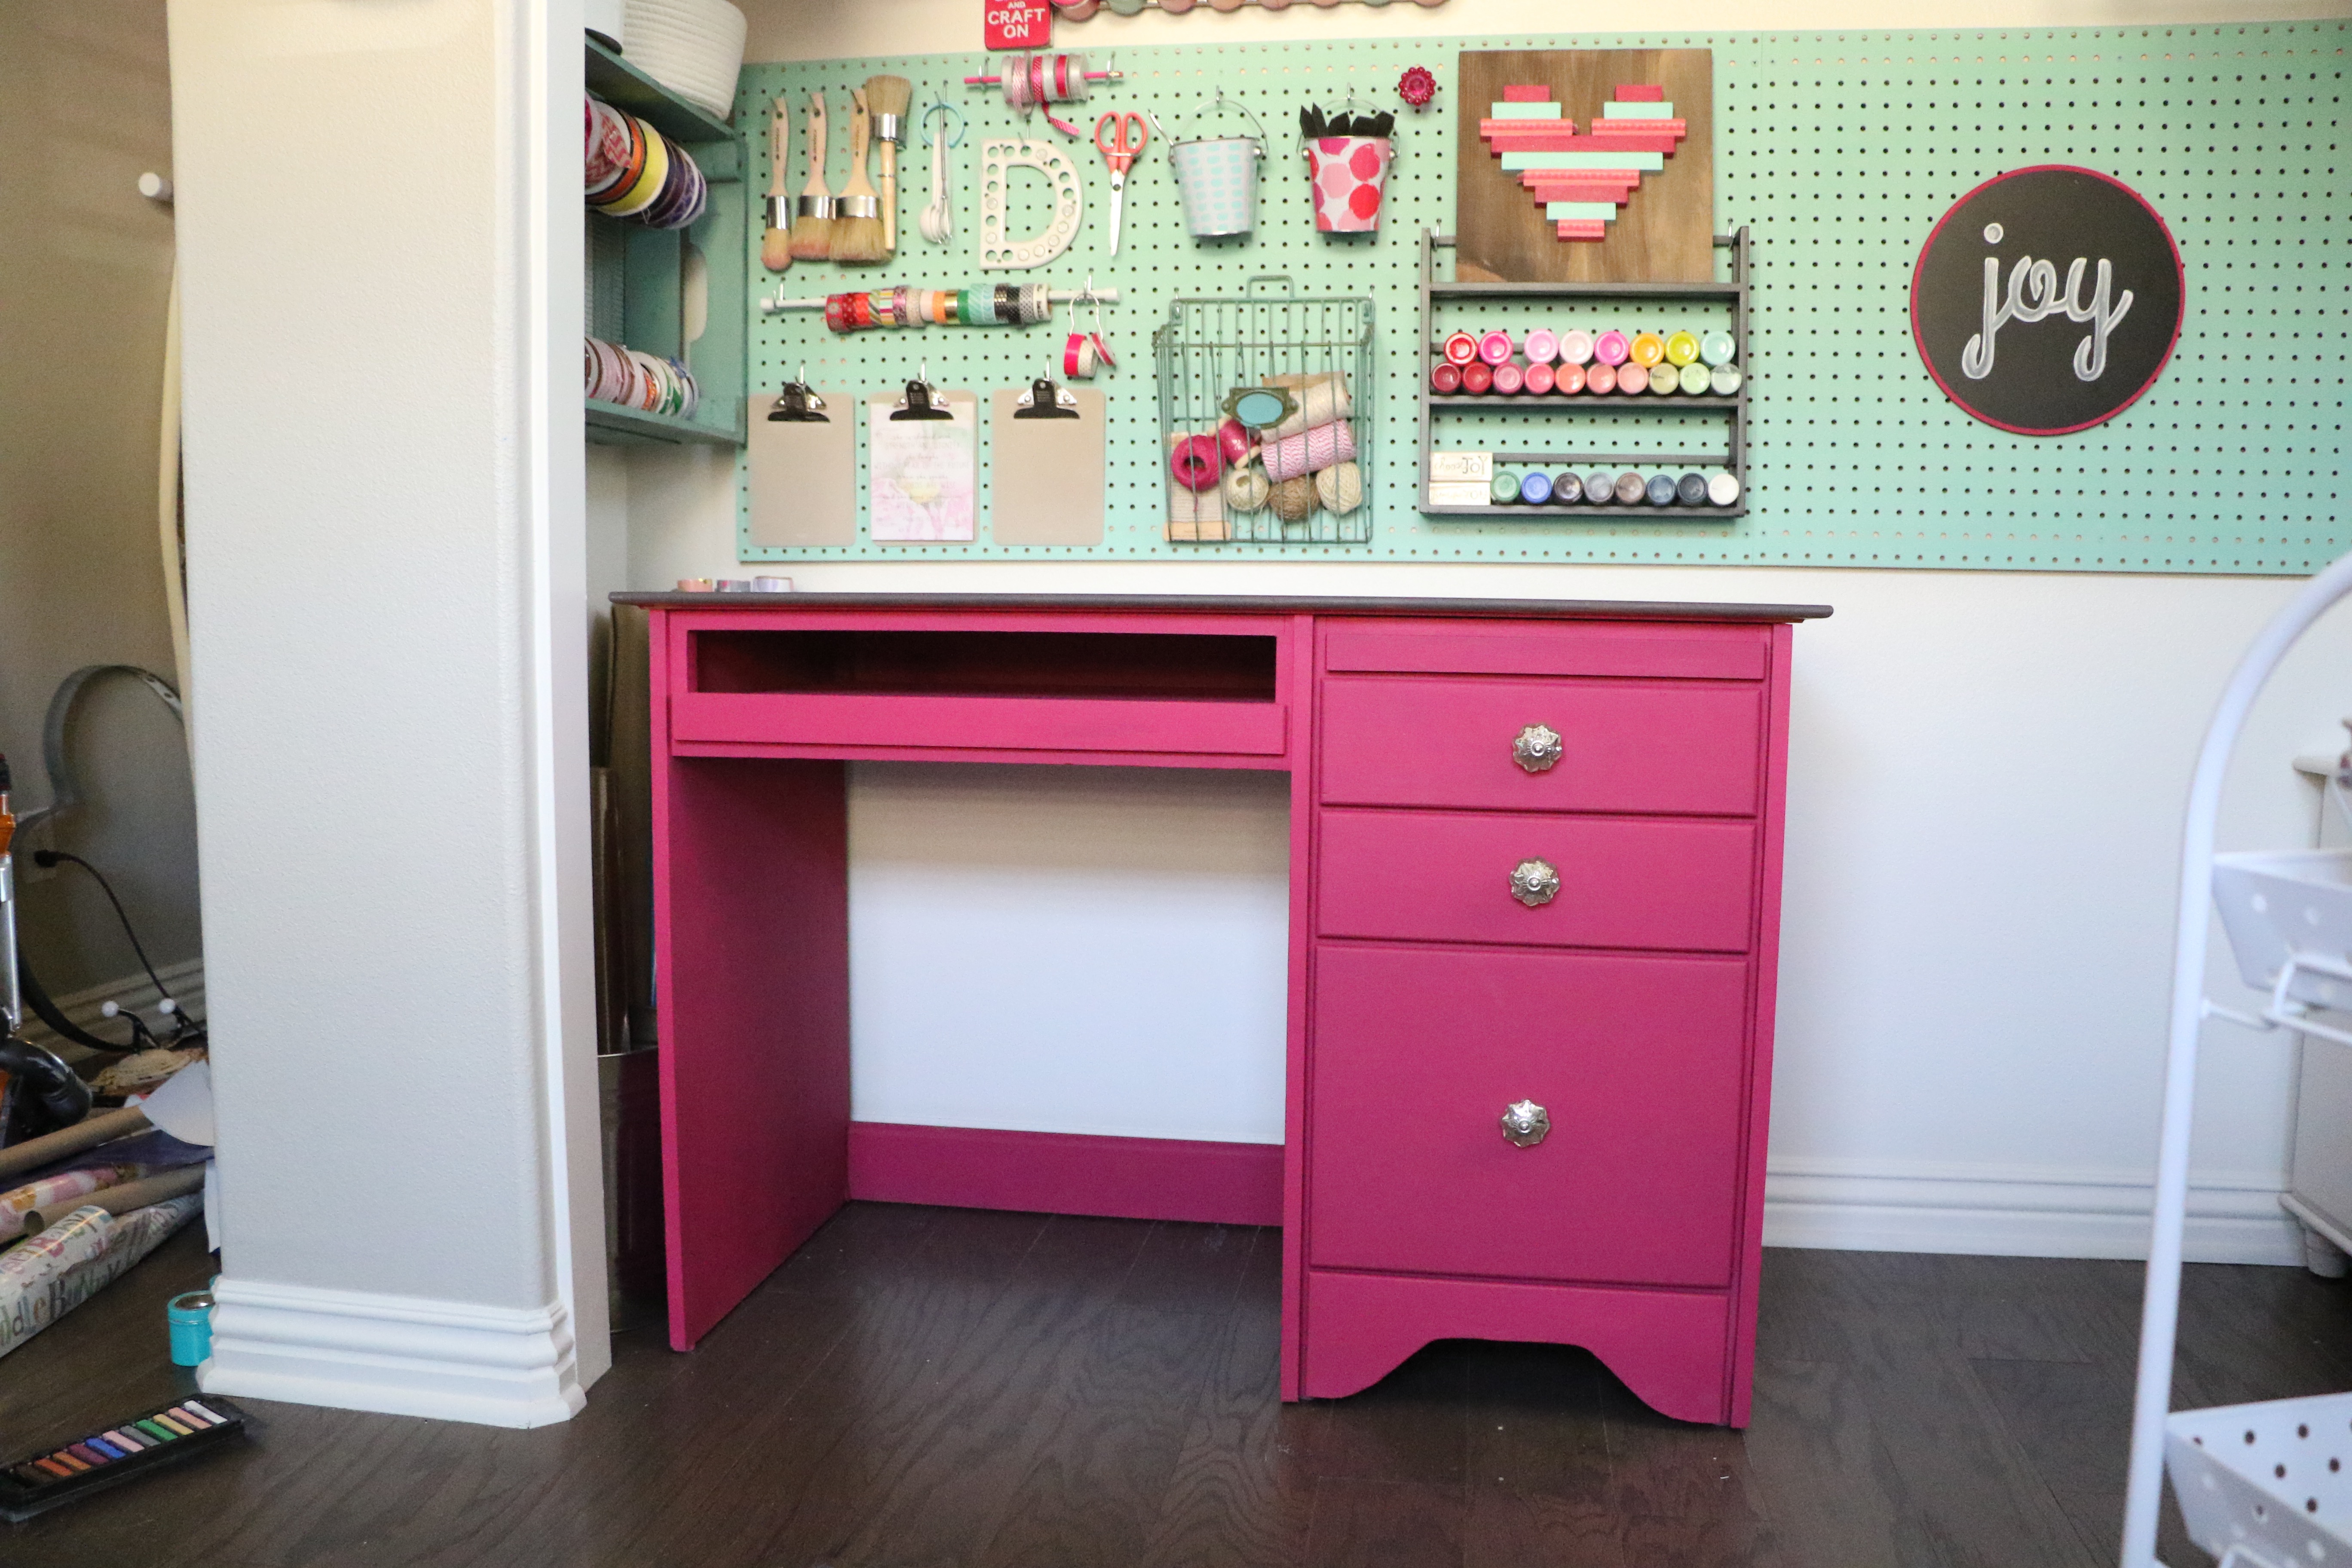
It was so nice to have everything in its place and organized!
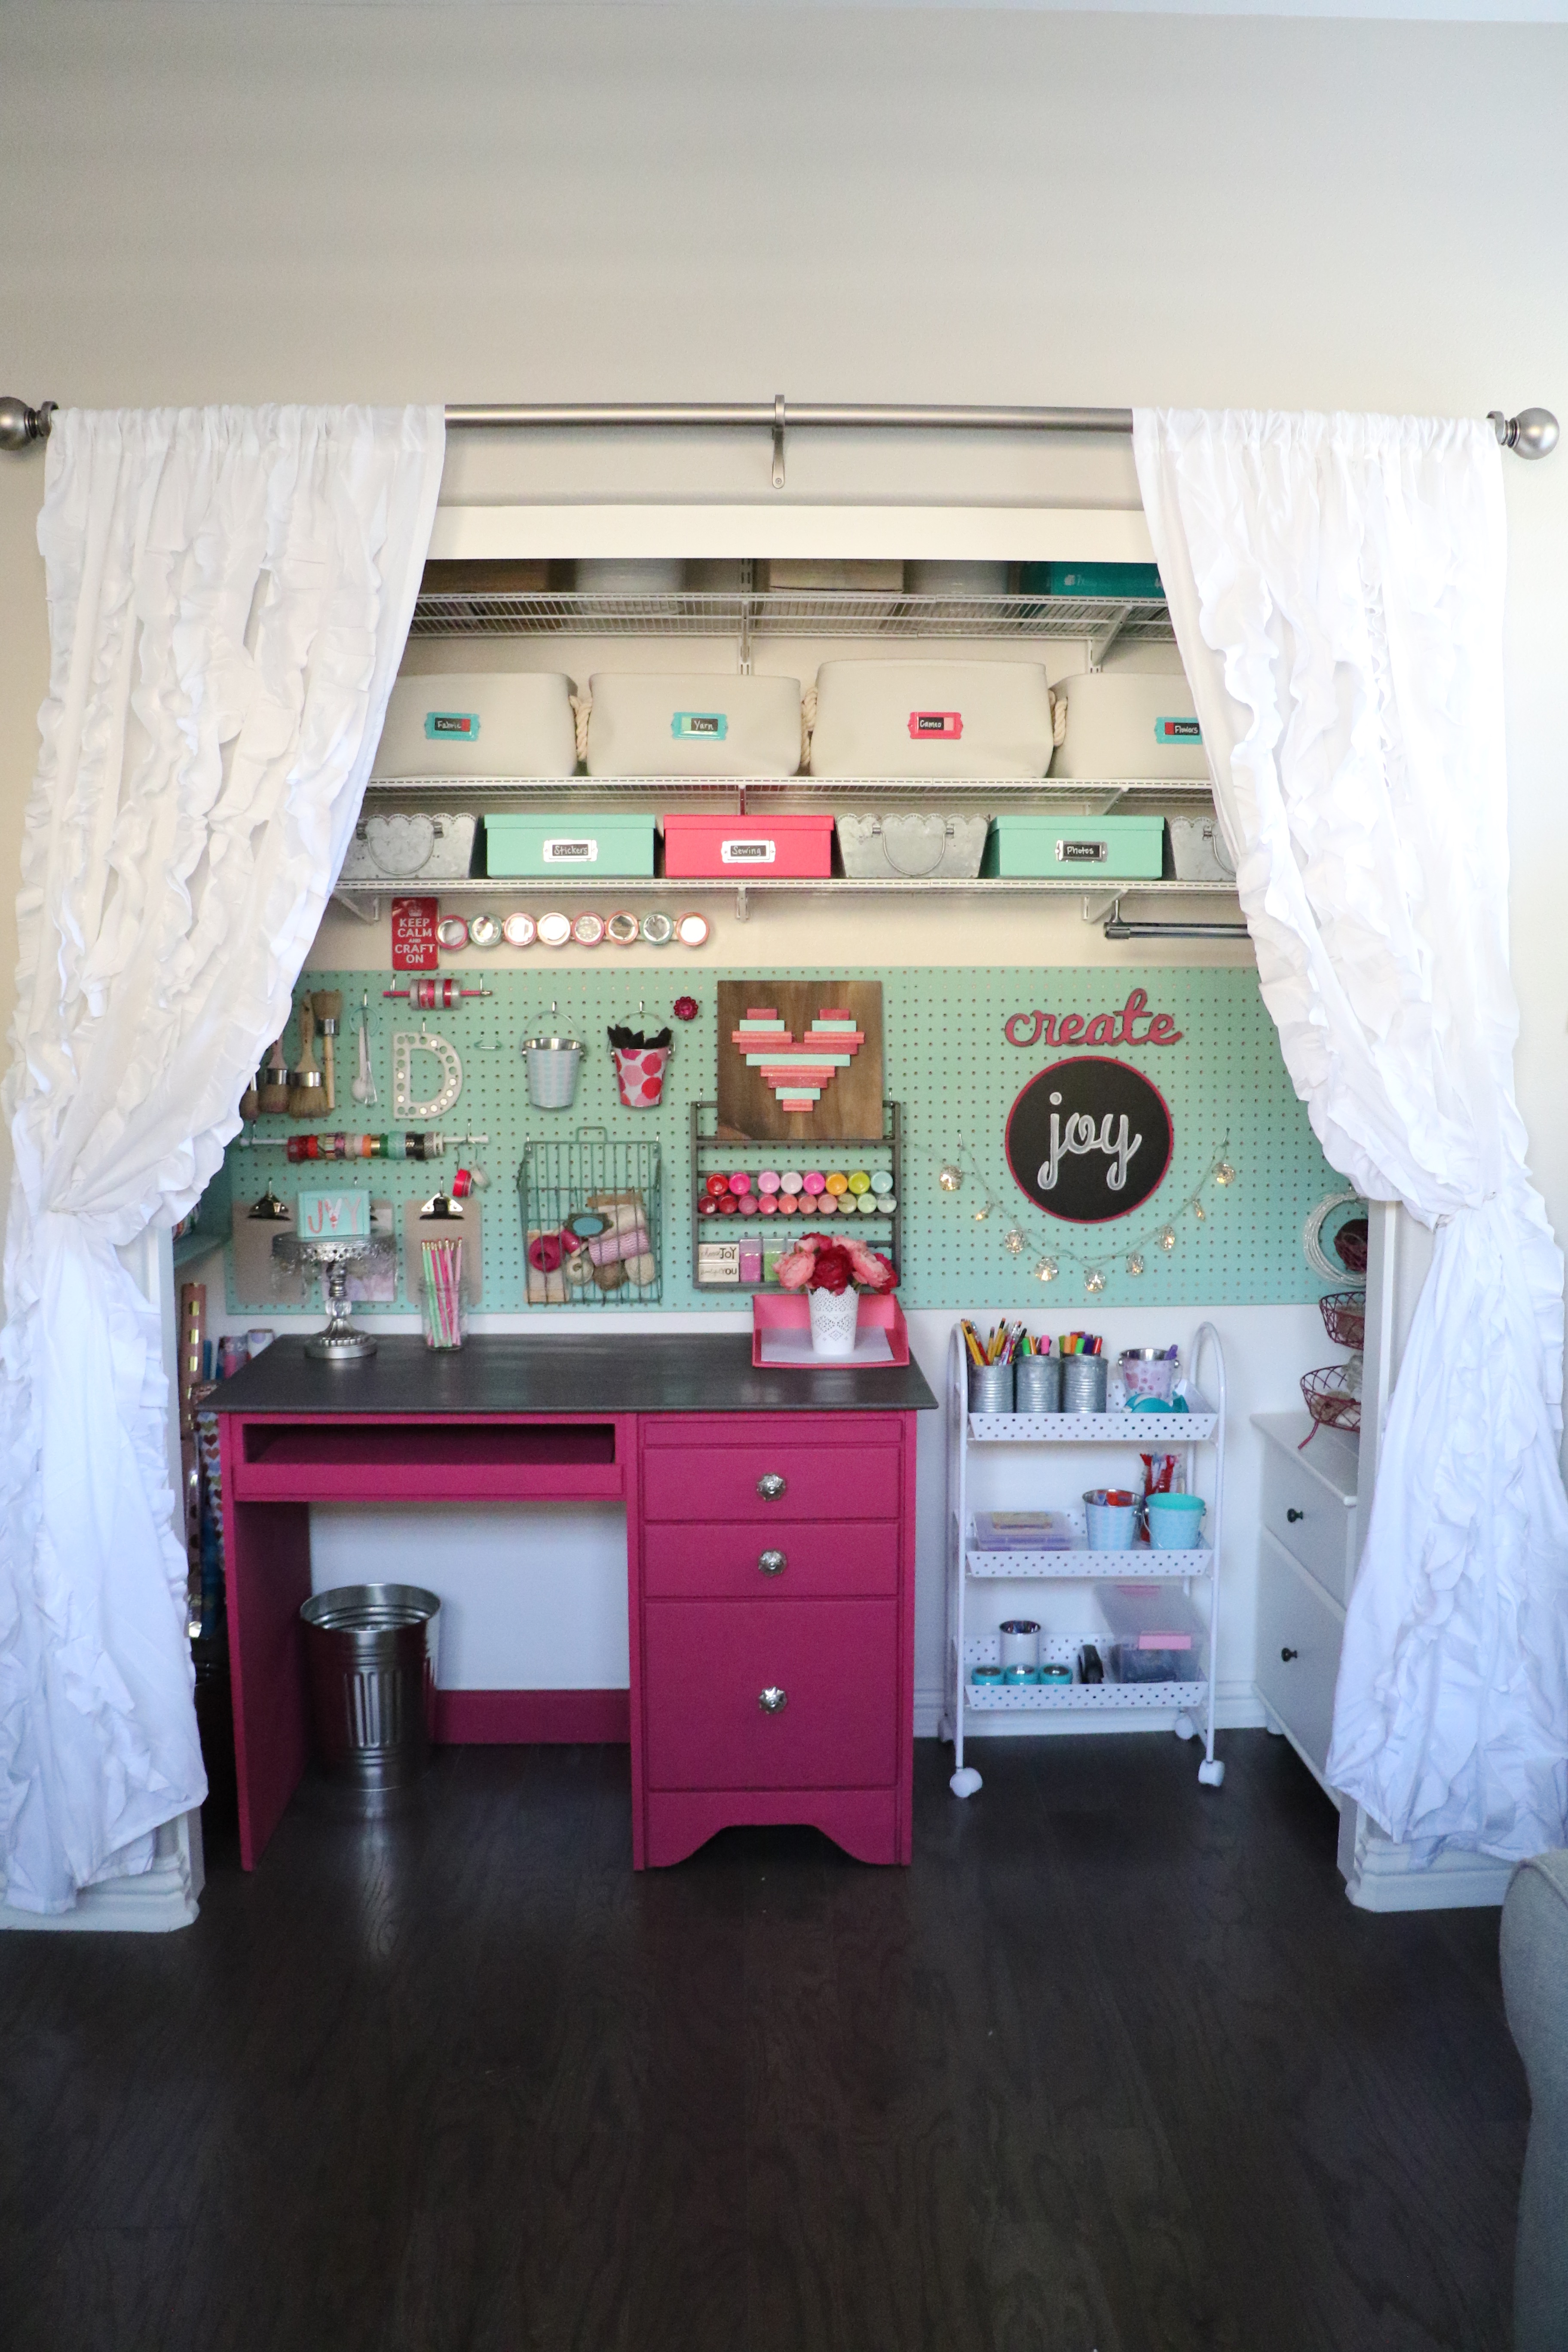
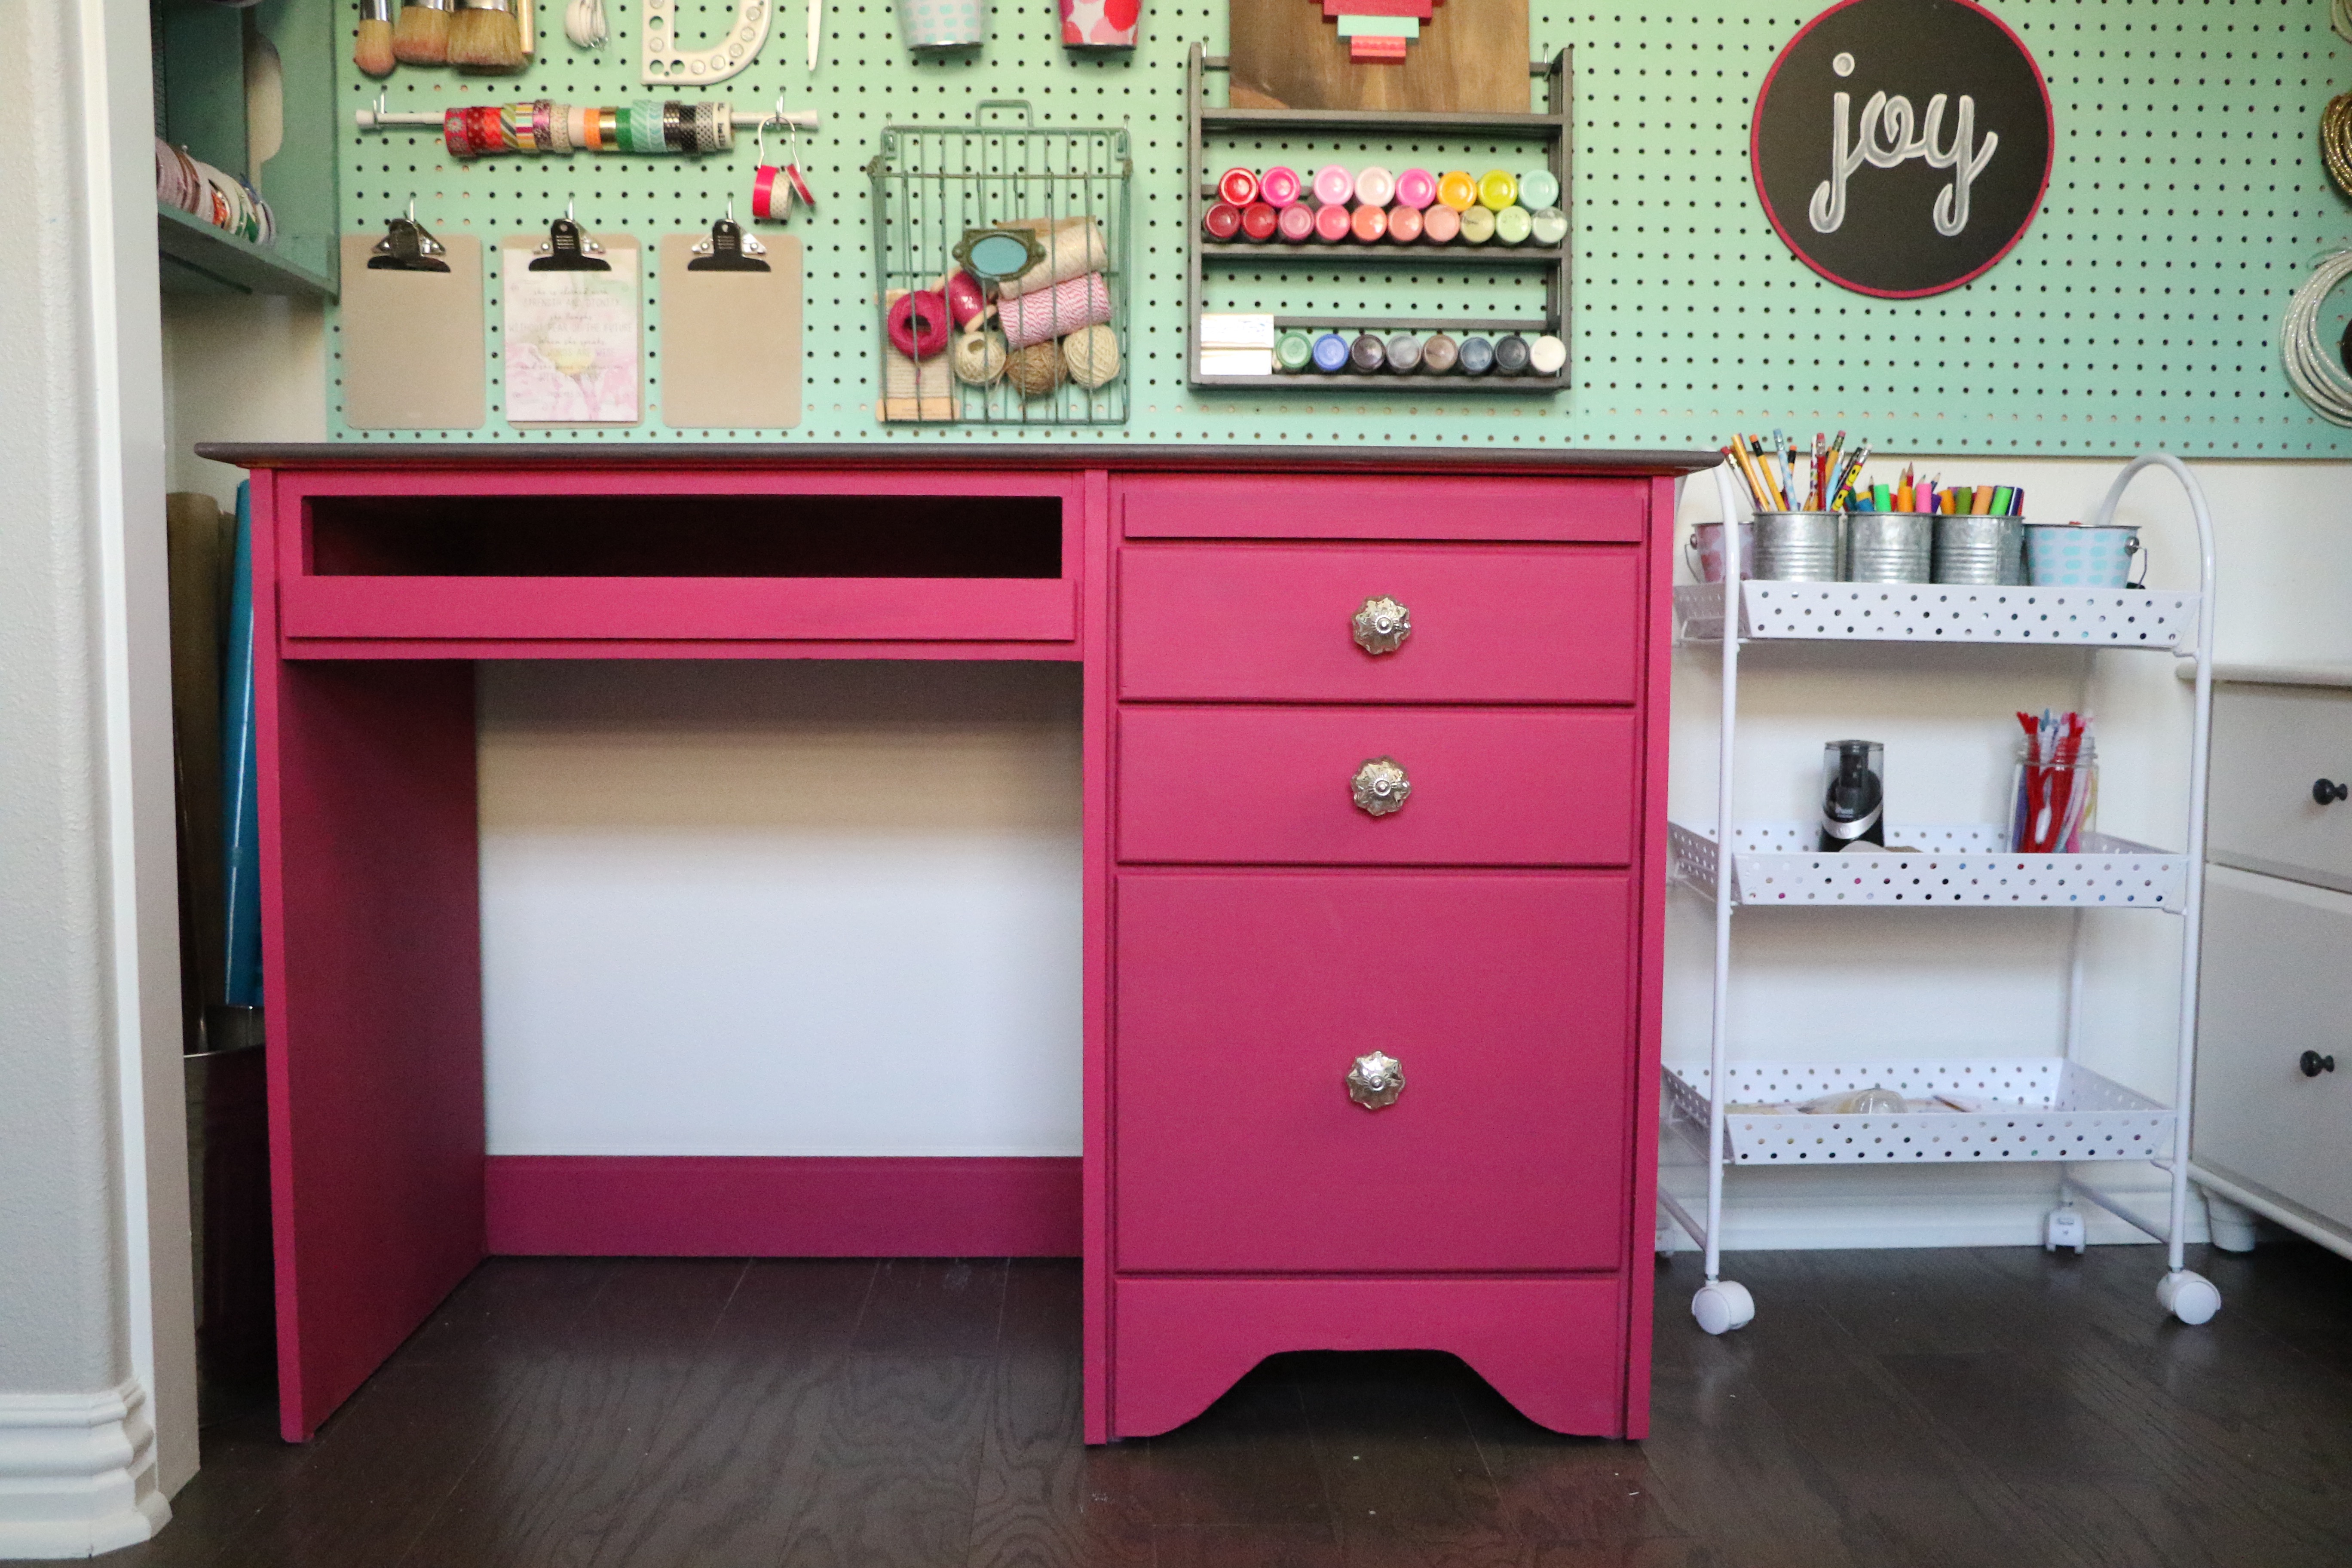
And then after a few months, I made a few tweaks. Because that’s usually how it is, you have to live in the space for awhile before you know what works best. Here is what it looks like now.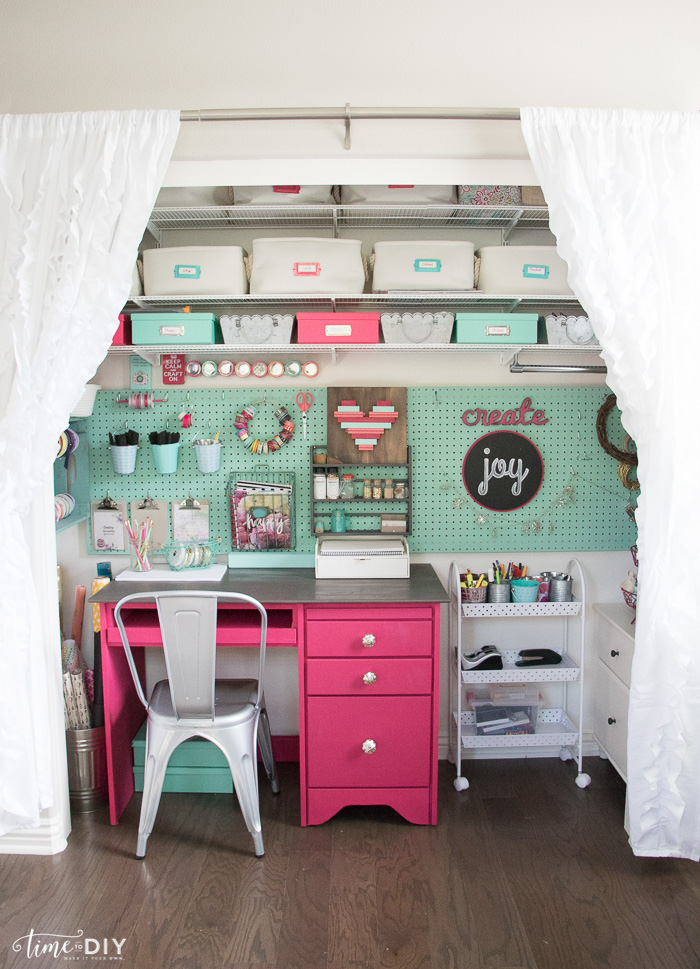
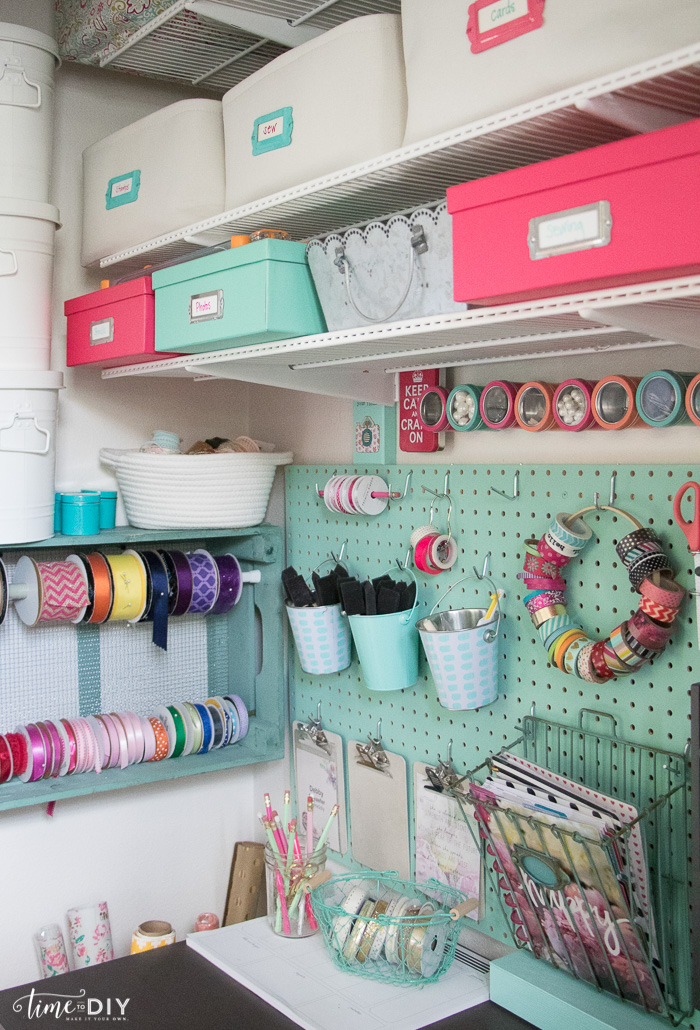
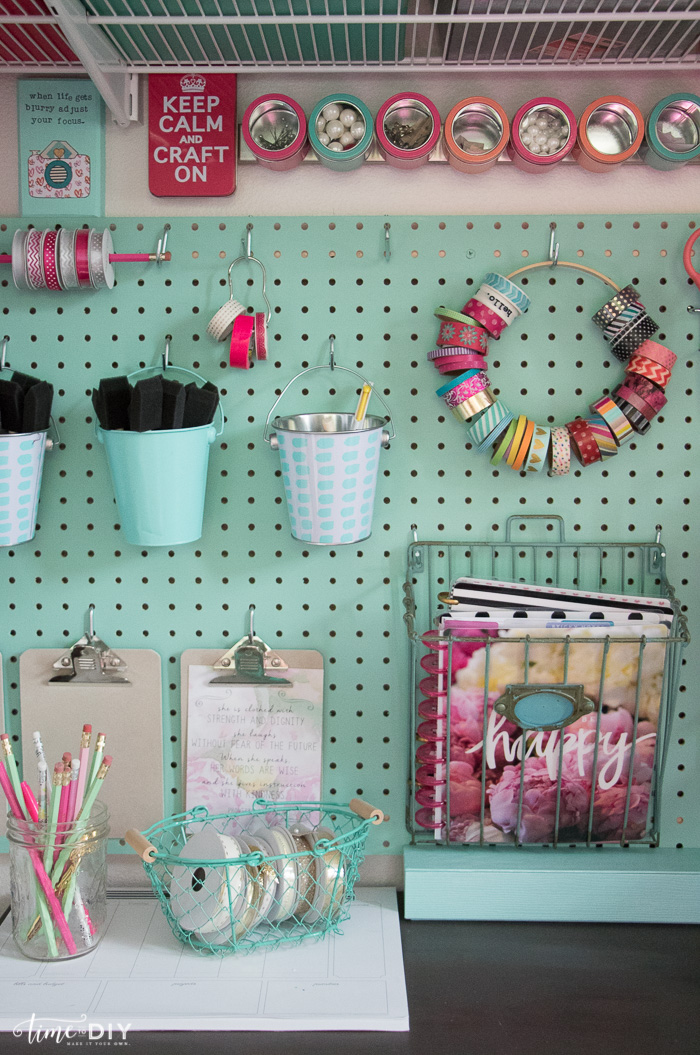
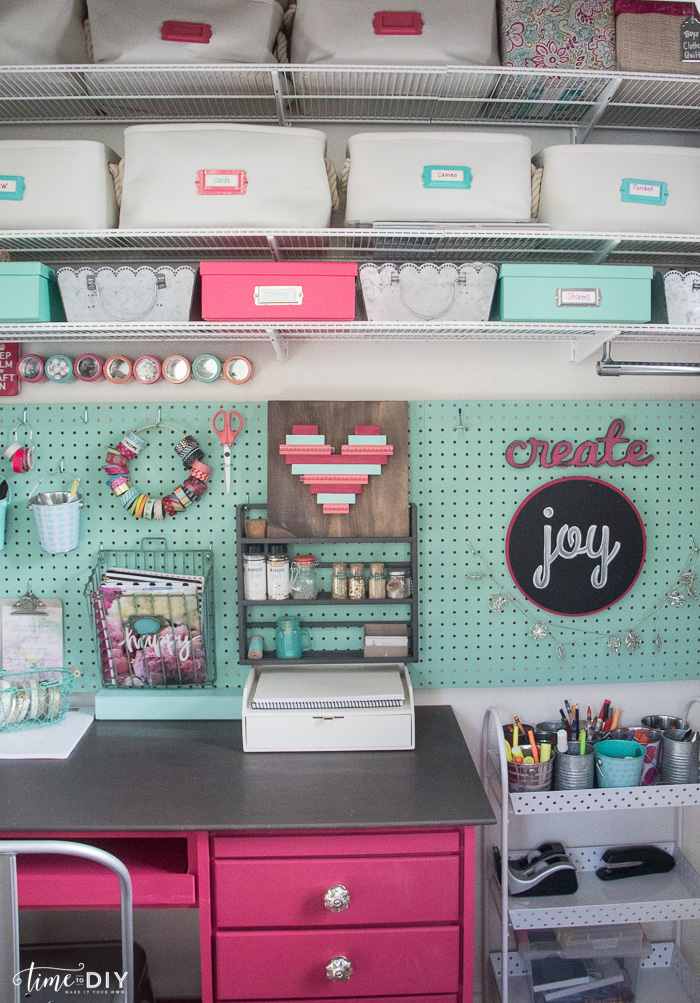
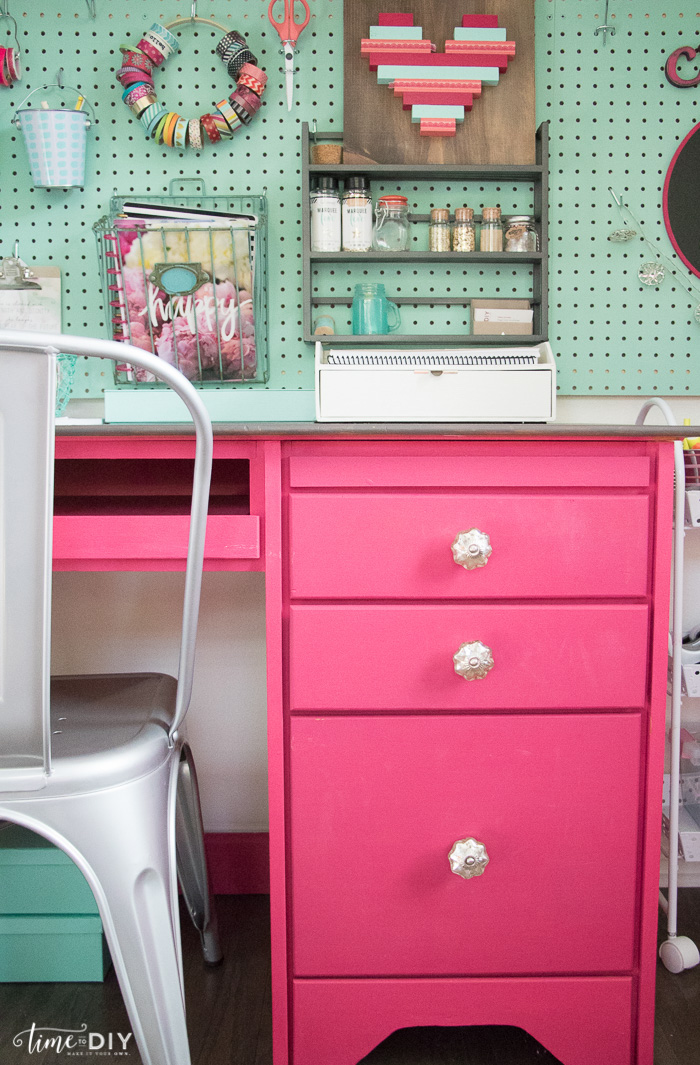
This is how much my kids love this space – I could barely take pictures without them jumping in to grab their supplies, haha.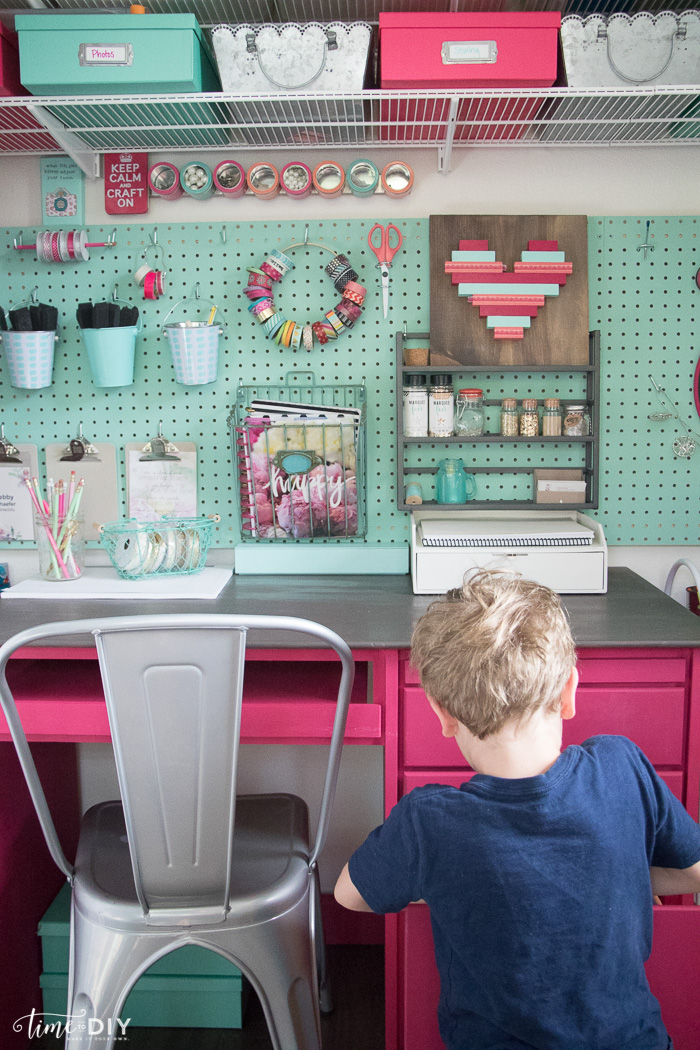
I got this handy cart at Michaels. The kids love rolling it along for portable art supplies.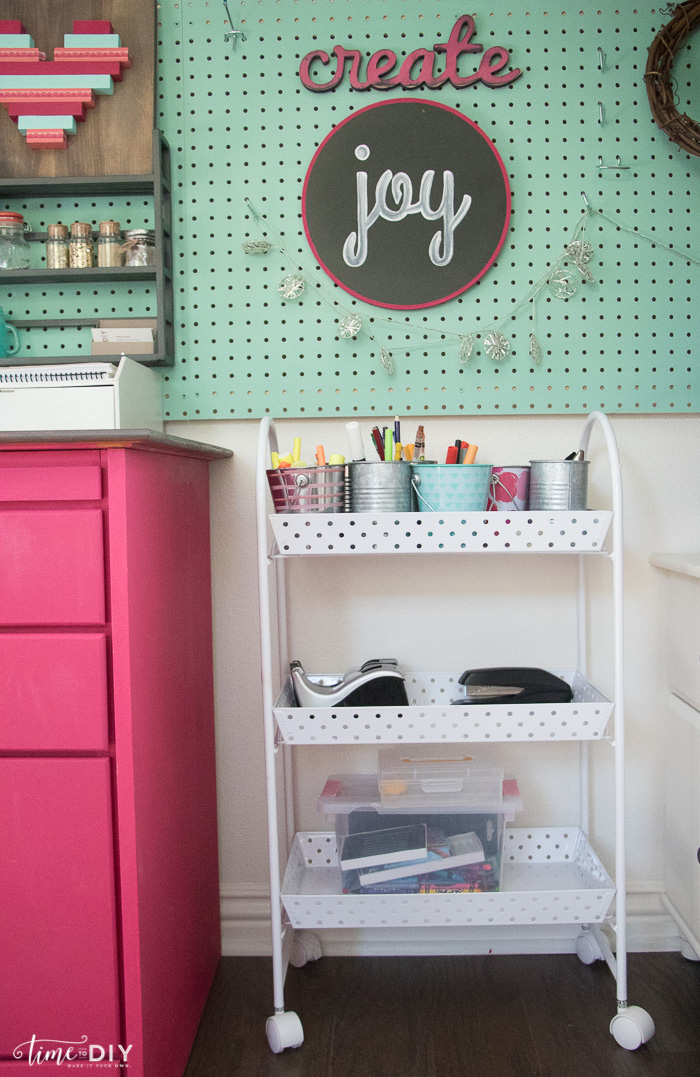

If you liked this post, please pin it!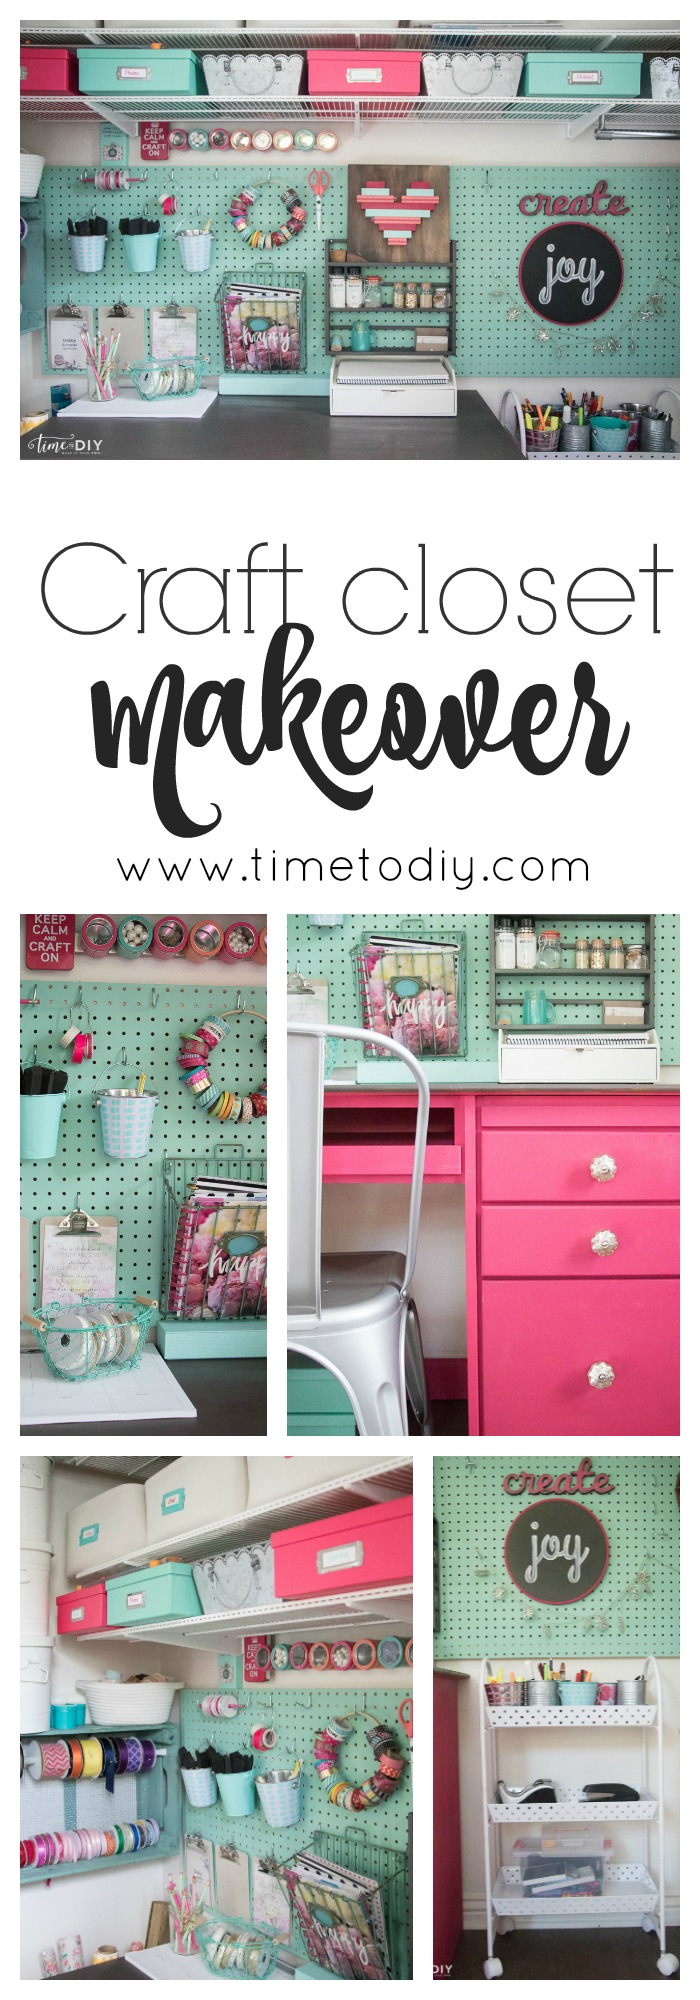
For the before/after and how I used a sprayer to paint the desk, check out Pink Desk Makeover. 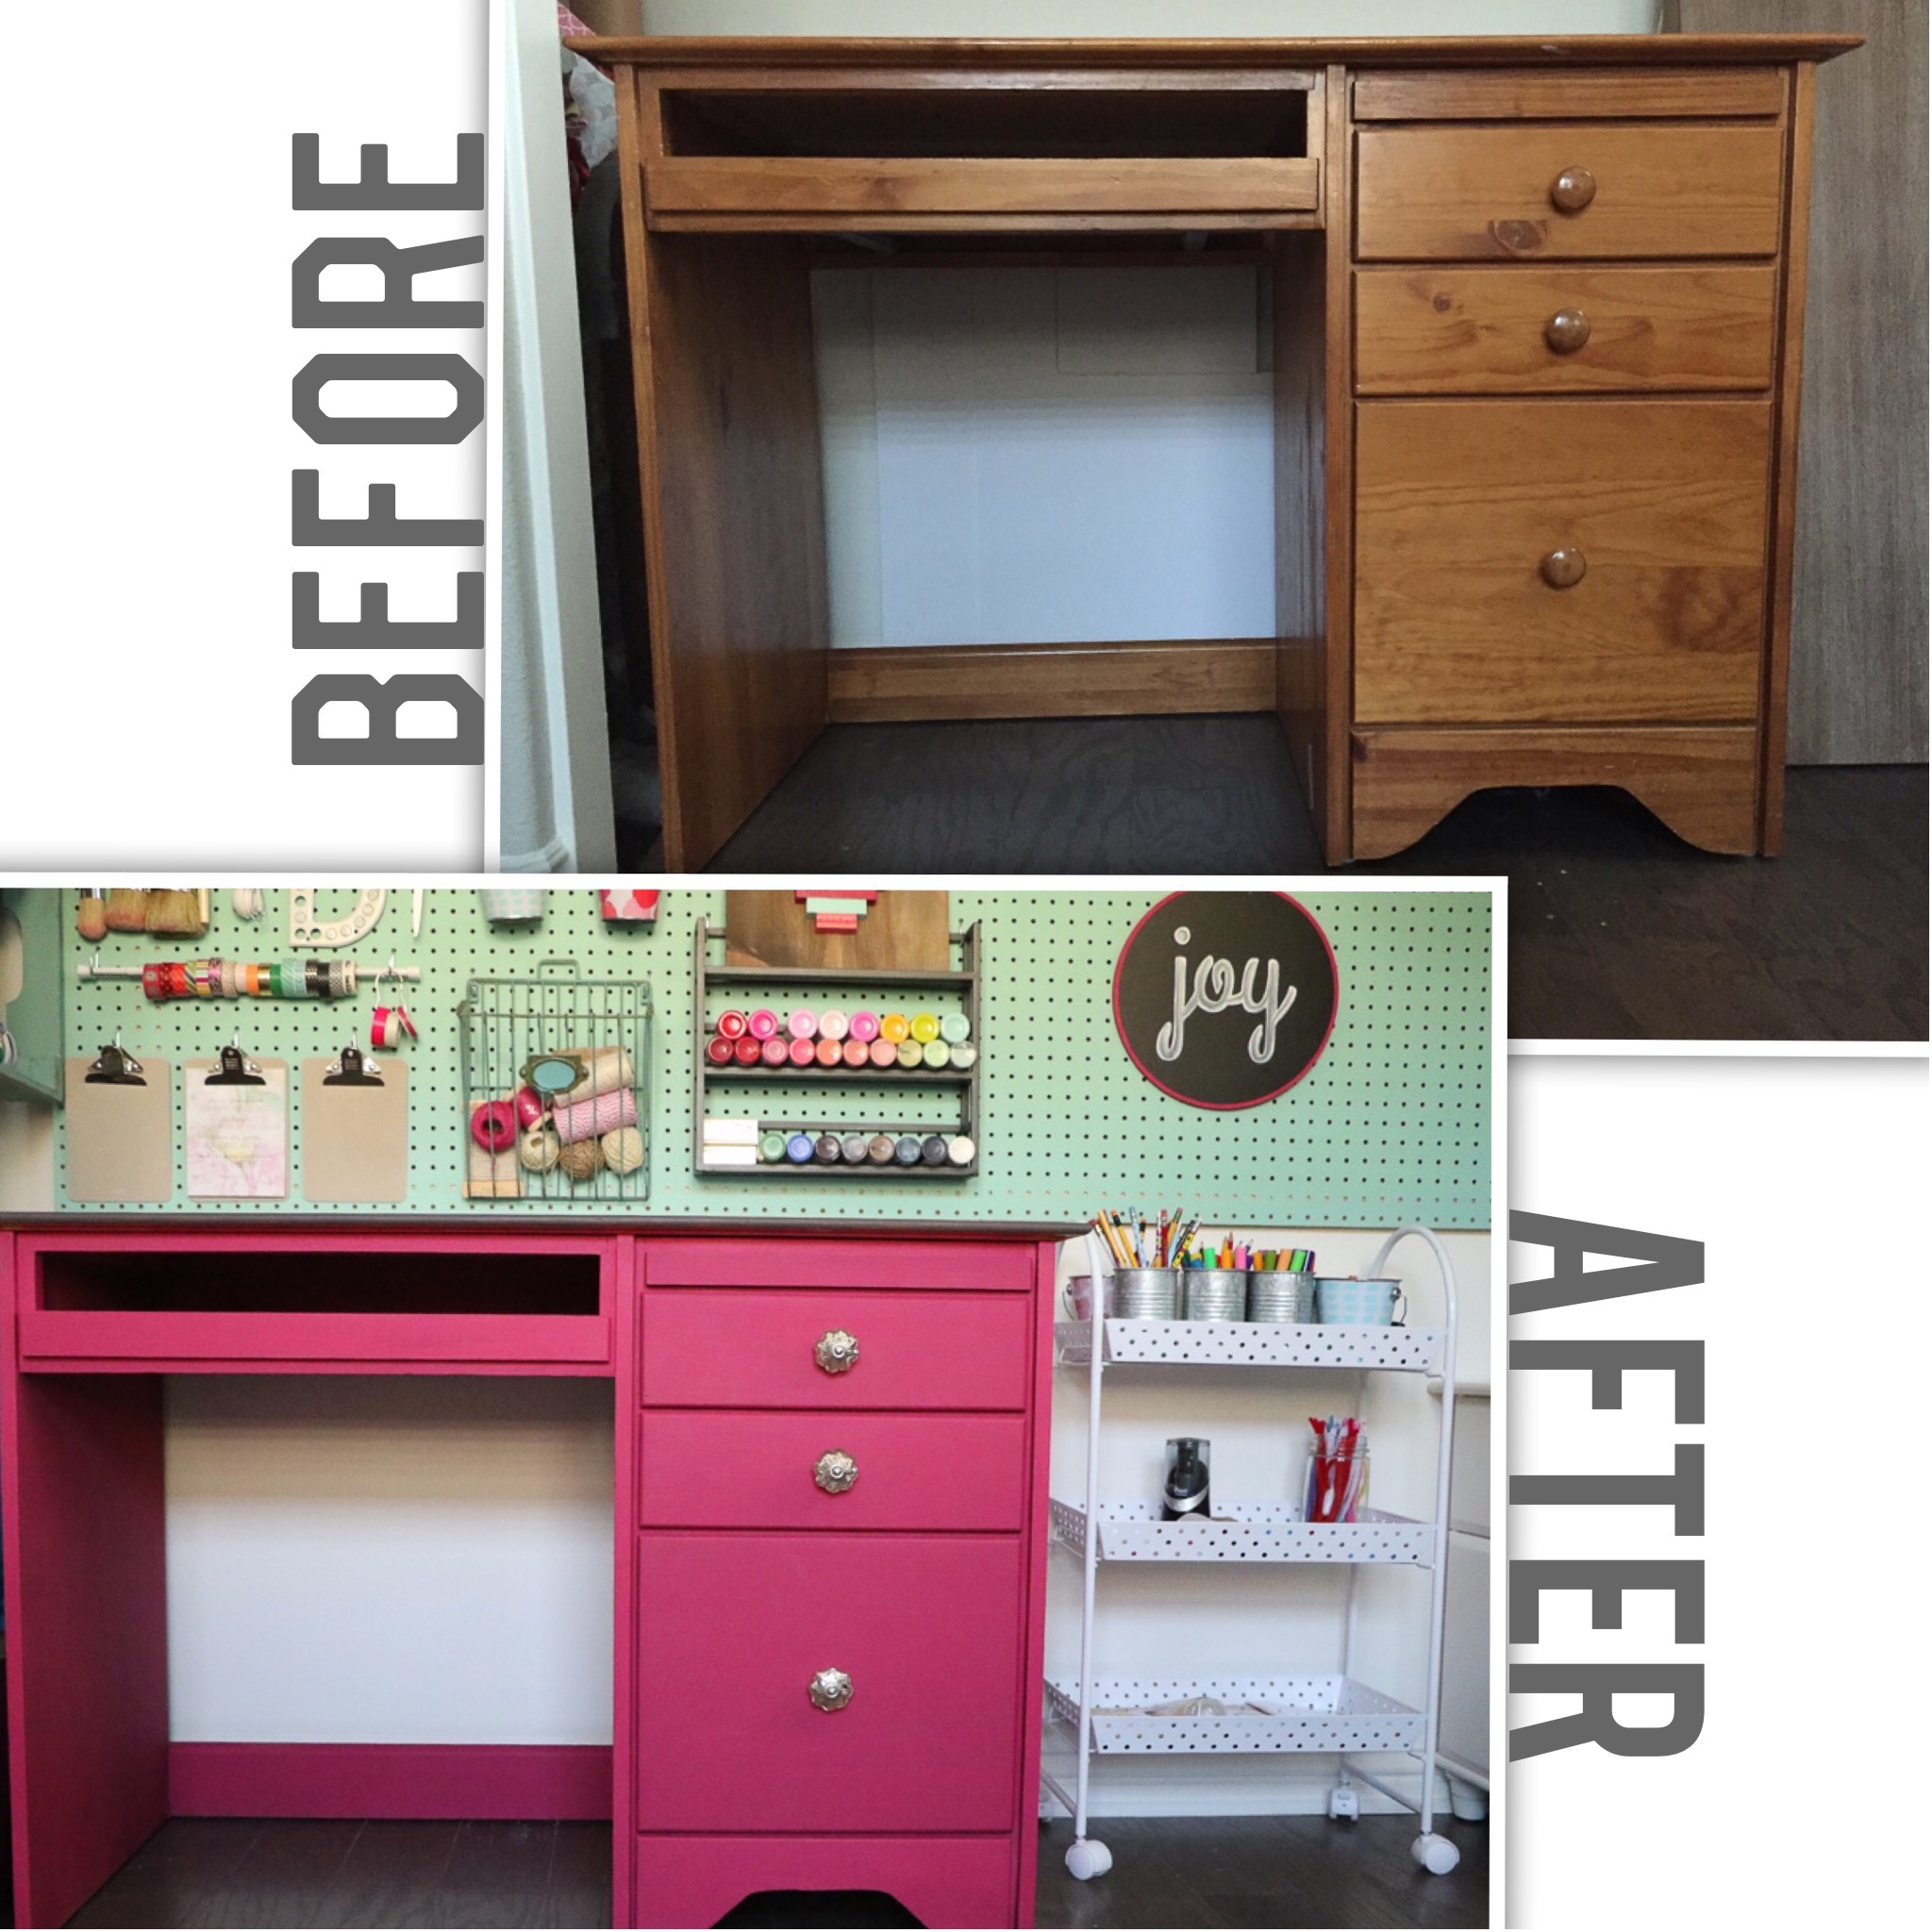
And for more organization ideas, check out my Pantry Organization Tips,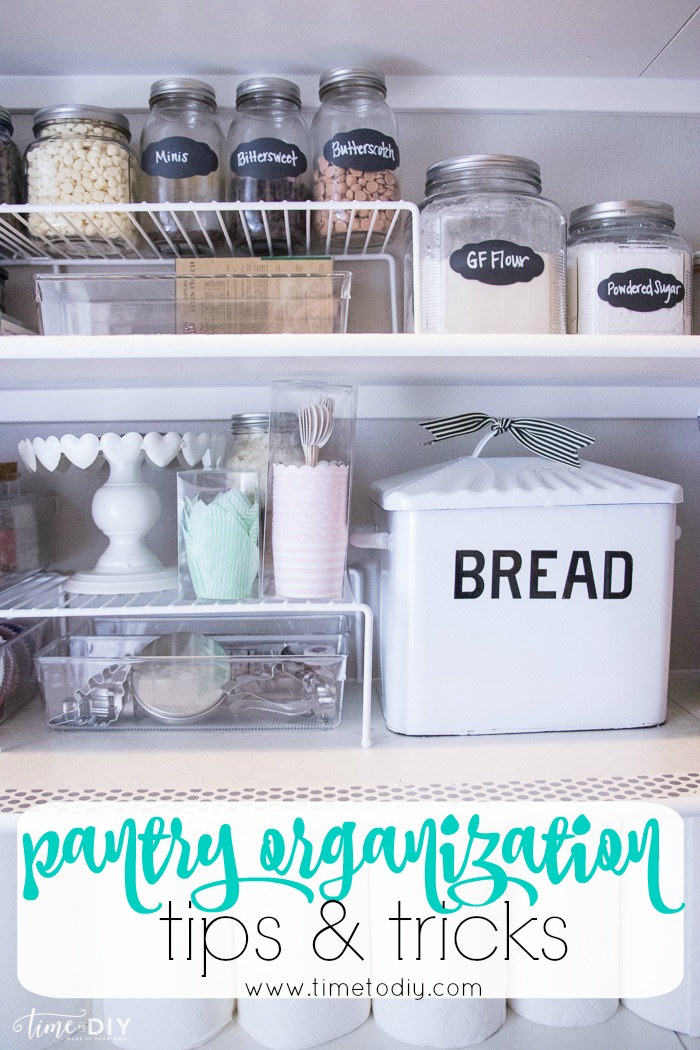
Or my Laundry Ladder Drying Rack.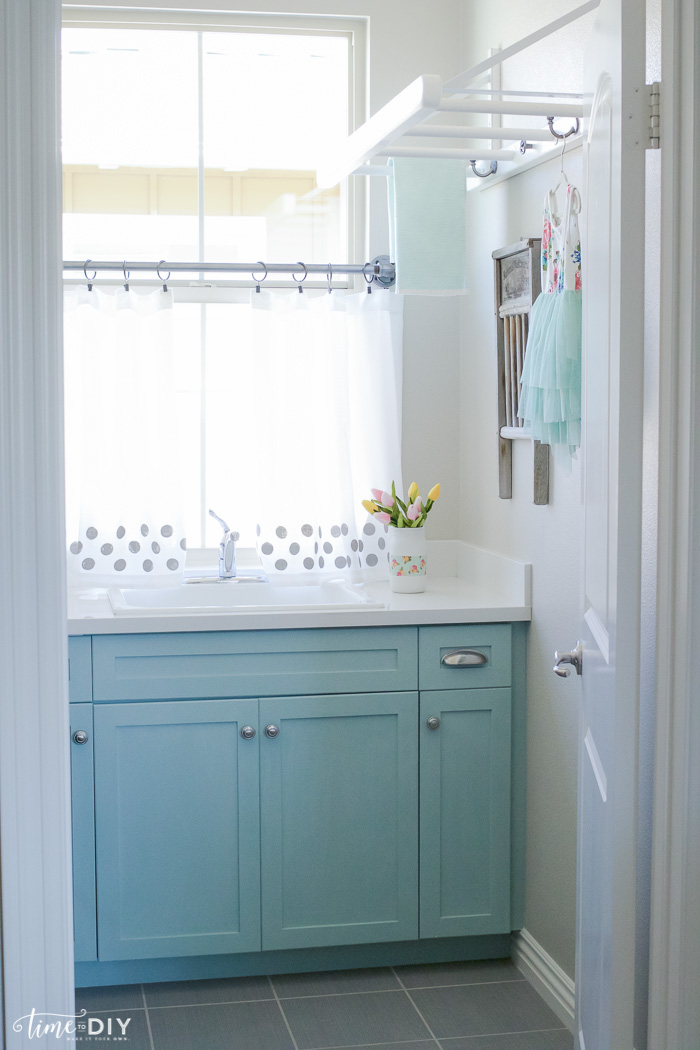
Hope you have a great week! For more DIY decor and ideas, follow me on Facebook | Instagram | Twitter.



Sooooo…. where is your sewing machine in your new craft closet?????? I just LOVE ❤️ That “Joy” is front and center!!!
You know I love Joy! So I’m in the market for a new sewing machine! I just sold mine. Any suggestions?
What closet system did you use specifically?? I see a ton of things by elfa but I don’t see this specific one. Thank you!
Hi! It’s not a system…The two shelves on top are Elfa, and I added the pegboard (Lowes or Home Depot).
You are amazing for taking the time to share the helpful details of this stunning craft closet ! Thank you!-Mel
Thank you, Mel!
Omg!! Wow!! So beautiful! Very inspiring! I love this! Thank you for taking the time to share your creativity. I’m inspired to create my own craft thank you!
Thank you so much!