My sister wanted to make something for an empty wall in her room so, of course, we turned to Pinterest for some inspiration. She liked the bubble wrap art and puffy paint drawing so we decided to combine the two.
She started with the bubble wrap painting, and chose her room colors, naturally. She cut strips of bubble wrap (conveniently located in my “mailing center” in the basement), painted them, and applied. It took longer than we thought to cover the canvas.
Here it is, all bubble wrapped painted. Now, for the puffy paint designs…
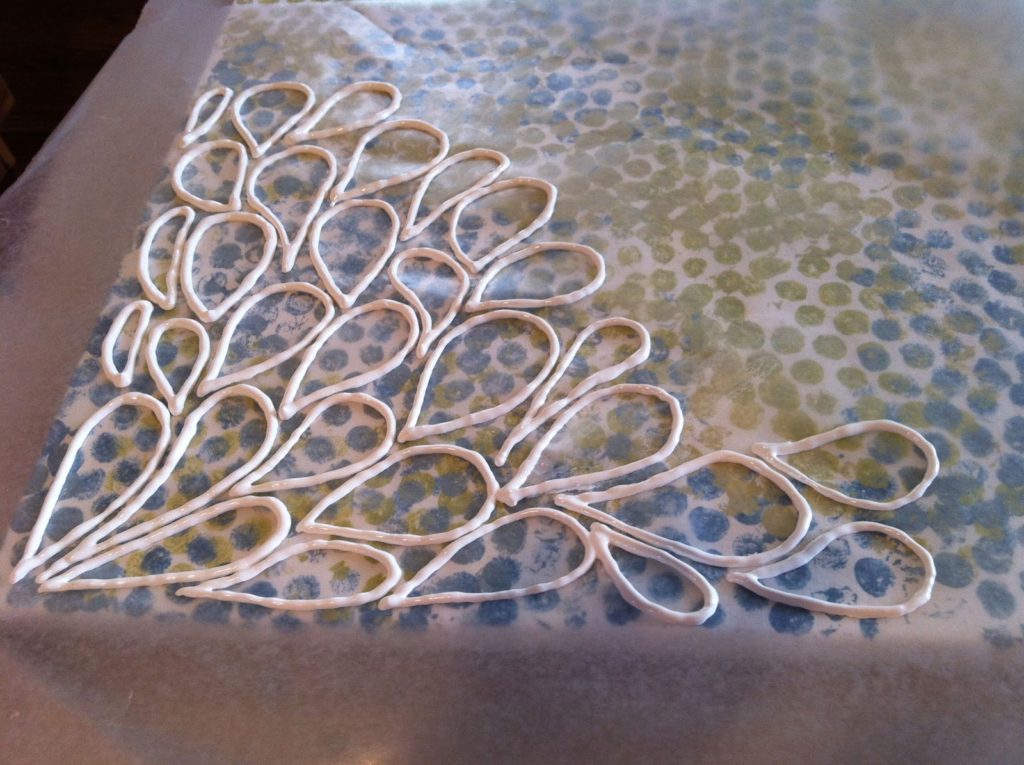
She drew some designs freehand and I traced them with puffy paint on wax paper. We removed the puffy paint from the wax paper when it dried (that took awhile, and I ruined a few when I checked too early), and mod podged it to the canvas. It took a LONG time to finish this step, mostly because of the puffy paint dry time, and how my hand kept cramping up while puffy painting.
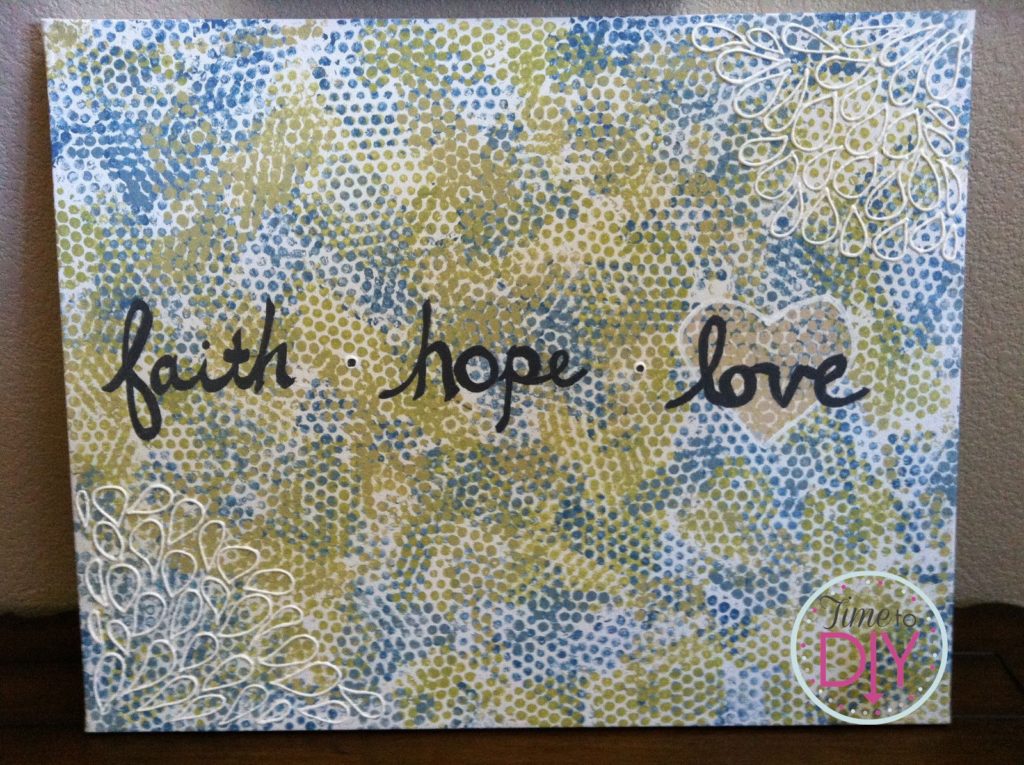
Once the puffy paint designs were there, we realized that it still looked a little too big and boring, so we added “faith, hope, love” with black paint and a paint brush I had in my craft area.
But it still didn’t look finished so we put the heart underneath the “love”. Well, we bubble wrap painted the heart, outlined it, and then redid the “love”. My youngest gave it the “seal of approval” when we were done with that step.
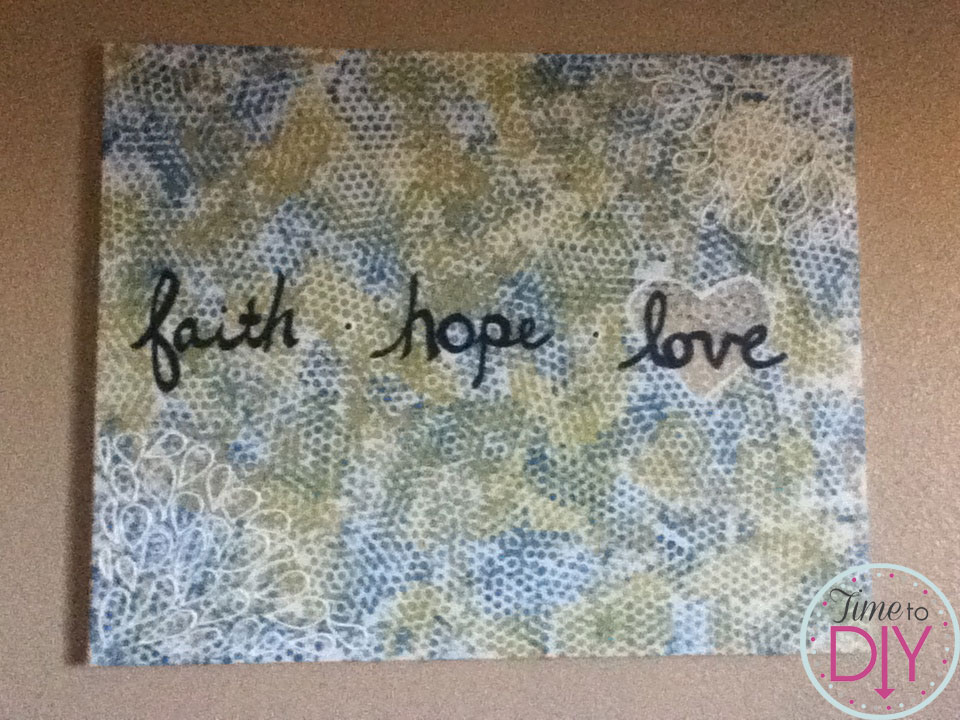
The last step was mod podging the entire thing to give it a glossy look. Here is the finished product hanging on her room.
Thanks for stopping by Time to DIY!


Leave a Reply