It’s been Baby Girl Nursery Extravaganza over here (or as Hubby calls it, Nurserypalooza). Here are the pics from Phase 1: Color scheme, paint, wallpaper, beadboard installation, chandelier, curtains, and bedding.
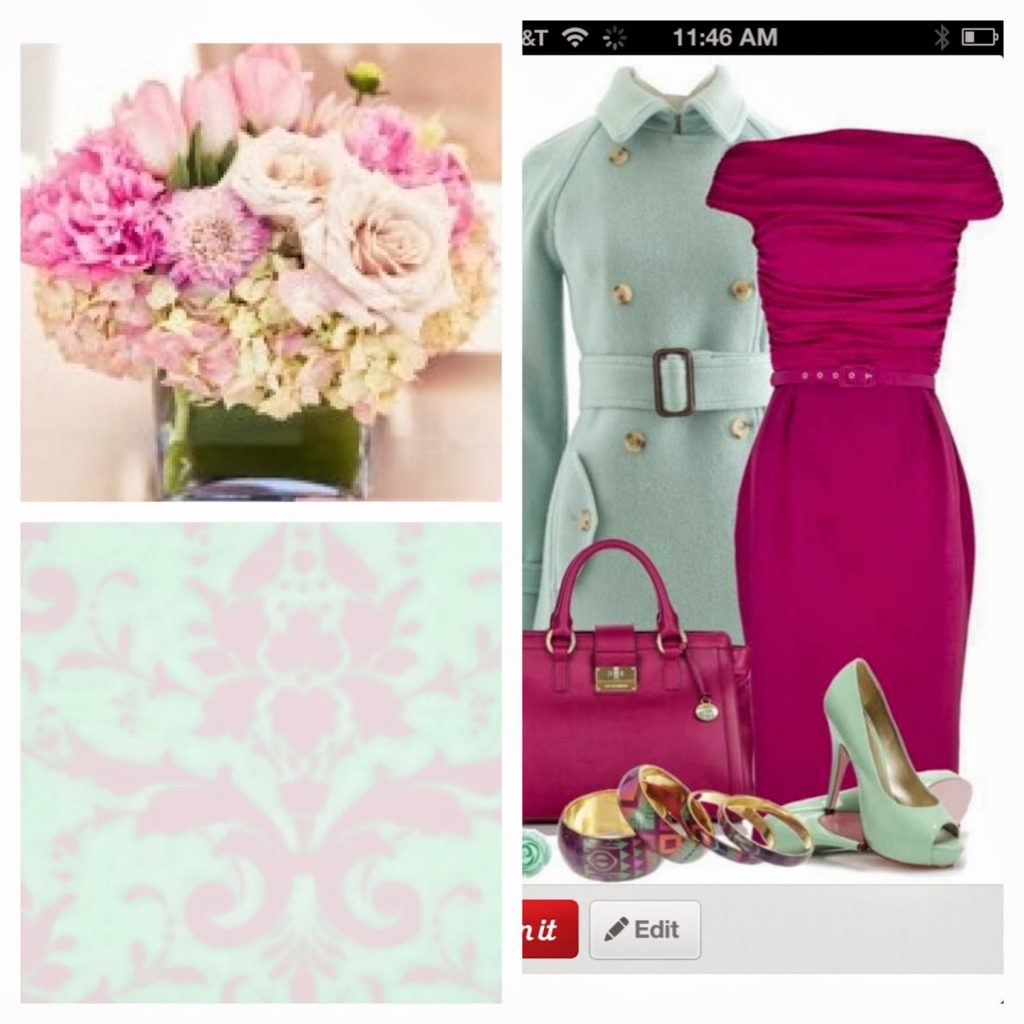
I started by scouting Pinterest for color scheme ideas. Pinks were the obvious choice, and mint has come alive the last couple years although it seemed more popular in spring/summer fashion than design (who remembers the popular peach/mint green color scheme back in the day?). But mint makes me happy, so I took a risk. And then I started seeing more mint green in design and felt better about it.
For pinks, I went with a pale pink and raspberry. Raspberry was also a risk because it’s tough to find the right color, not hot pink, fuchsia, etc.
For the walls, I went with mint wallpaper for crib wall, pale pink for the rest, and then beadboard for the bottom half.
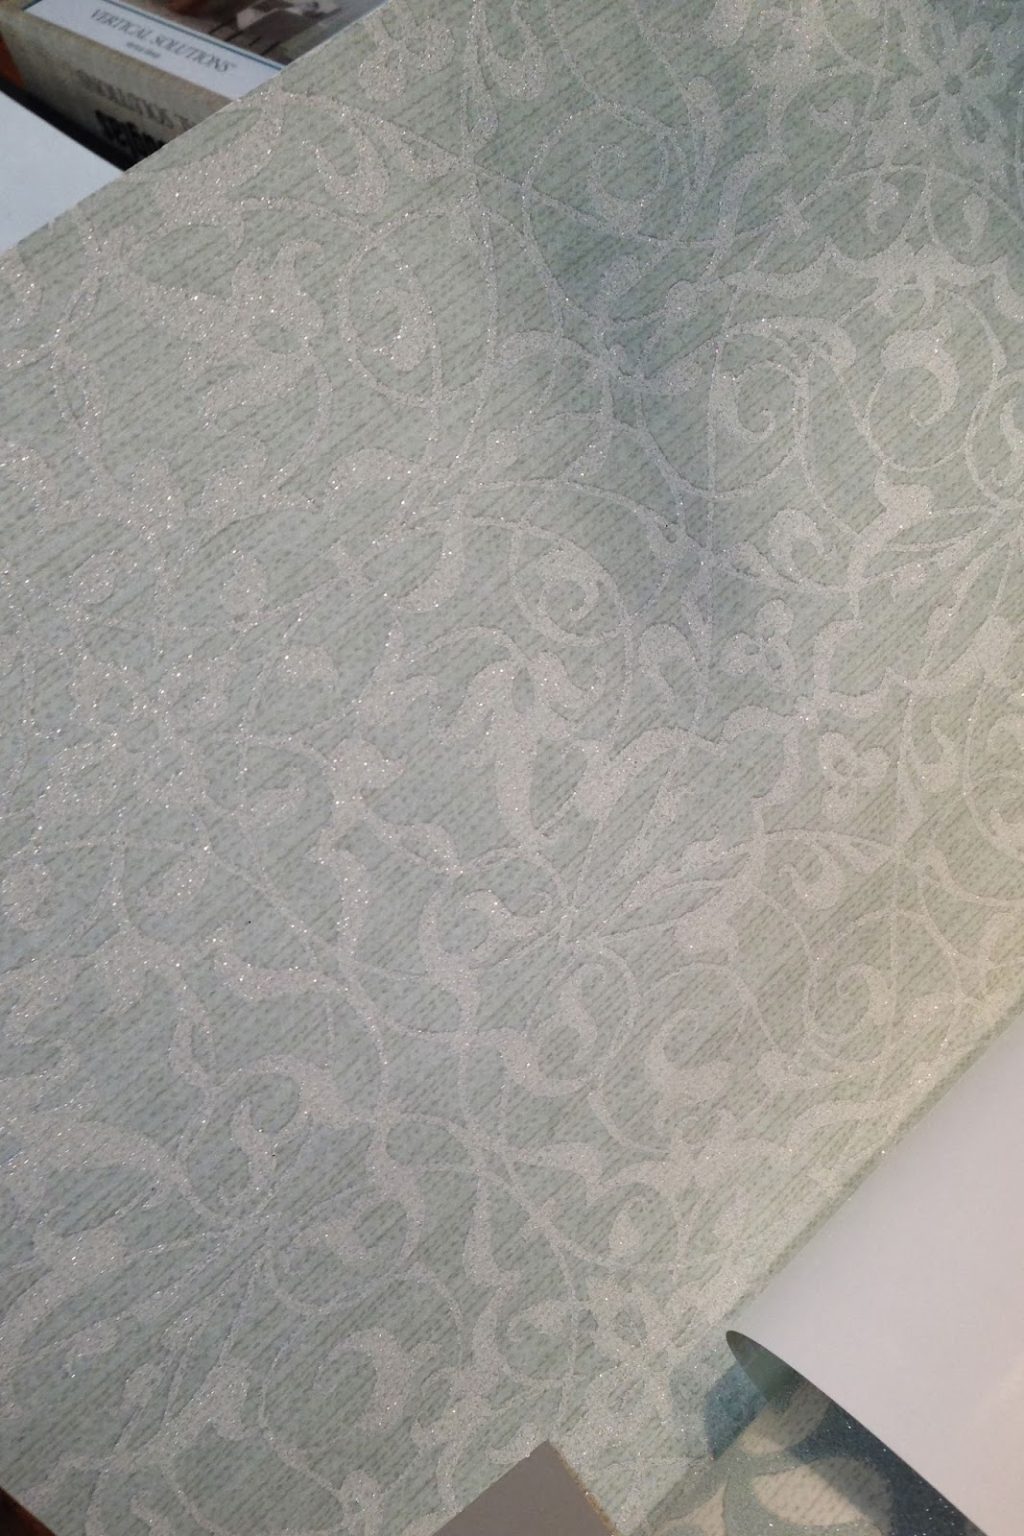
I had no idea where to get wallpaper (my parents used it back in the 90s, but I didn’t pay much attention), so I just went to Guiry’s. Finding my vision was challenging, though.
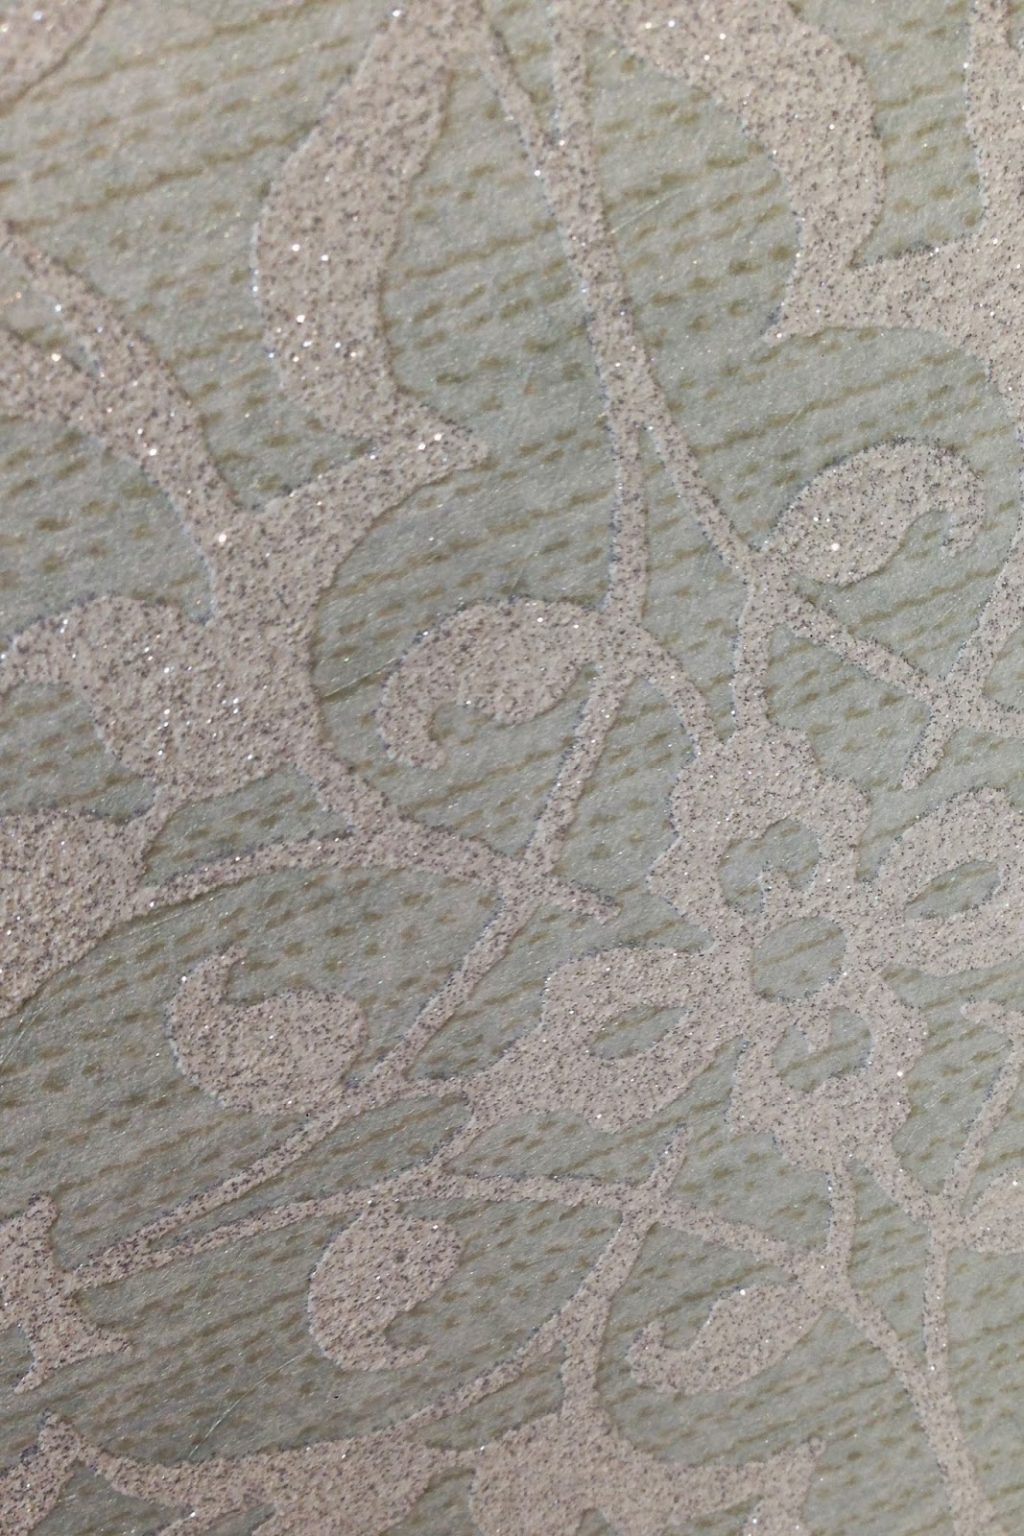
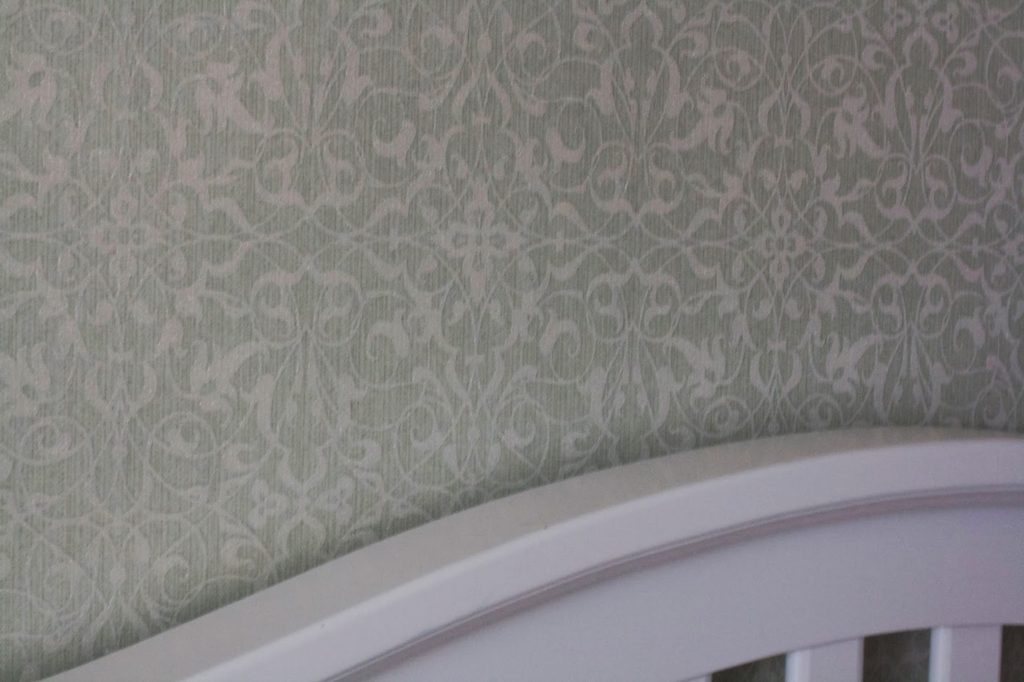
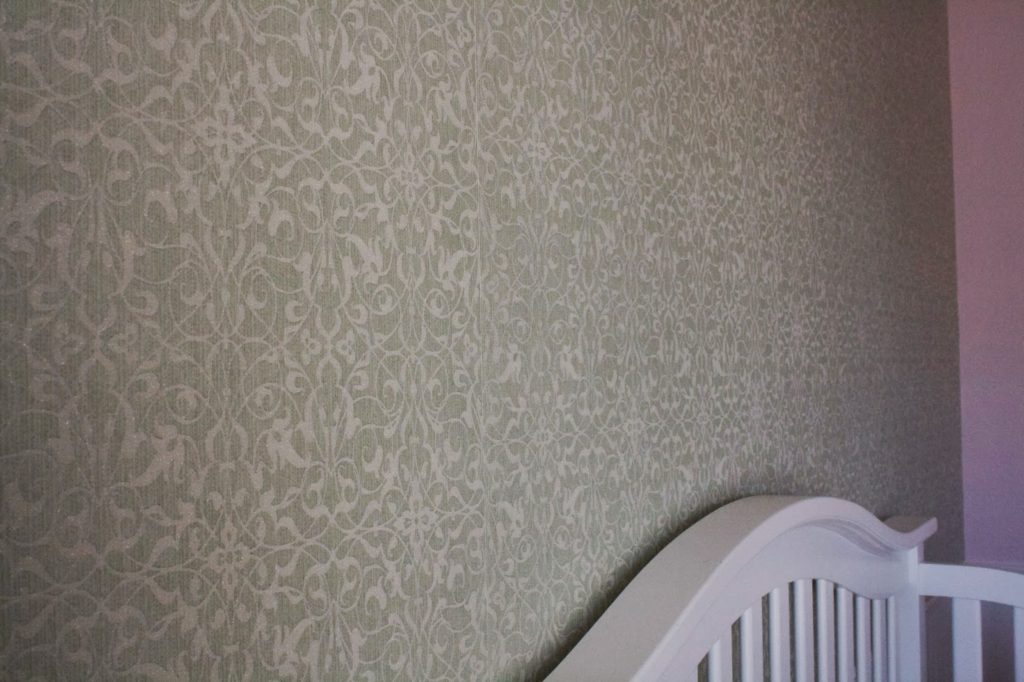
What I picked wasn’t exactly the mint green that I wanted, but it was the closest they had. I did like the quasi damask print and the shimmer.
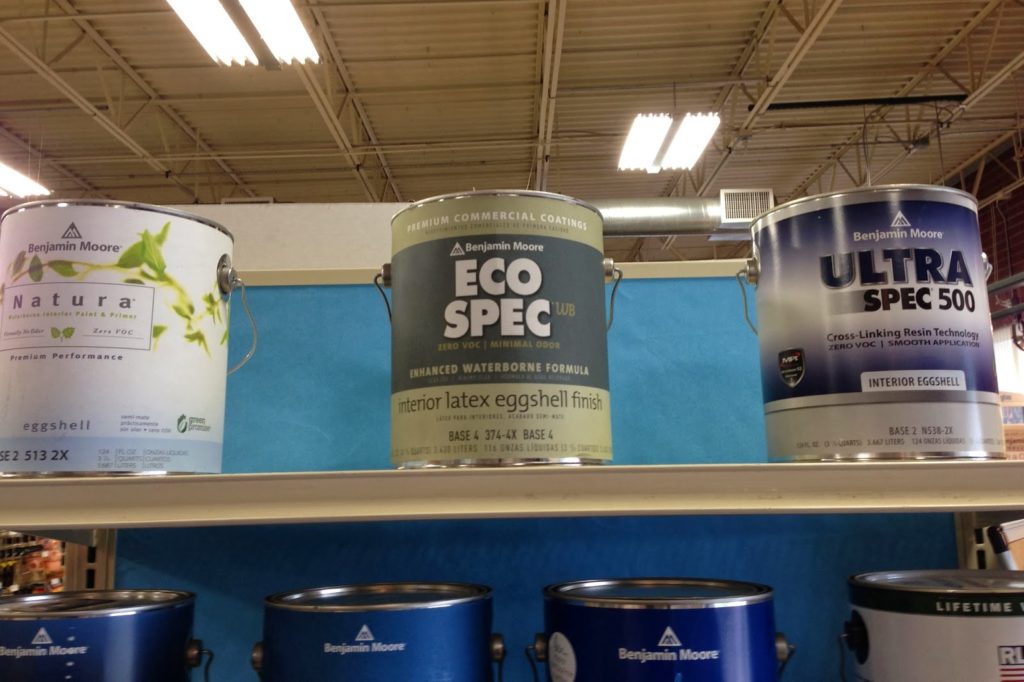
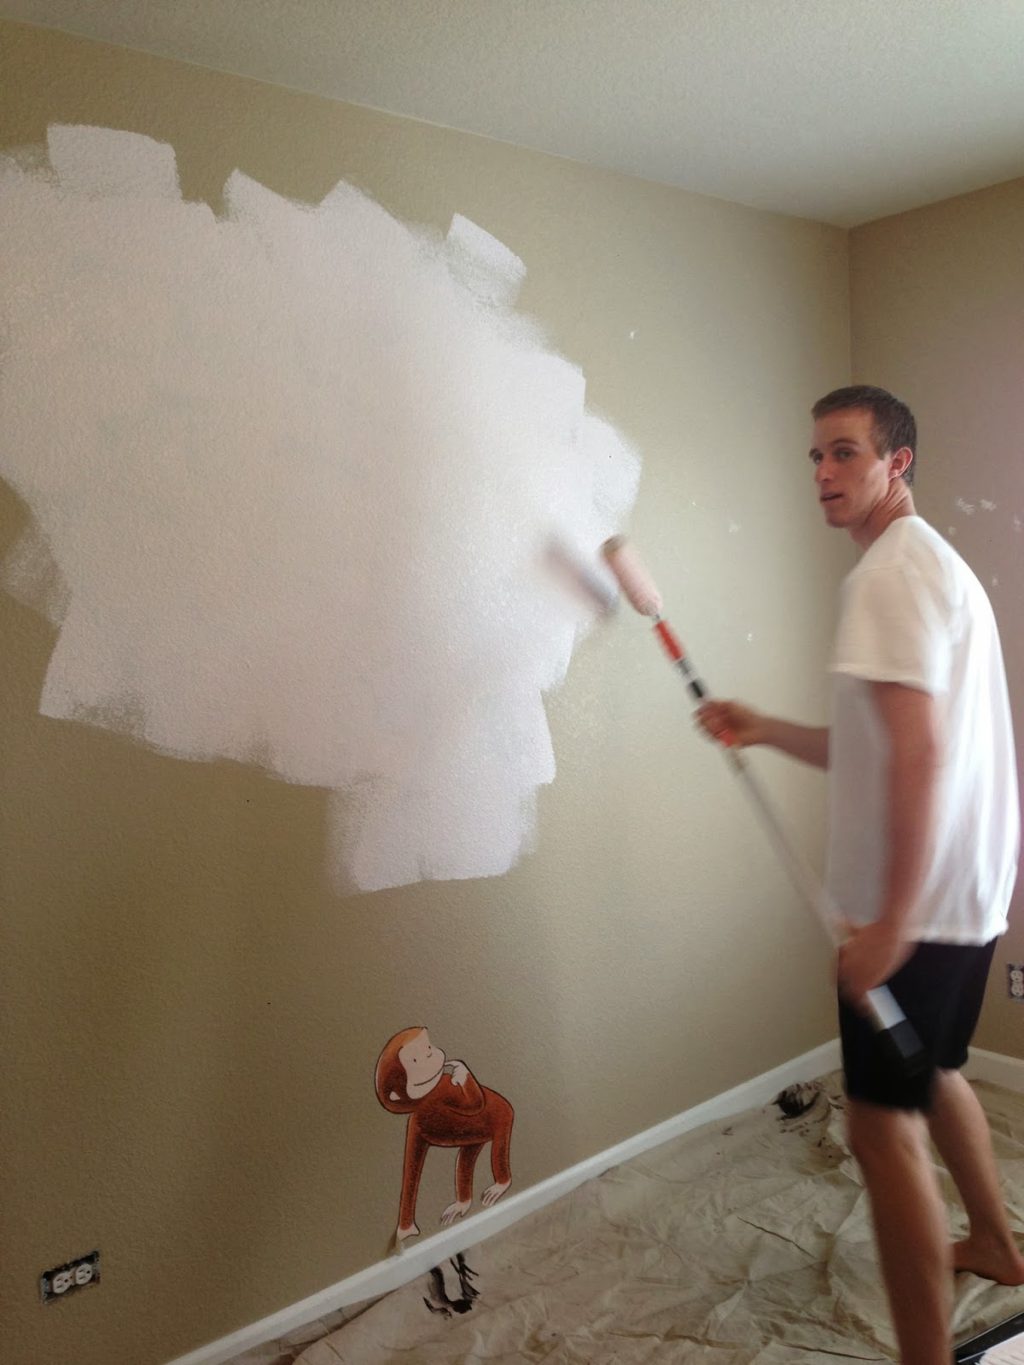
For the pale pink paint, even though my brother Jeff was doing the painting, I wanted to make sure I wasn’t exposed to fumes. Benjamin Moore offers three varieties. The Natura is the most expensive, but it’s the only no VOC/No odor option (the others are “low”). And there really aren’t any fumes! It’s great. We ran fans and an air purifier as well, just in case.
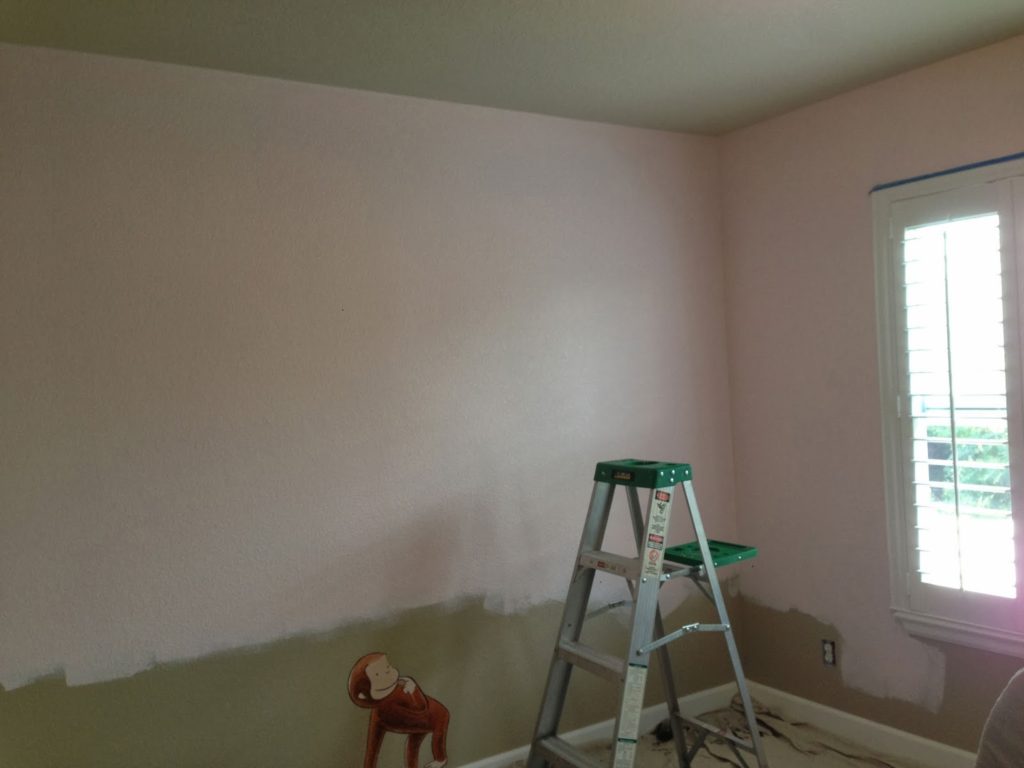
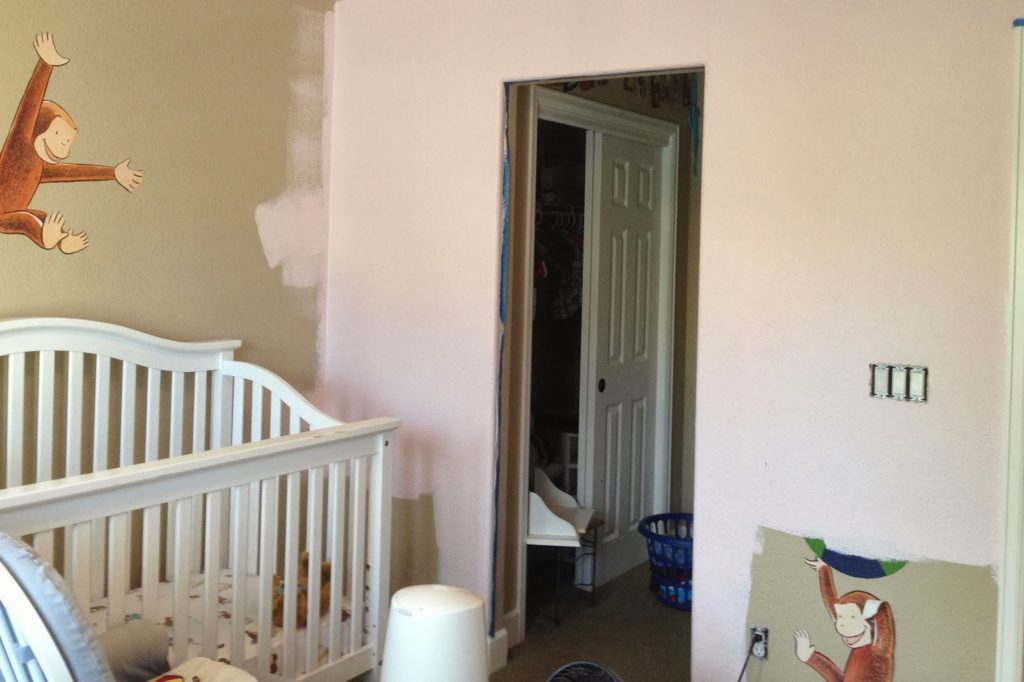
For the wall color, I went with “wispy pink.” It was just a touch too dark for me, but not enough to redo it. My advice for pale pink paint: even though it looks too light, it’s probably perfect.
Once we had the wallpaper and paint, Curious George nursery came down and the real worked started. I was so lucky that Jeff came out from CA to help me! I couldn’t have done it without him.
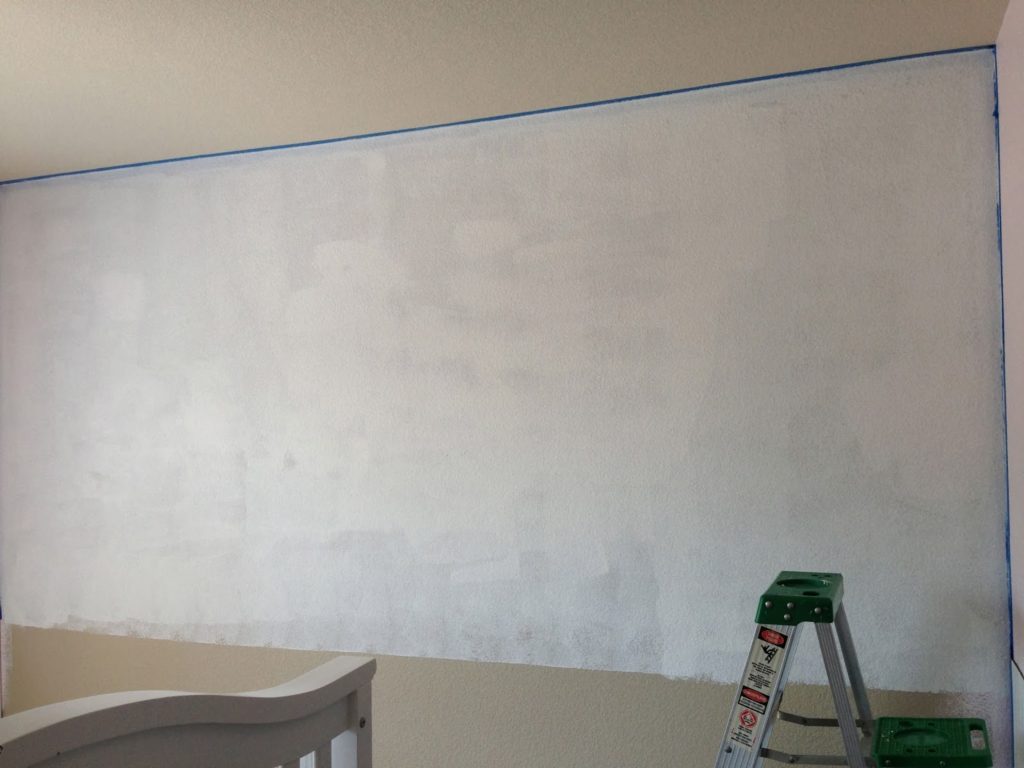
Once painting was done, it was time for wallpaper. I got the wallpaper primer and glue from Lowes. Hubby primed and we both tackled the wallpaper.
That was an interesting process. The directions for the wallpaper were different from the glue, so we improvised. We found it was easiest to put glue on the wall and the wallpaper to give it a better stick.
Let’s just say I don’t know that I will be hanging wallpaper again anytime soon. 😉
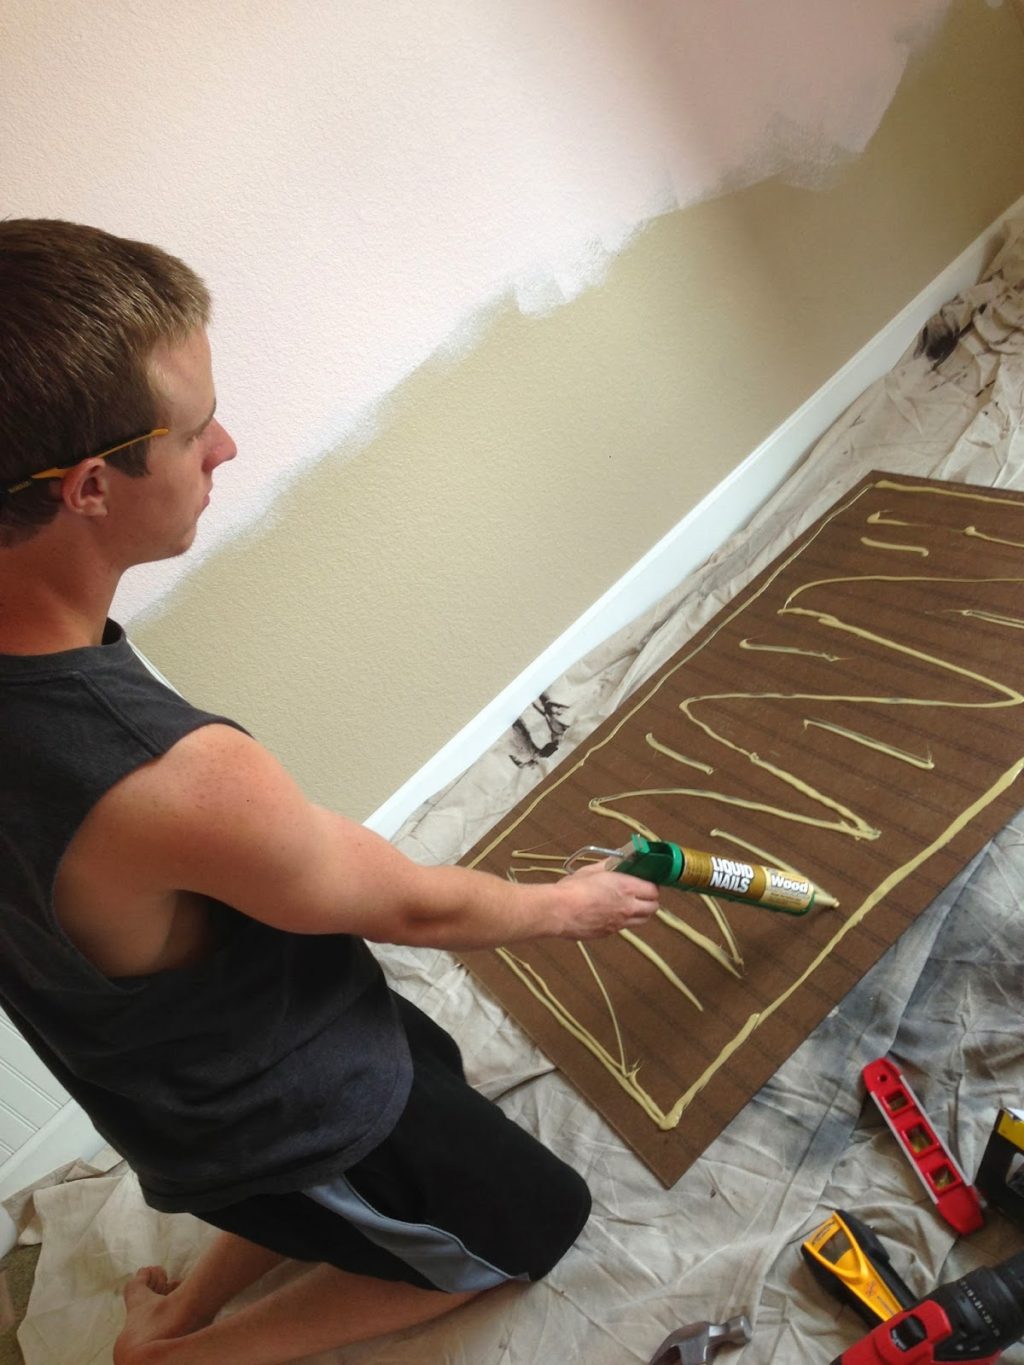
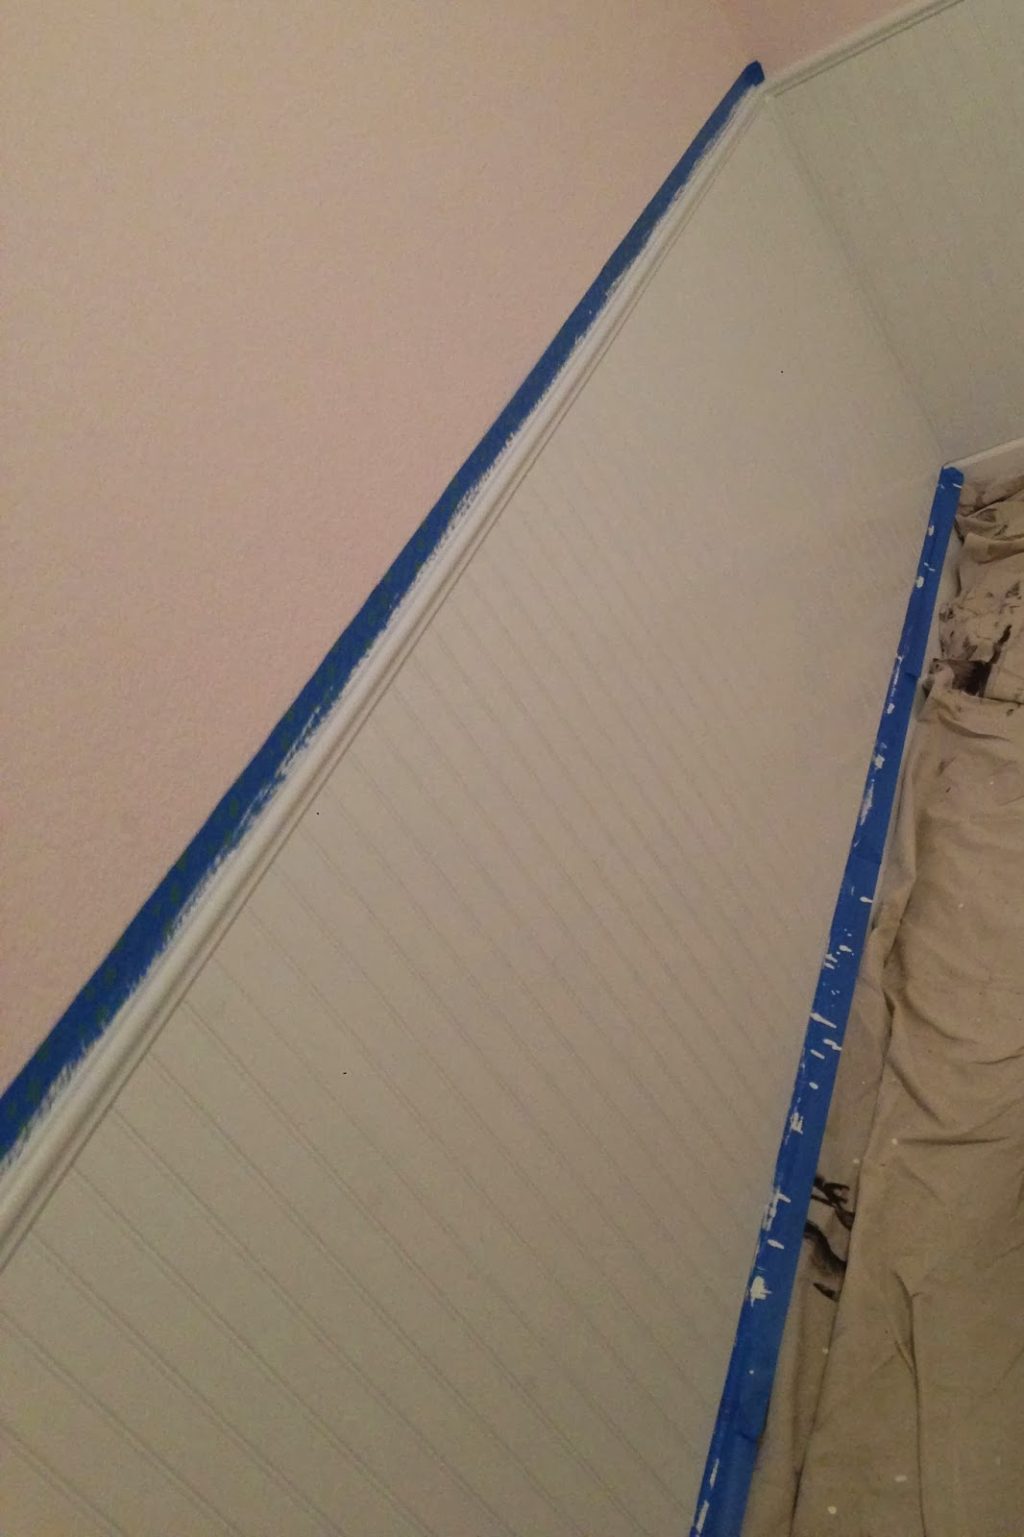
Then the final touch: the beadboard and chair rail. Jeff was the mastermind behind this project and he used the Install Beaded Plank Paneling Tutorial from Lowes. It gave all the steps and everything we needed to know.
We purchased all the supplies from Lowes as well. We brought the beadboard home to measure, make the markings and labeled each panel, and then took it back to Lowes for them to make all the cuts. We messed up on one measurement, but Jeff worked it out.
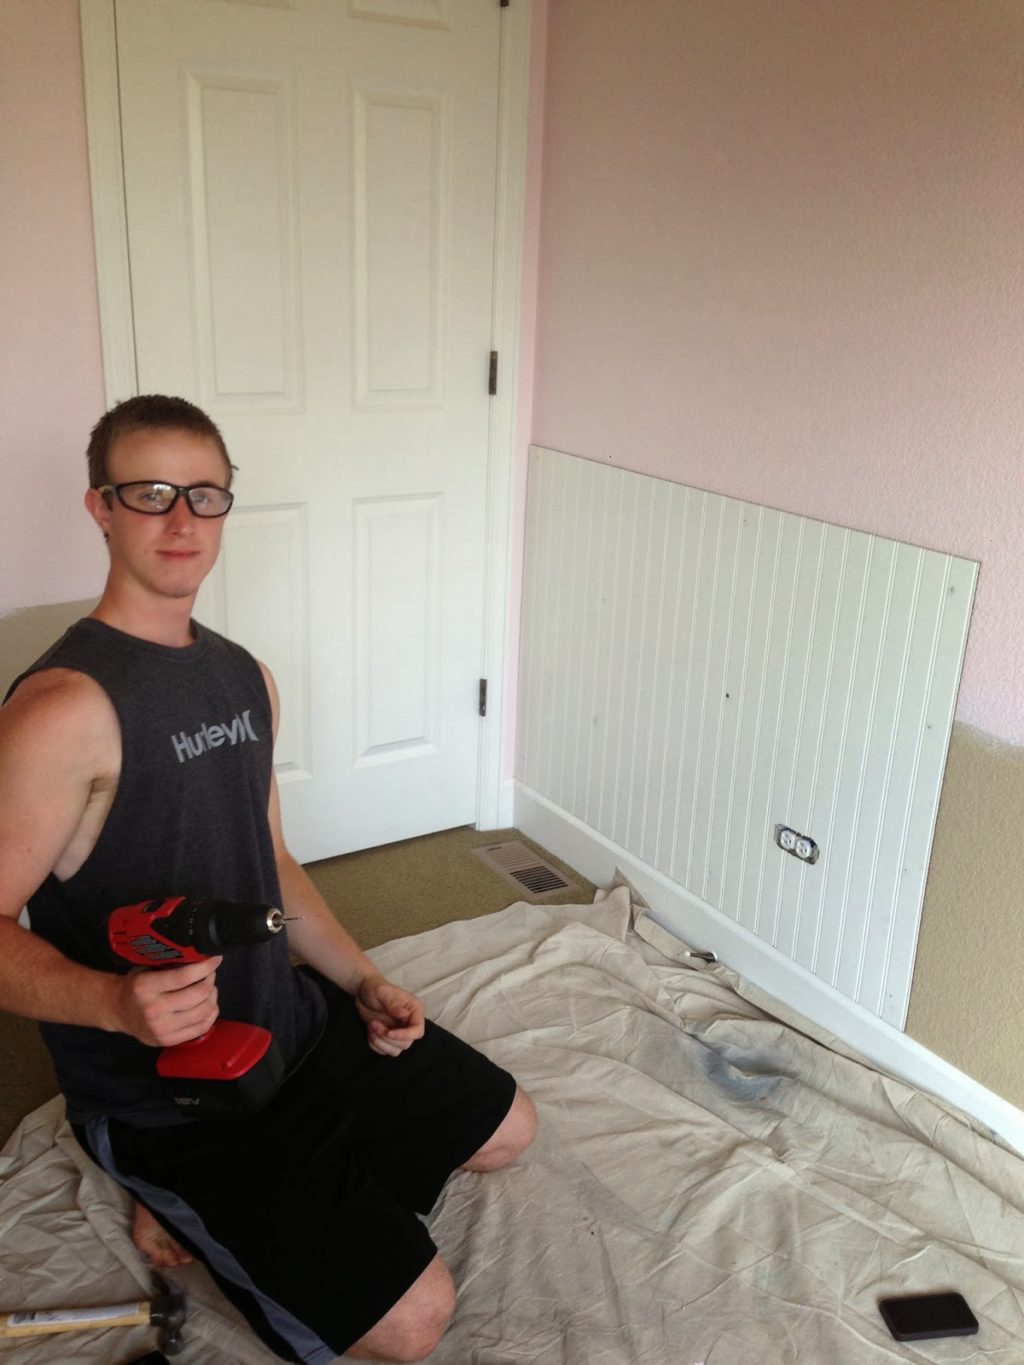
It was pretty exciting to get the first panel up!
He used kid’s chalk and a jigsaw to cut out the electrical outlets.
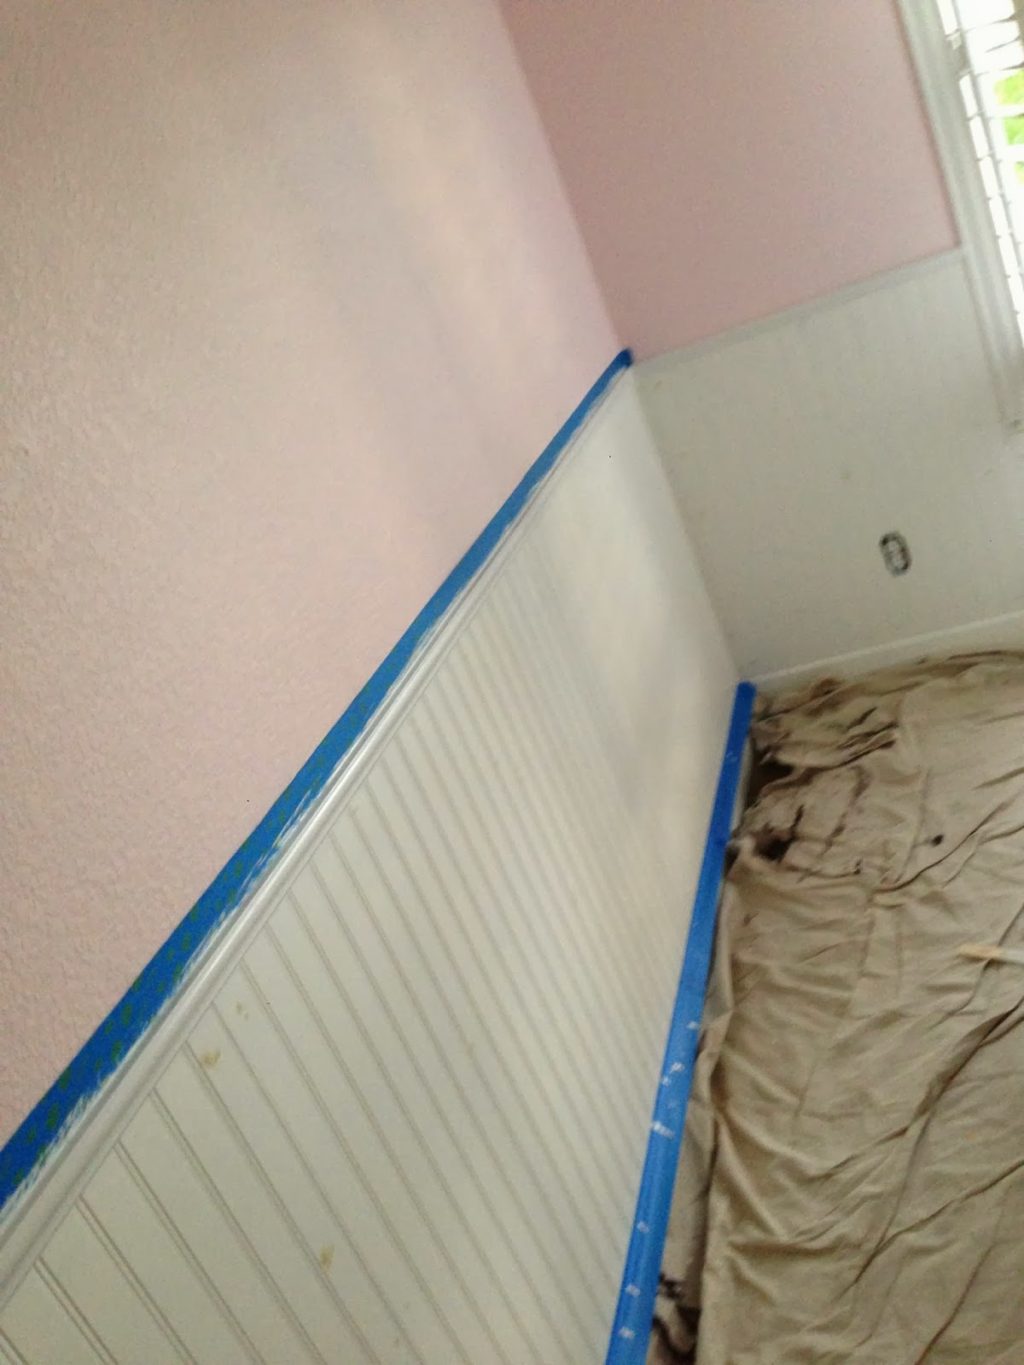
And then it really started coming together when the chair rail went up.
The installation took a couple days, but that included Jeff staying up until 4 a.m. to finish before his flight. What a dedicated uncle!
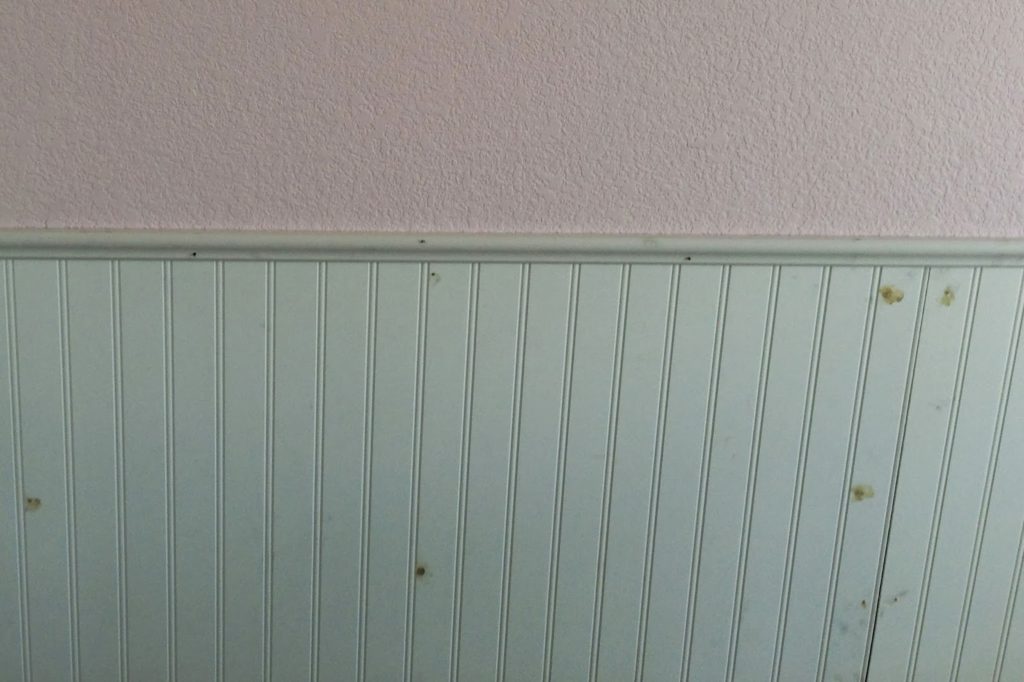

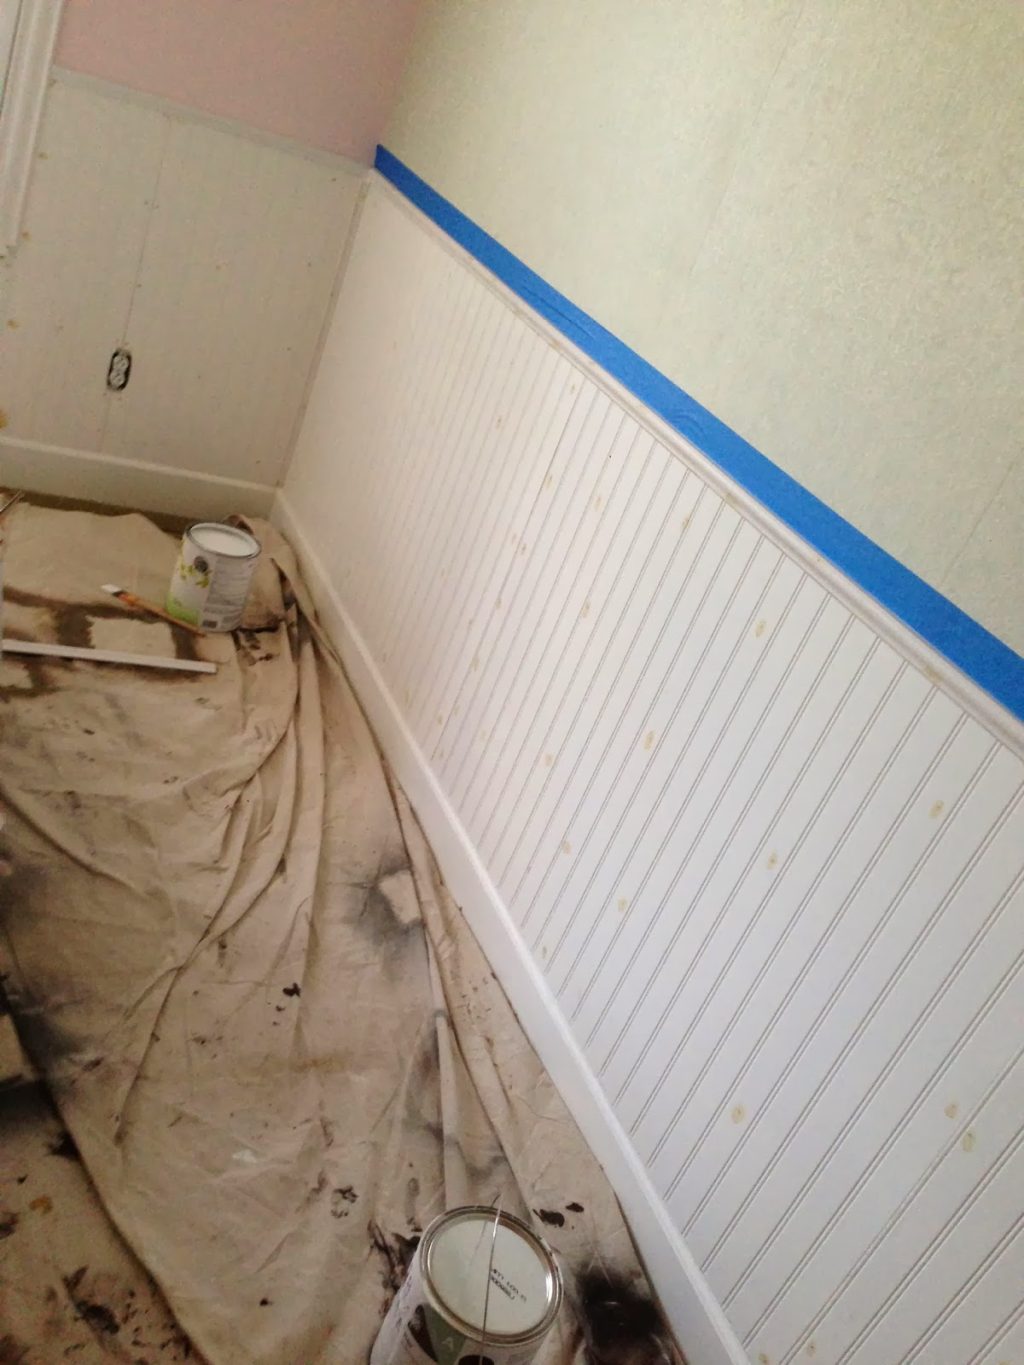
Then when he left it was my turn to finish up with wood filler for the nails and painting. It took at least a week for the room to clear of the adhesive smell before I could go in.
It was looking pretty sharp after a coat of paint! I did one more and then it was done.
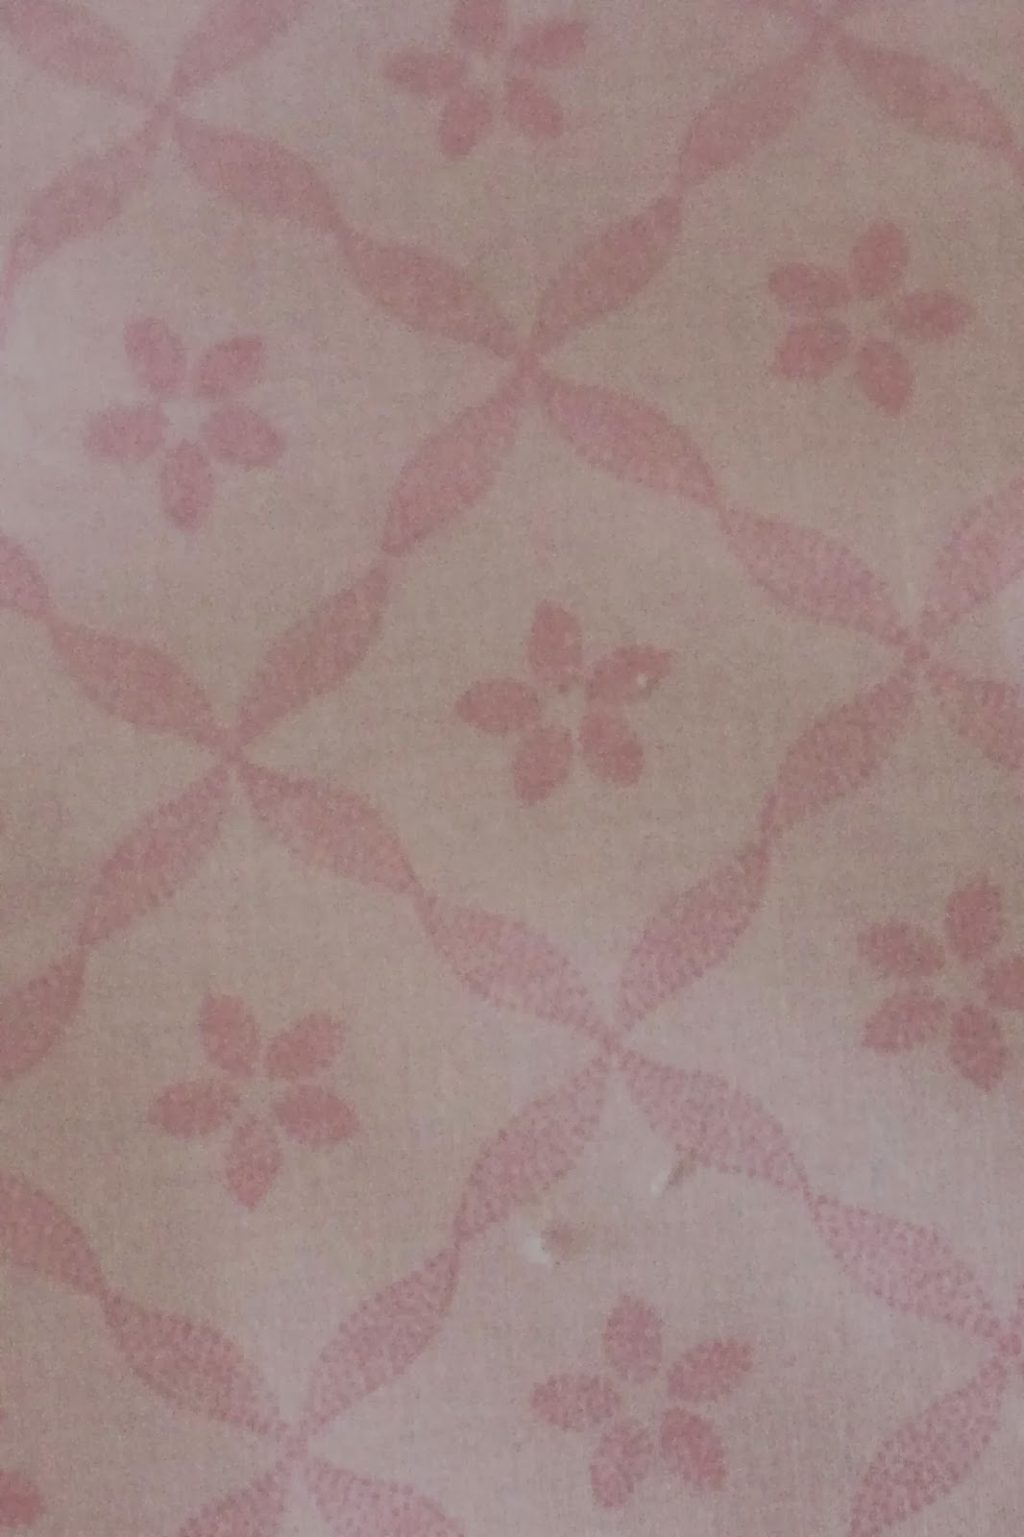
Here are some close-ups of the finished wallpaper.
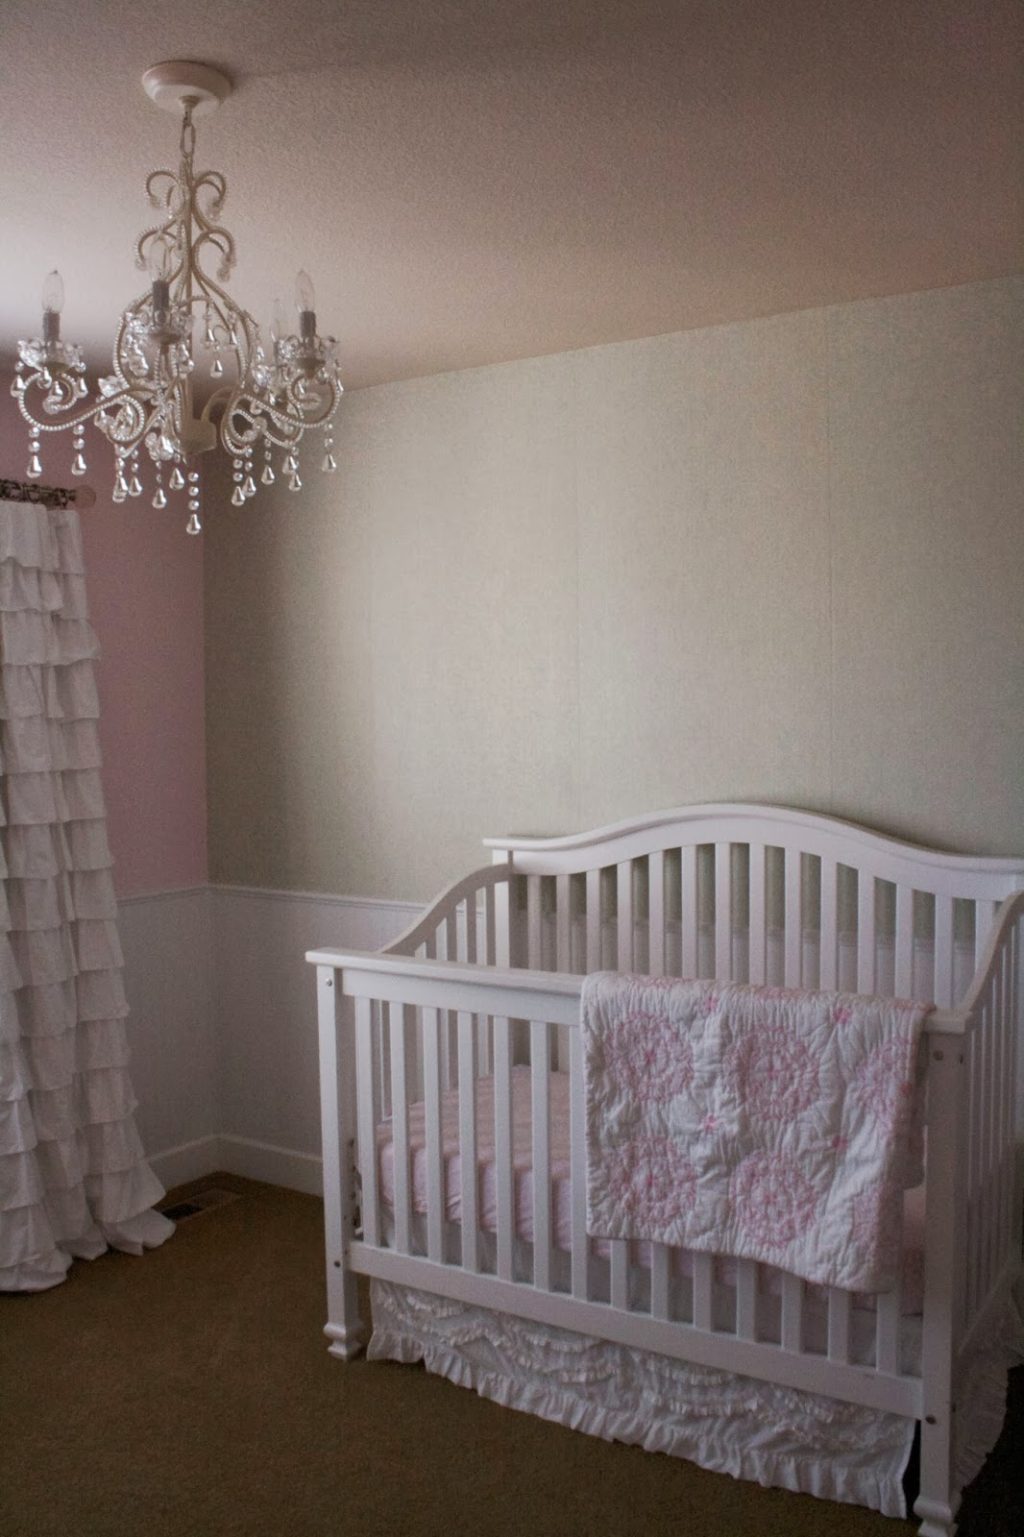
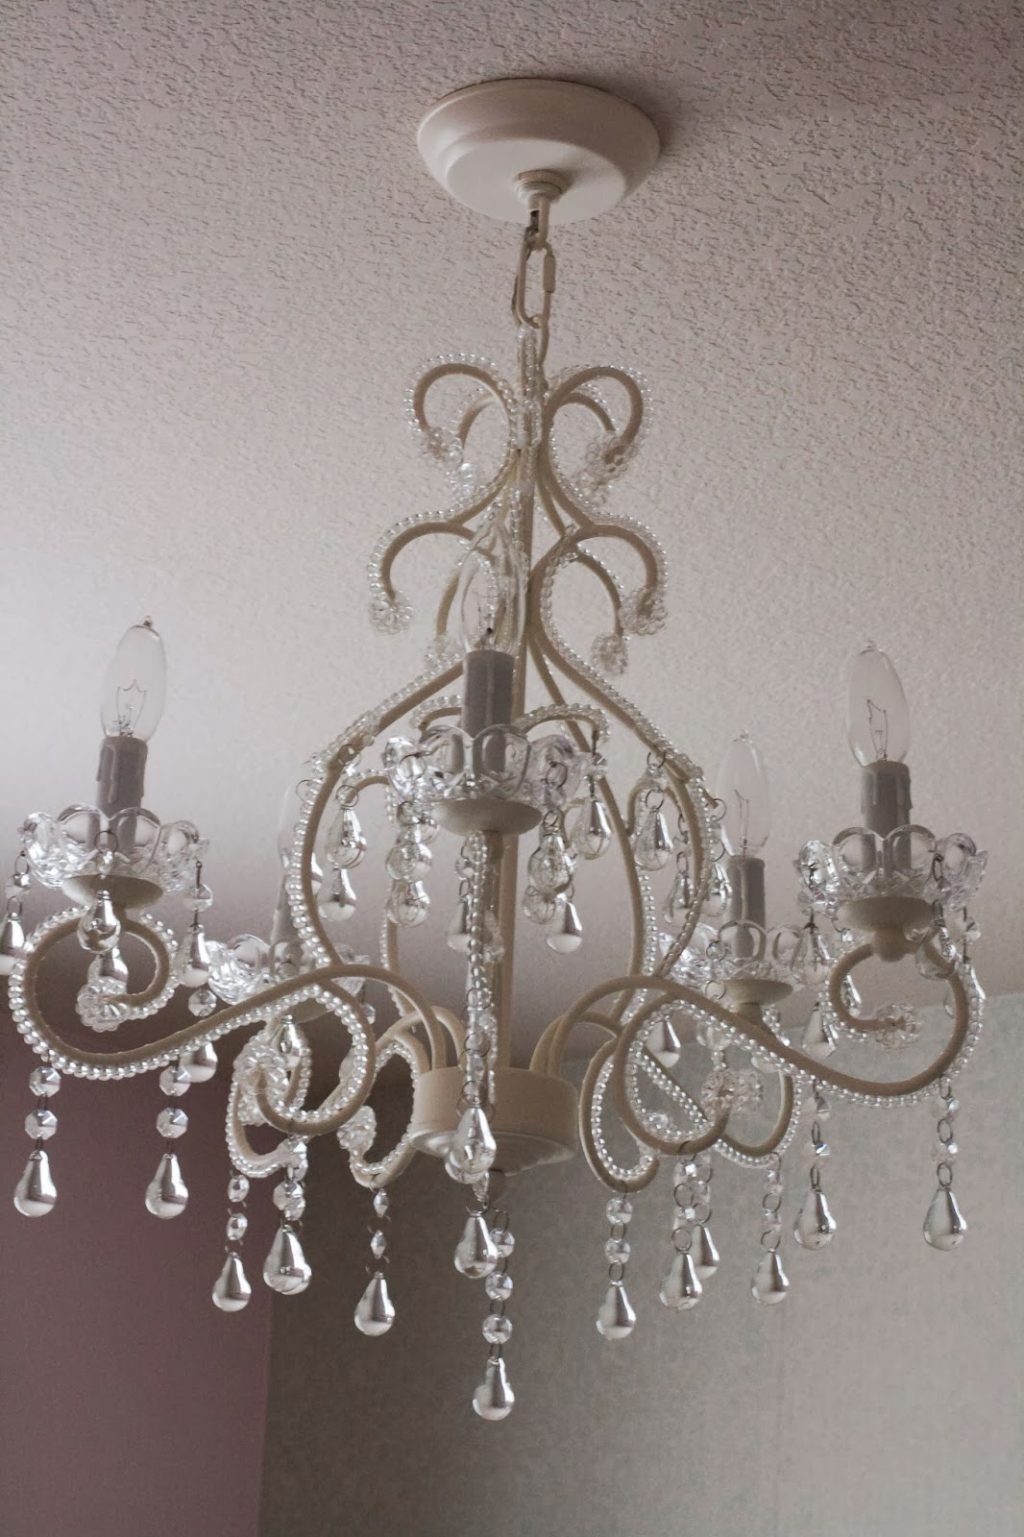
Then Hubby put up the White Lydia Chandelier from Pottery Barn (exciting!). It was more than what I wanted to pay for the chandelier, but some were much more expensive, surprisingly. I will be taking it with us when we move for sure.
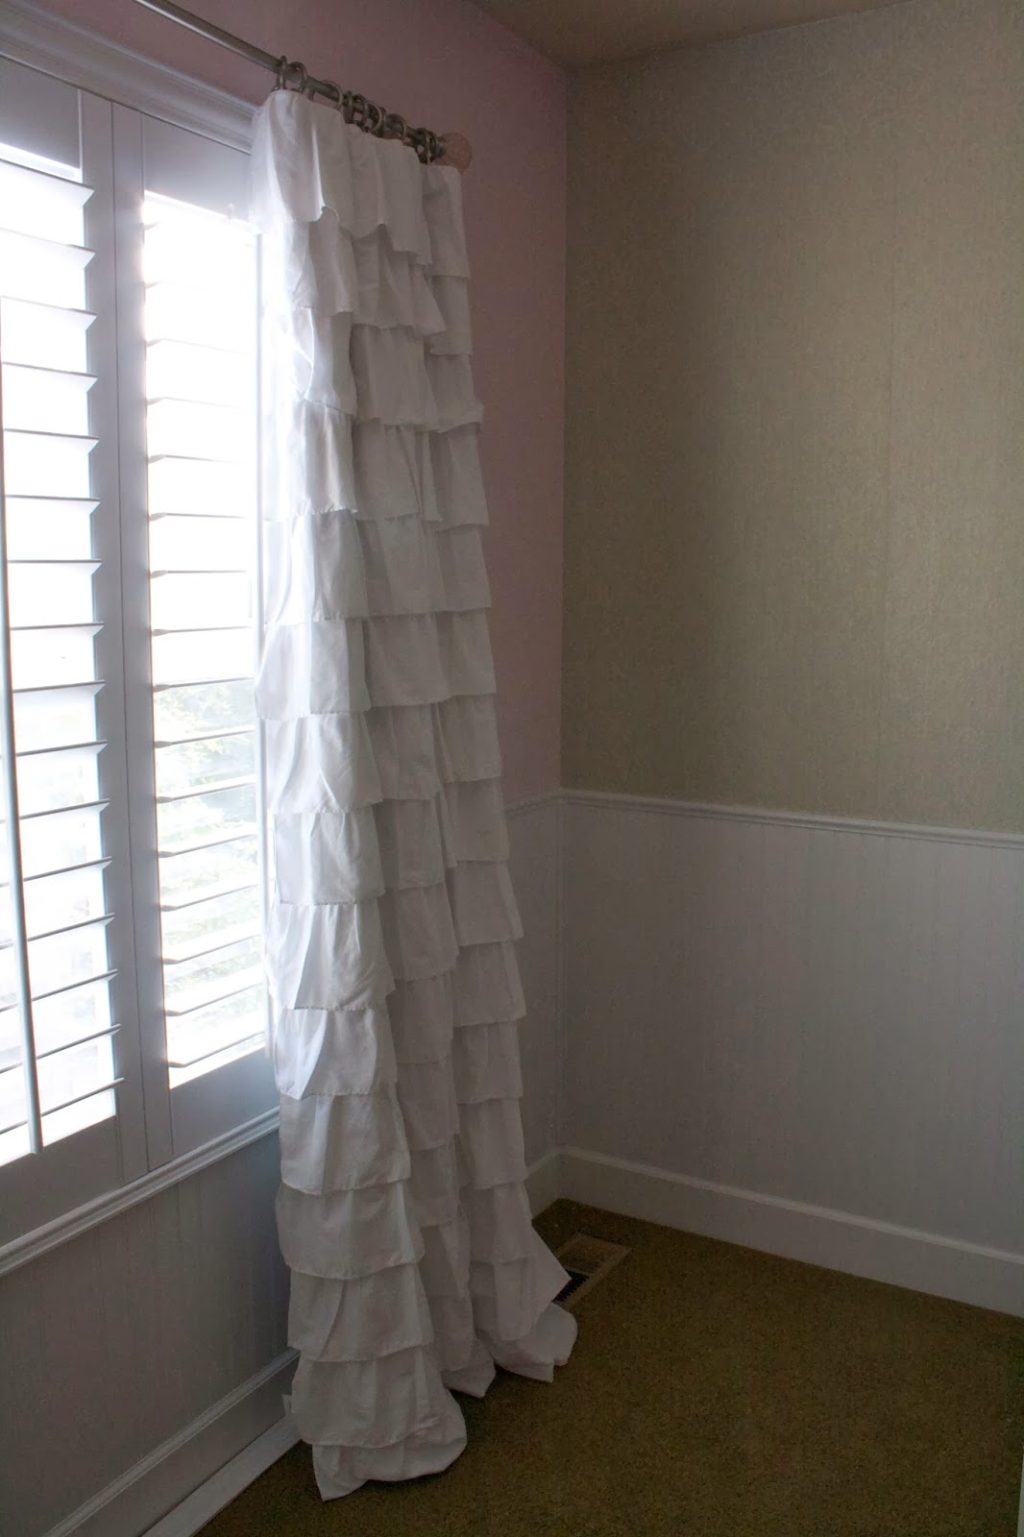
I also went with the White Ruffle Blackout Panels from Pottery Barn. Hubby and I thought these would be too much so we started with a different panel, but those were too boring.

Are you seeing a theme yet? I try to branch out, but always head back to Pottery Barn.
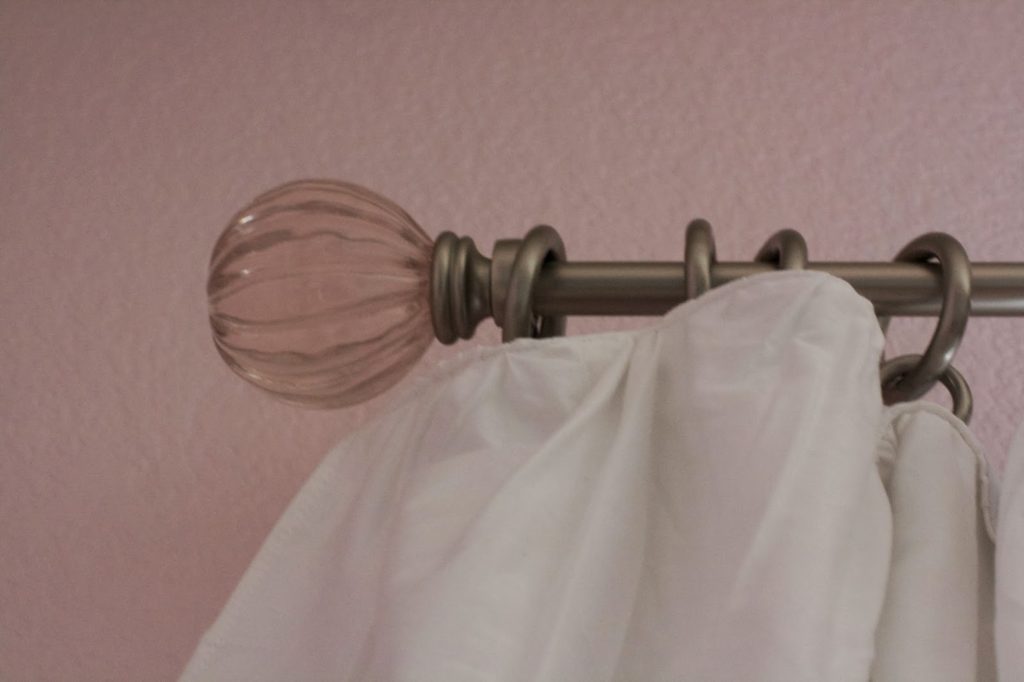
This is the Pottery Barn Clear Ornament Finial. I went with clear so it will work with different color schemes later on. Hubby installed the rod and hardware, of course.
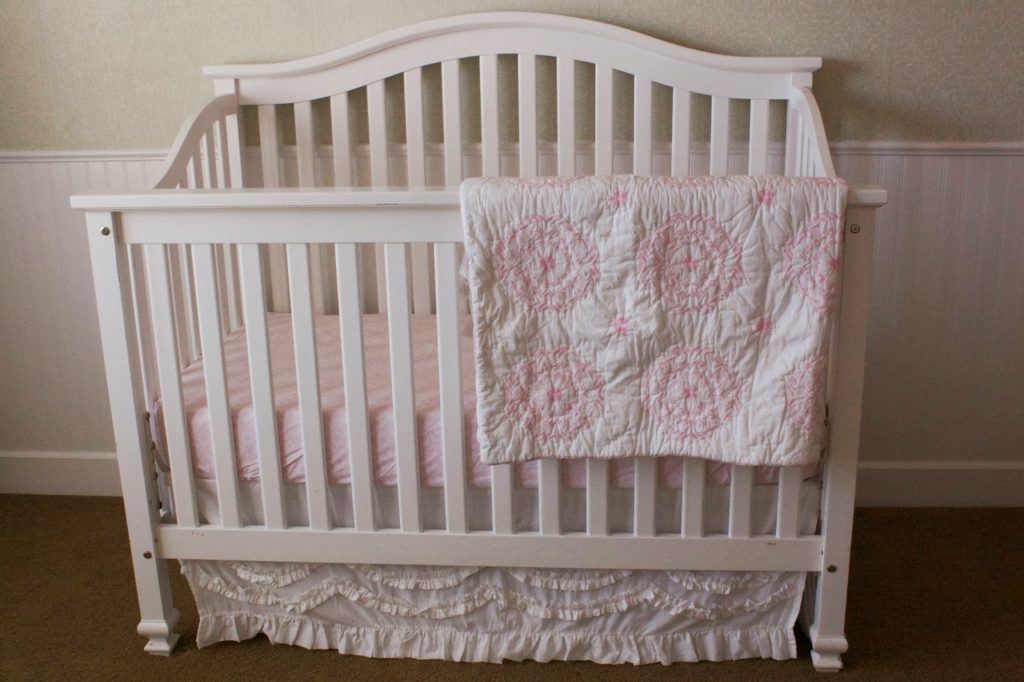
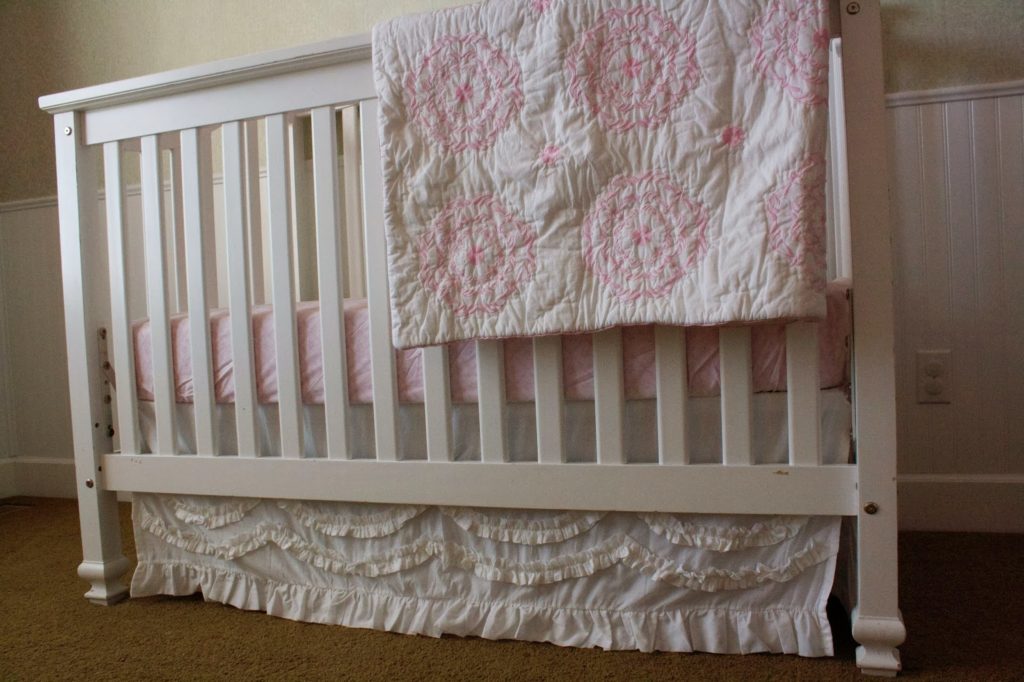
I love Pottery Barn bedding (are you surprised?), but I needed one that didn’t clash with the wallpaper, which they didn’t have. But then one day I checked back and they had just come out with the Veronica set, which was perfect.
There was a cute tulle crib skirt with the Veronica set, but I opted for the Swirl Crib Skirt instead.
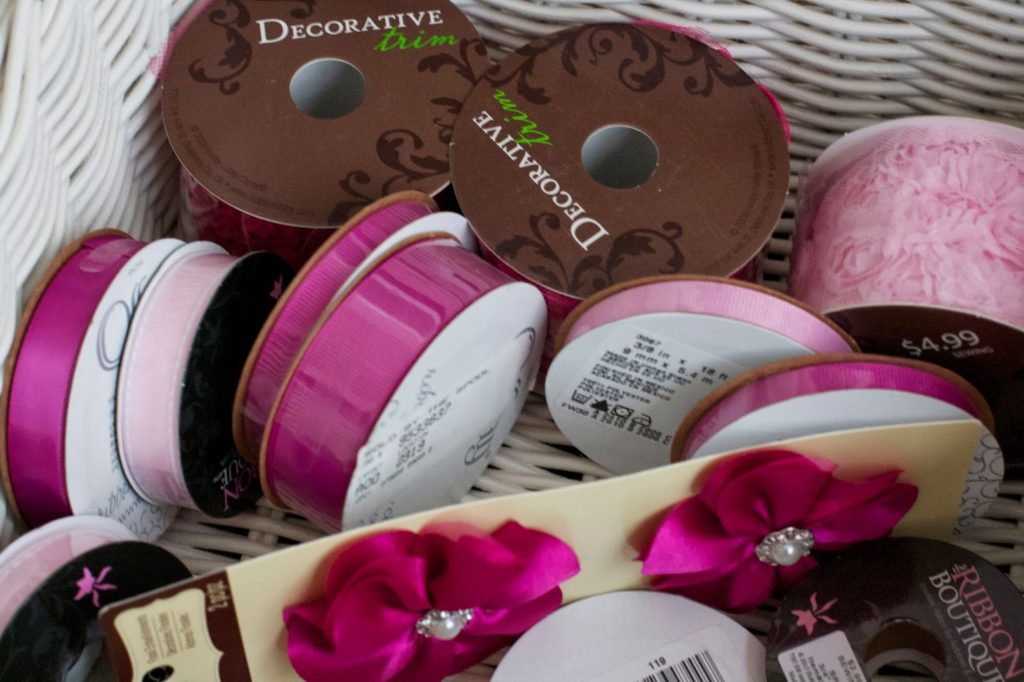
I couldn’t find any basket liners to match my decor so I’m doing a little ribbon DIY here. Along with some DIY decor for the wall. All in Phase 2…
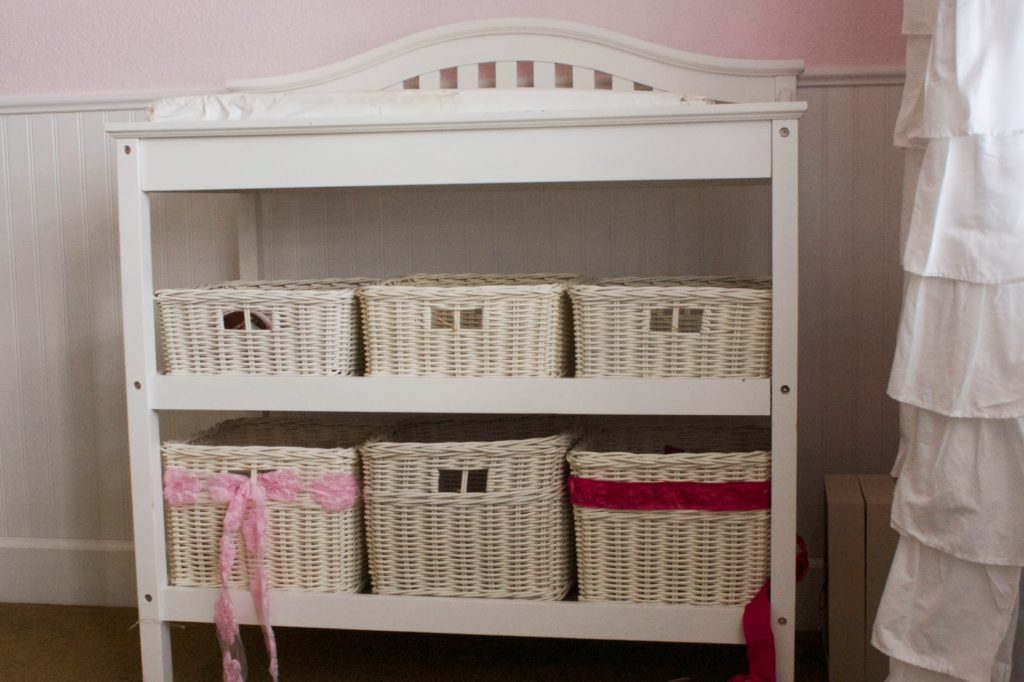

I’m noticing that girls have lots of accessories…Let me know your creative ways to organize them!
More Nursery DIY
- Flower Art (in collage)
- Collage Wall
- Clip Frames
- Organization
- Felt Flower Wreath
- Announcement/Newborn Photo Shoot Accessories Shadowbox
- Dolled-up Lampshade
- Two Barrette Holders
- Shoe Ledge/Headband Holder
- Oatmeal Container Headband Holder
- Stenciled Side Table
- Tulle Flower Canvas
- Baby Girl Nursery, Phase 2: The basics
Thanks for stopping by Time to DIY! You can “like” my FB page or follow me on Twitter.




Eeeep! Love it!! So so pretty! The wallpaper is great, and I love the bedding and curtains! I think the pink you chose is a great shade. The beadboard is such a cool addition. Can't wait to see the rest!
It is so beautiful!! Love the colors! You're such a designer! Can't wait to meet your precious girl!!!