I’ve wanted to do one of these photo ornaments ever since I saw my friend Jenny’s. She made one for her friends with a photo of their kids on a summer camping trip.
My mom has given us an ornament each year, and I’ve started the tradition with my kids as well. I still have all of my ornaments and it’s so fun to look back at them each year. So, of course I had to make one of these! It’s such a neat idea and a great way to memorialize a fun memory.
This was also our MOPS craft this week so I had to make a few samples. I looked at quite a few tutorials and this photo ornament tutorial from Latte Love was my favorite. Just do everything she says.
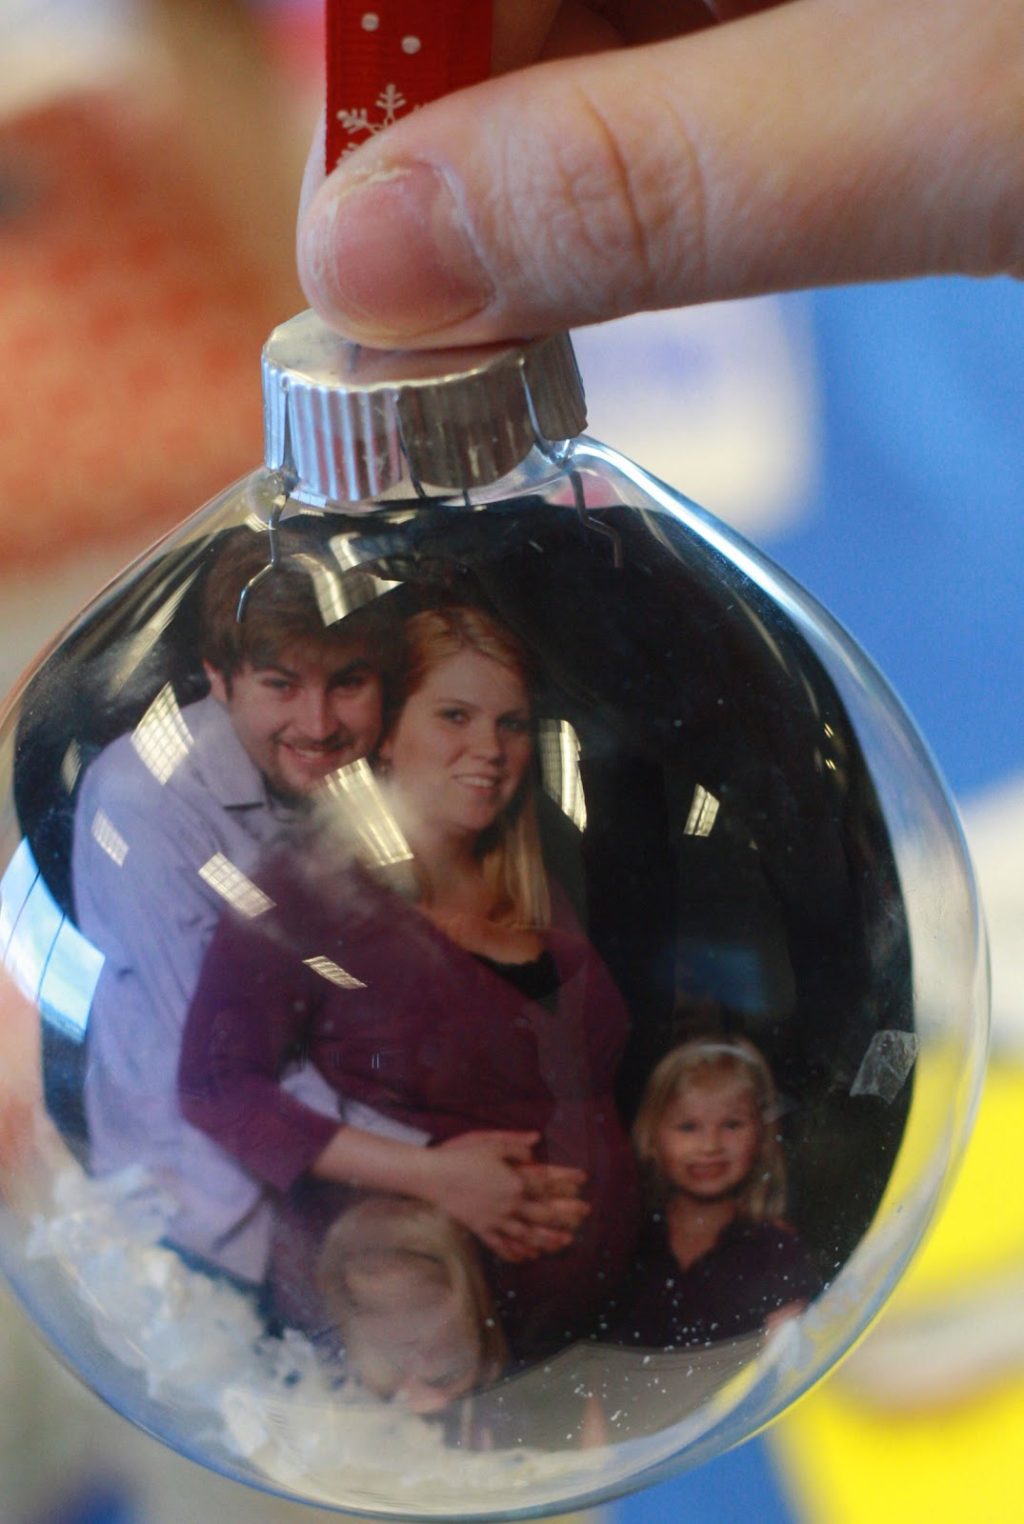
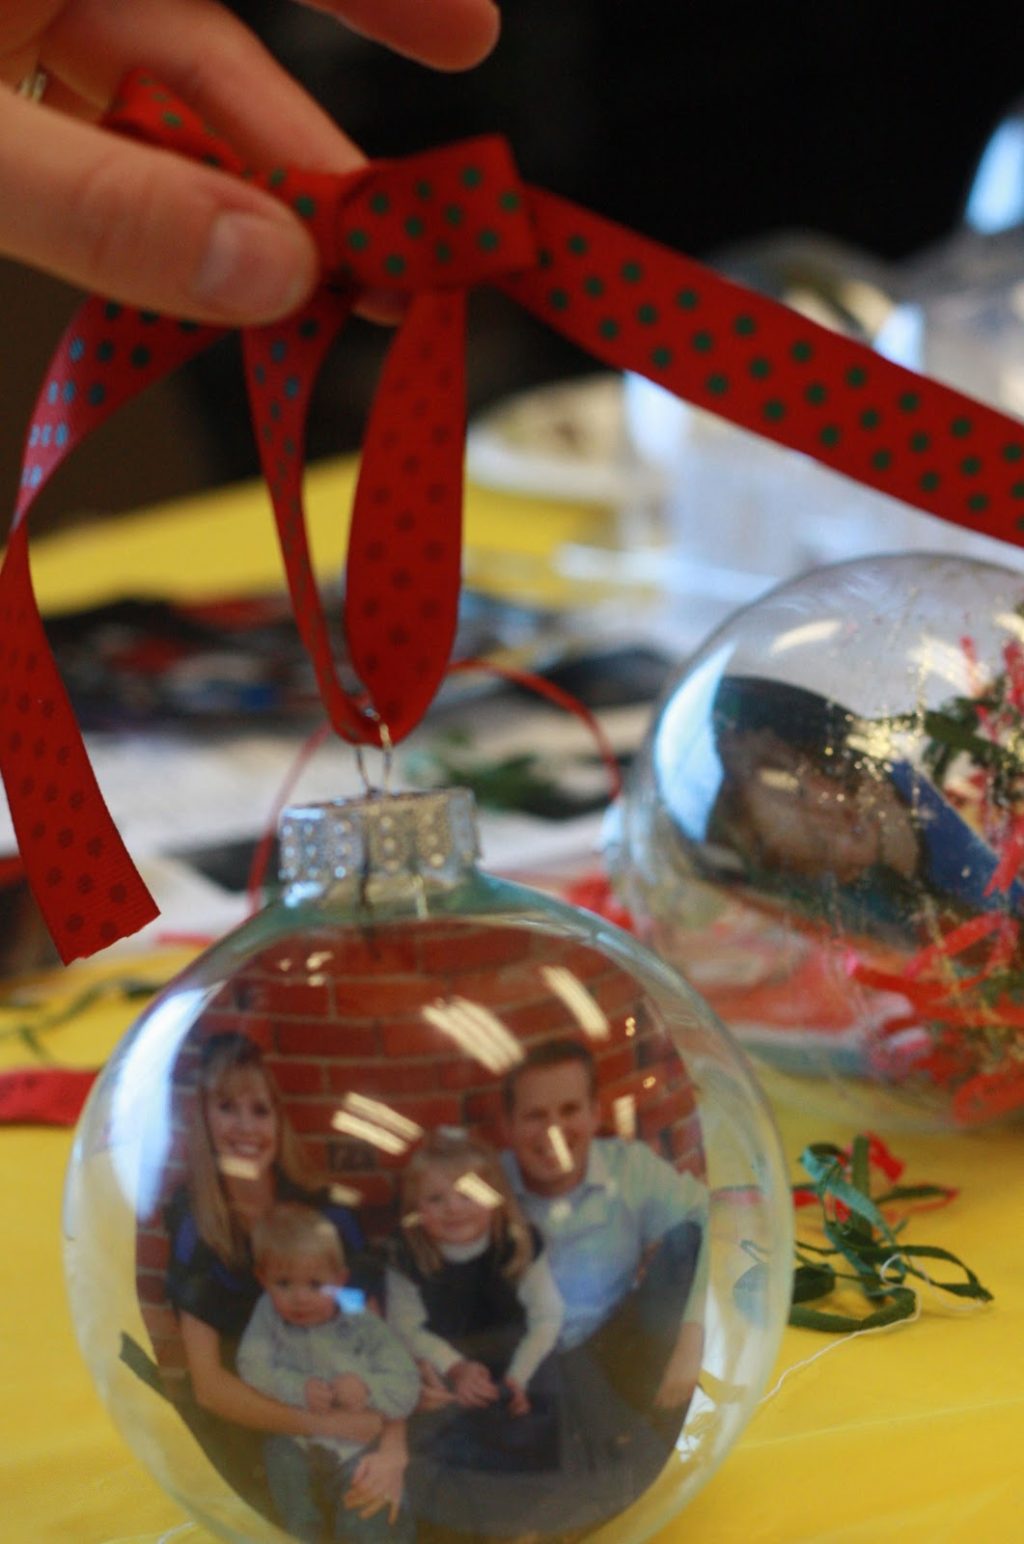
The only thing I would add is that it’s a good idea to add some card stock to the back of the photo. It makes the photo a little sturdier, and I think it will help it not to bend over time. Also, it gives it a nice, colorful back (see pic below of the ornaments on the tree to see the back) instead of the white photo background. I would not recommend using scrapbook paper for this. For some reason it made the photo bend. Make sure it’s a fairly sturdy card stock.
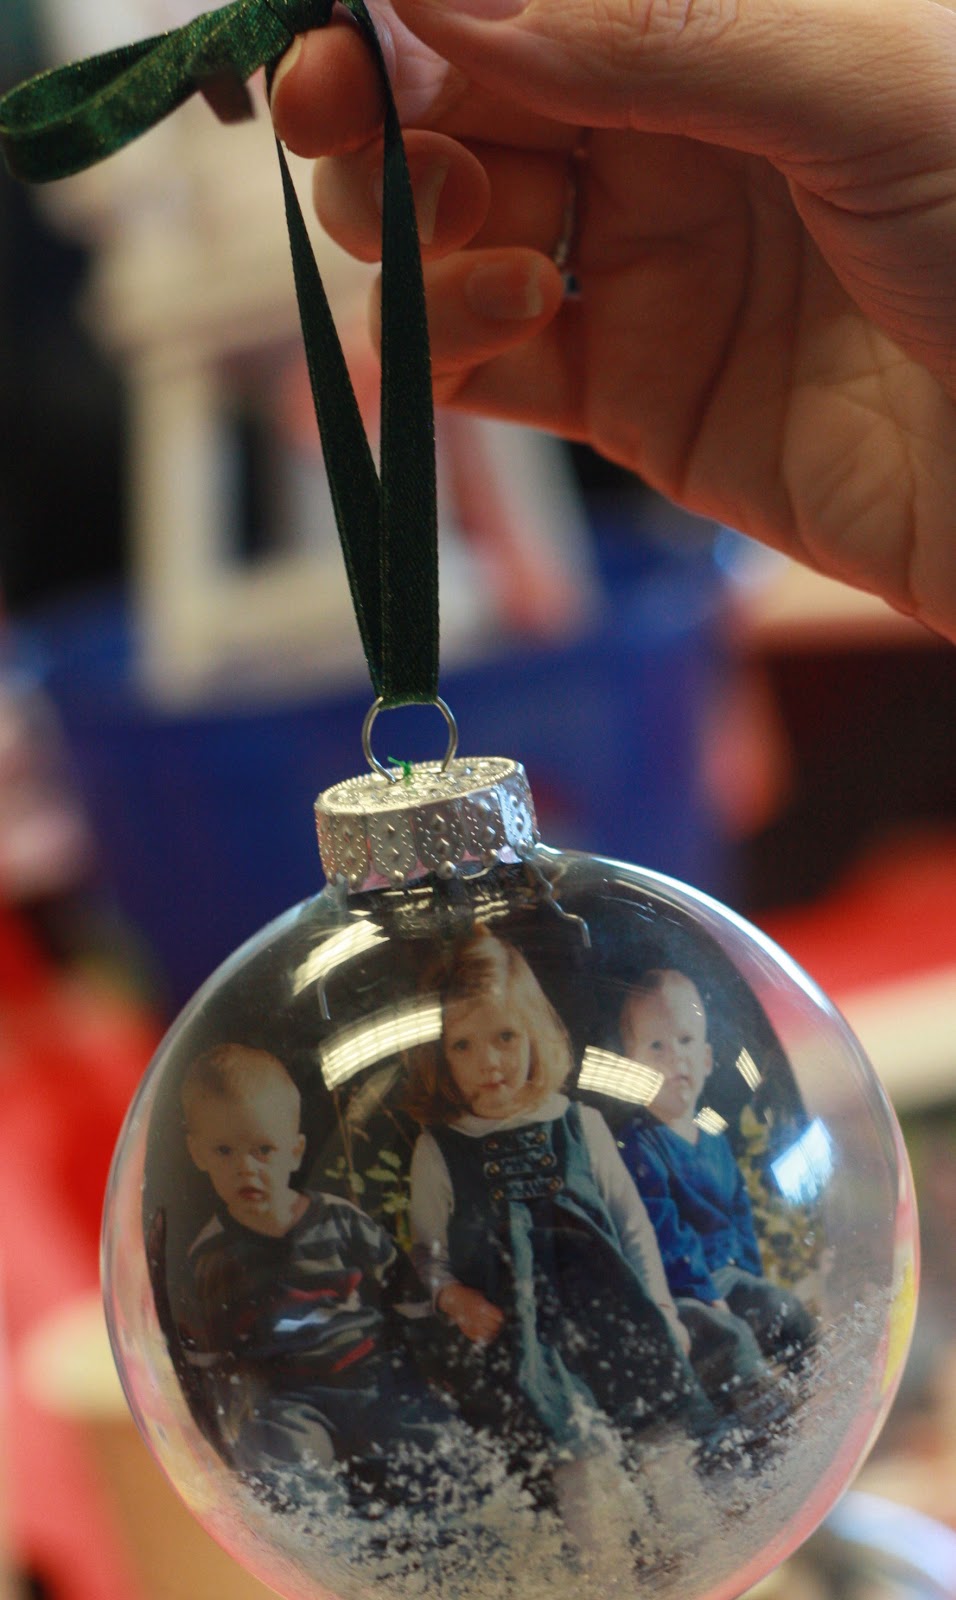
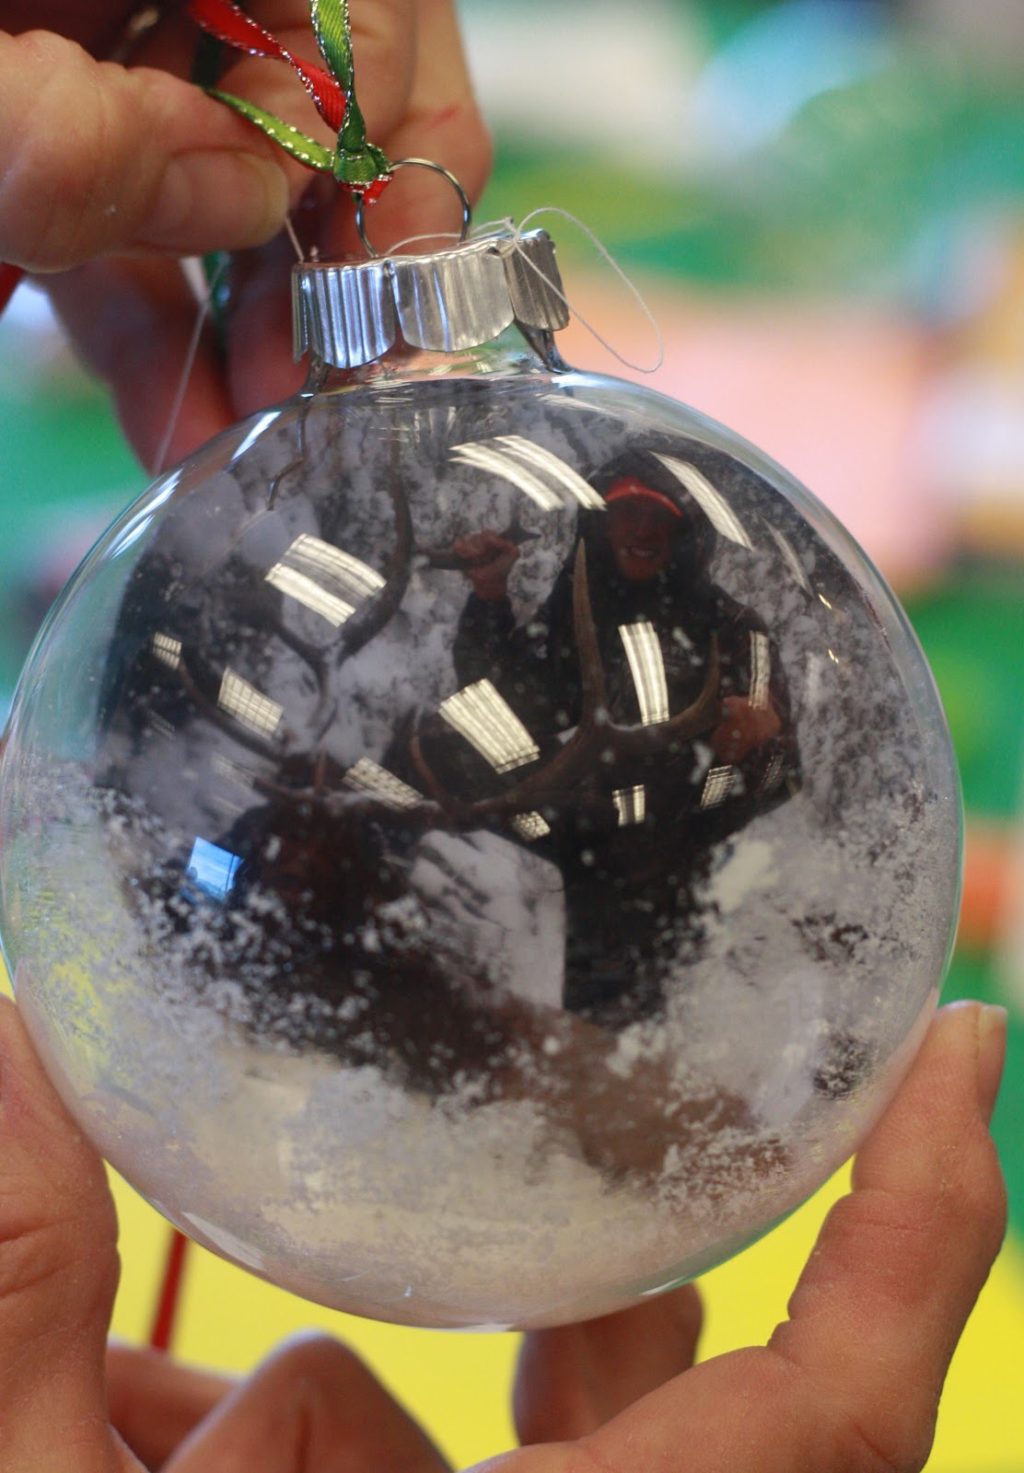
This is one of the first ones I made. Just a basic one.
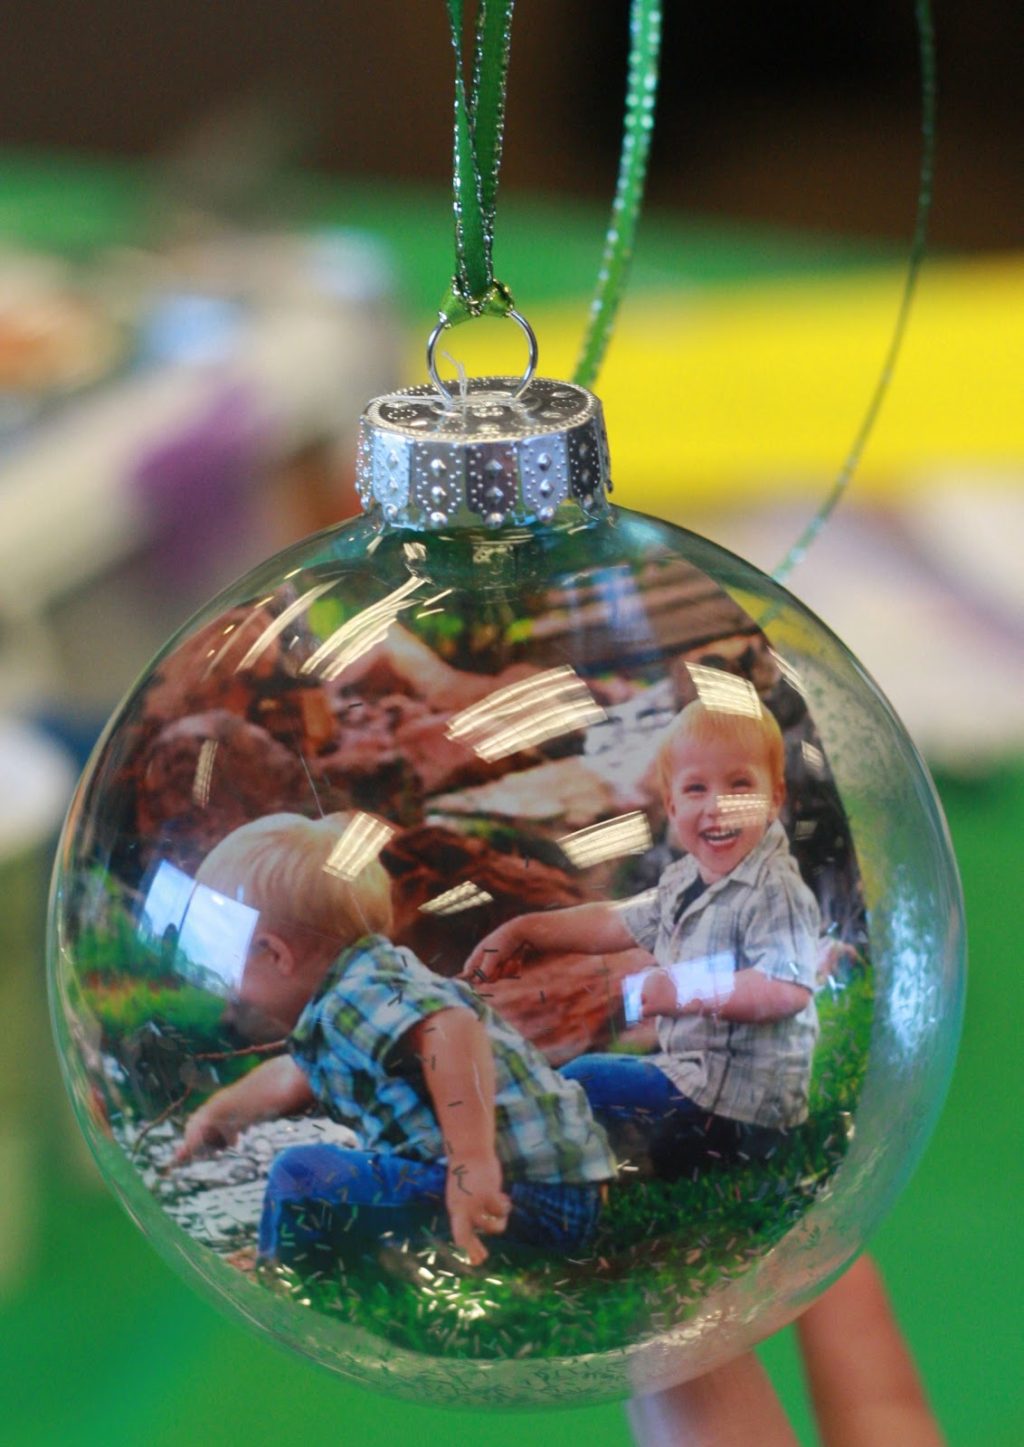
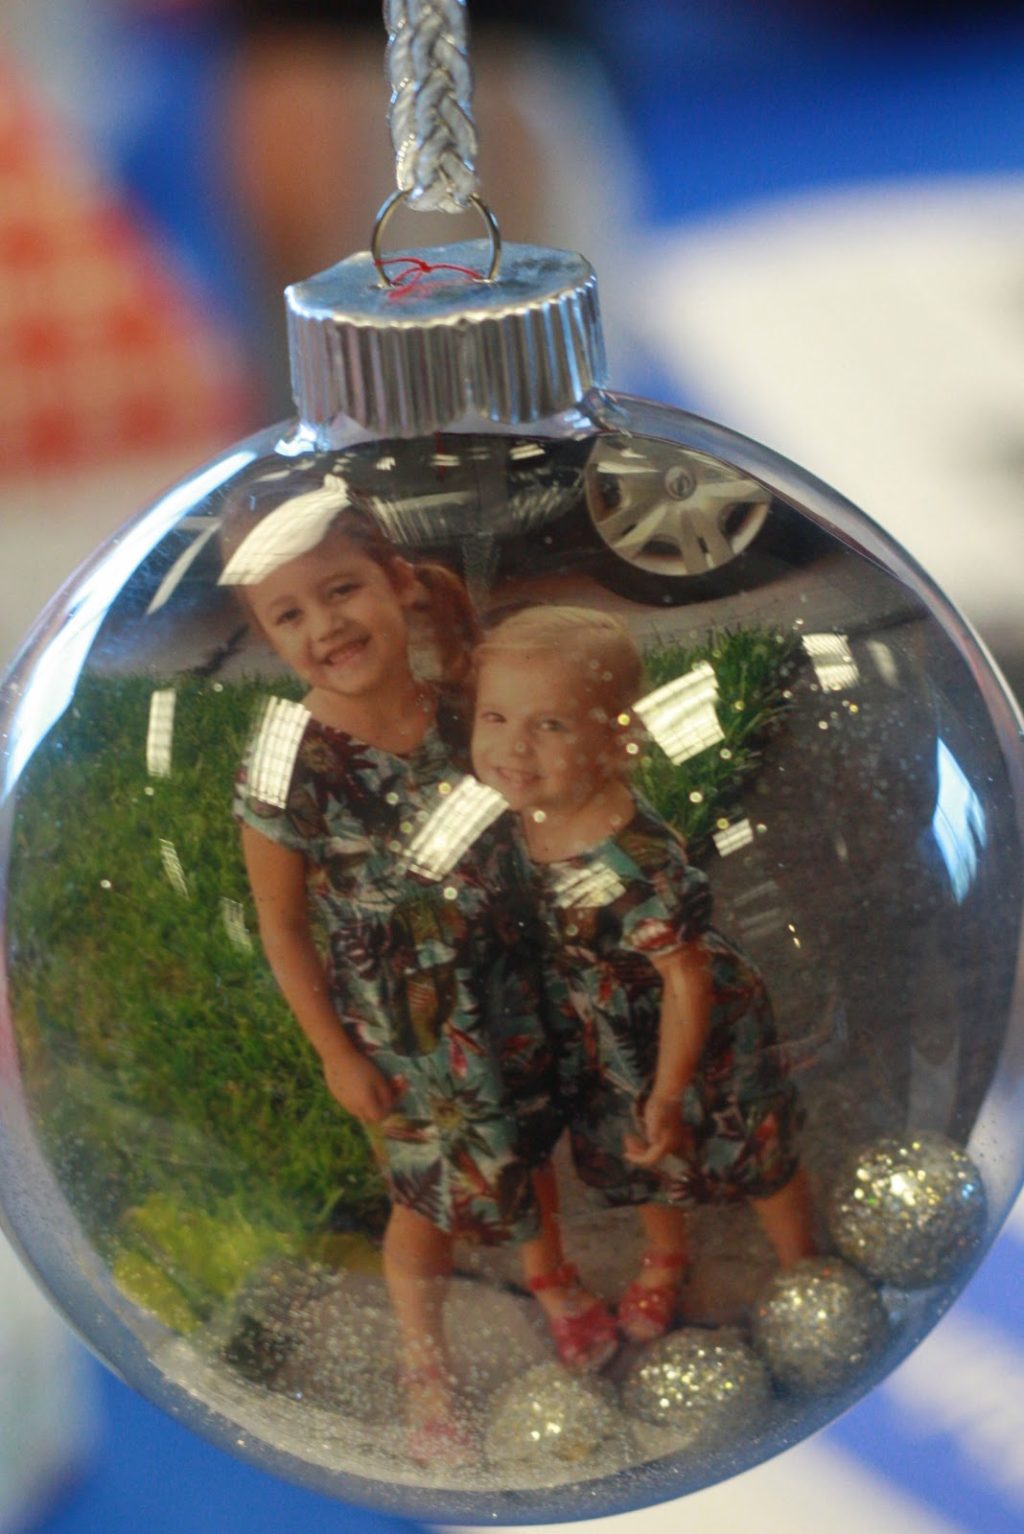
I’m a big fan of glitter so I added some to the bottom of this one.
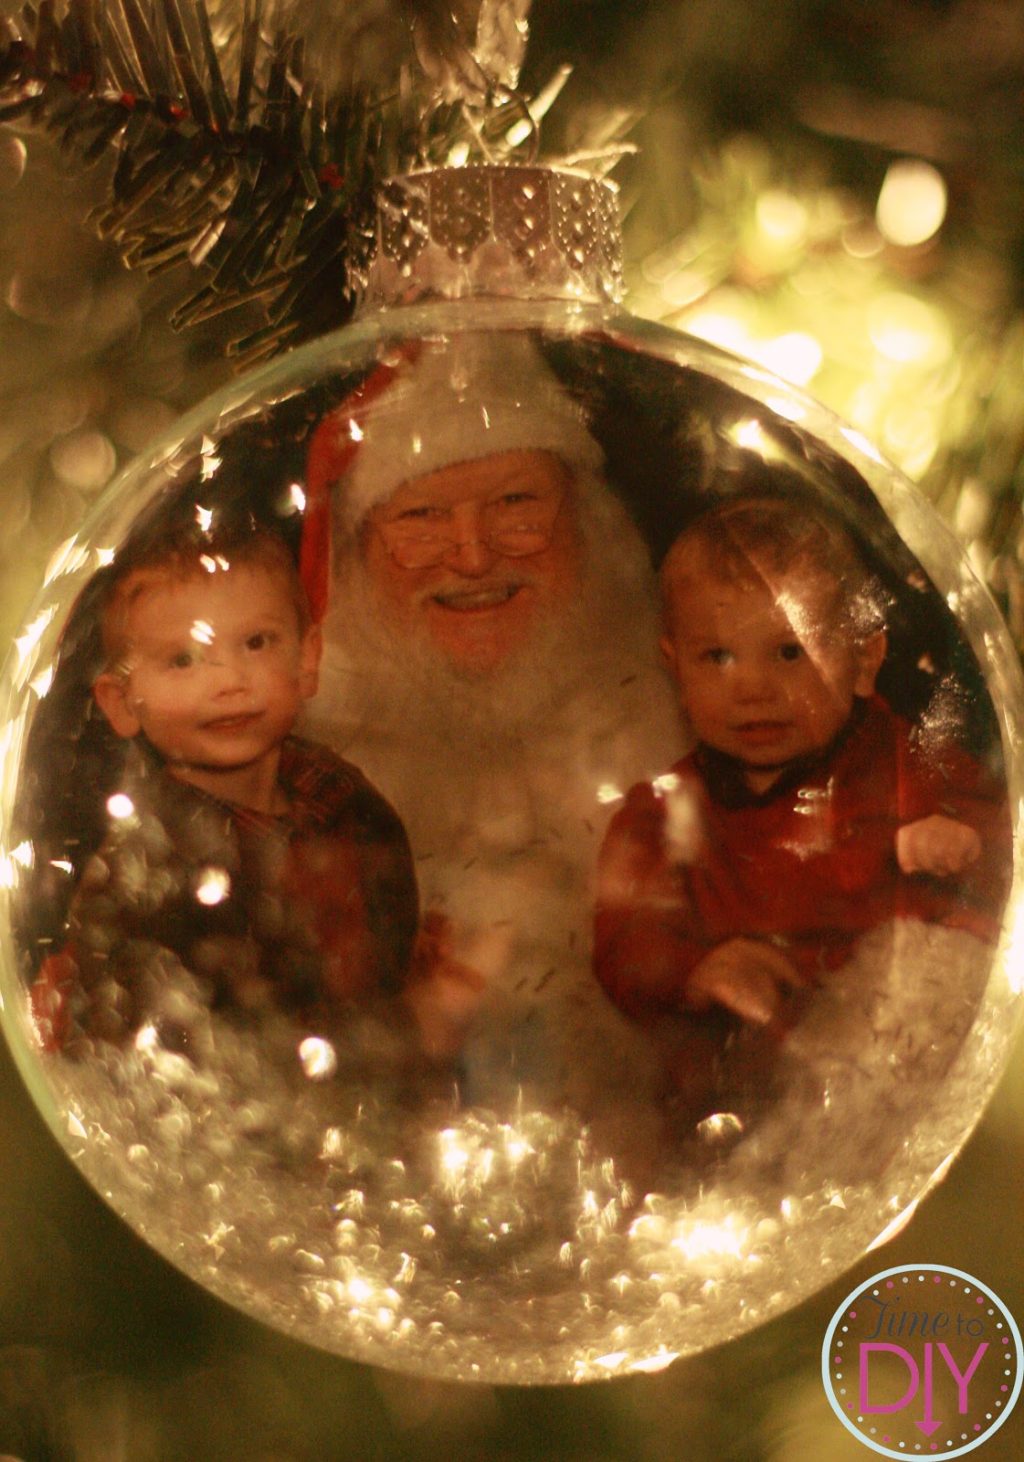
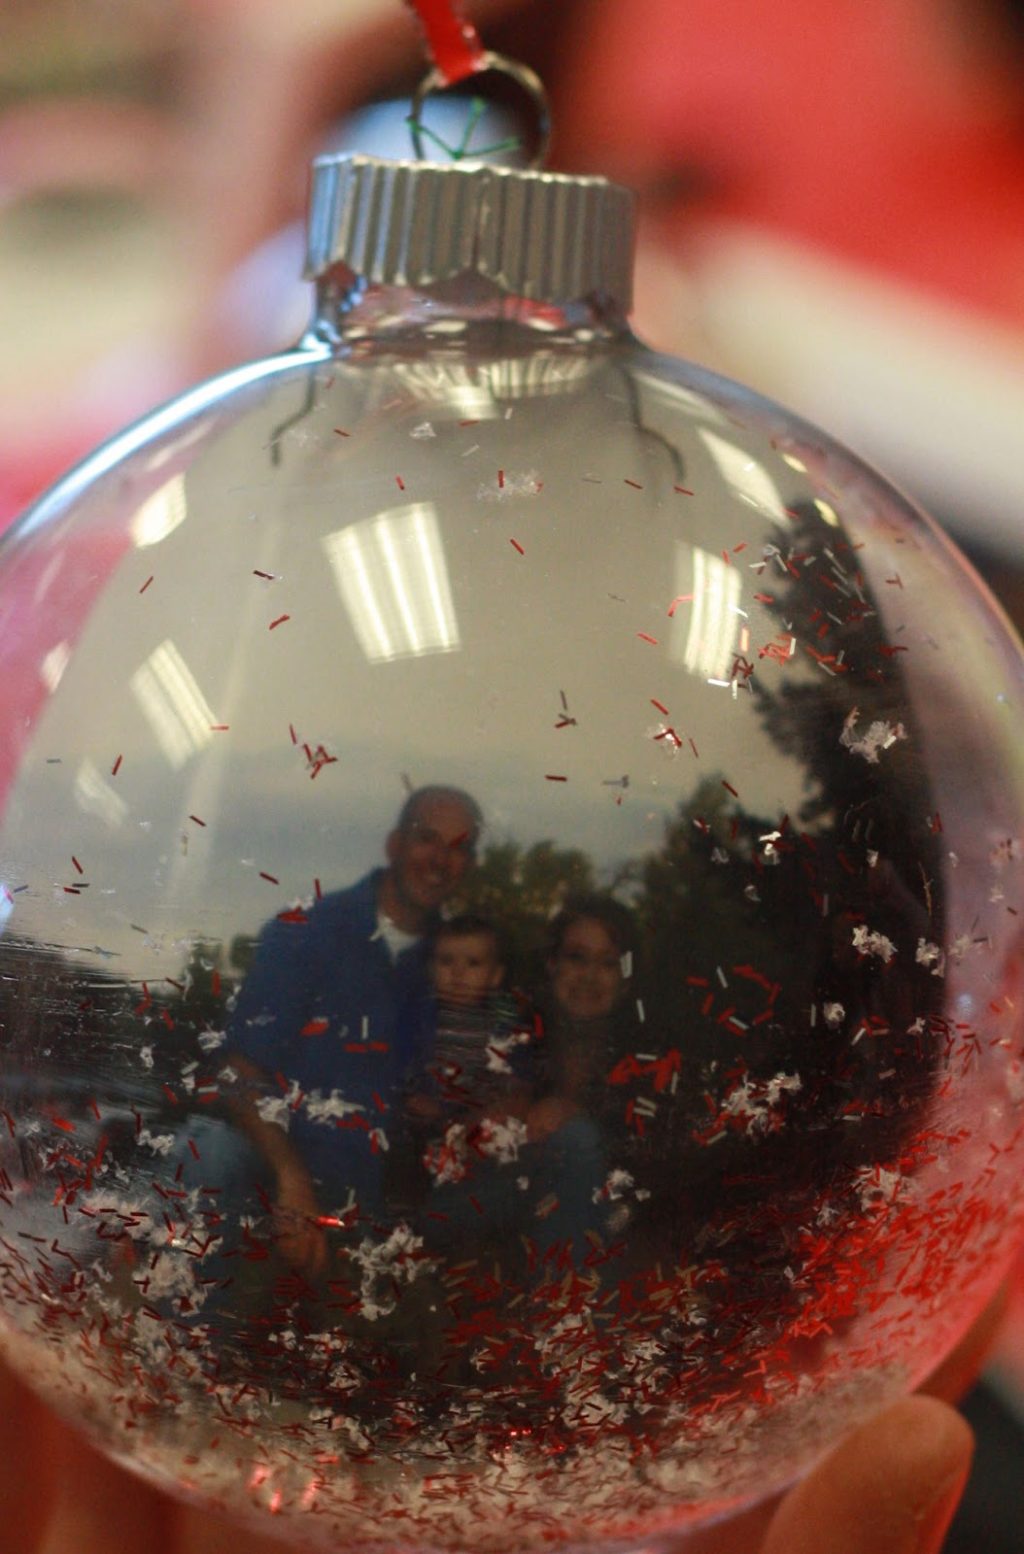
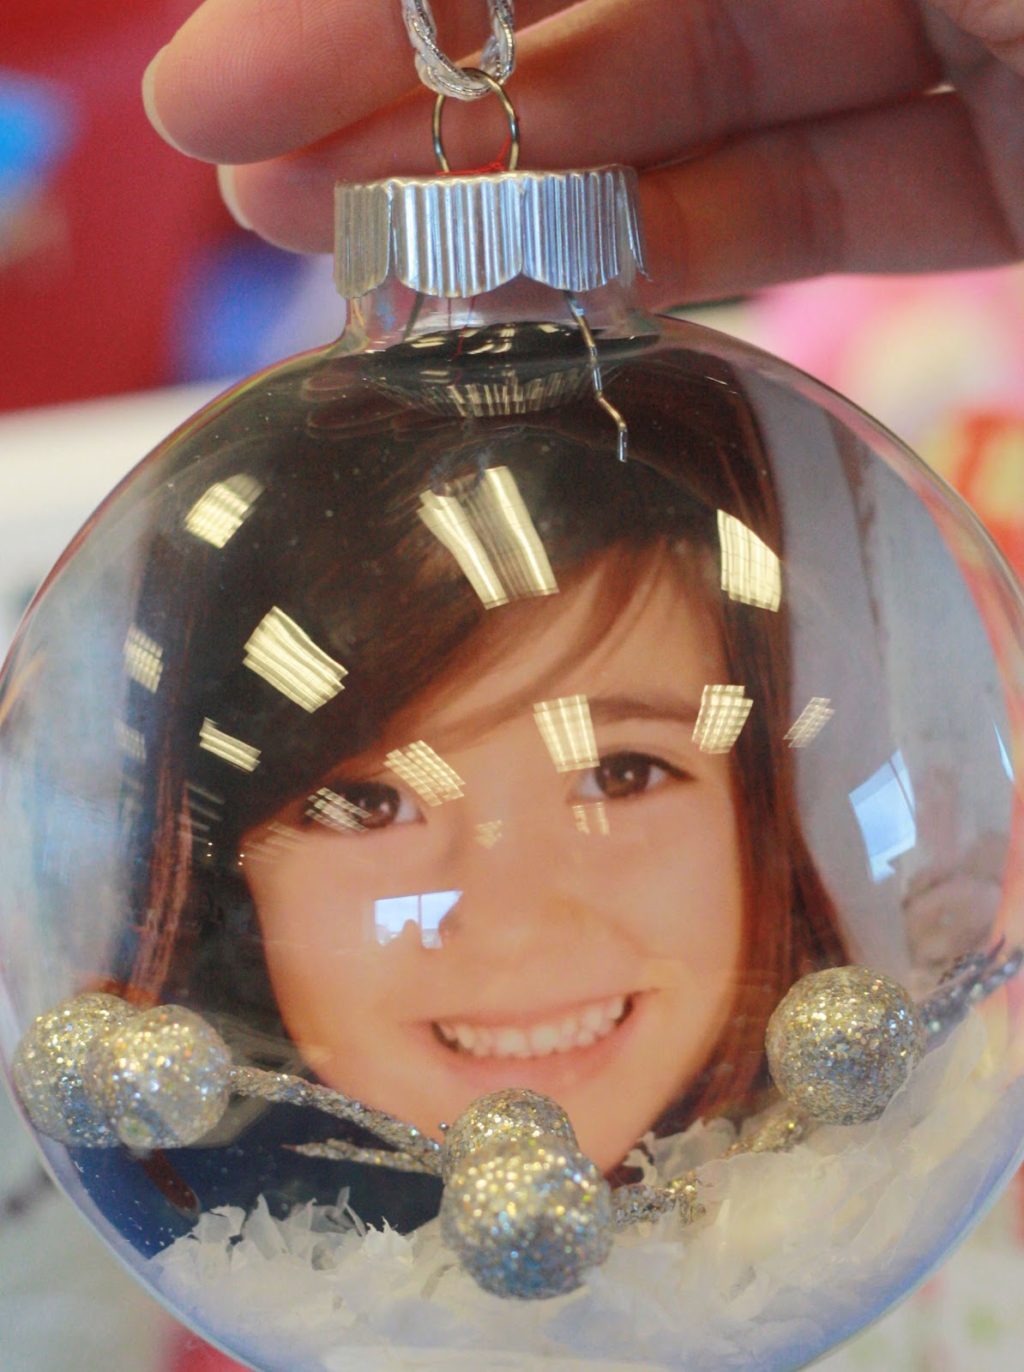
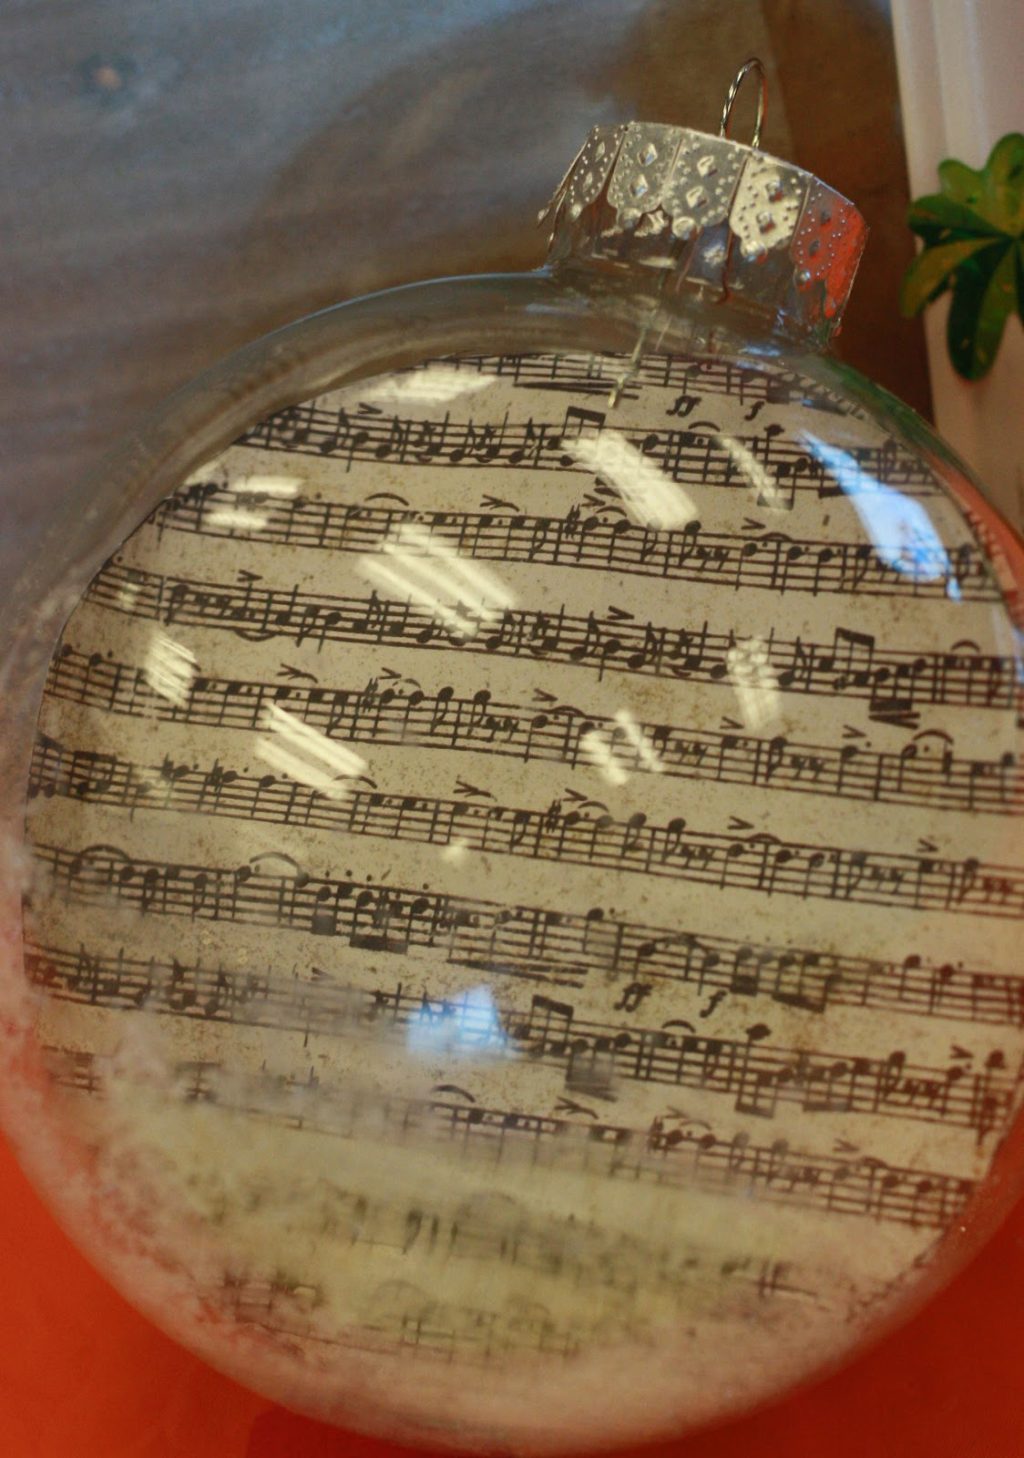
Love the way this one sparkles in the tree. The trick is to use a brush to apply a coat of mod podge, then pour in the glitter and shake it around. Dump out the excess glitter before inserting the photo. Mistake: I threw in some glitter at the bottom on one of the ornaments without the glue and it got everywhere, including all over the picture and my son asked why he was eating sand. Well…
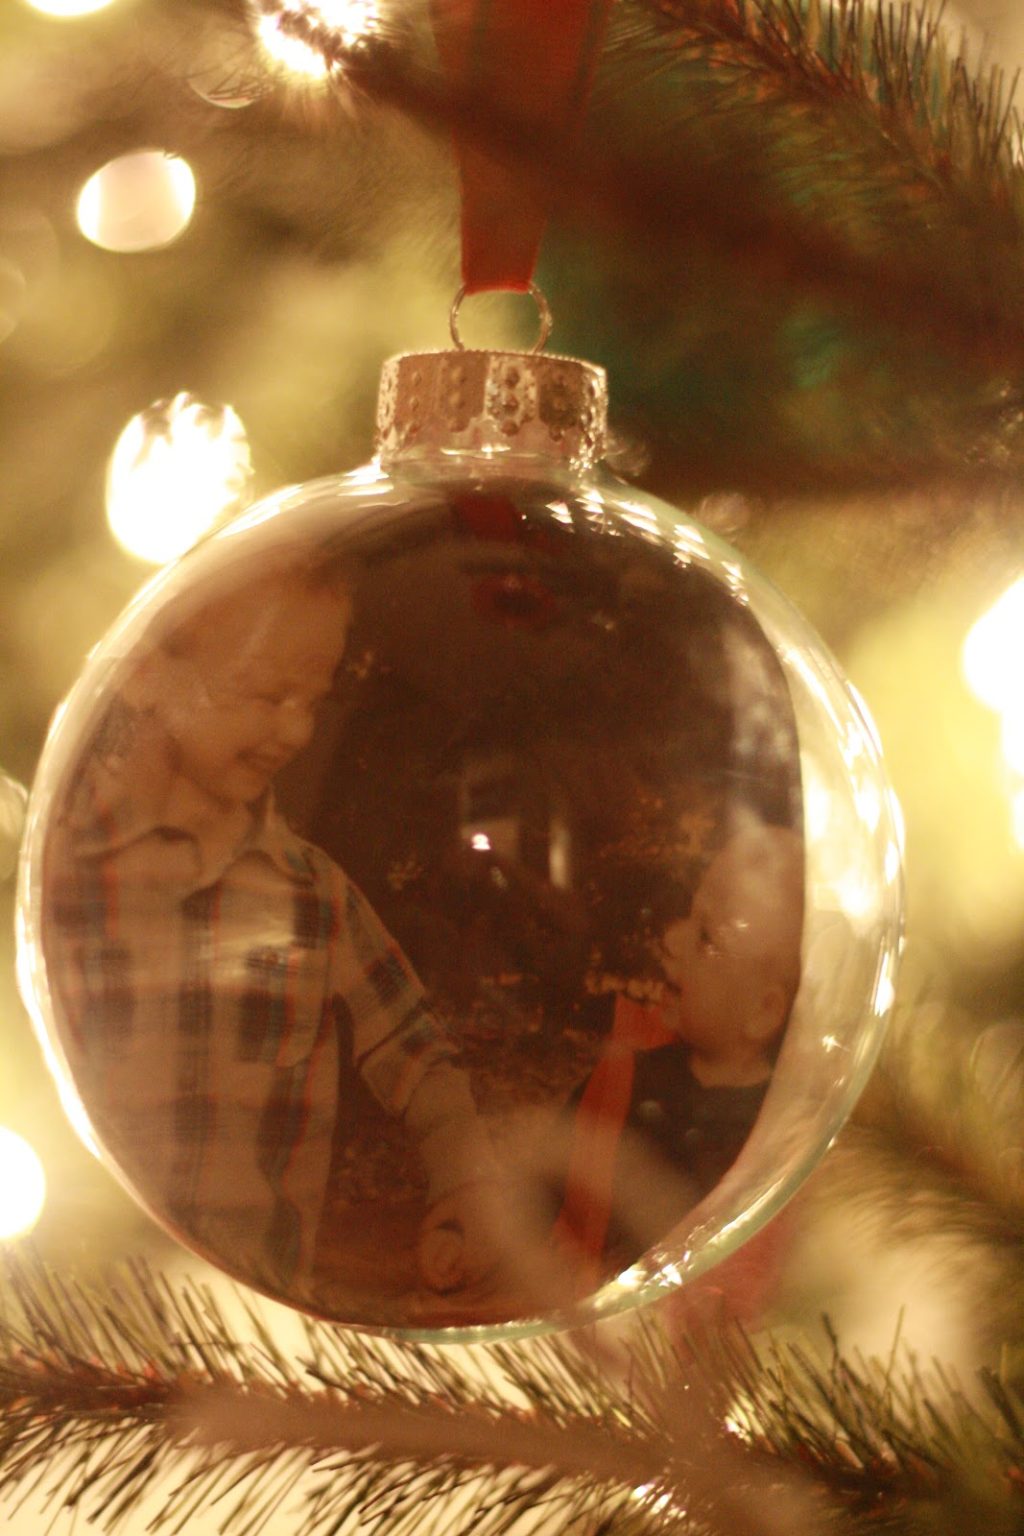
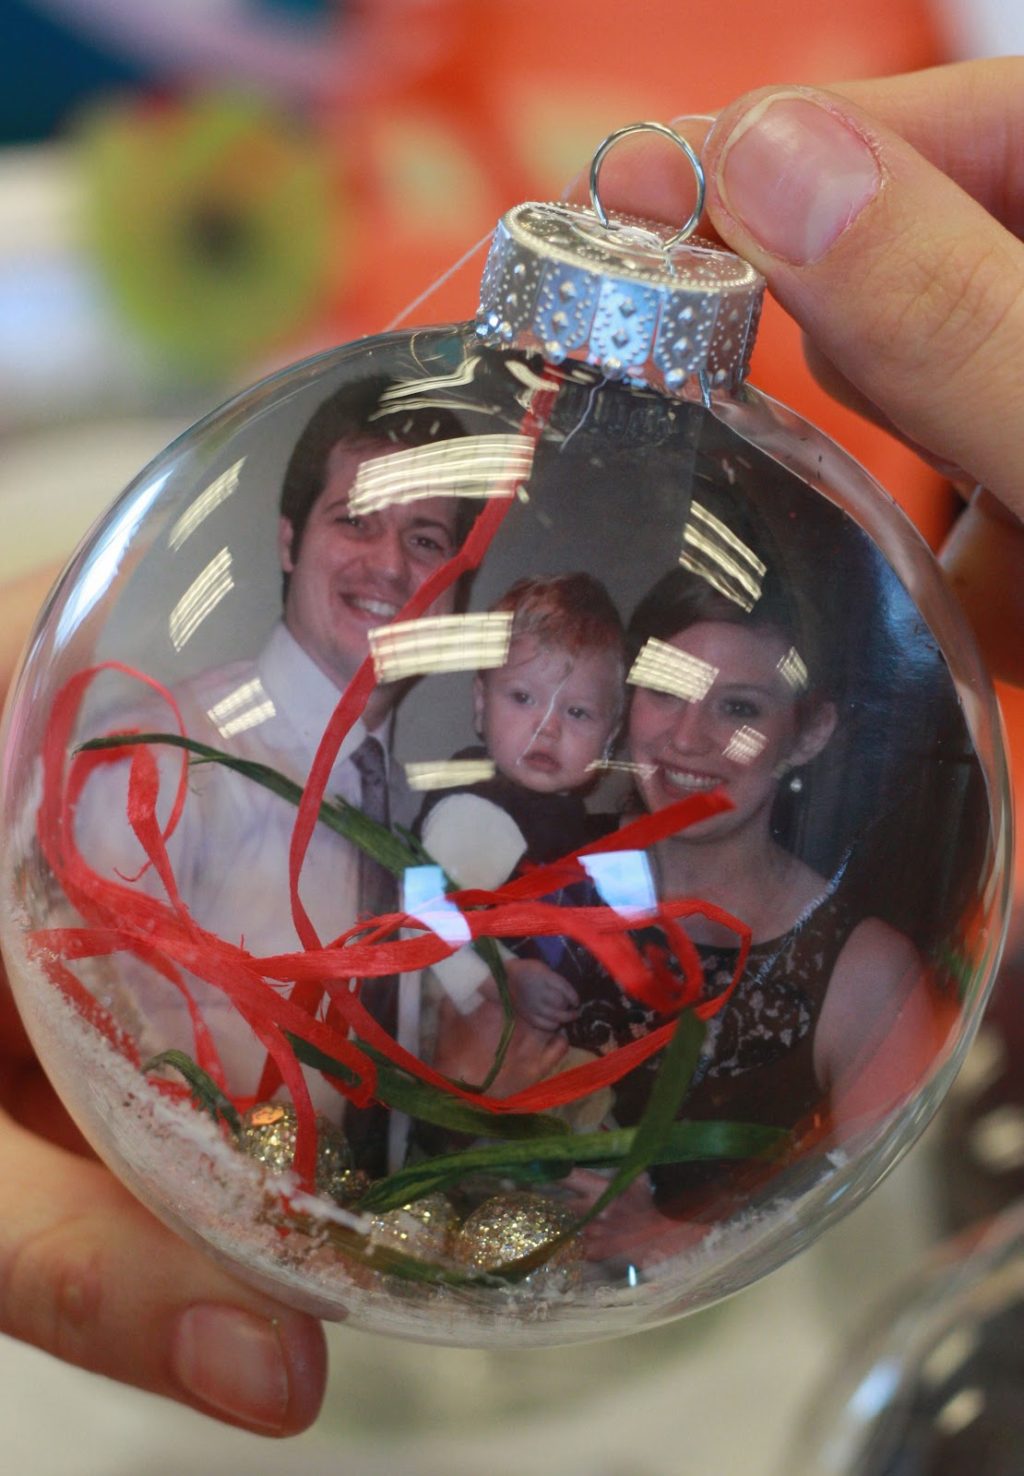
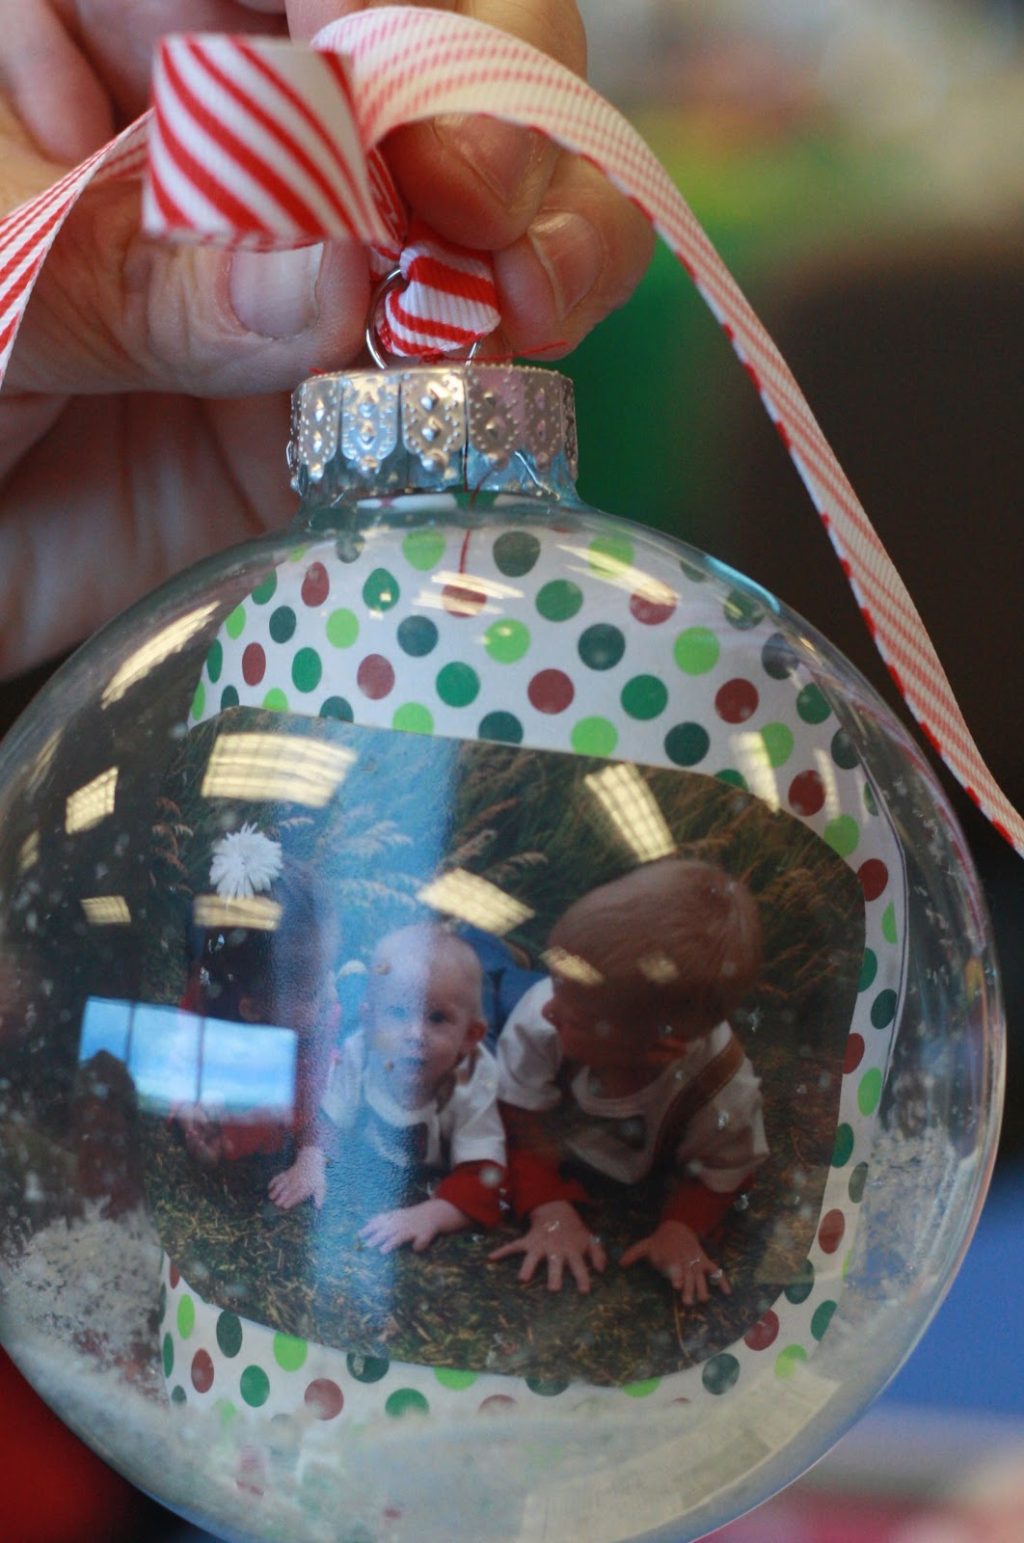
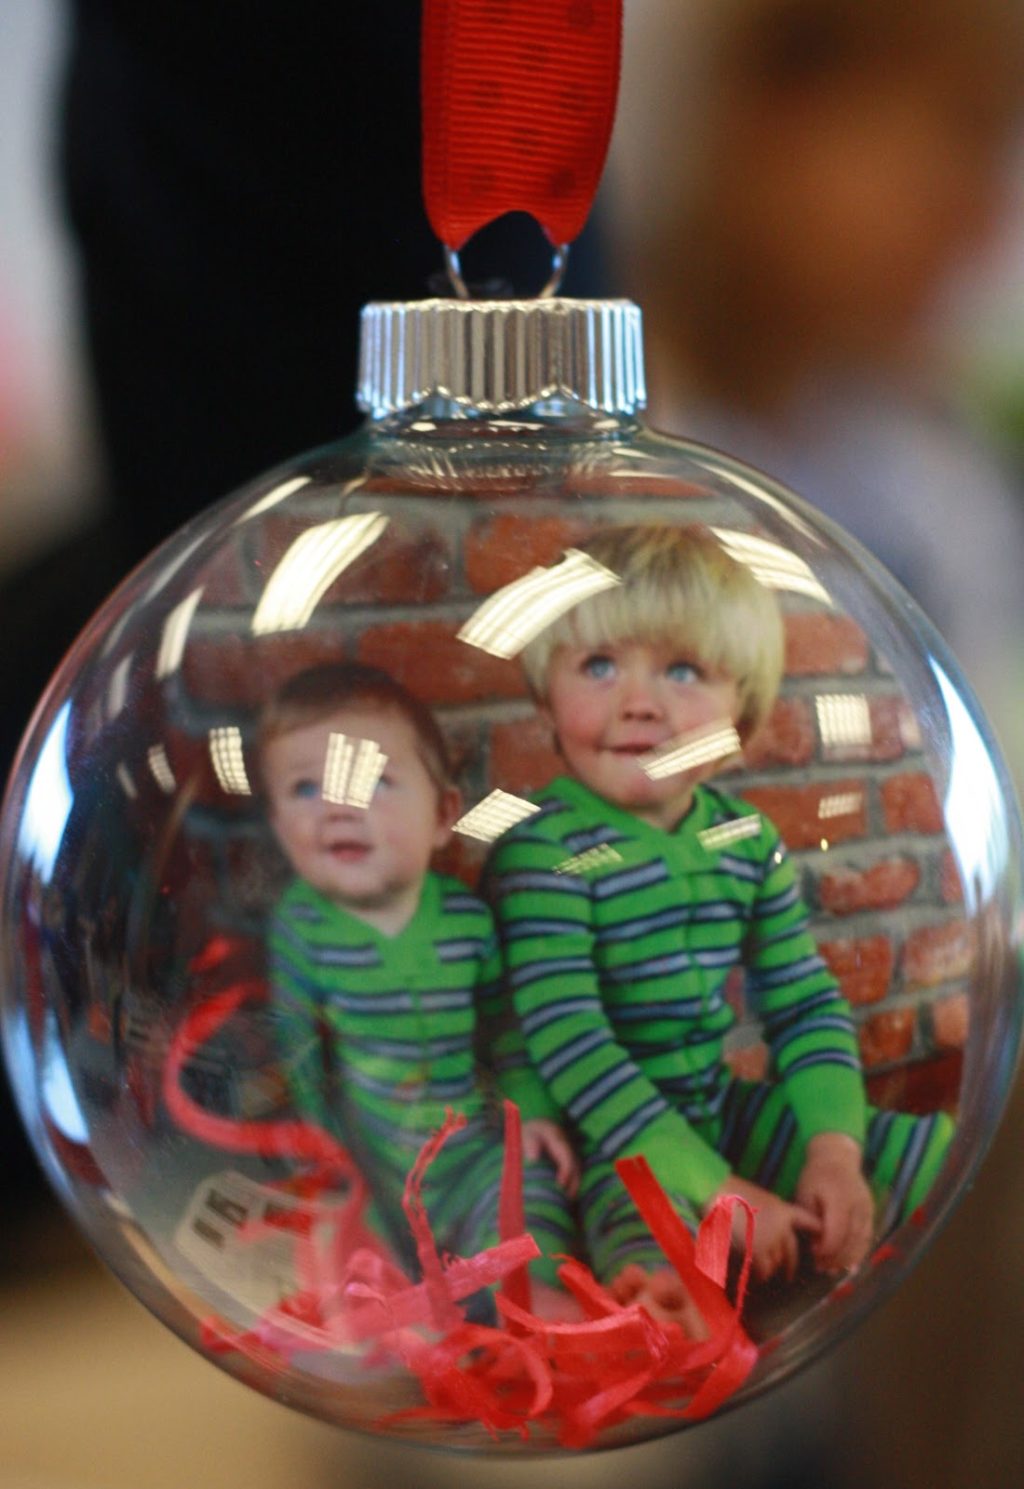
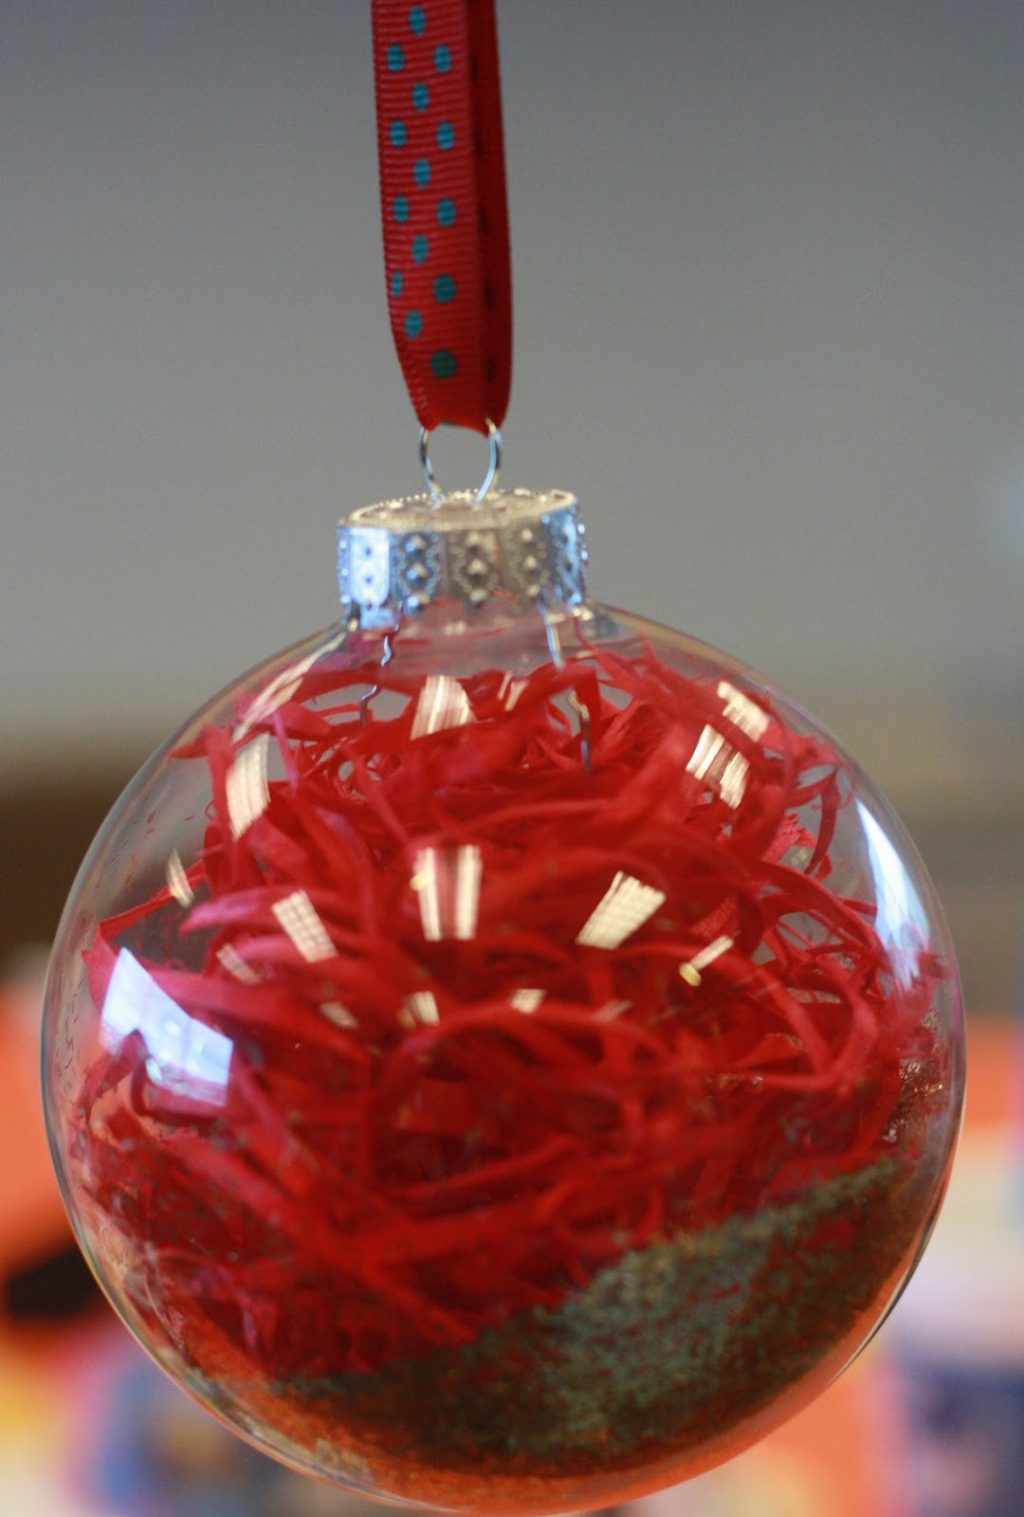
I added the paper filler in this one. I broke it up in pieces so it didn’t stick up and cover the photo.

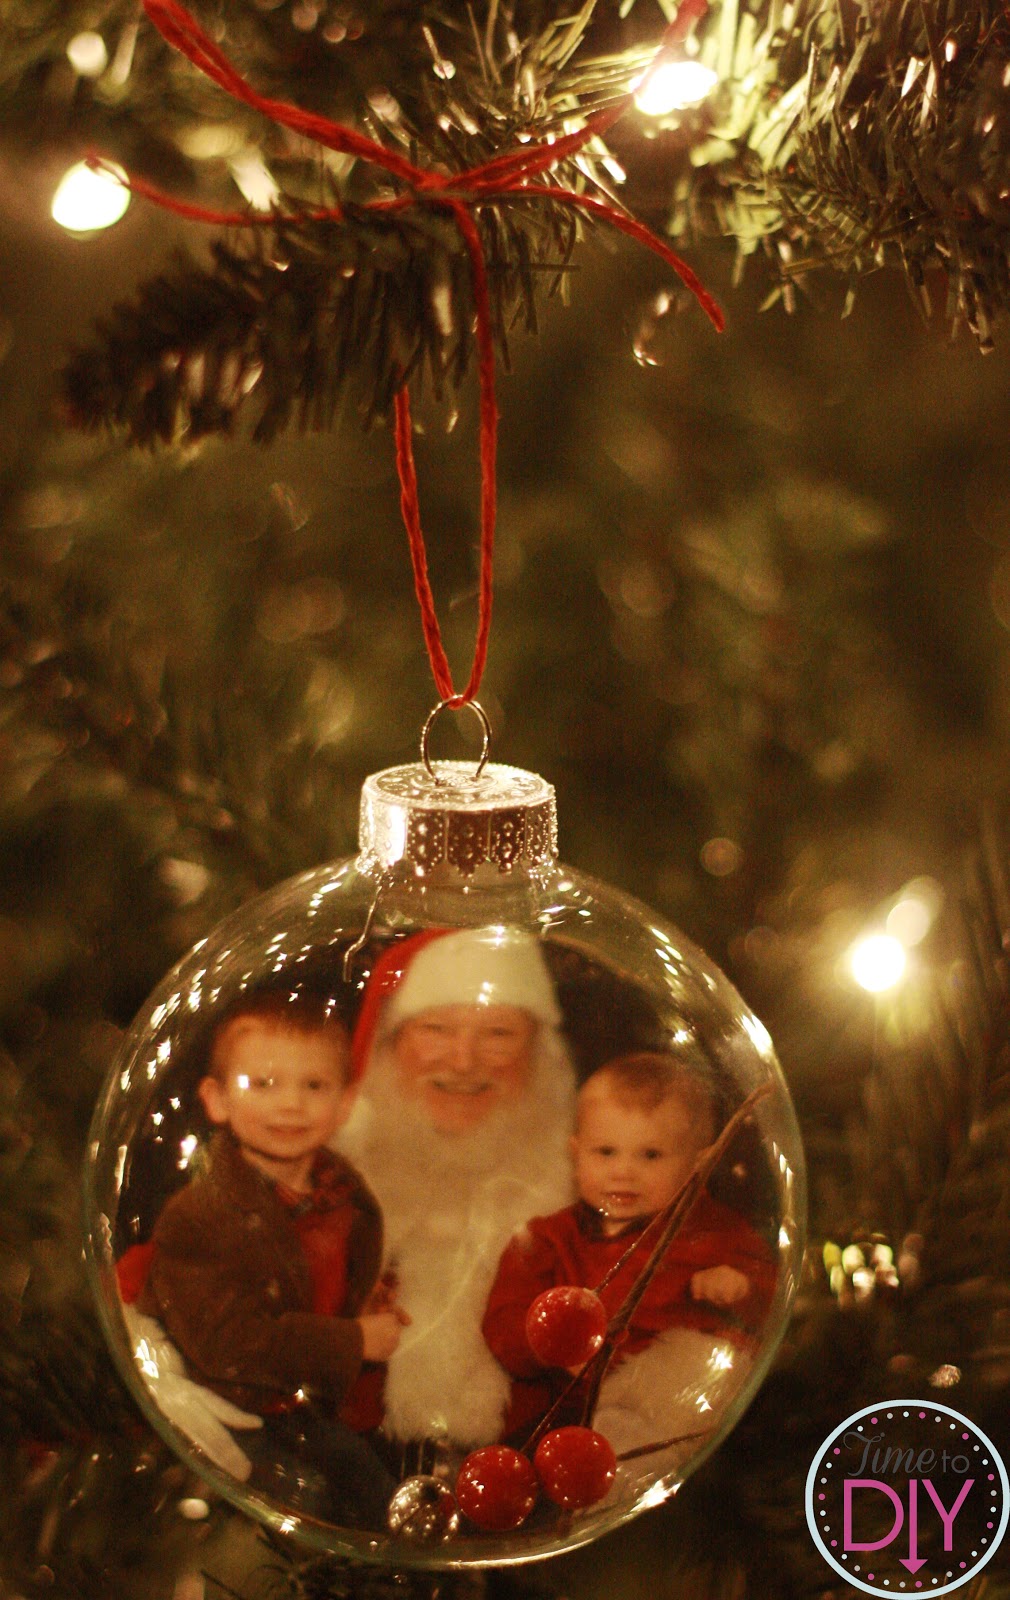
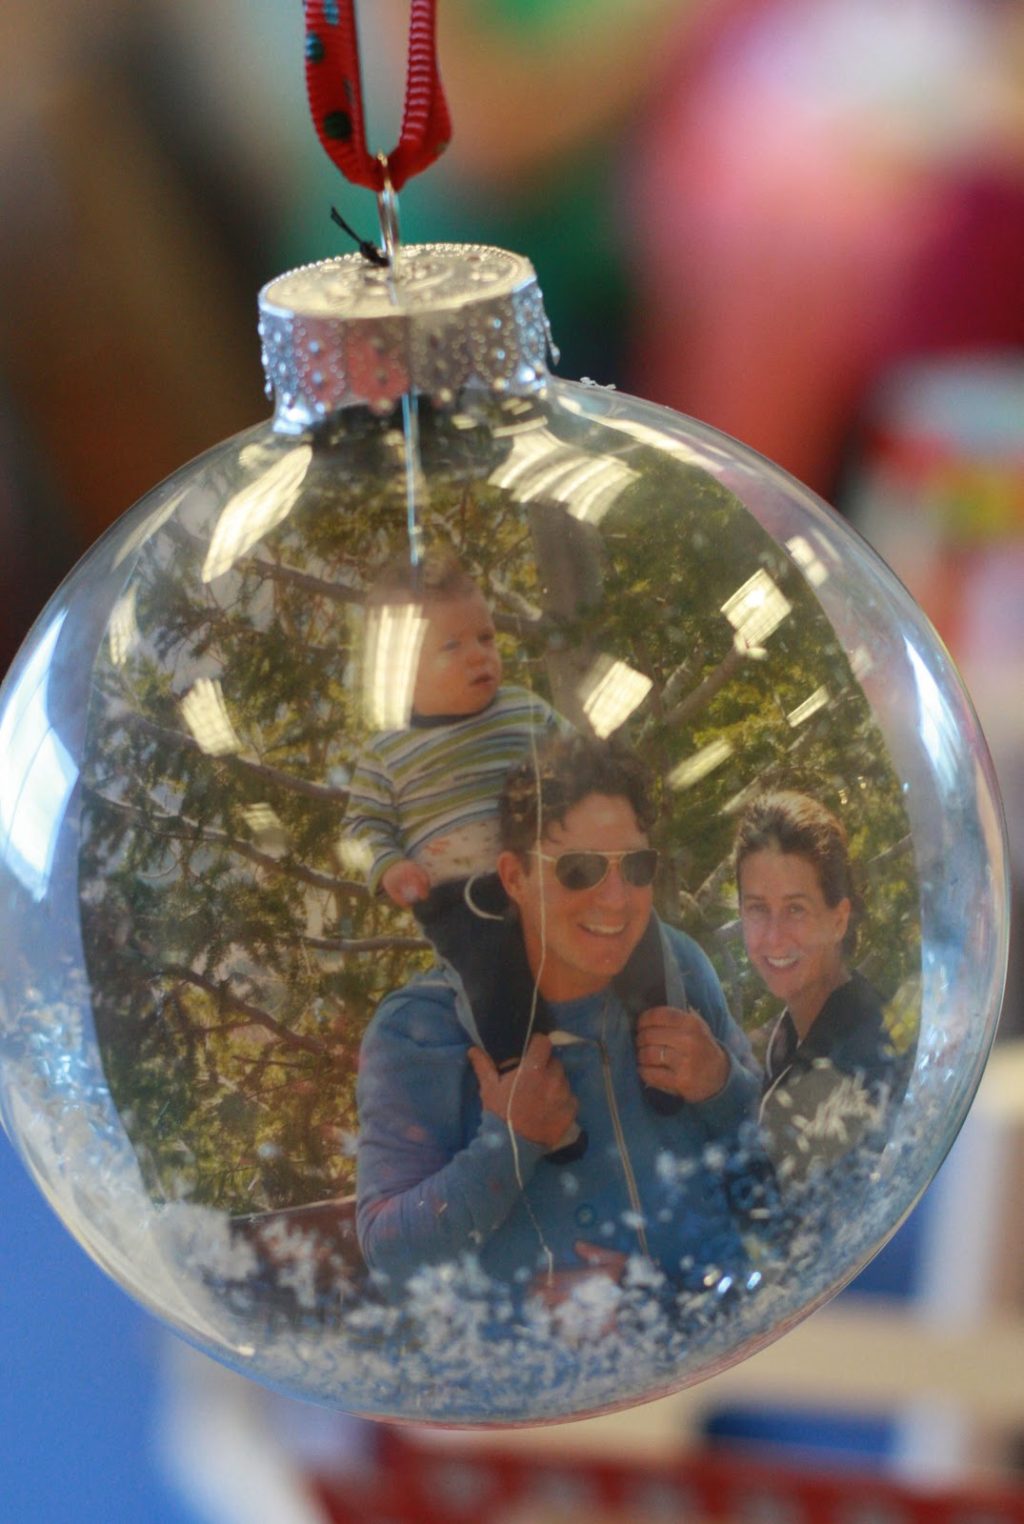
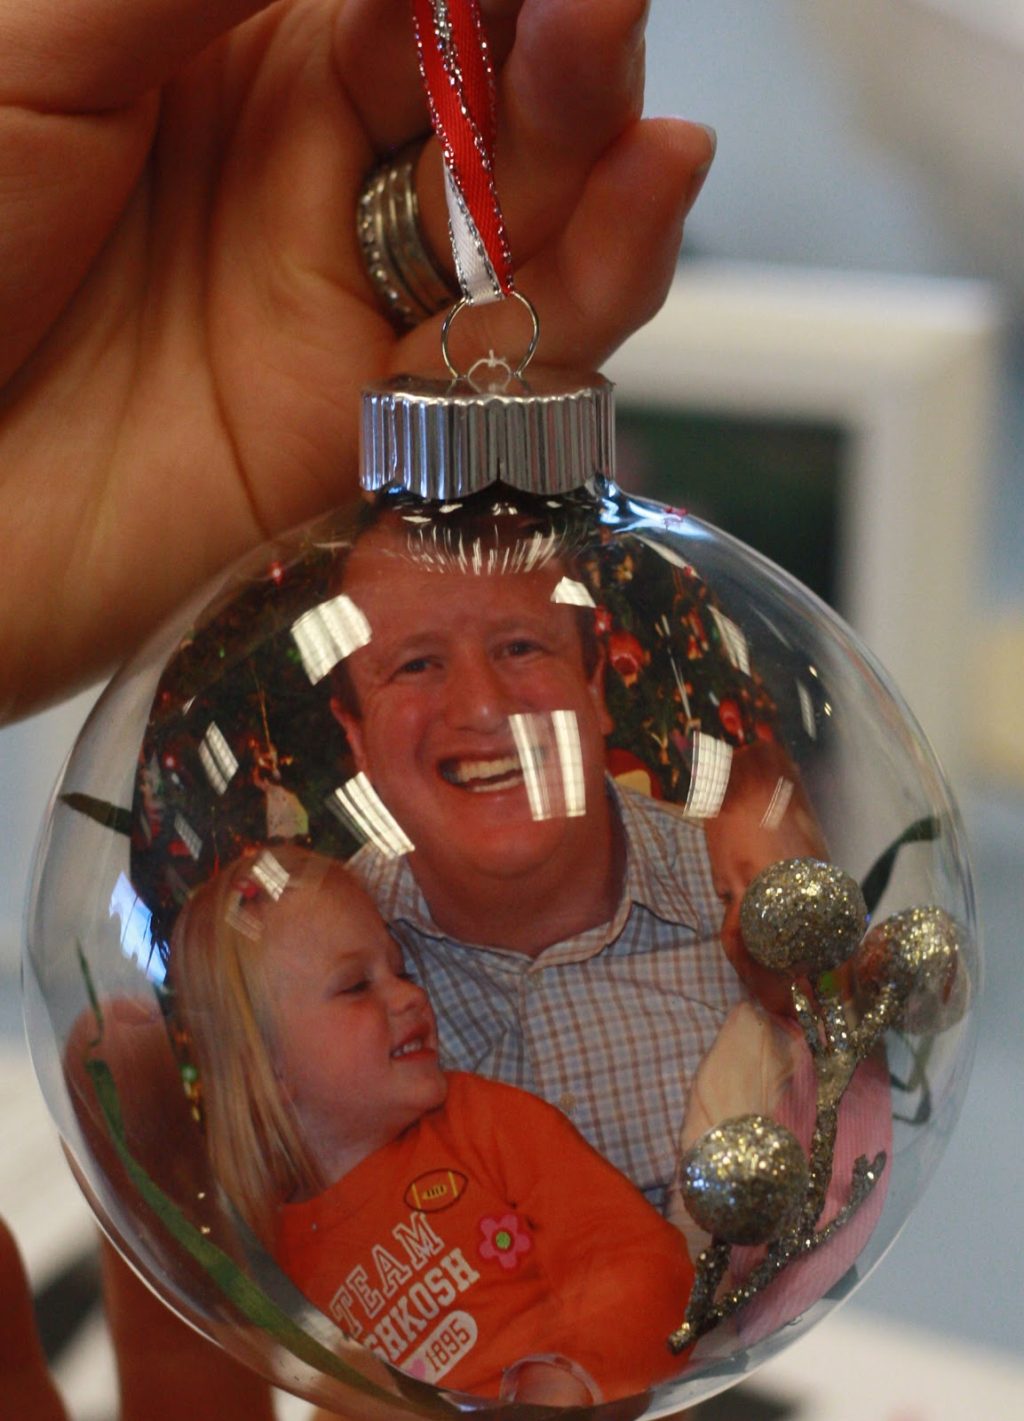
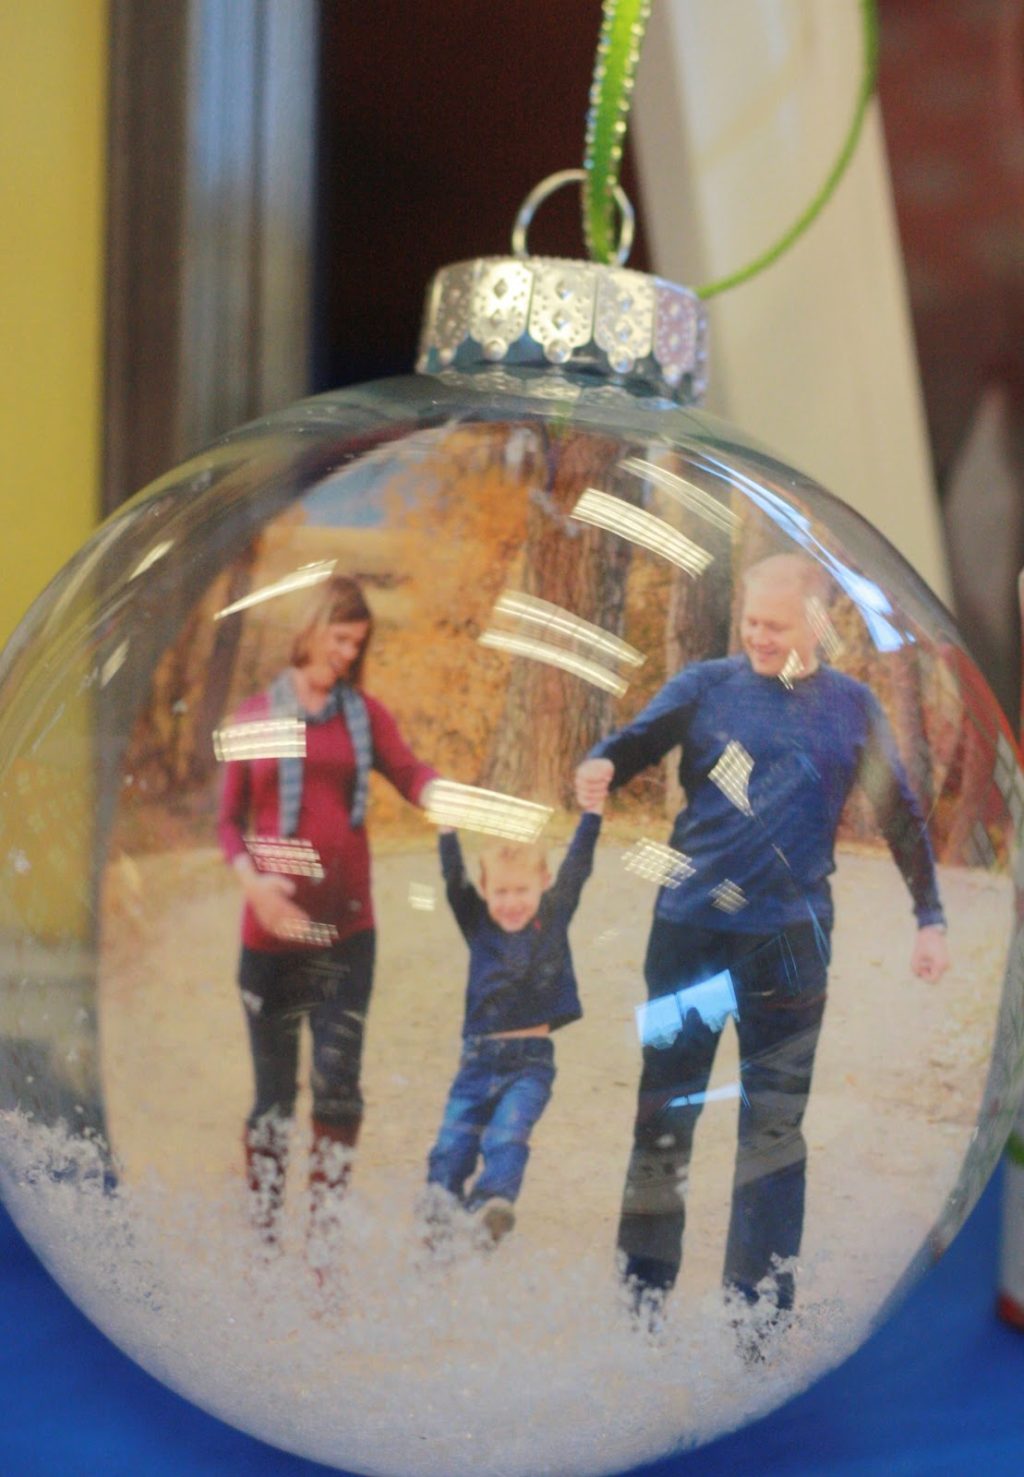
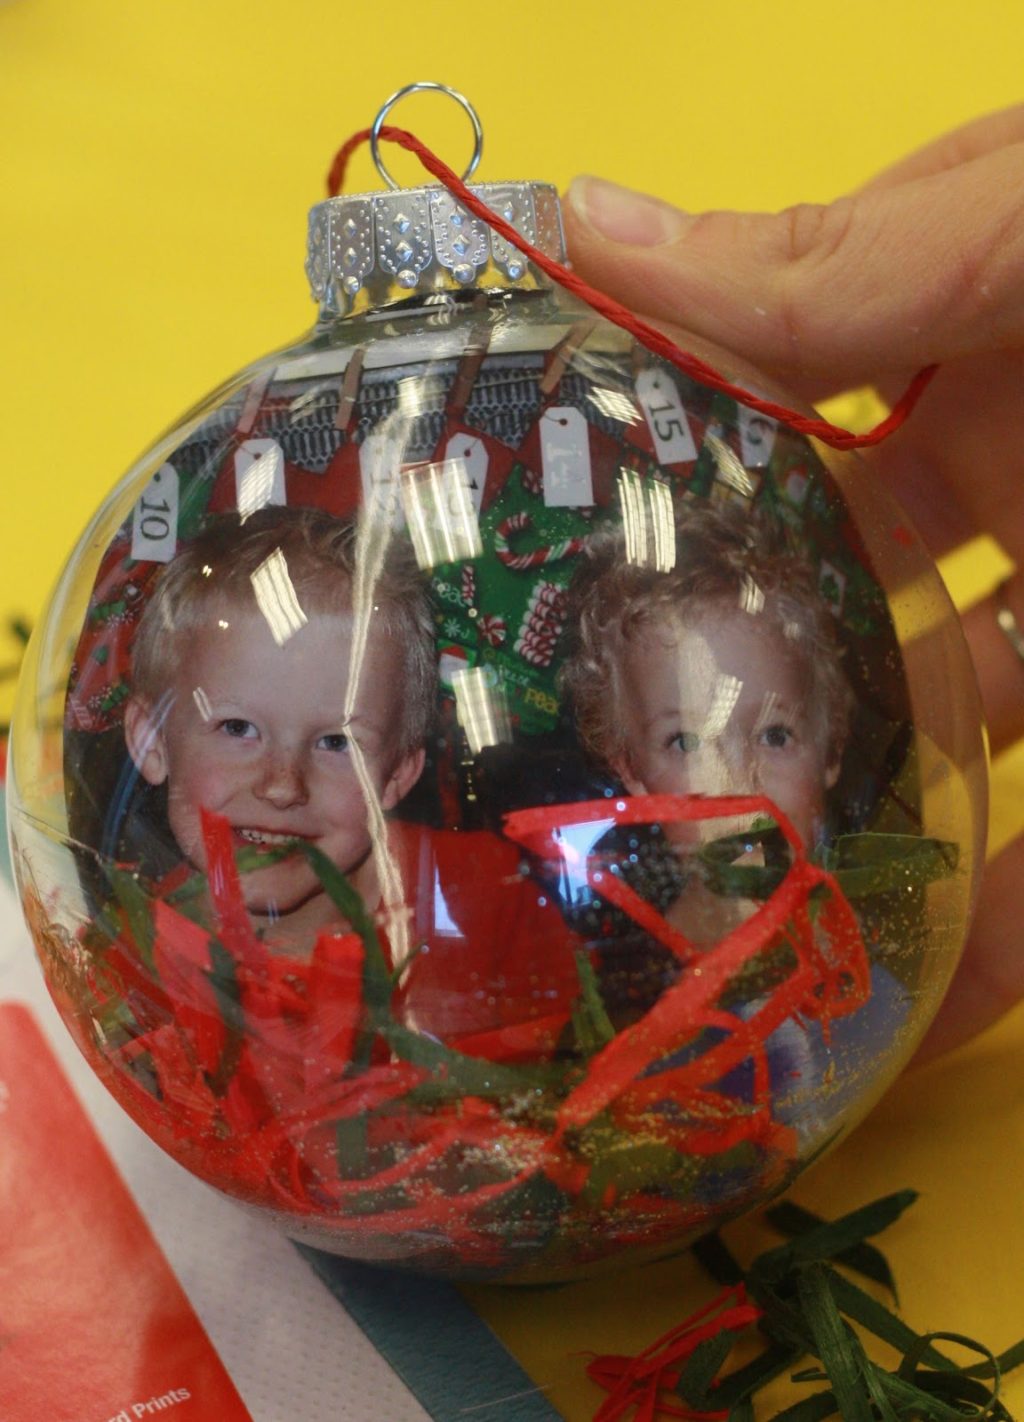
This is the one I will be giving my boys. Gotta capture that love when you can!
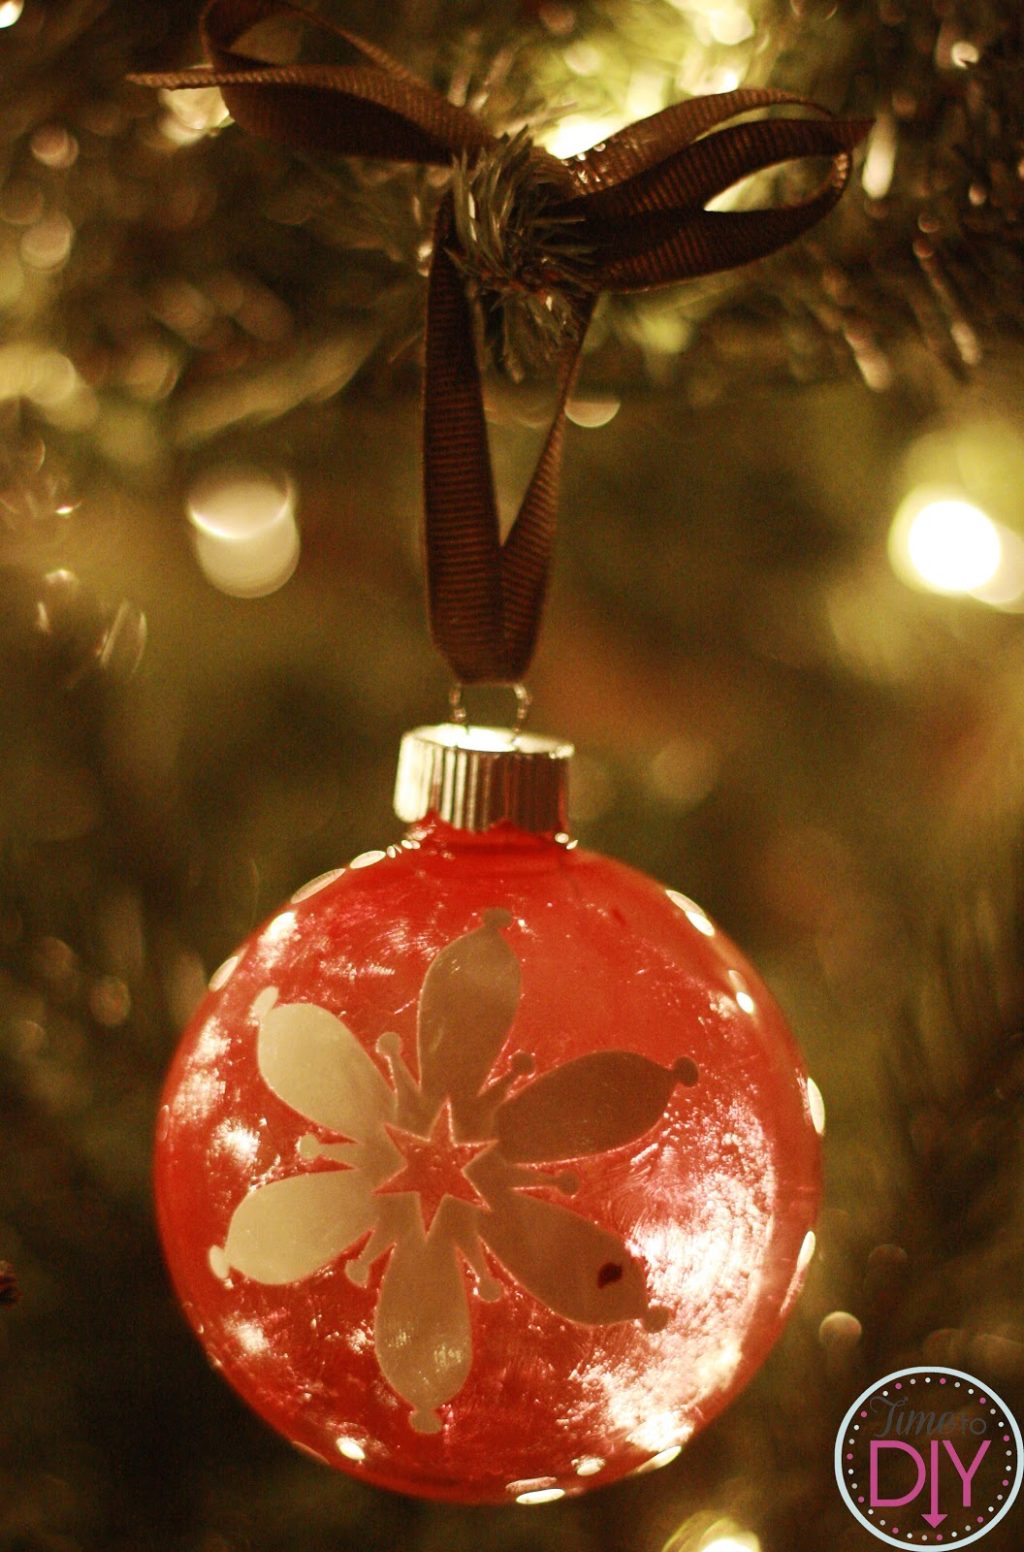
I also made a couple non-photo options. For this one I used paint and a snowflake I cut on my Cameo. I poured in a few drops of paint on the inside of the ornament and moved it around until it covered the bulb. Then I let it sit upside down so the excess paint would drip out. I mod podged the snowflake to the front of the bulb after it was dry.
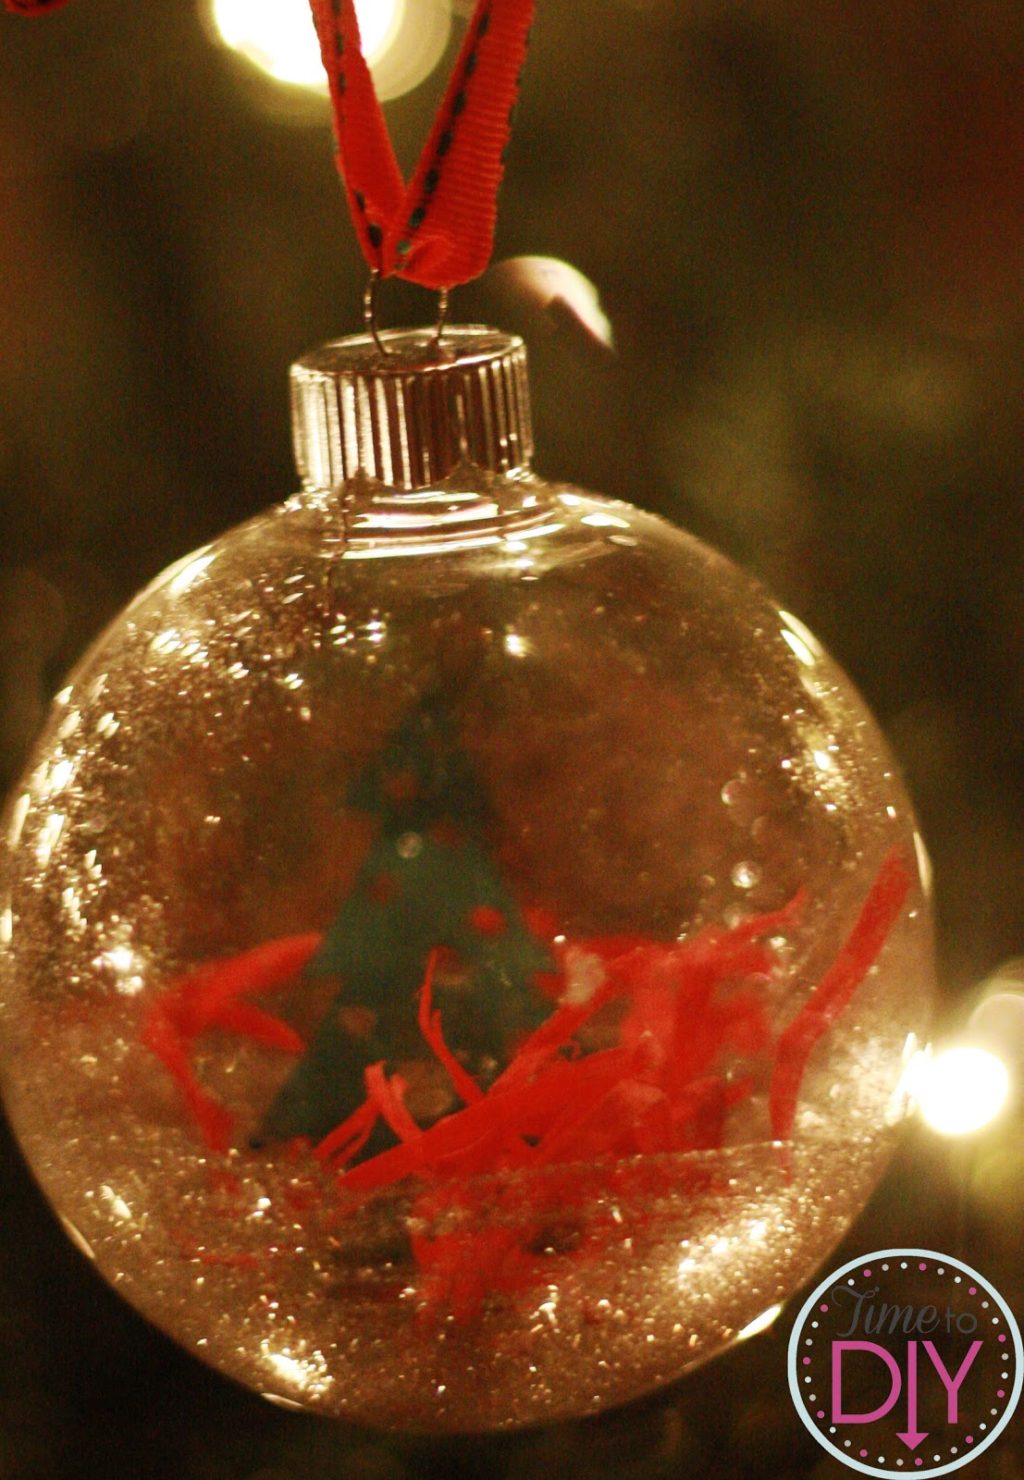
For this one, I used the mod podge glitter option on the bottom, then the filler, and then I put in a tree cut-out. I rolled it up like I did the photos. Except that I should have sewed the top like I did the photos, and then the tree would have been hanging from the top. Next time.
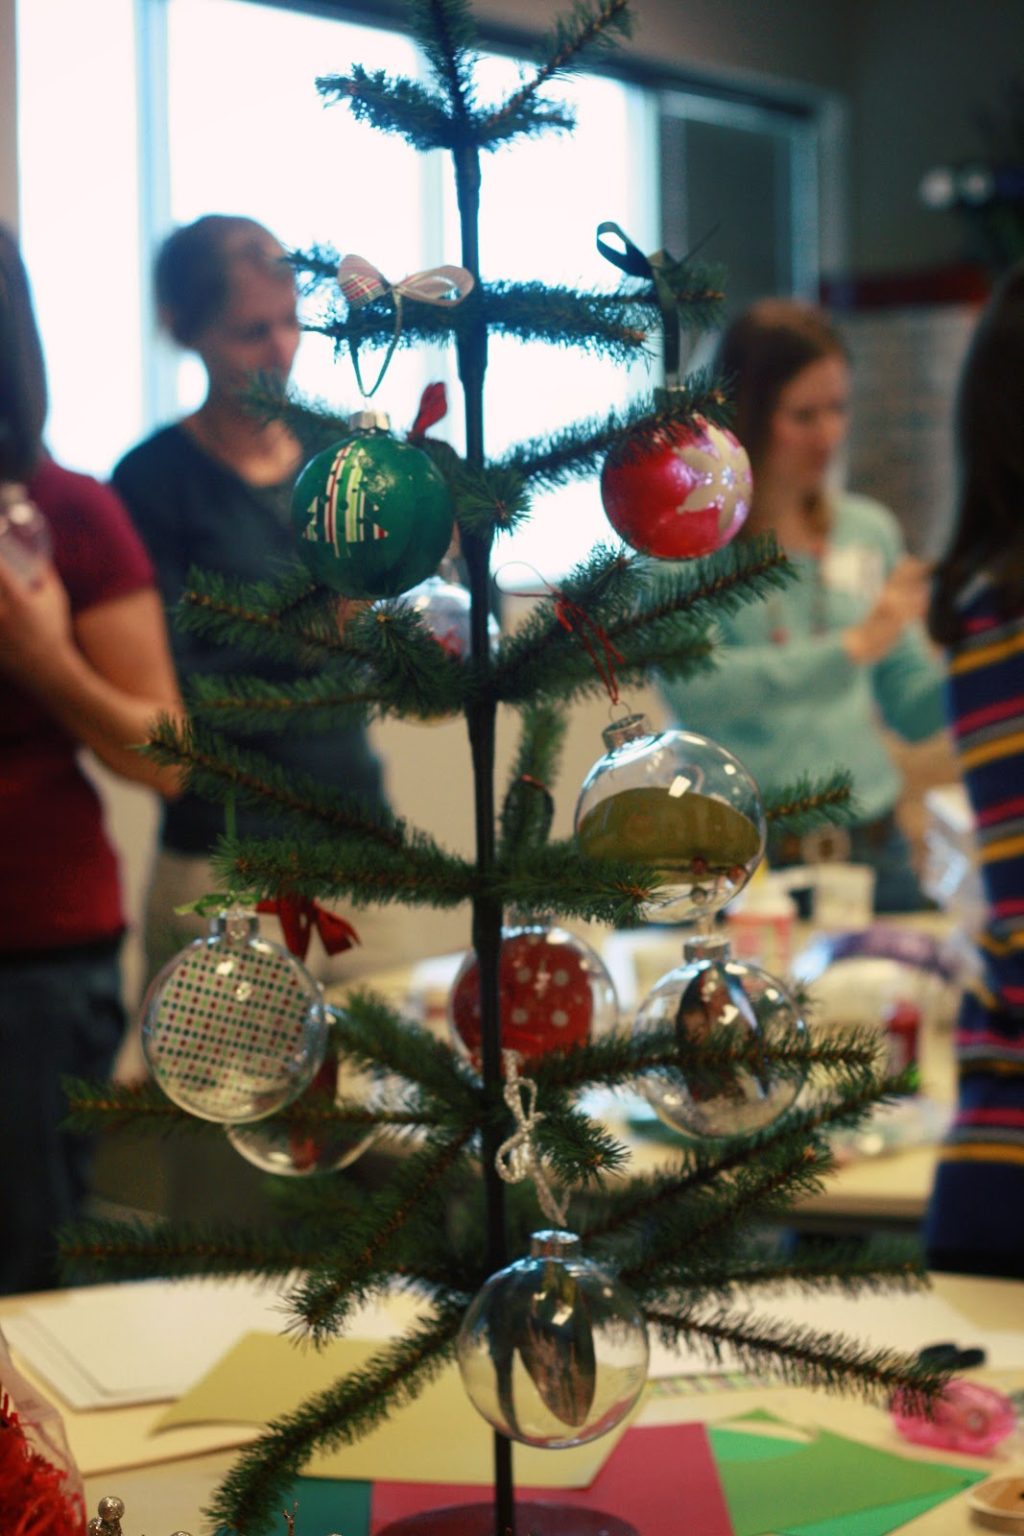
Here are some of the MOPS fun ornament creations. I apologize for the photo quality. Lots of glare on the glass from the florescent lights.
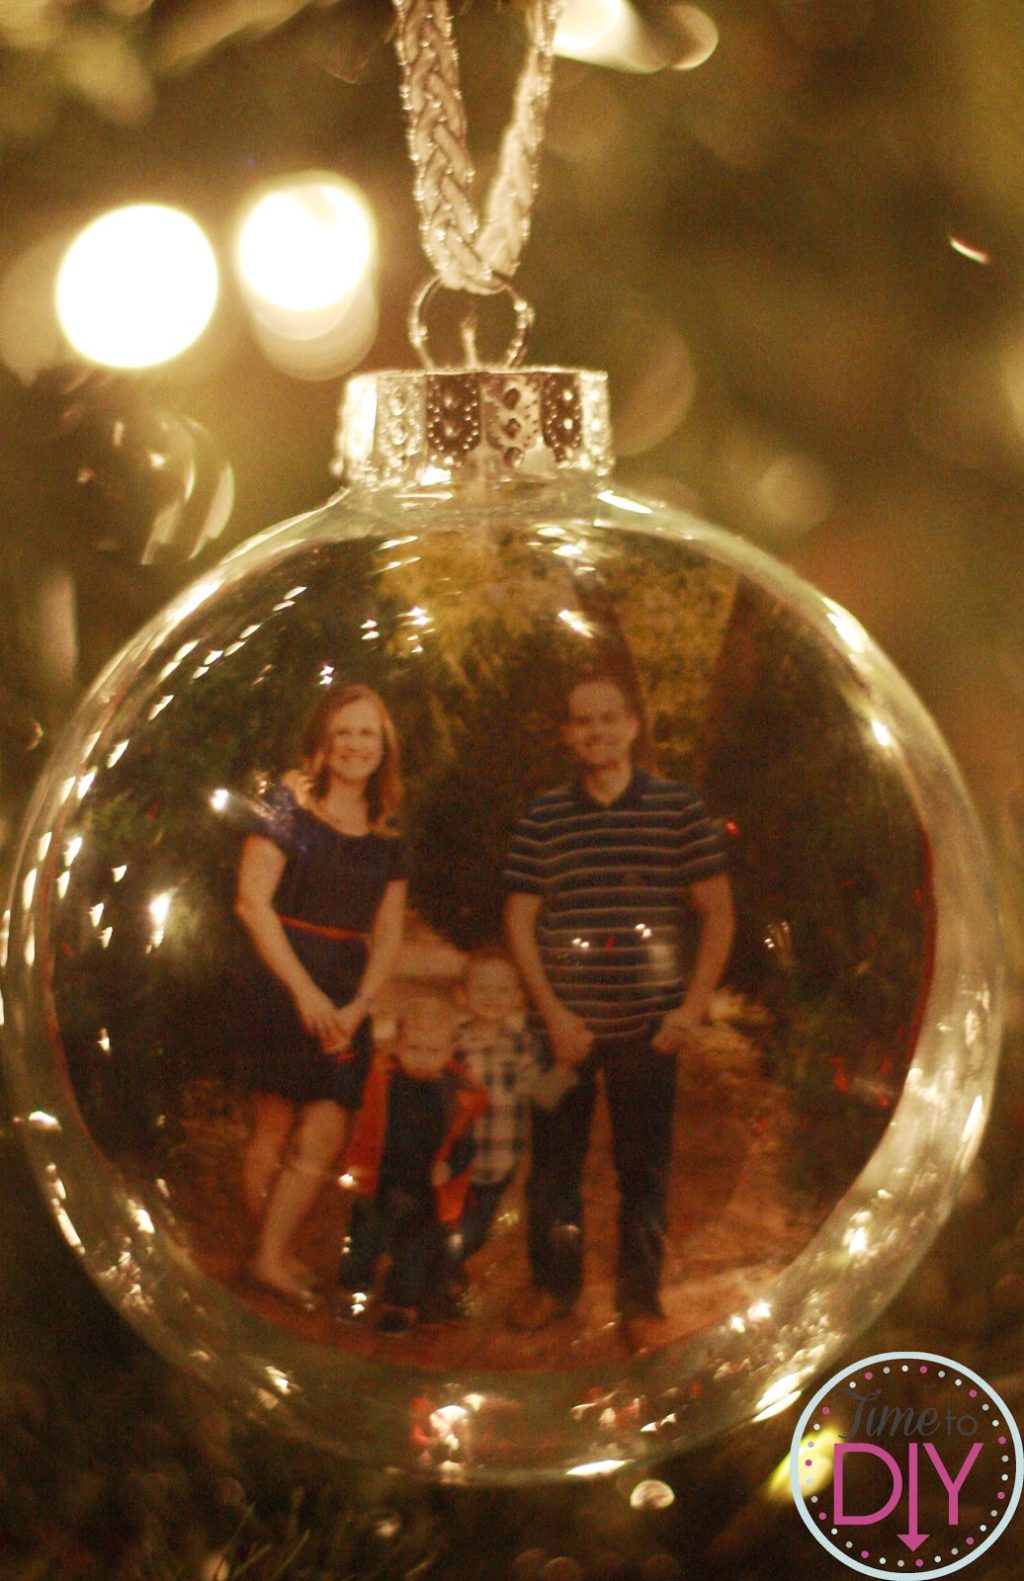
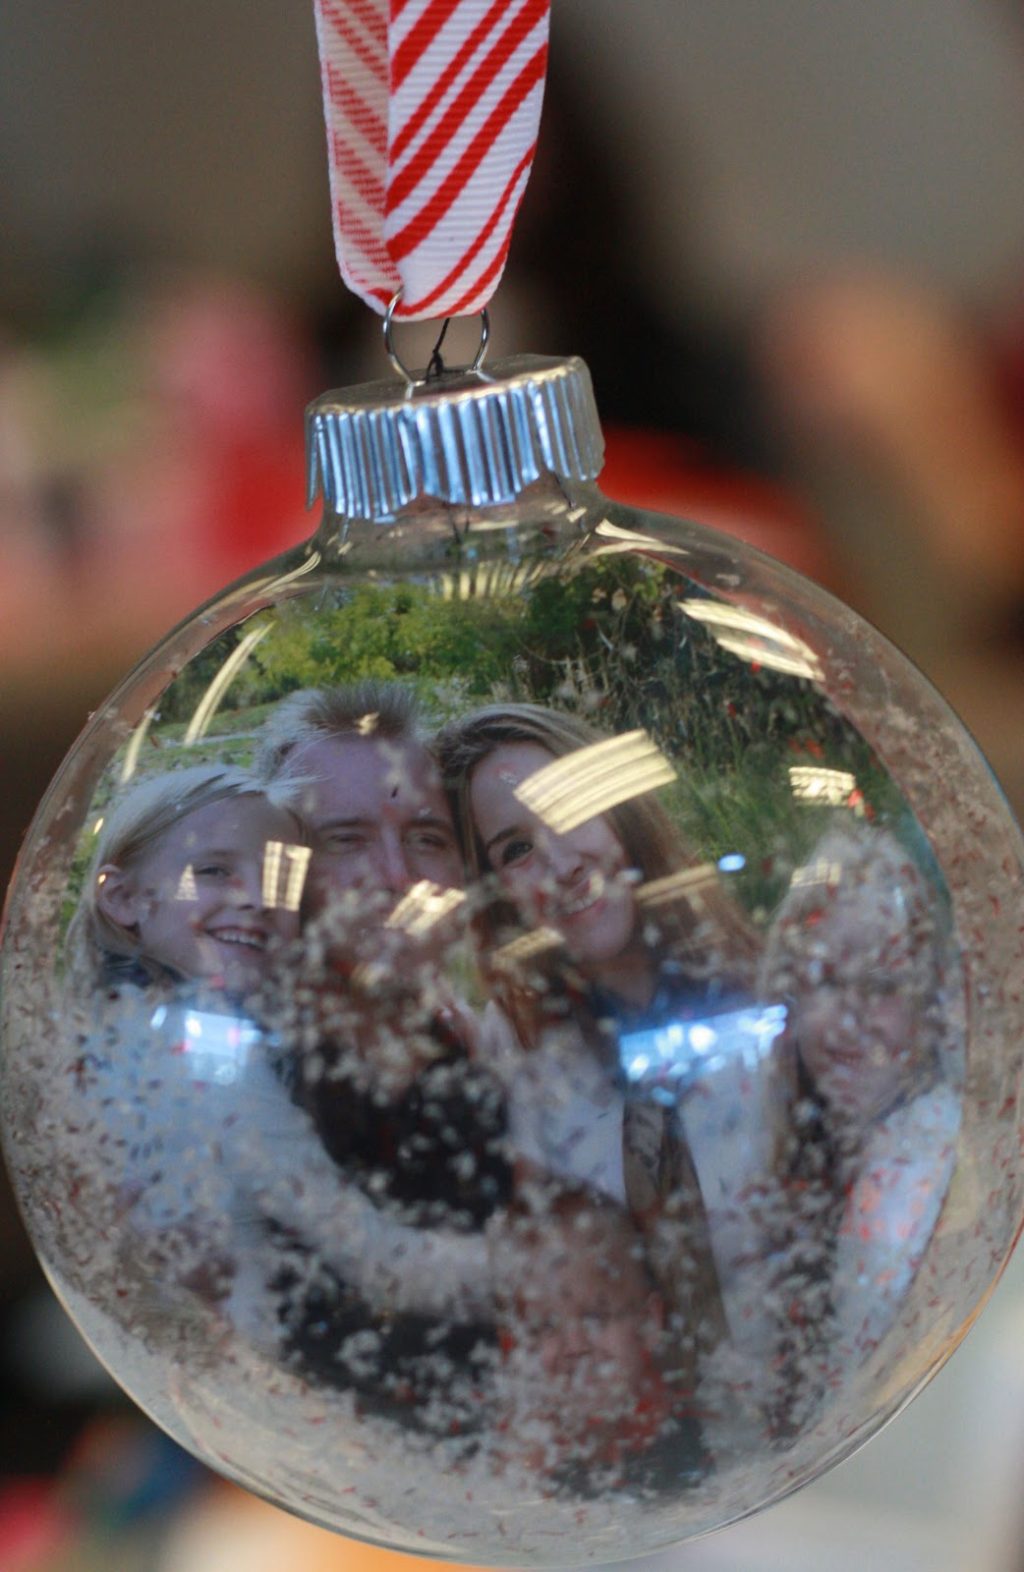
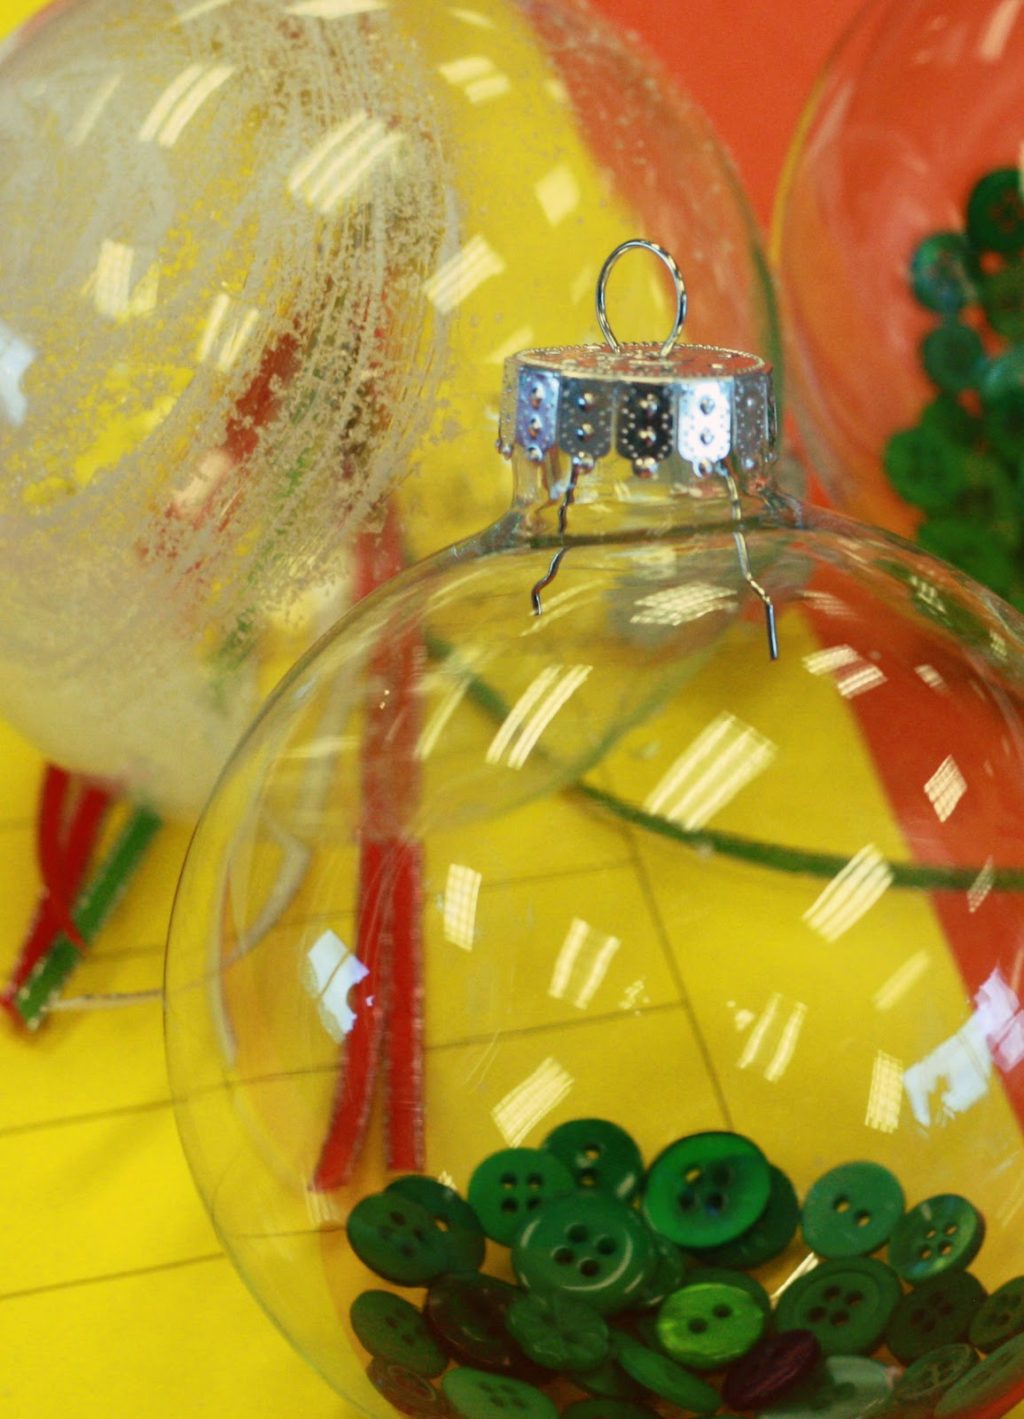
Some did family photos. Note the different options for filler at the bottom.
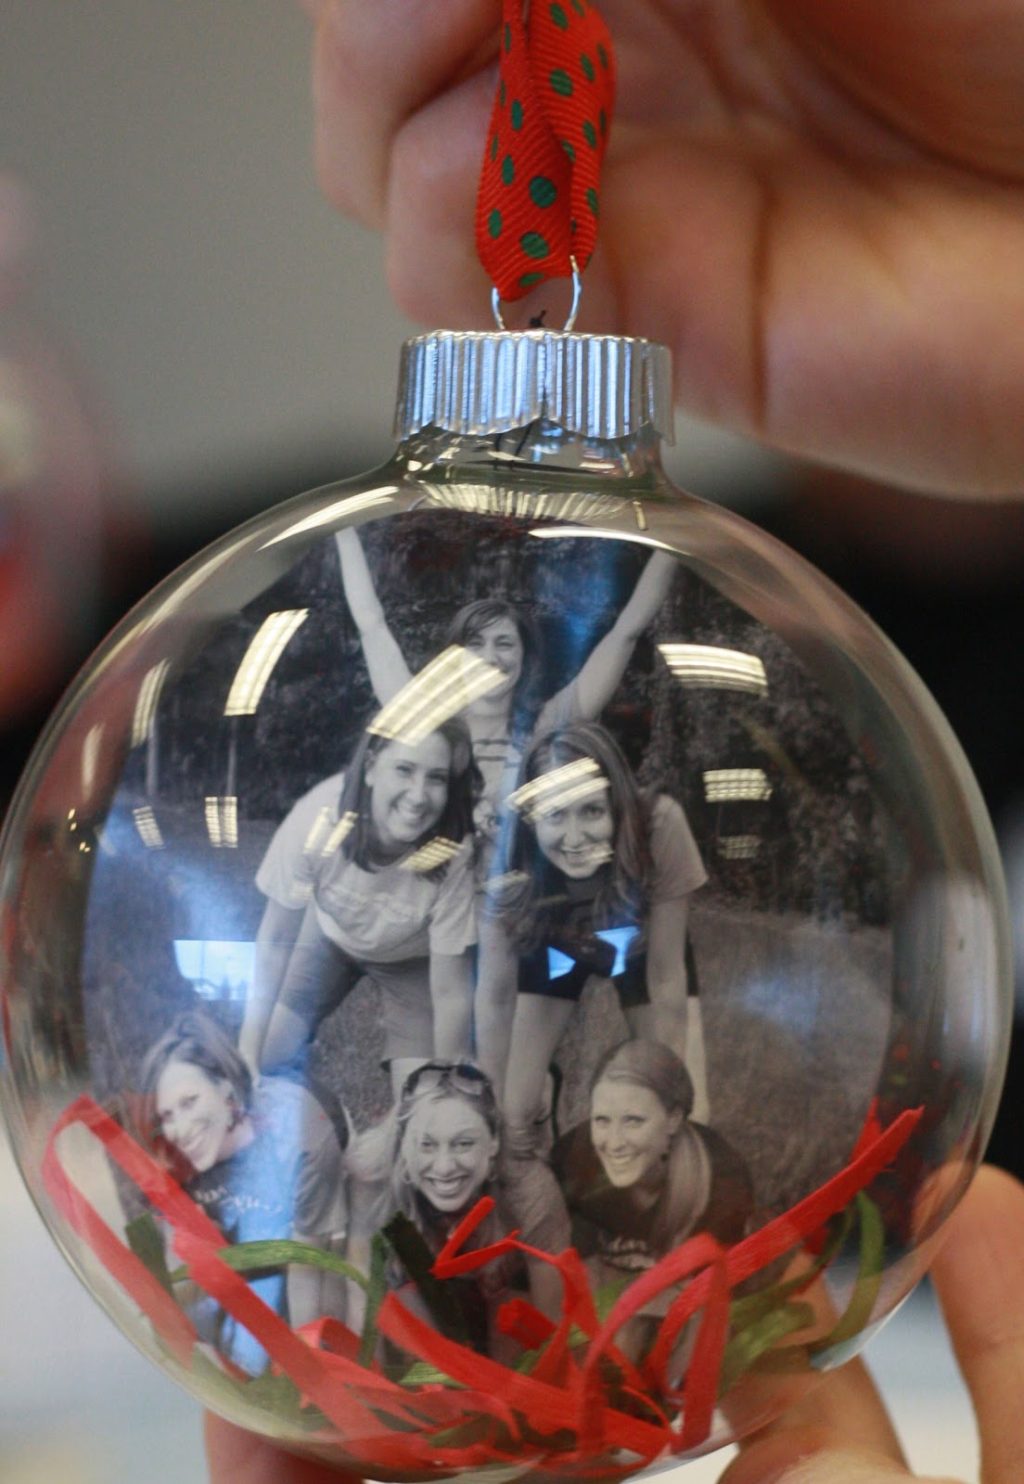
Others did friends. I think the black & white one on the right may have been a college friends reunion. I like how she did a black & white photo with the red and green on the bottom. And I like how the one on the left used white and red ribbon for the bow.
And of course a lot did some of their kids – and they are just too cute!
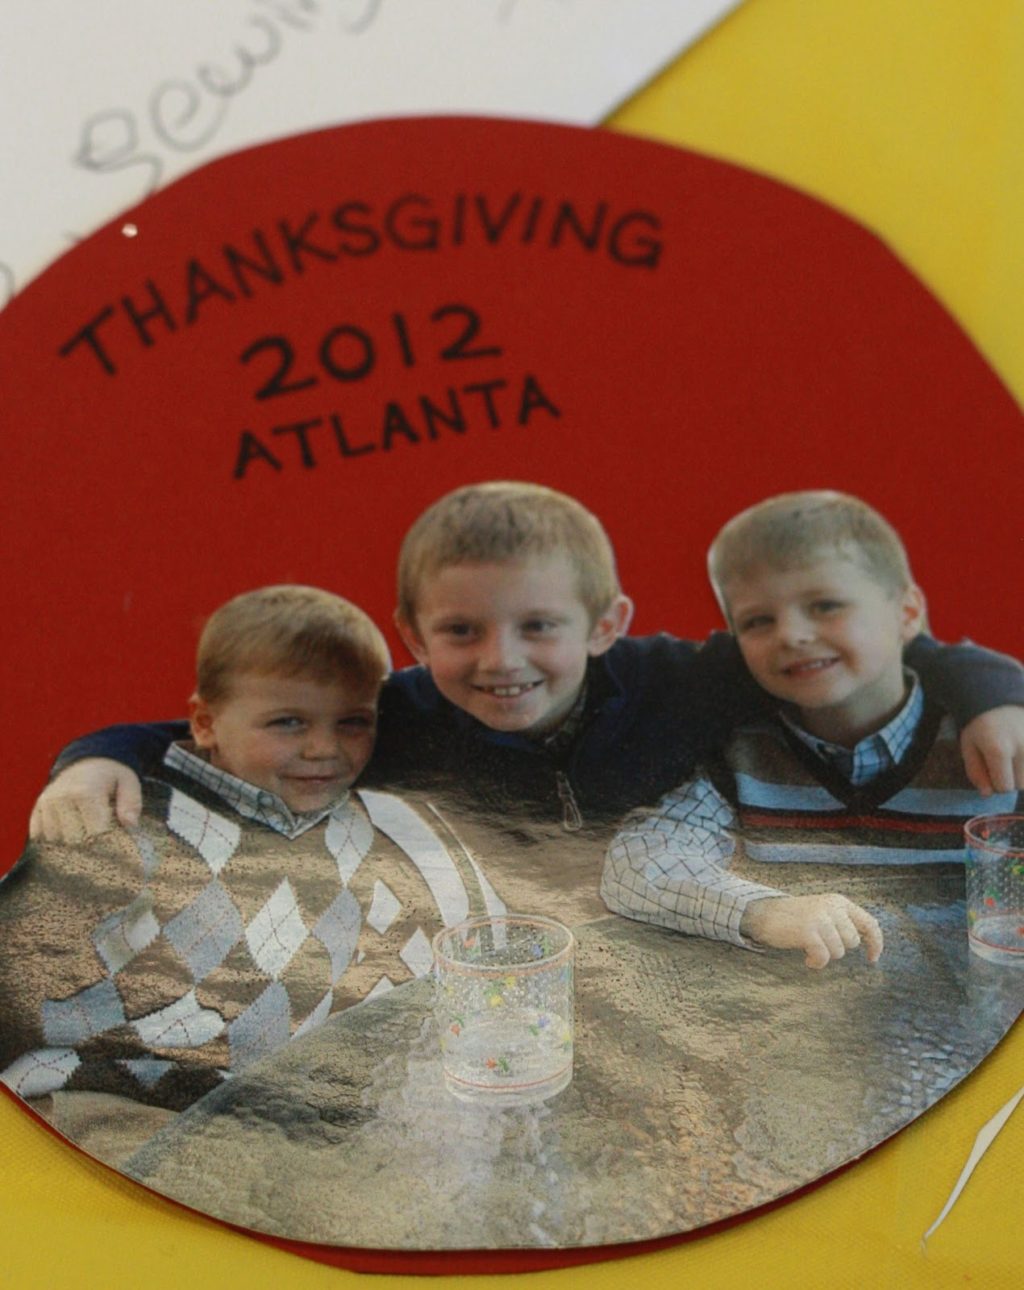
This was a cool idea…She used a picture from her family reunion over Thanksgiving and then labeled it. I wish I had thought of that!
A couple people didn’t use photos and they turned out really cute. The one in the middle has glitter on the bottom as well.
Some of the ladies at the mod podge/glitter station.
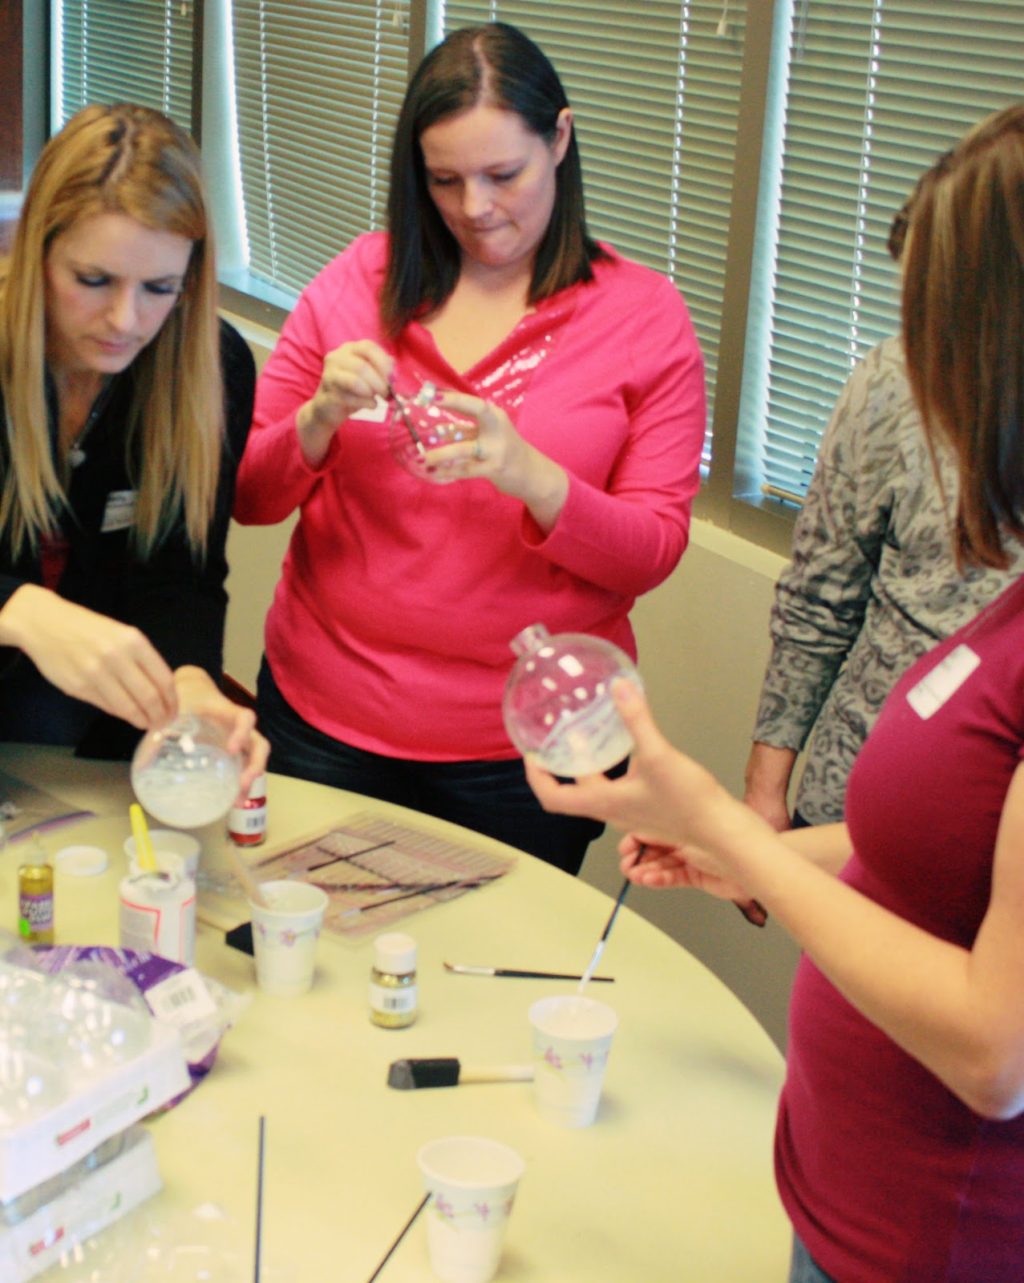
This was the main station with the ribbon, card stock, “snow”, etc.
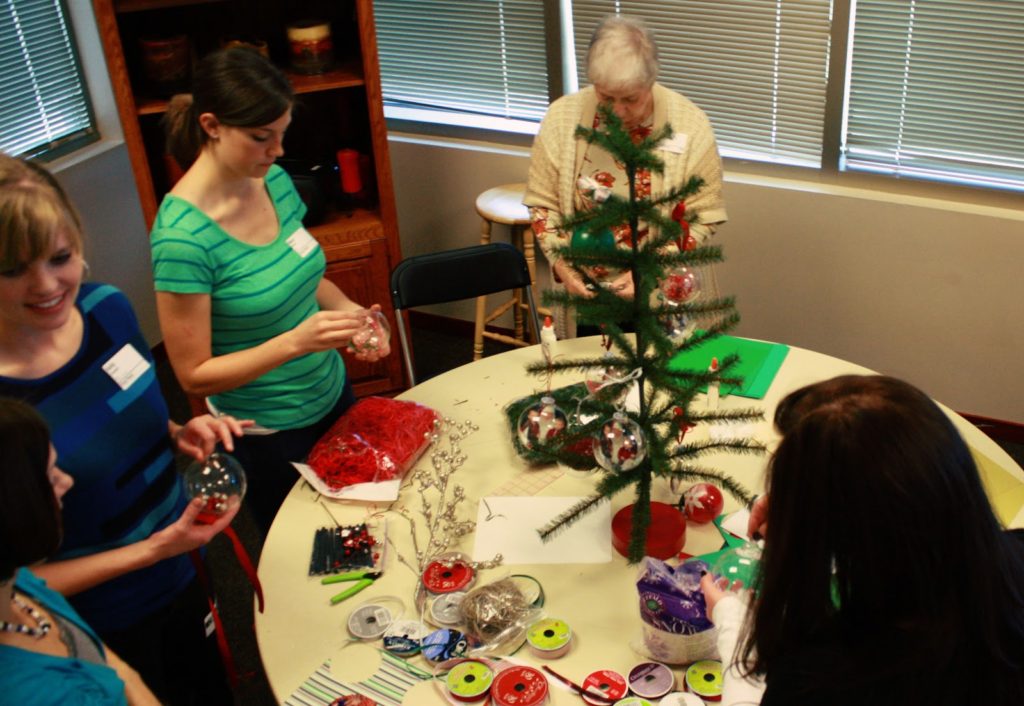
I put out the sample ornaments so they could get some ideas.

And idea for a fund raiser: I bought extra ornaments and we sold them for $3 ($1 went to MOPS).
I think everyone enjoyed this craft and now they have a fun photo ornament for their tree or a great gift.
Thanks for stopping by Day 6 of the 12 Days of Homemade Holiday Gifts series! Below are the links for more homemade gift fun.


This was such a fun craft! I already have mine packaged up and ready to ship to my friend for Christmas! Btw, your photos of the ornaments on your tree are beautiful. You need to give me some tips for shooting in low-light.
Thank you, Amanda! Let me know what your friend thinks! Ashley helped me figure out the low light fix. I shot it in AV mode, and then put the ISO on 1600 and f-stop the lowest it would go. I used a 50mm lens so the lowest was 1.8.
I've got to play around with ISO more…I don't really know much about that. I have the 50mm 1.8 lense also…love it!
Just go straight to 1600 in low light! 50mm is great! My fave.