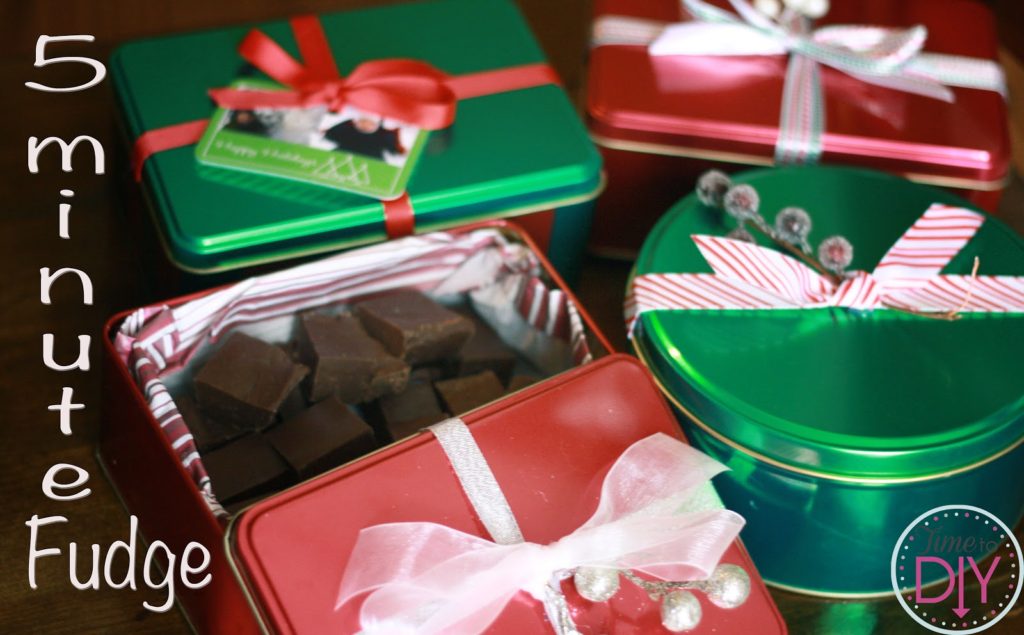
We send our family a package of sweets each year, and it’s usually this fudge because it’s so easy and yummy. And it has to be easy when we are sending 18 tins!
I often wonder if it’s still fresh by the time it gets there (always Priority Mail at least), but everyone raves about how rich and smooth it is, and how impressive it is that we make fudge. I probably shouldn’t be giving away how easy this is, right?
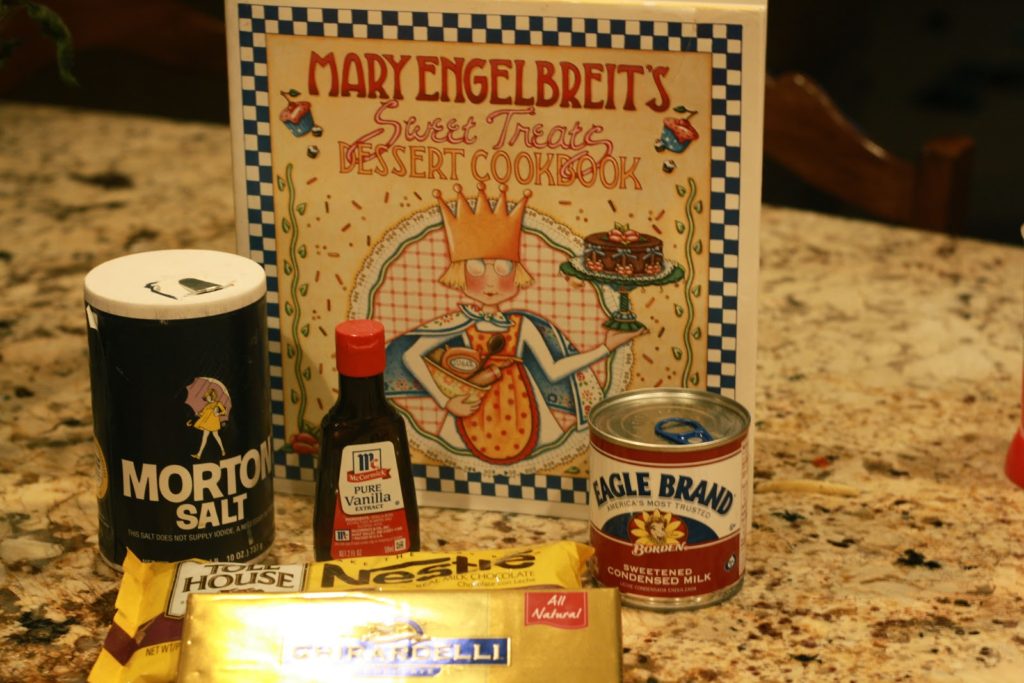
I use the recipe from Mary Engelbreit’s “Sweet Treats Dessert Cookbook.”
5-minute Fudge Recipe
1 pound of bittersweet or semisweet chocolate, coarsely chopped
1 (14 ounce) can sweetened condensed milk
Pinch of salt
1 cup chopped walnuts (optional)
2 teaspoons vanilla extract
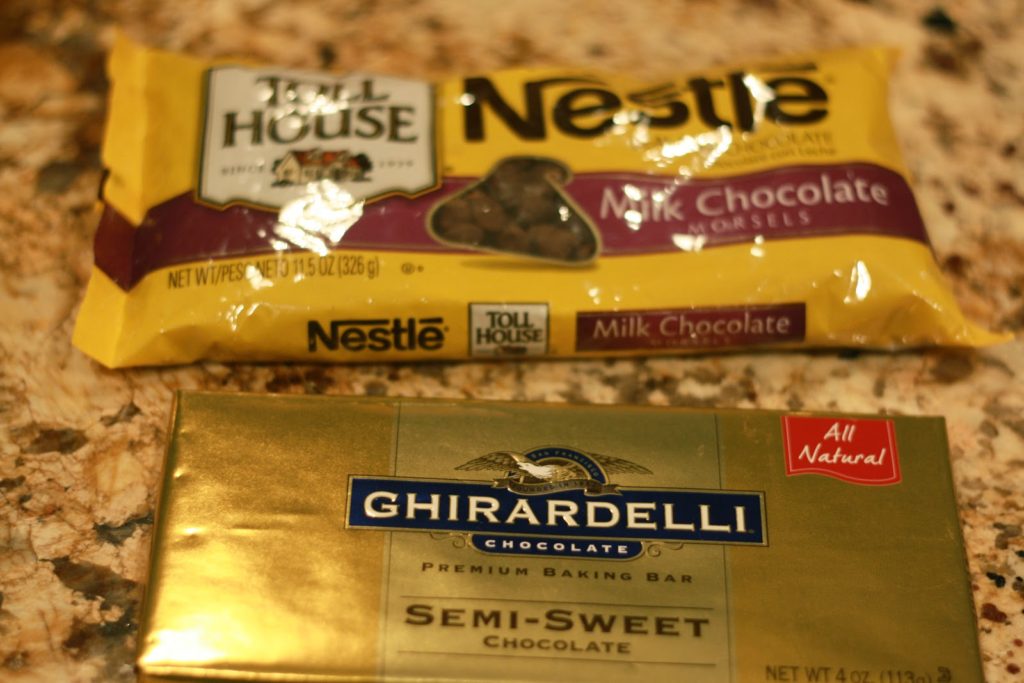
Over the years we’ve used a variety of Baker’s chocolate, Ghiradelli, and regular morsels. We can’t tell the difference between them so now we just go with a package of morsels and a 4 oz. bar of chocolate because it’s easier than chopping chocolate squares.
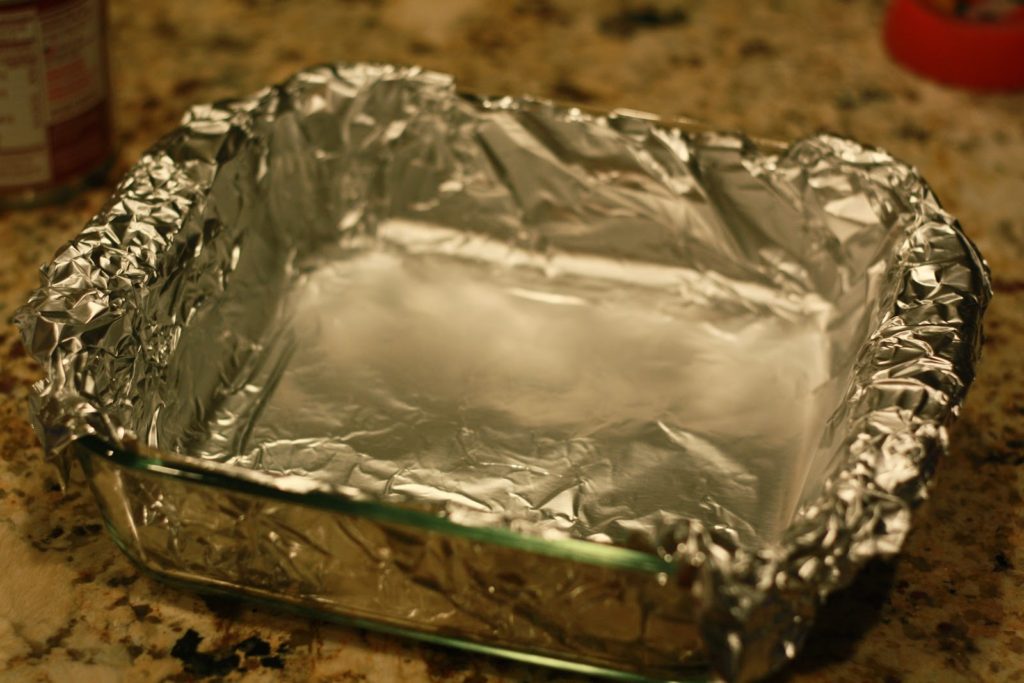
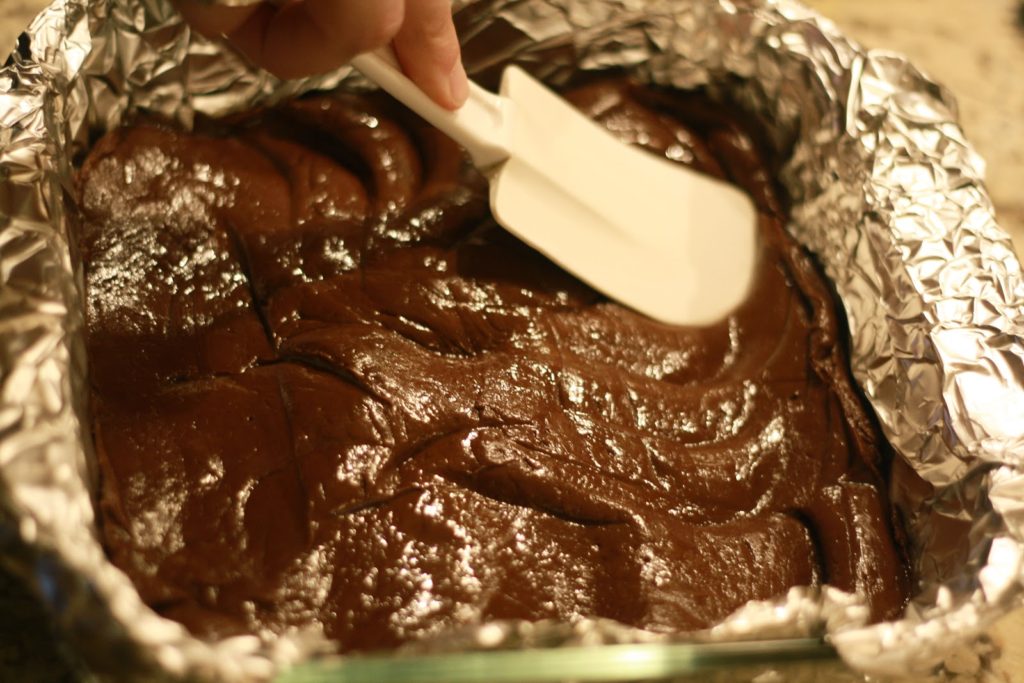
Line an 8-inch baking pan with foil with some overhang on the side. This makes it easy to take out later.
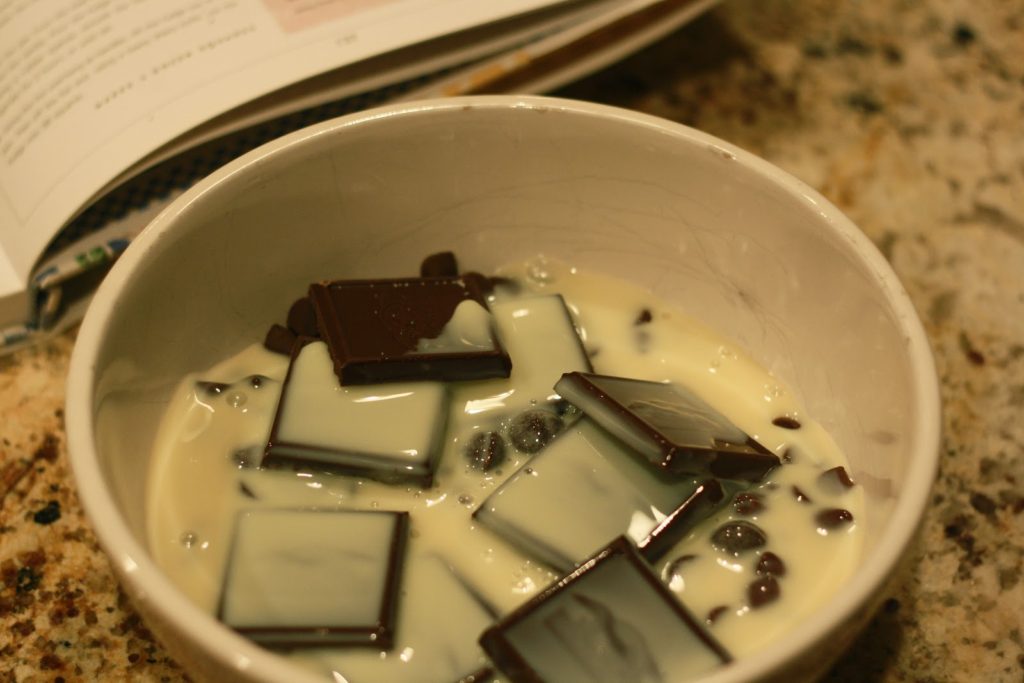
Put the chocolate, condensed milk and salt in a microwave-safe bowl and put in the microwave for 30 seconds.
Take out and stir, then repeat for another 20 seconds. Depending on your microwave, it may be melted after that. Do another round of 10-20 seconds if it’s not. Be careful not to overdo it. Make sure you give it a thorough stir before putting it back in the microwave. It will usually melt as you’re stirring it.
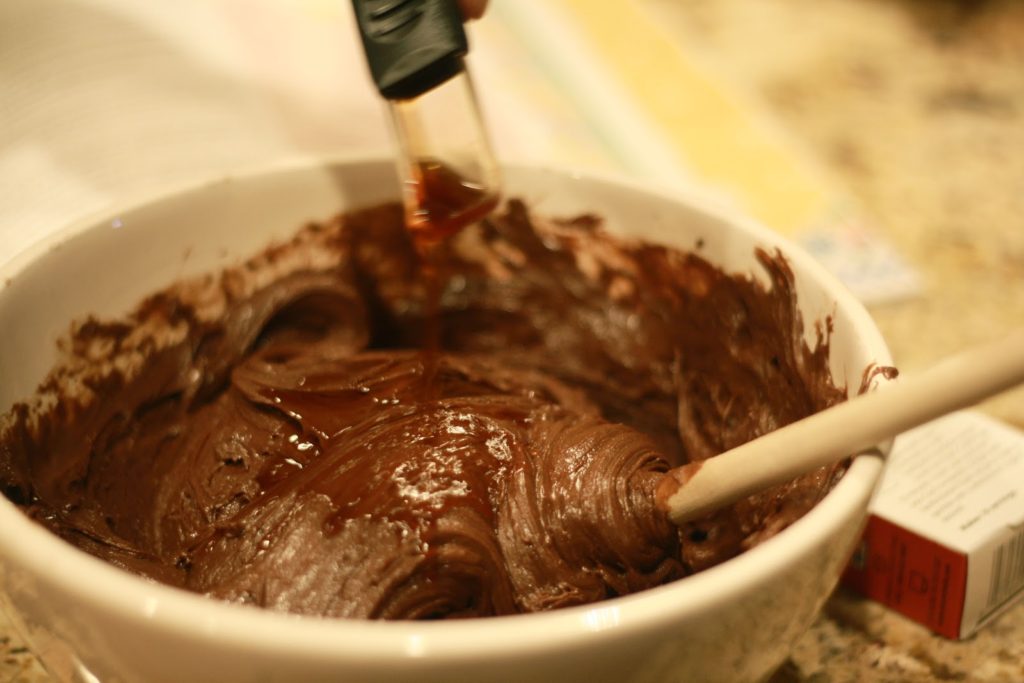
Once you know it’s melted, stir in the vanilla. It will look a little weird at first, but give it a good stir for a couple minutes to blend in.
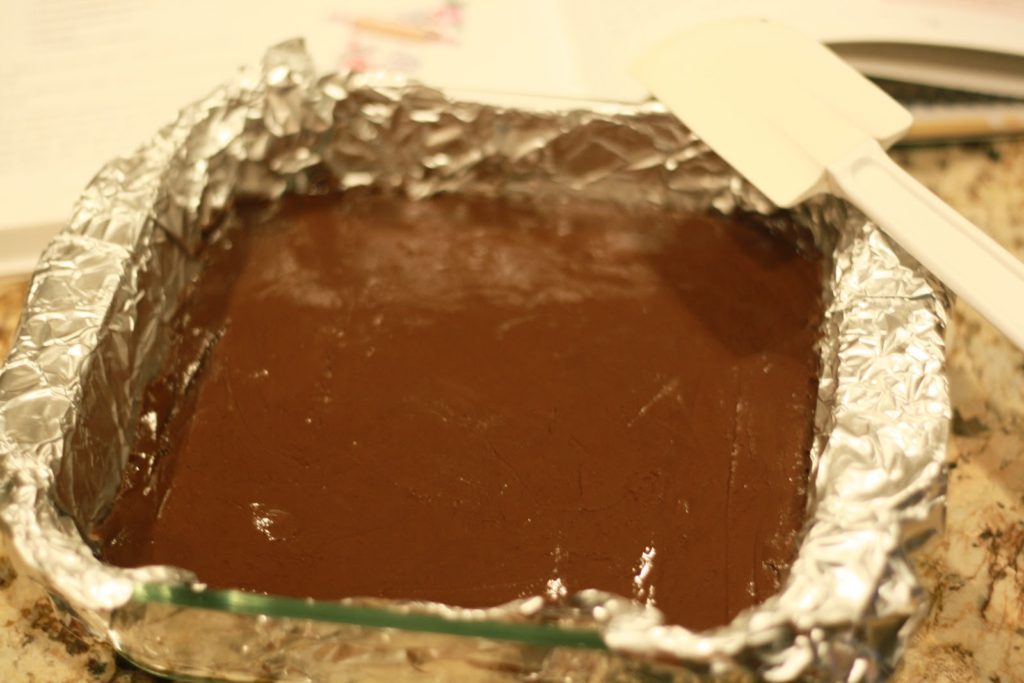
Then transfer the mixture to the pan and smooth it out with a spatula.
All ready! Cover with foil and refrigerate for two hours, or until set. We’ve kept it in overnight before, but it’s a little hard to cut.
Once set, take out of the pan and prepare to cut.
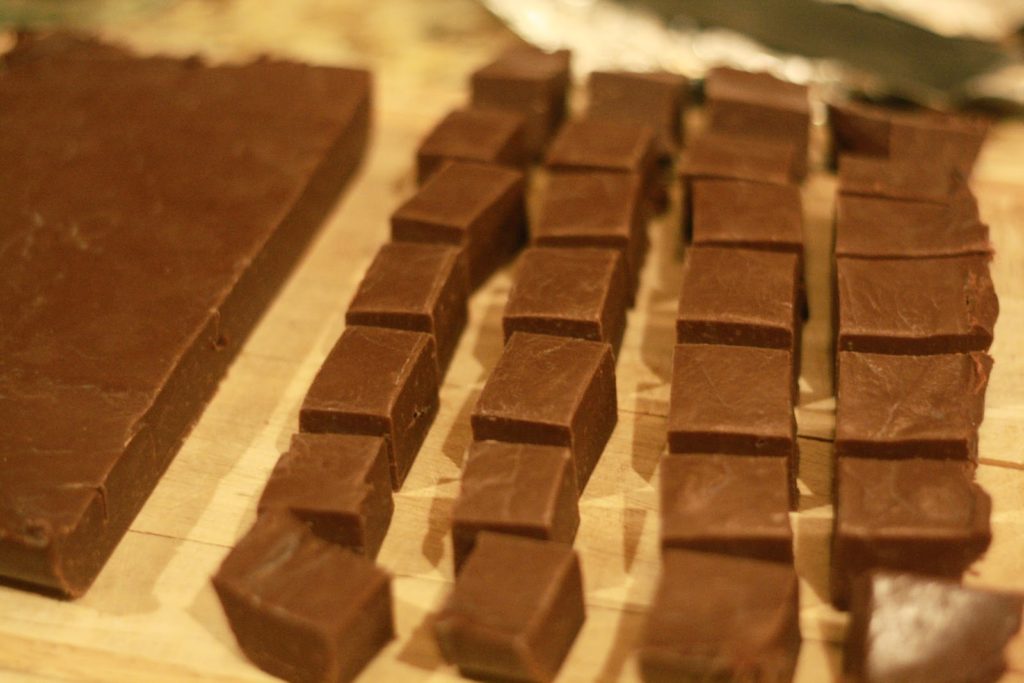
Remove the foil and cut (using any big, sharp knife you have) into squares. I usually do a criss cross cut so it’s faster.
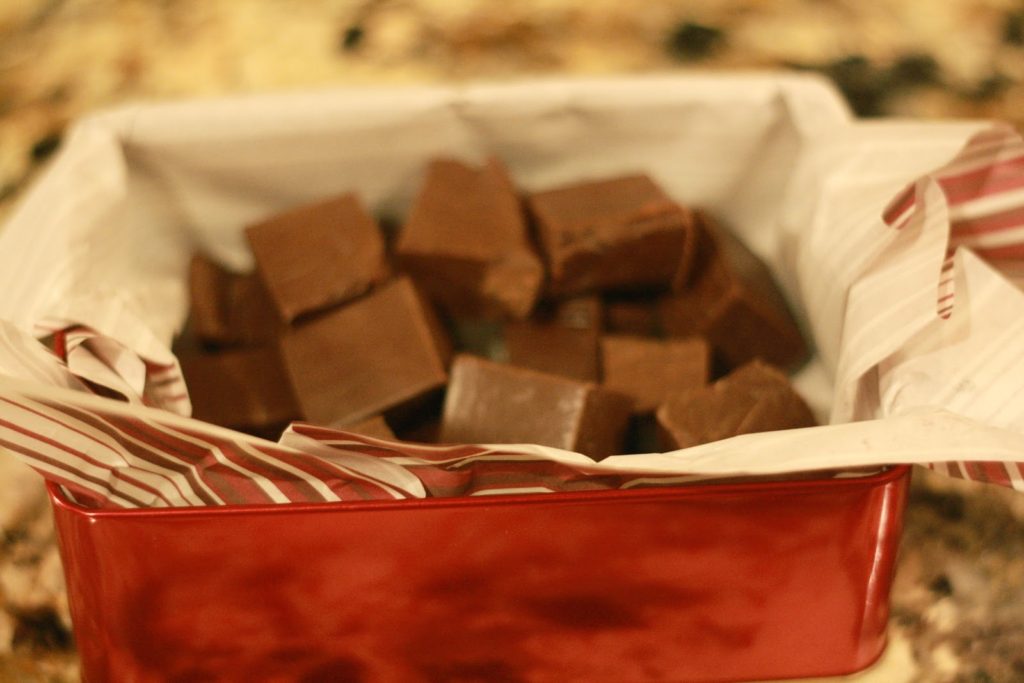
Line your tin with baking tissue. Each batch makes around 36 squares, or about three of these tins. We usually make about six batches.
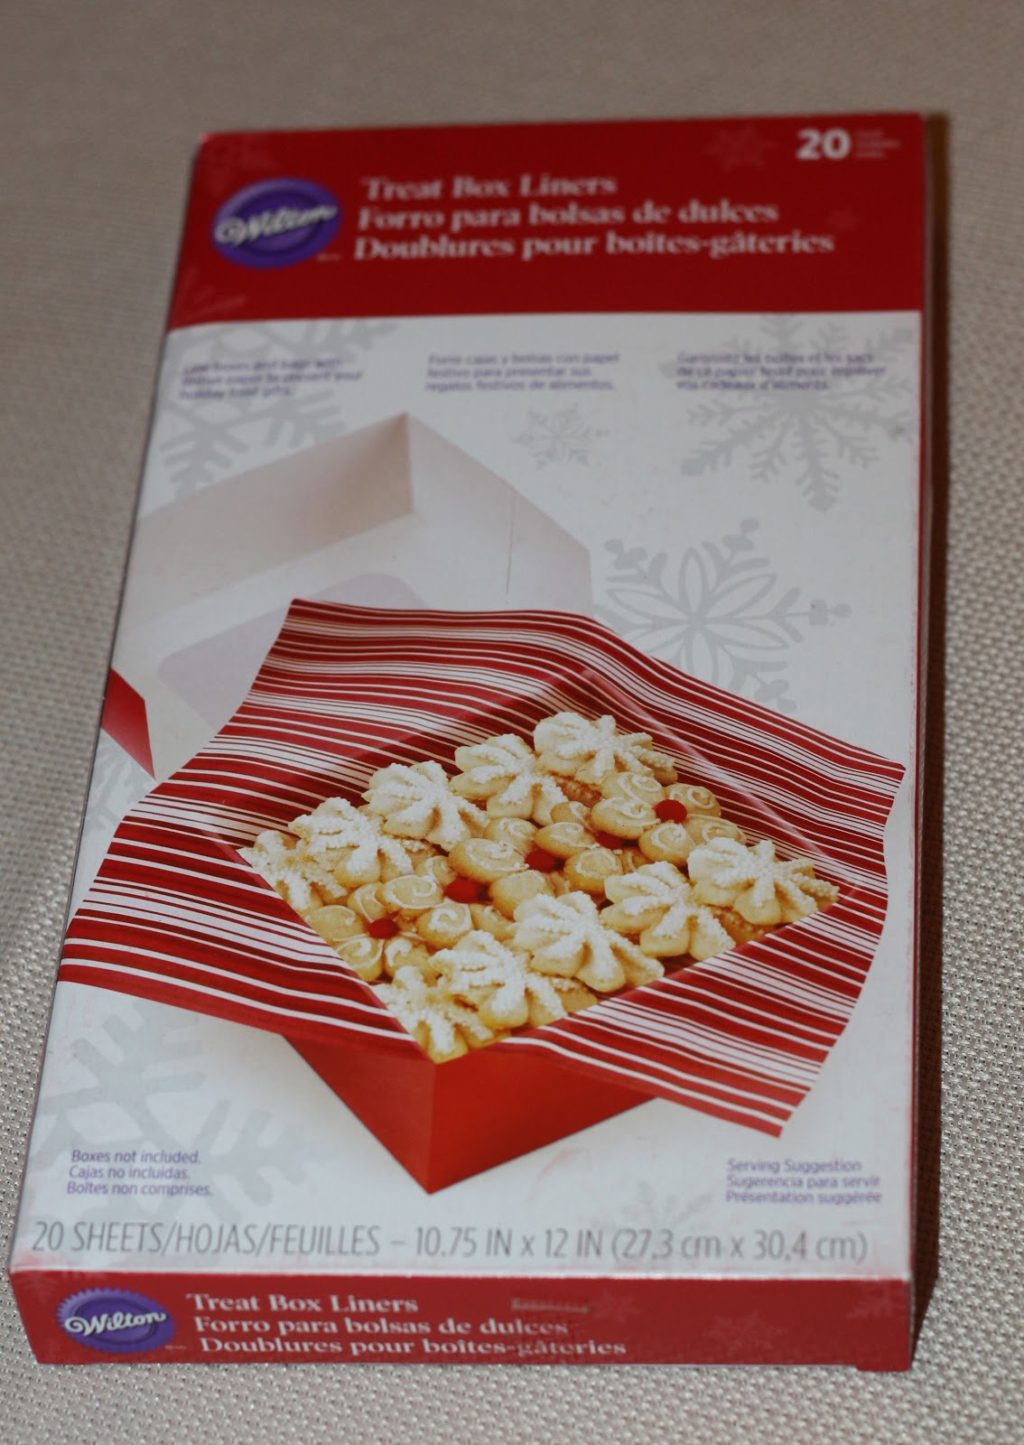
Container Store has a nice roll of baking tissue, but this year I used a Wilton version (Treat Box Liners) I got from Michael’s.
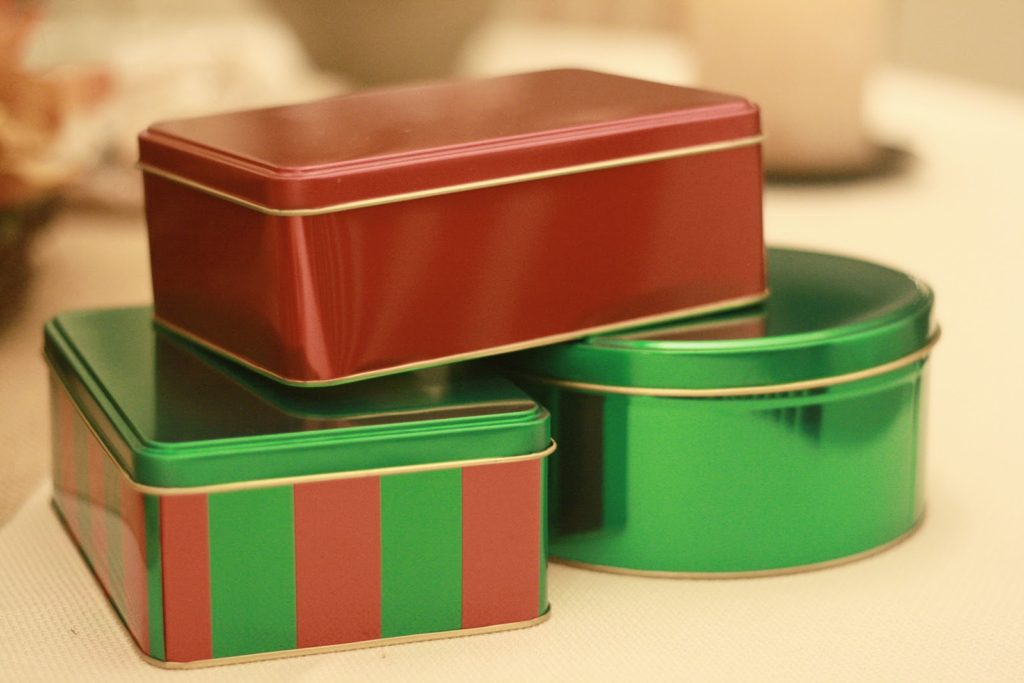
When you’re buying tins in bulk, you have to get the best deal. This year I found some at the dollar spot at Target and the Dollar Store. I shop for these in October or early November because one year we waited until mid December and not only did we go to about five stores before we found some, but we paid top dollar.
I like getting a basic version because then I can dress them up.
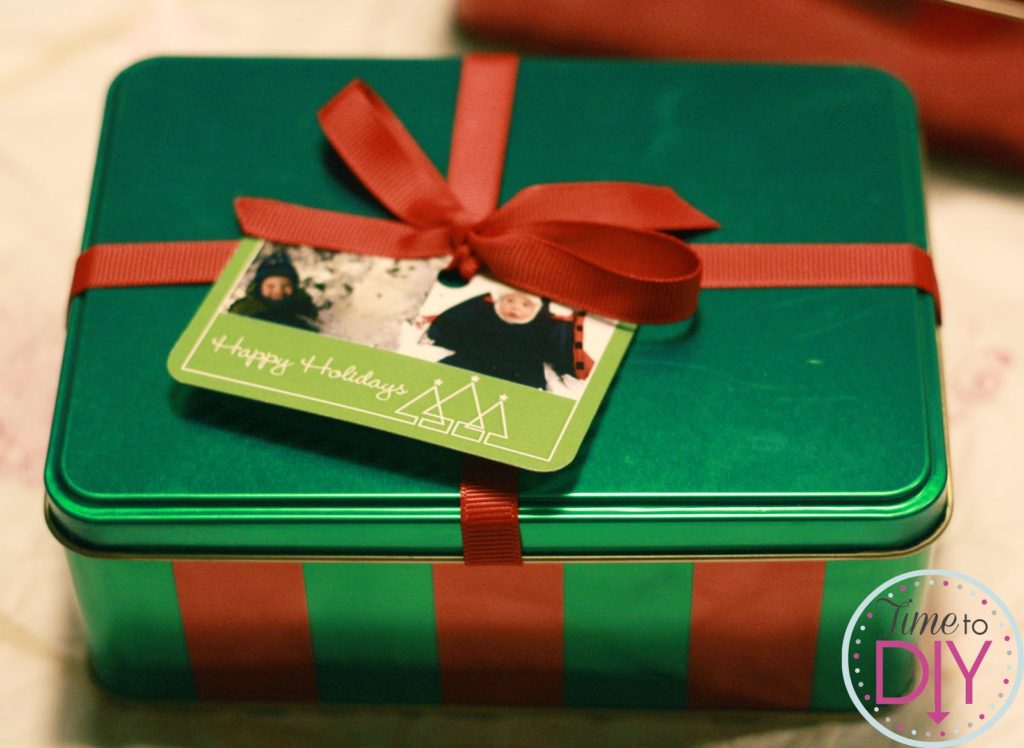
I got my gift tag from cardstore, but I don’t think they sell them anymore. You can get these photo gift cards at a lot of online card sites, though. Just google “photo gift tag”.
Here’s how to dress up your tin…
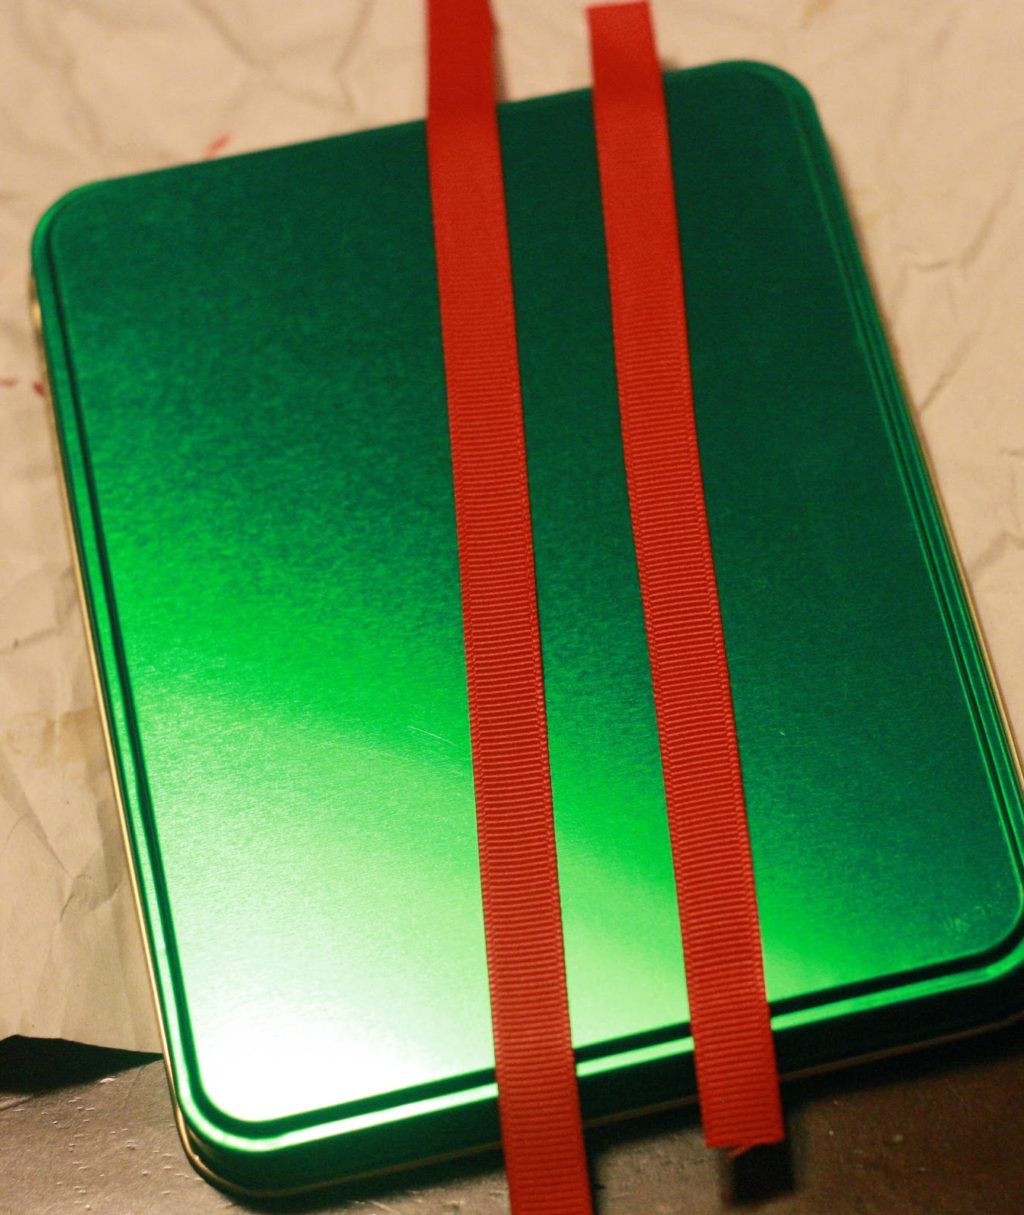
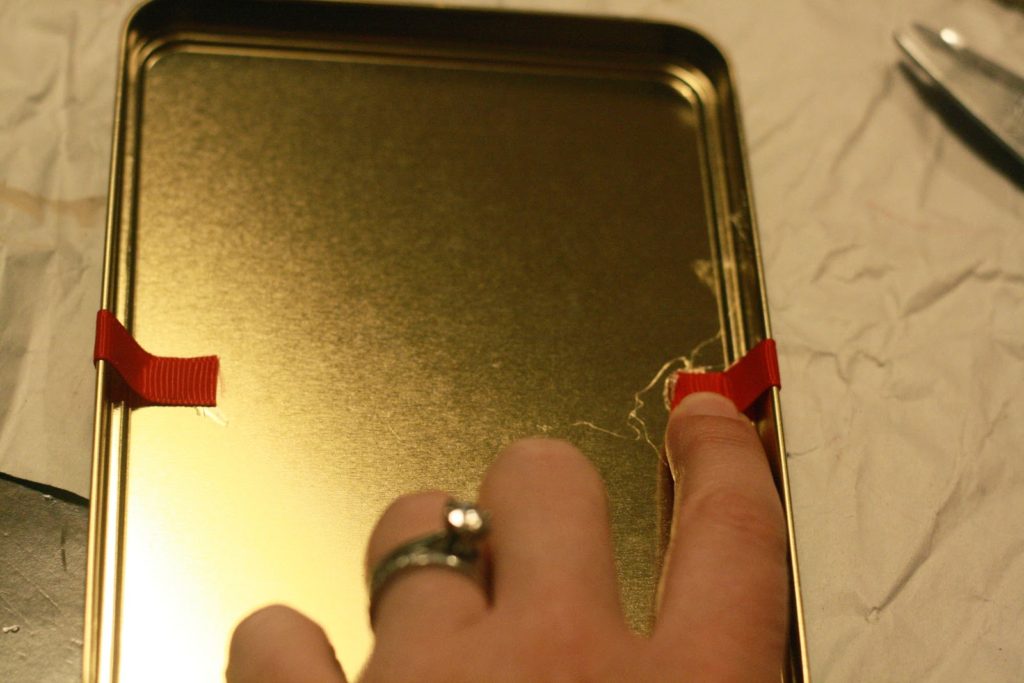
Cut a couple strips of ribbon that’s a about an inch longer than the length and width of your tin.
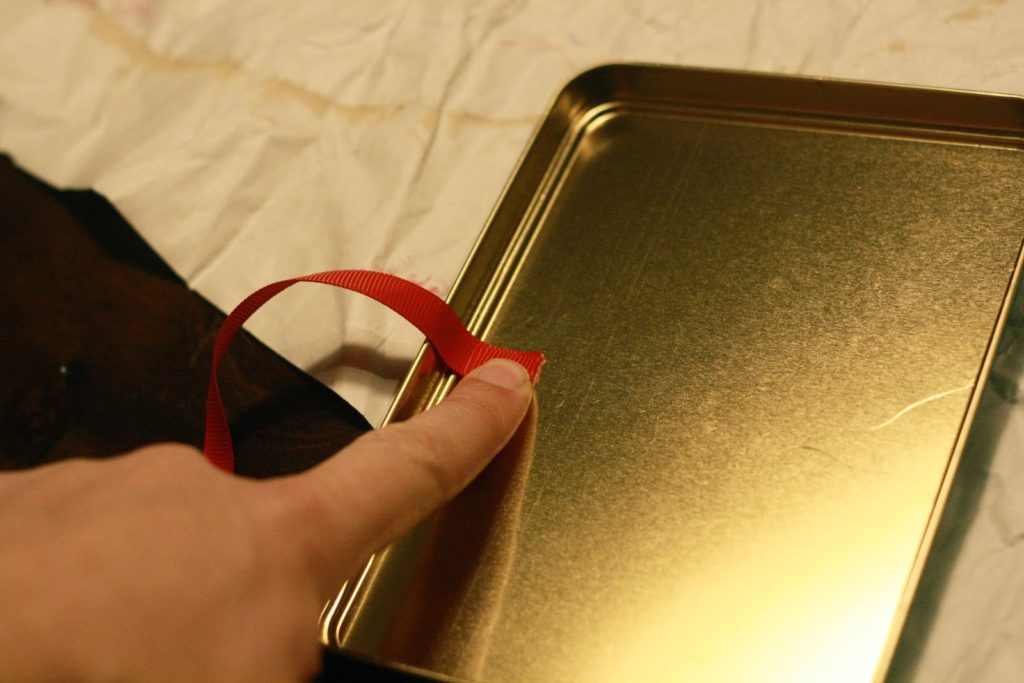
Put some hot glue on the end of the ribbon and press on the inside of the tin lid.
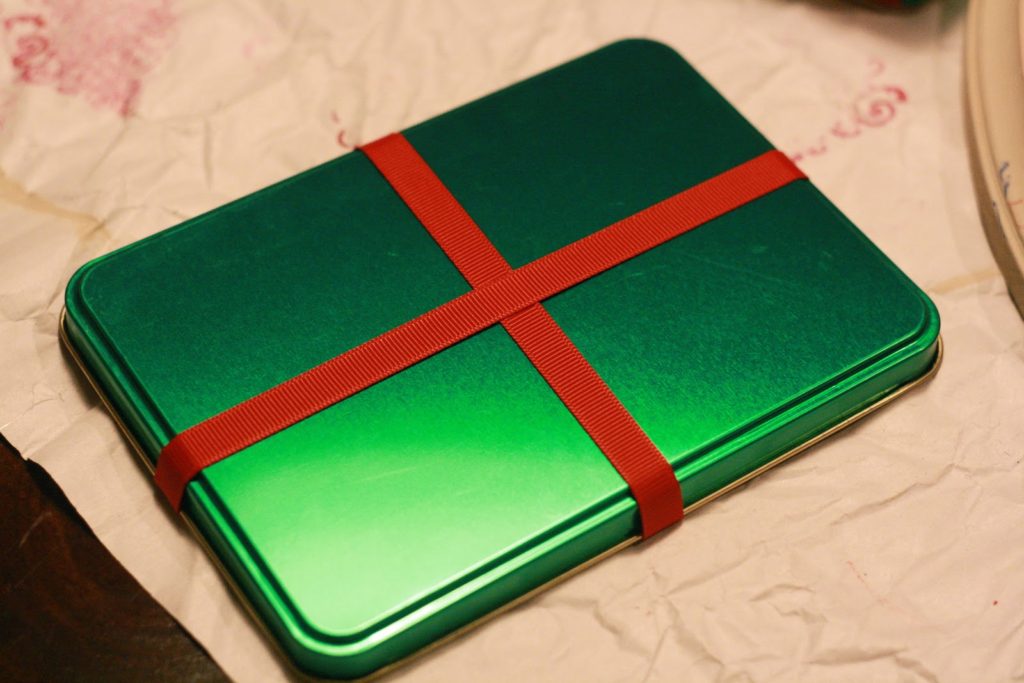
Then pull it around the outside of the tin and hot glue the other side. You want it to be pretty snug.
Here’s how it looks when done. Test it out on the tin to make sure it still fits.
Then put a ribbon underneath to make the bow.
Tie into a bow. What I like about this option is that there is always a bow on it, as opposed to wrapping the whole tine with a bow, taking it off to open, and then you never see it again.
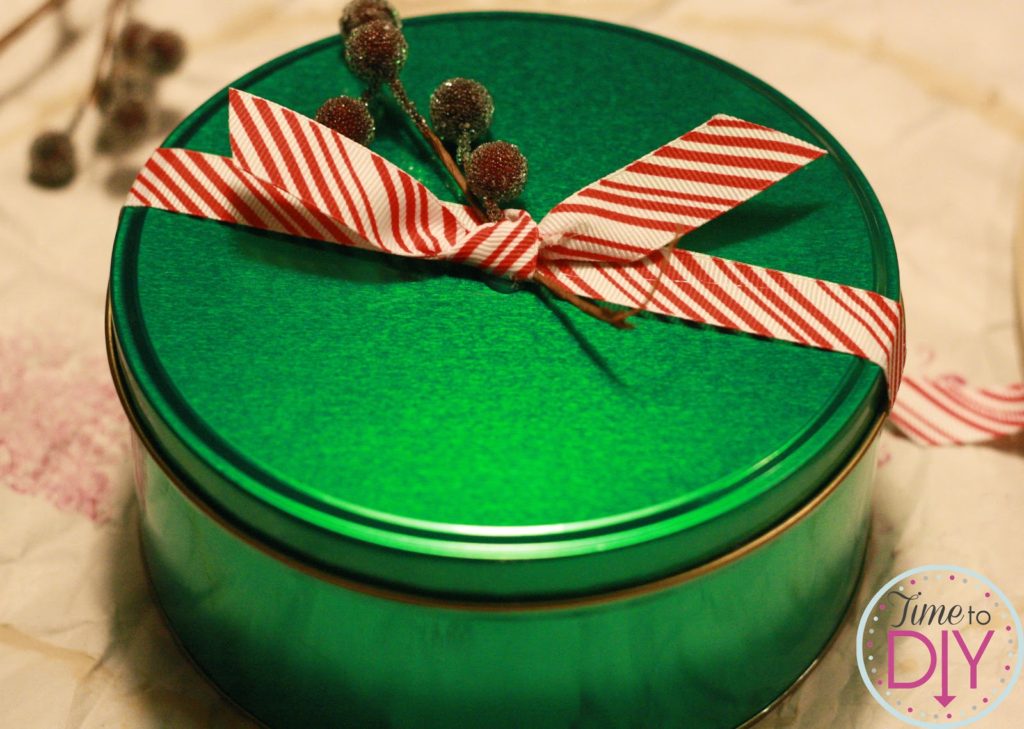
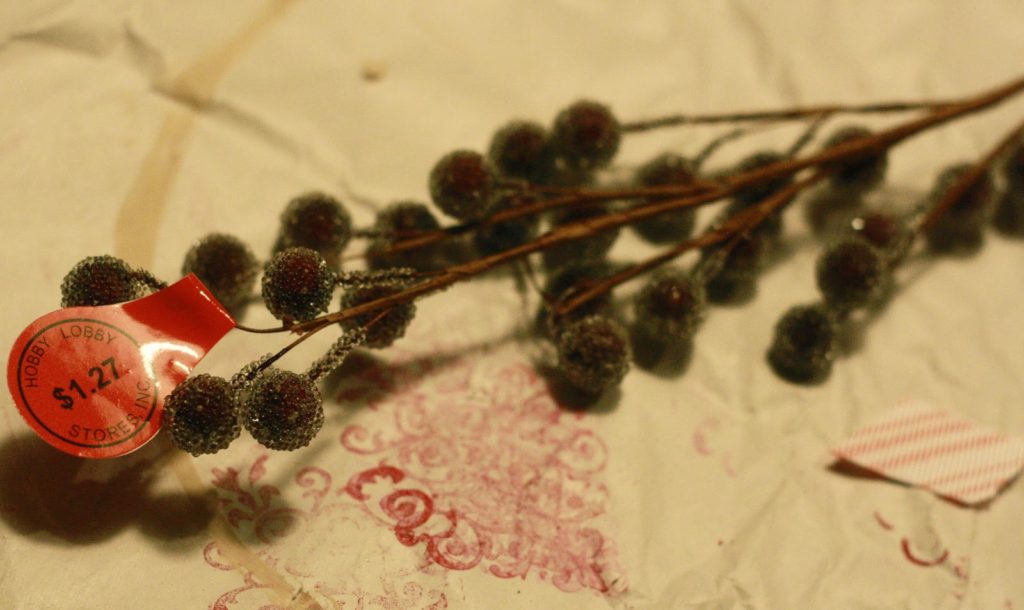
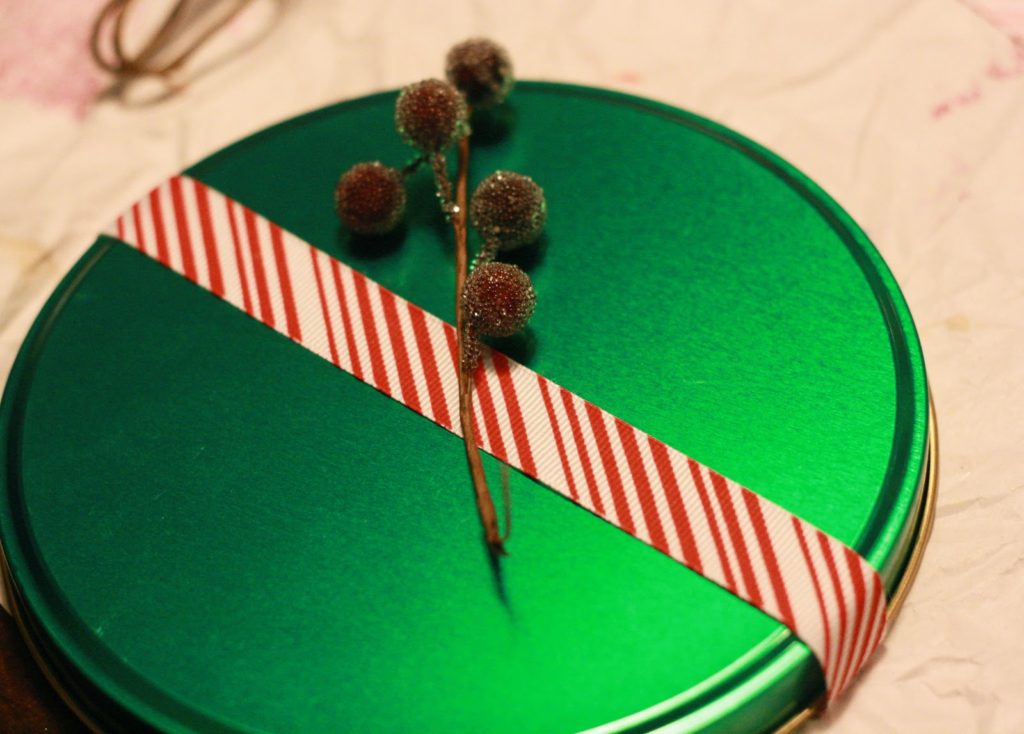
You can also use some fun holiday sprigs. I got these for 50 percent off at Hobby Lobby.
Hot glue to the ribbon.
Then wrap it with ribbon, just a basic tie or a bow.
This is an easy and yummy gift for family, neighbors, friends or coworkers.
Thanks for stopping by Day 2 of my 12 Days of Homemade Holiday Gifts series! You can “like” my page on Facebook or follow me on Twitter.









Leave a Reply