I’m usually pretty basic when it comes to skin care products, but I’m thinking of adding the sugar scrub to my staple list because it exfoliates and softens so well. I’ve even got a little jar near my kitchen sink now.
And I can think of a few product-junkie ladies who will be all over this, so it will be a perfect Christmas gift.
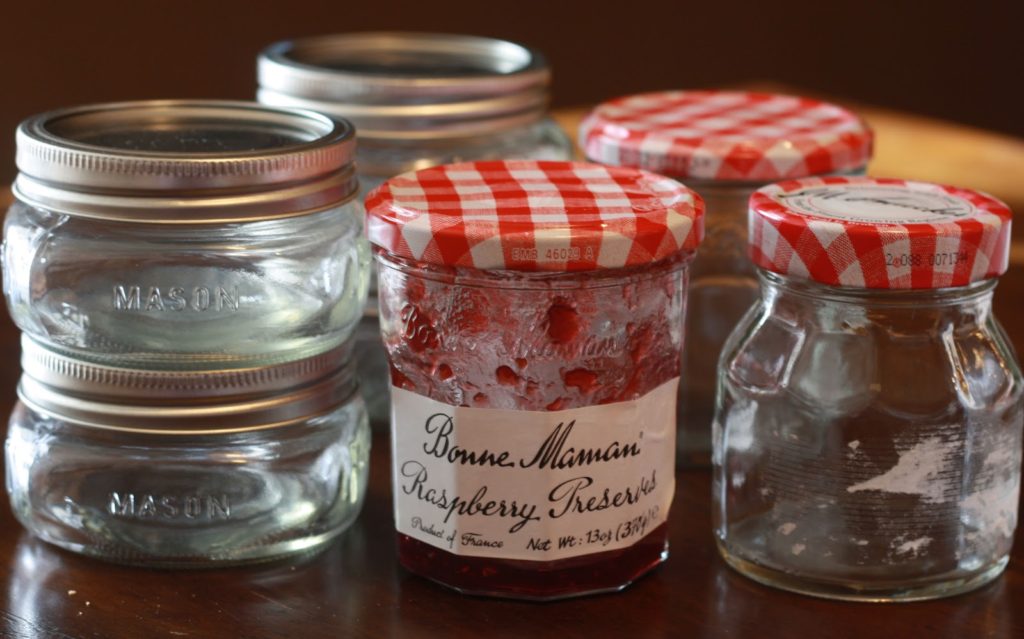
It’s a good thing I’ve been collecting some small jars!
I am featuring two options: coconut sugar scrub and cinnamon sugar scrub. The coconut is my favorite, so we’ll start with that.
Coconut Sugar Scrub Recipe
1 cup sugar
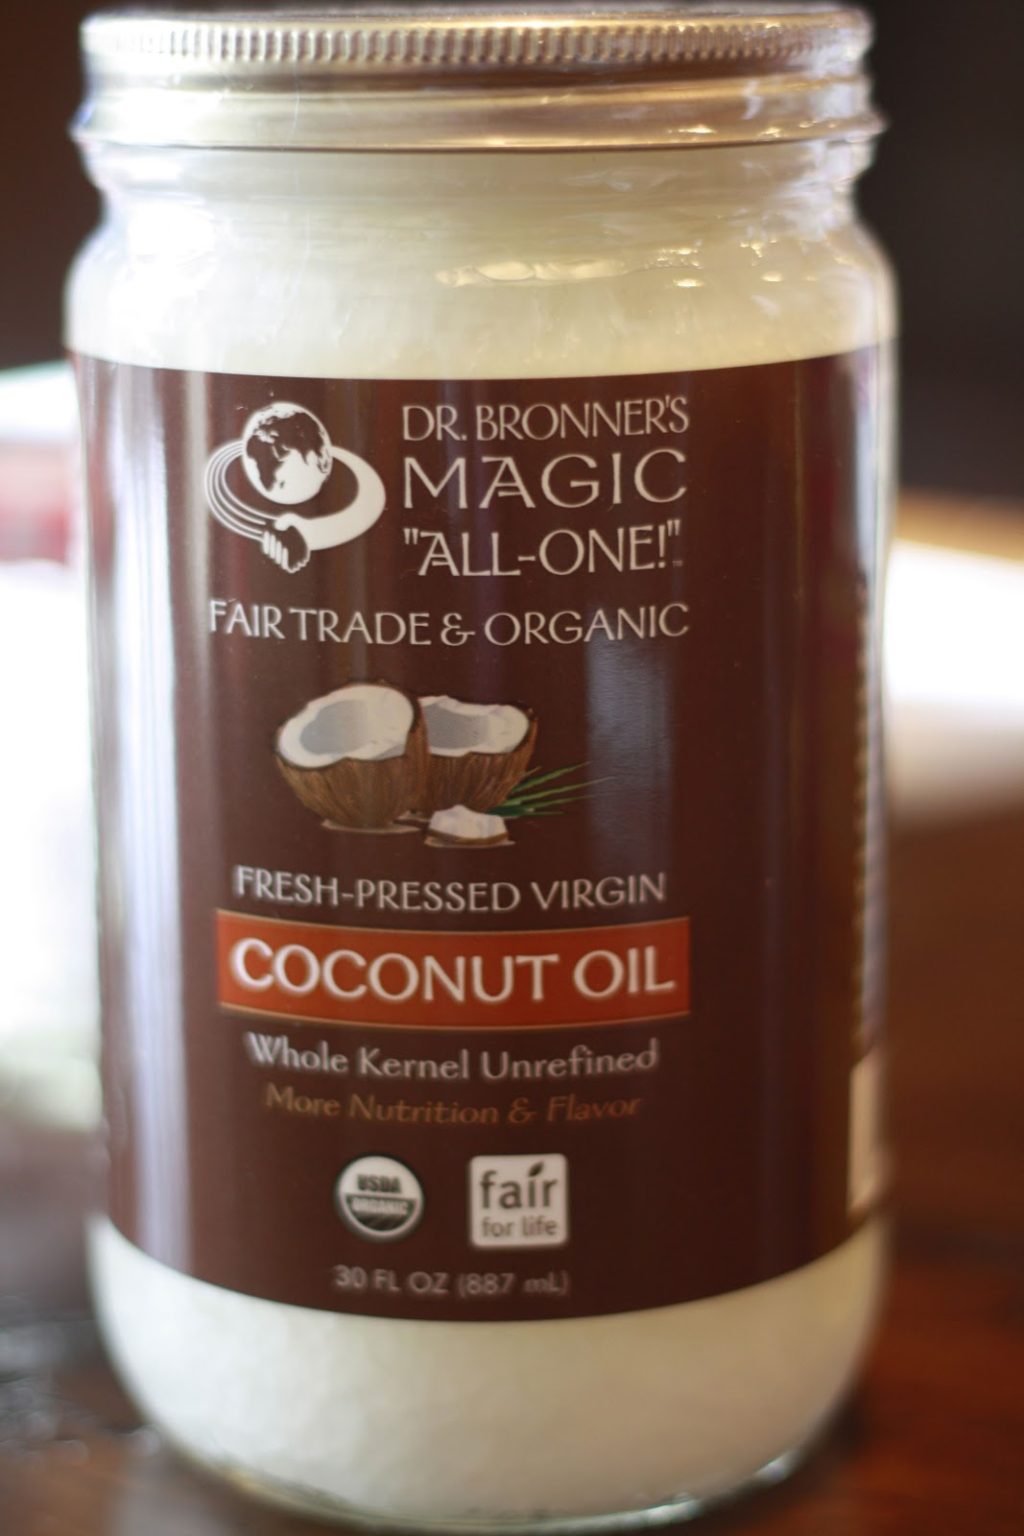
1 cup unrefined coconut oil
10 drops vitamine E oil
1 teaspoon olive oil
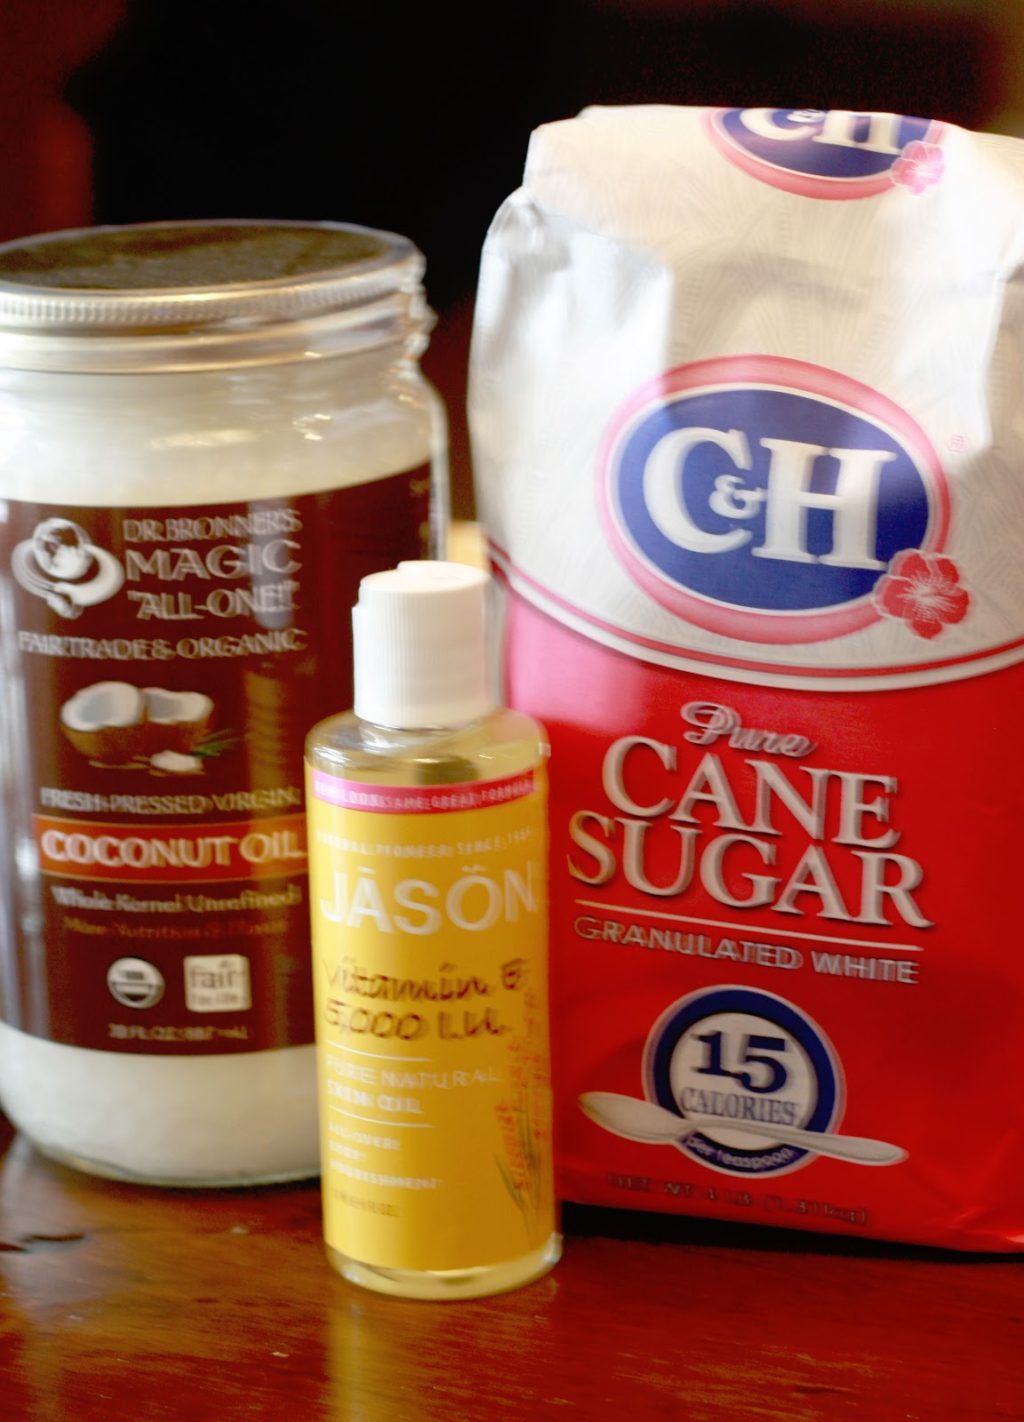
I got the unrefined coconut oil at Whole Foods (along with the vitamin E oil).
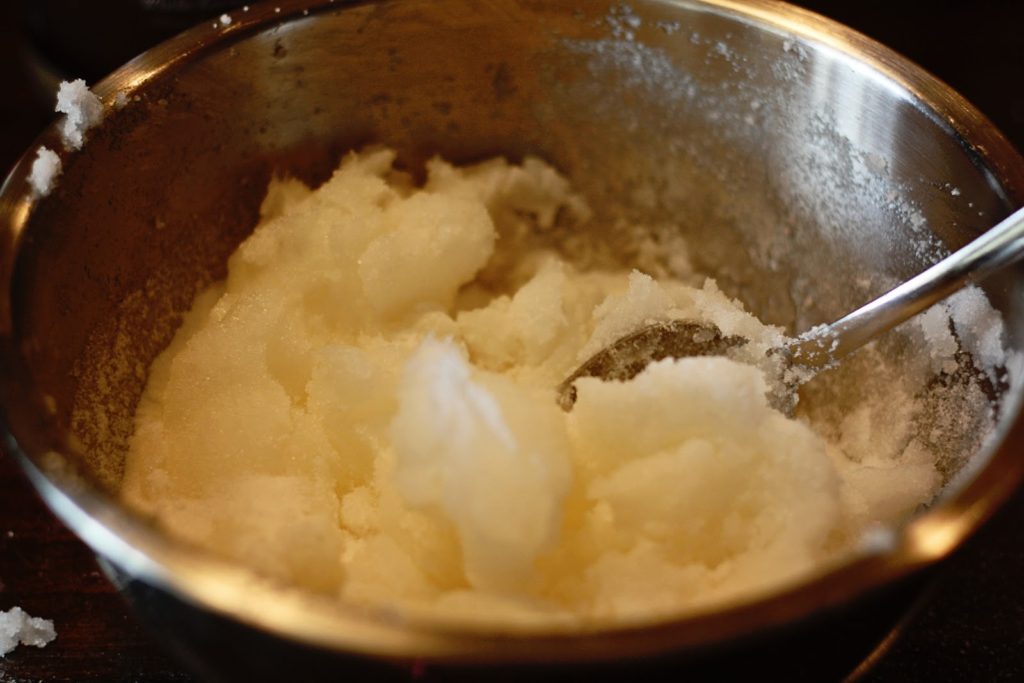
Mix together 1 cup sugar, 1 cup coconut oil, 10 drops of vitamin E oil, and 1 teaspoon of olive oil until combined.
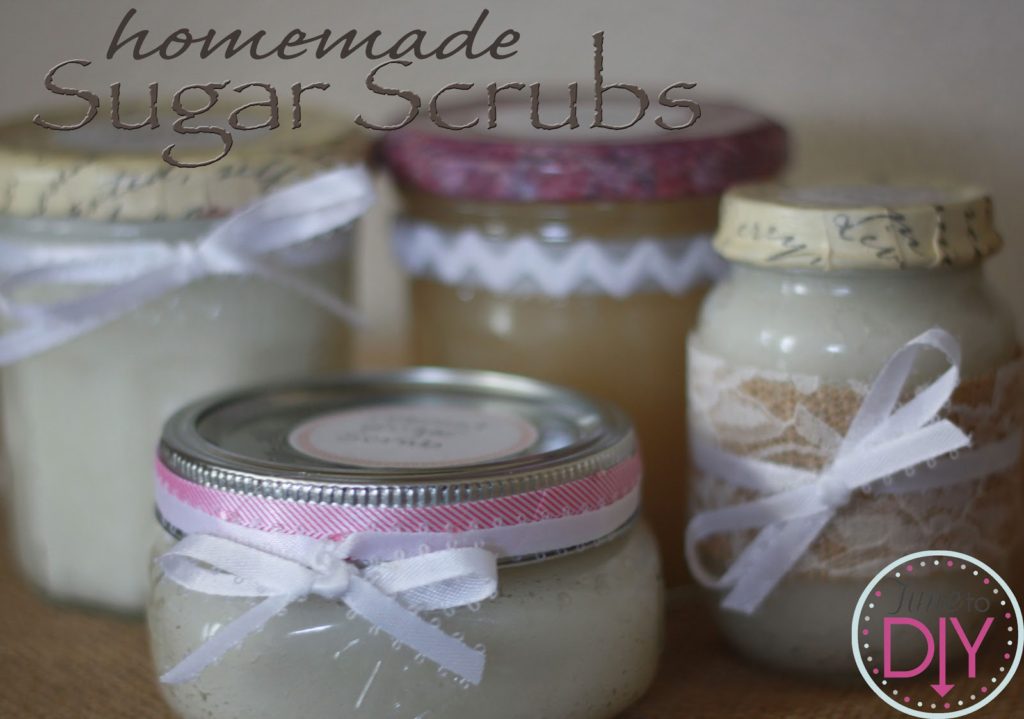
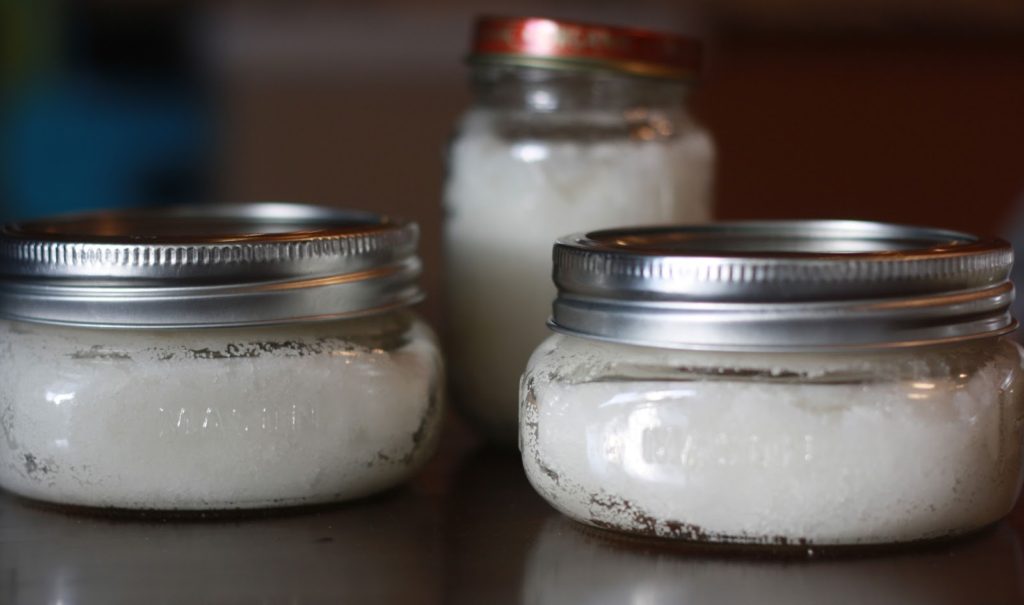
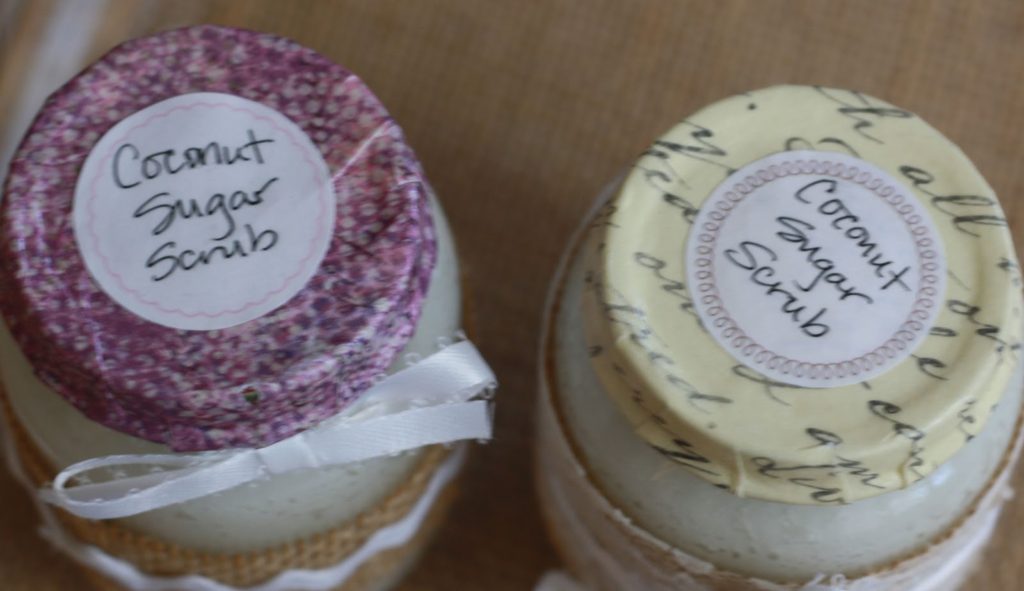
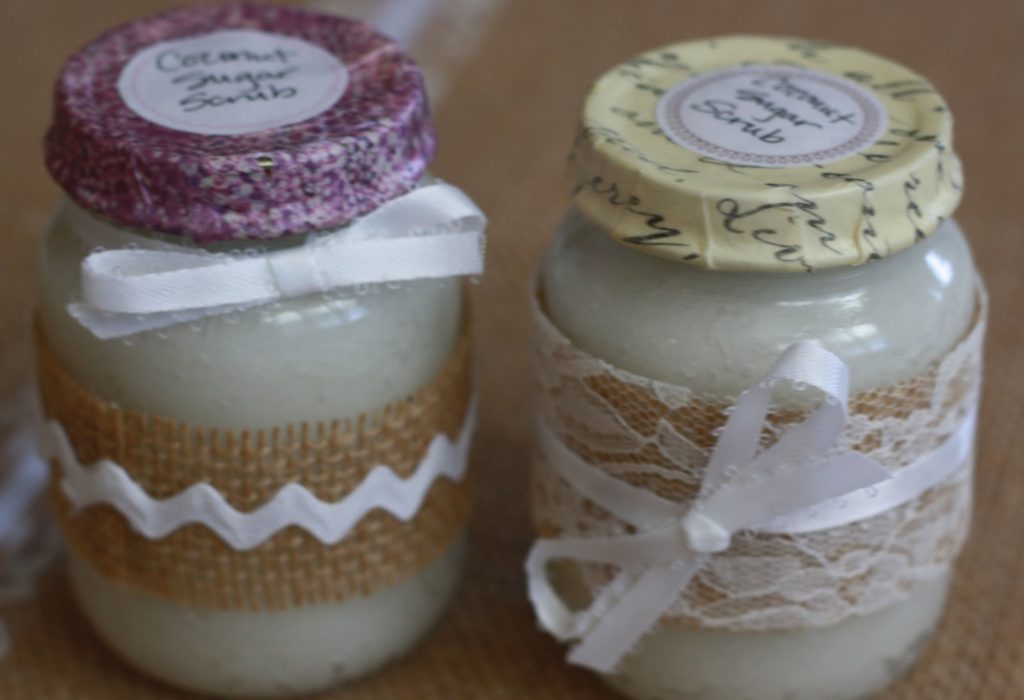
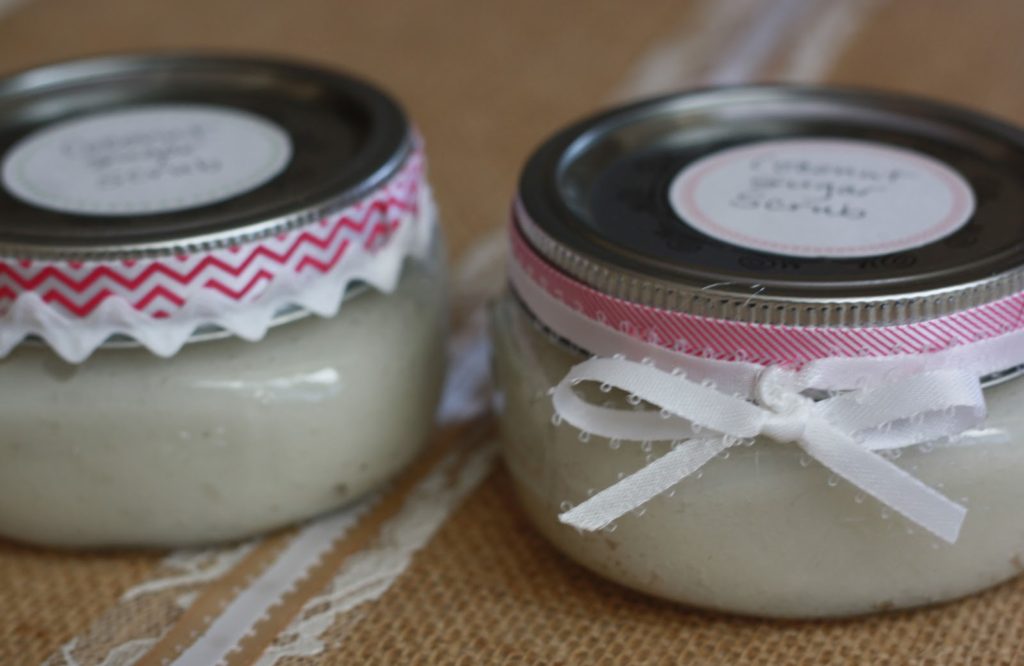
This was my first batch. The small jars are half pints, and the jar in the back is a 6 oz. baby food jar.
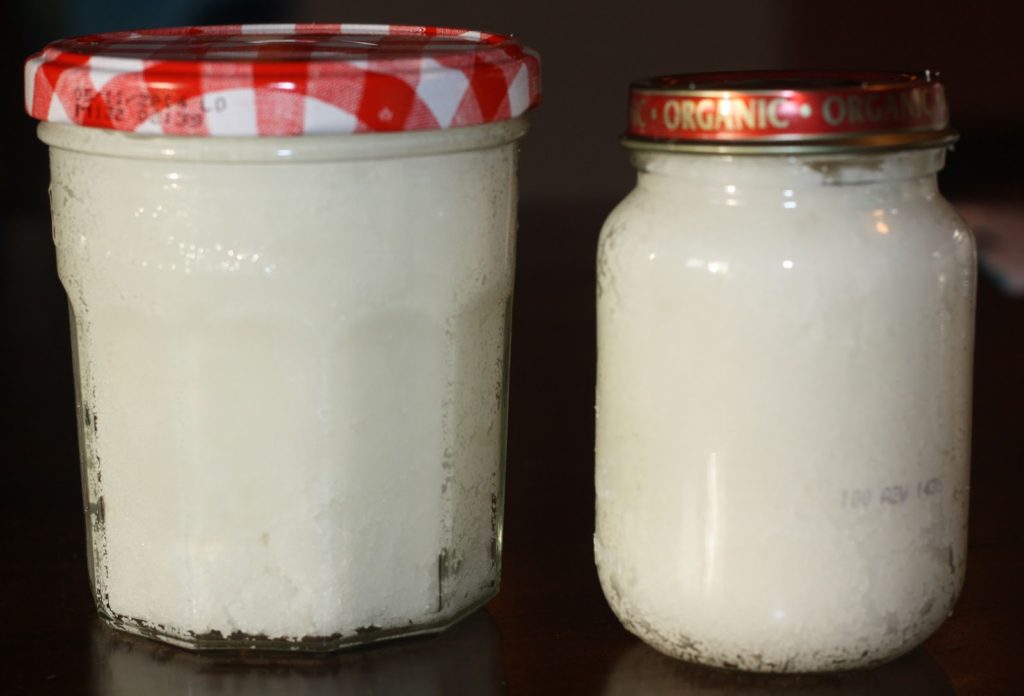
And this was my second batch: a jelly jar and a baby food jar.
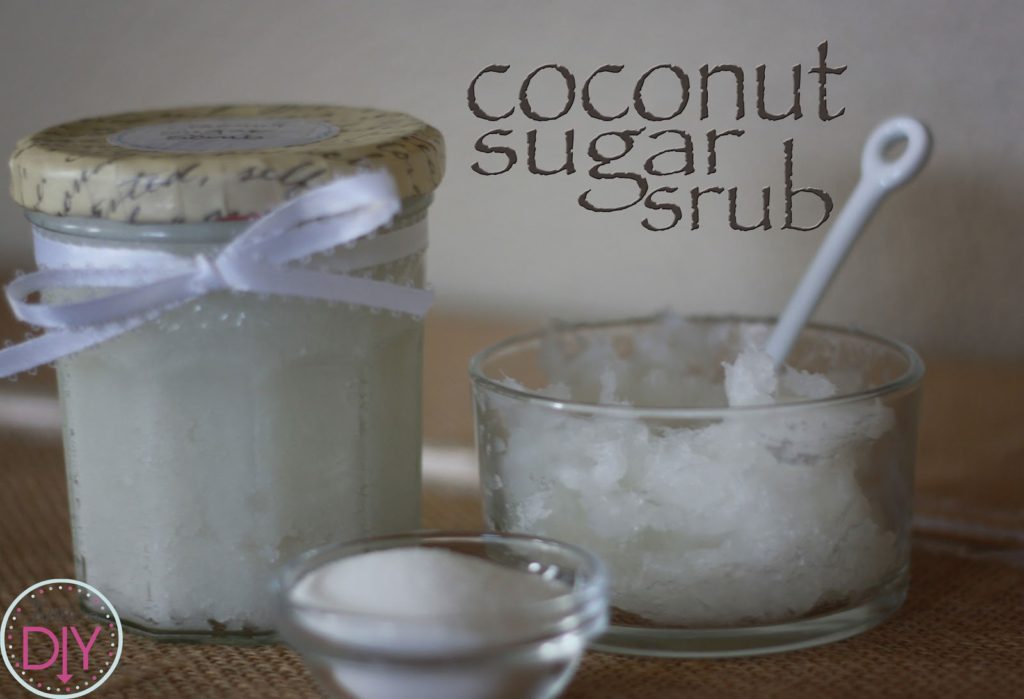
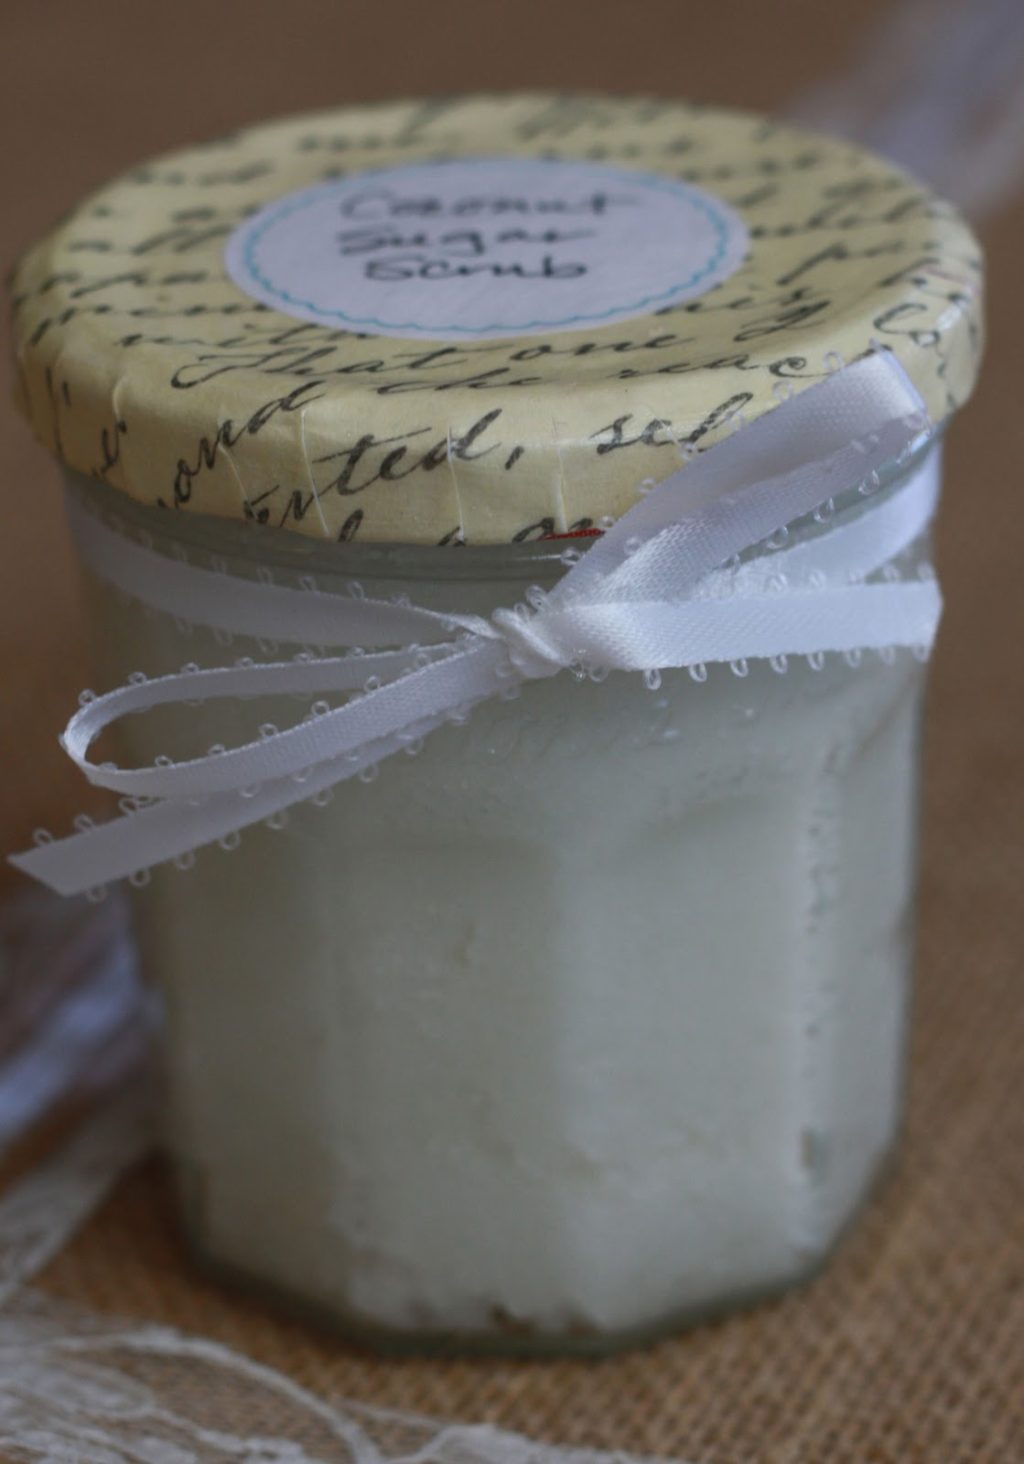
This scrub is great. Really nice texture and the smell is fantastic. It’s not really “coconut beachy,” – it’s more subtle and you can use it all year long. It also looks a little like snow, which is fun for Christmas.
Before we get into jar decorating, here is the recipe for the cinnamon sugar scrub.
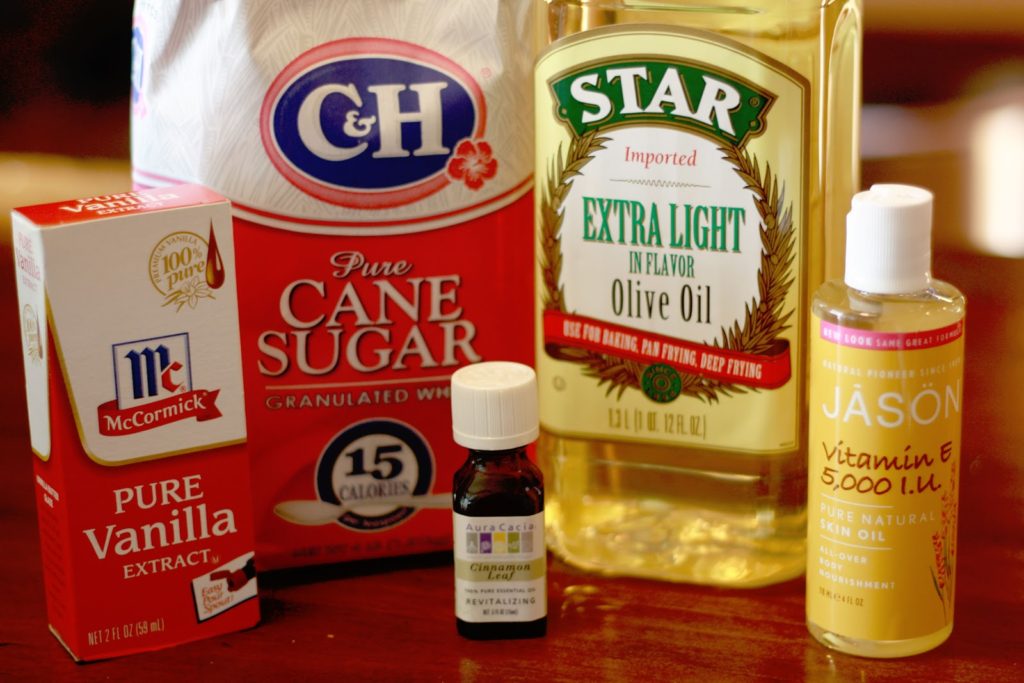
Cinnamon Sugar Scrub Recipe
2 cups sugar
1 cup olive oil
1 teaspoon vanilla
2 drops of cinnamon oil
10 drops of vitamin E oil
I got the cinnamon oil and vitamin E oil at Whole Foods.
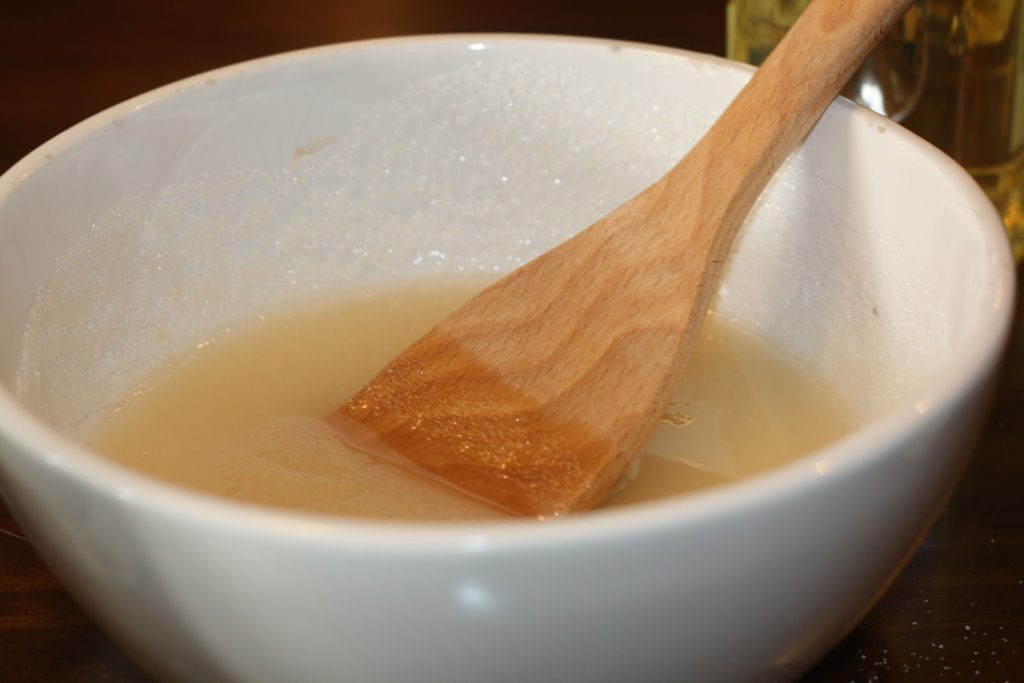
Mix together all the ingredients until combined. If it’s too runny, add more sugar until it’s the right consistency.
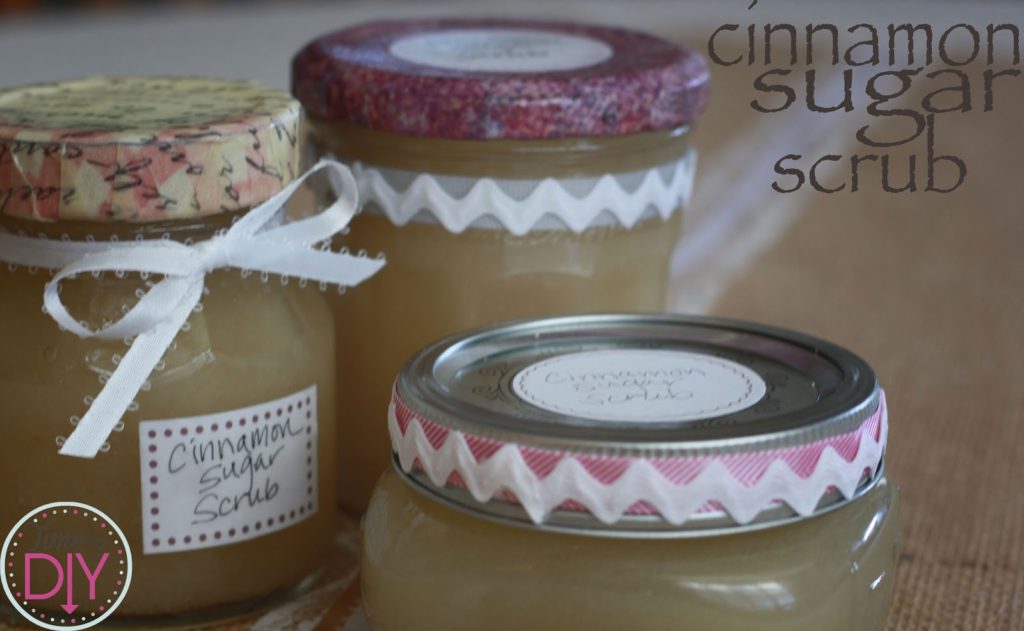
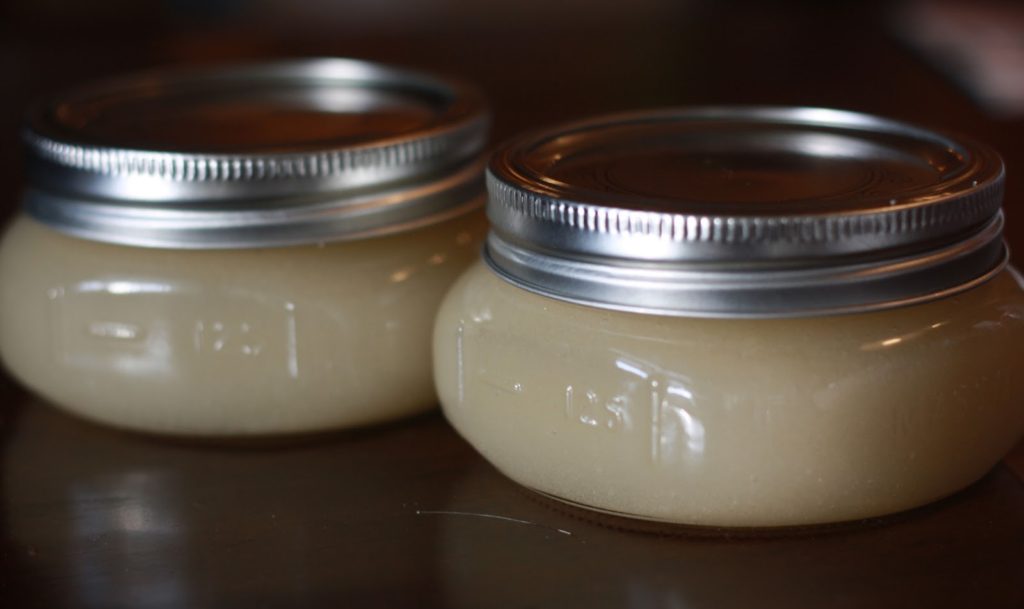
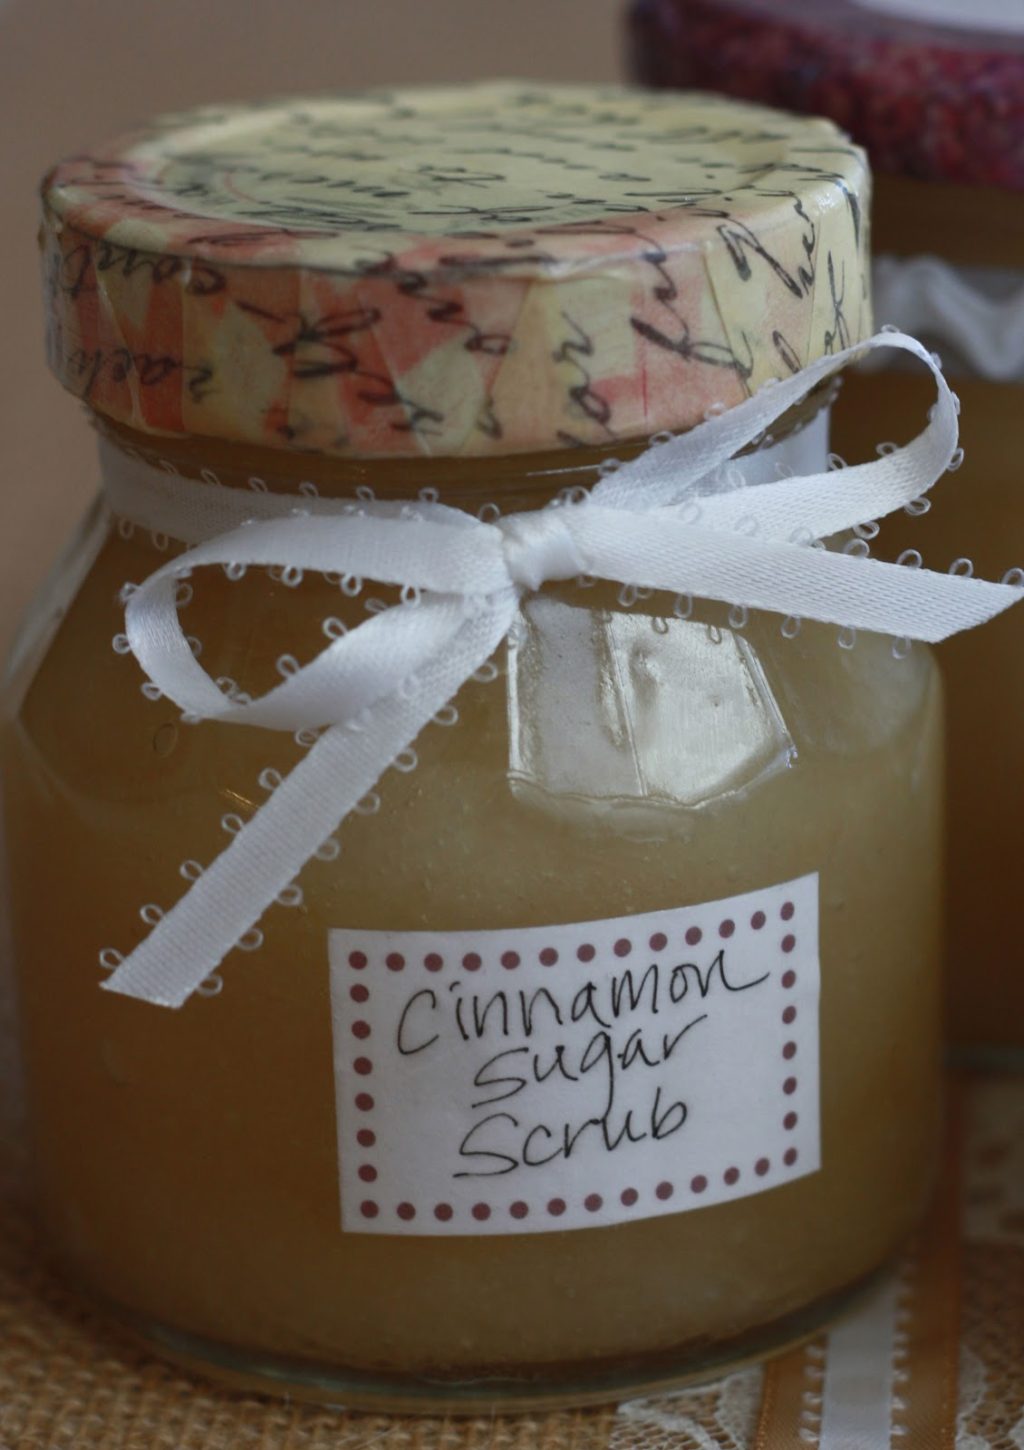
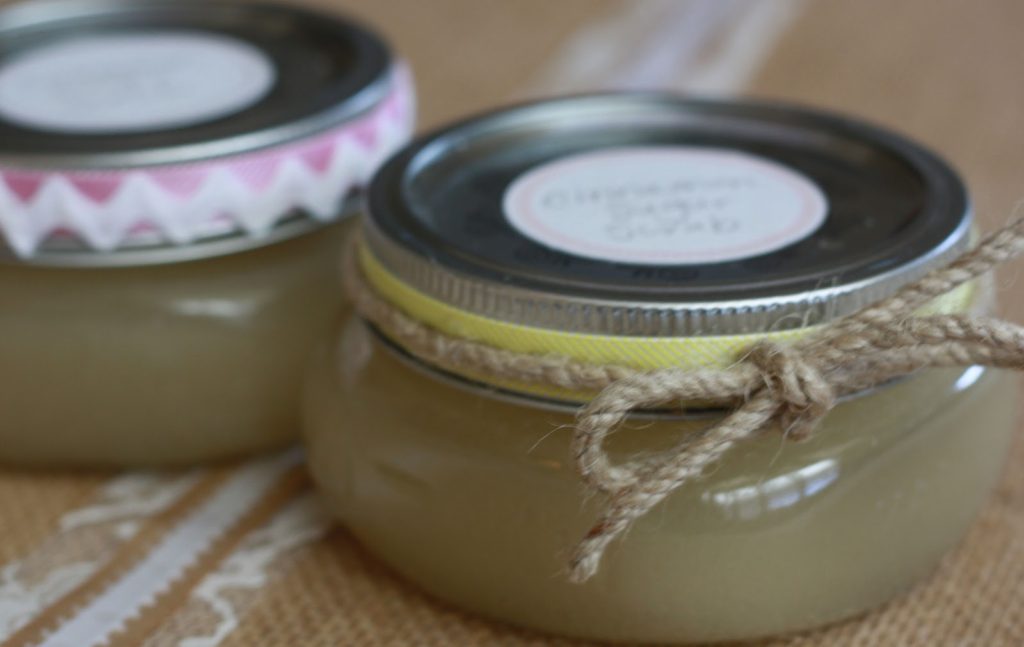
This is what my first batch made. My second batch made a jelly jar and two 4 oz. baby good jars.
My only complaint with this scrub is that it’s a little more oily than the coconut oil one, but it does serve its purpose in softening the skin.
Now, for the fun part: Decorating the jars!
I generally don’t cover the mason jar lids because I like the look, but I do cover the jelly and baby food jar lids.
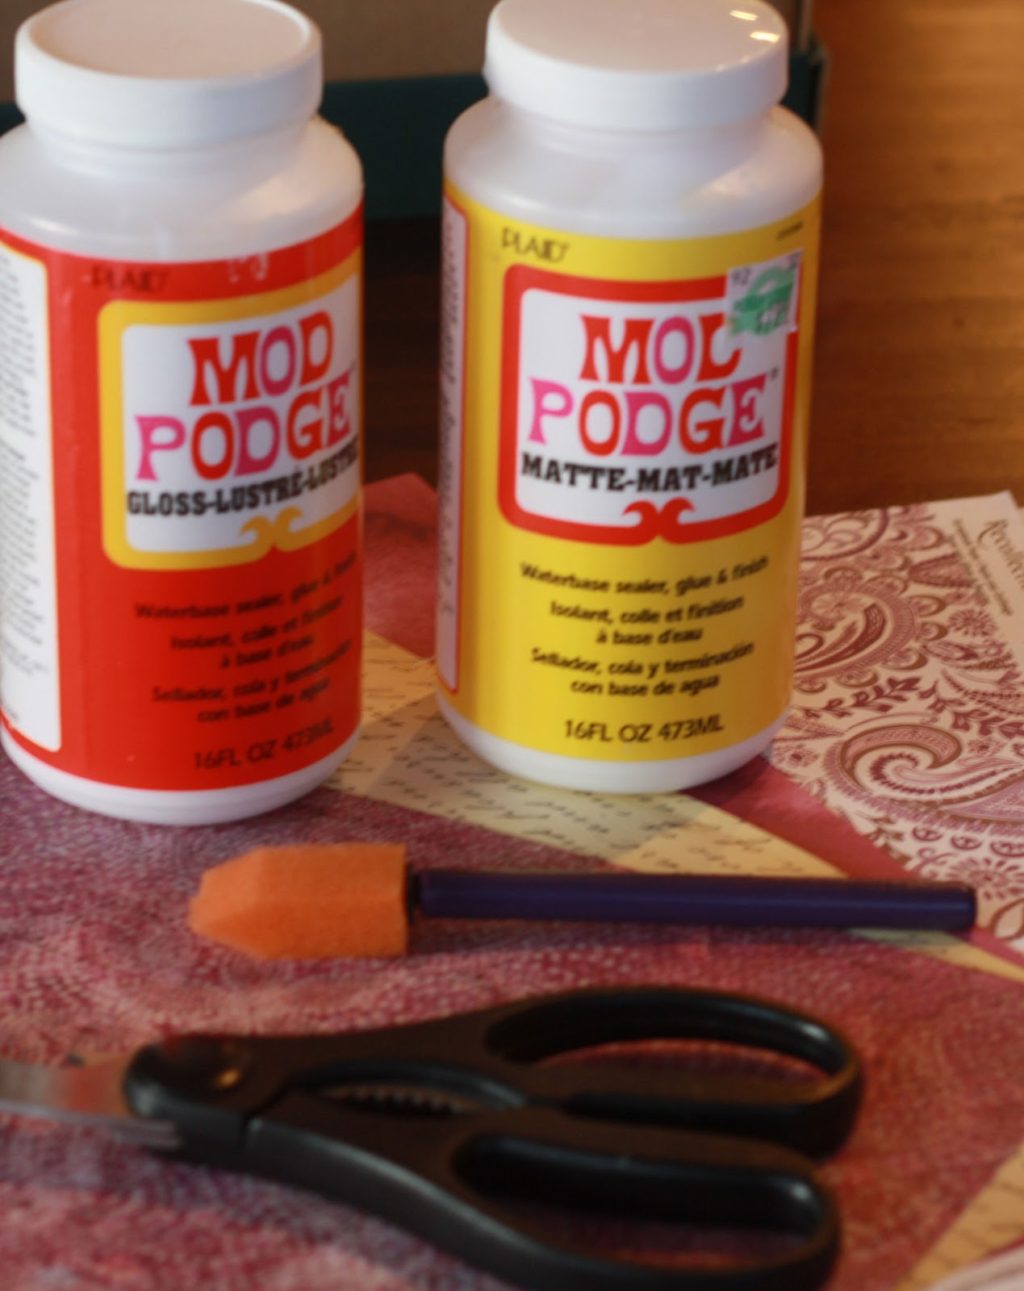
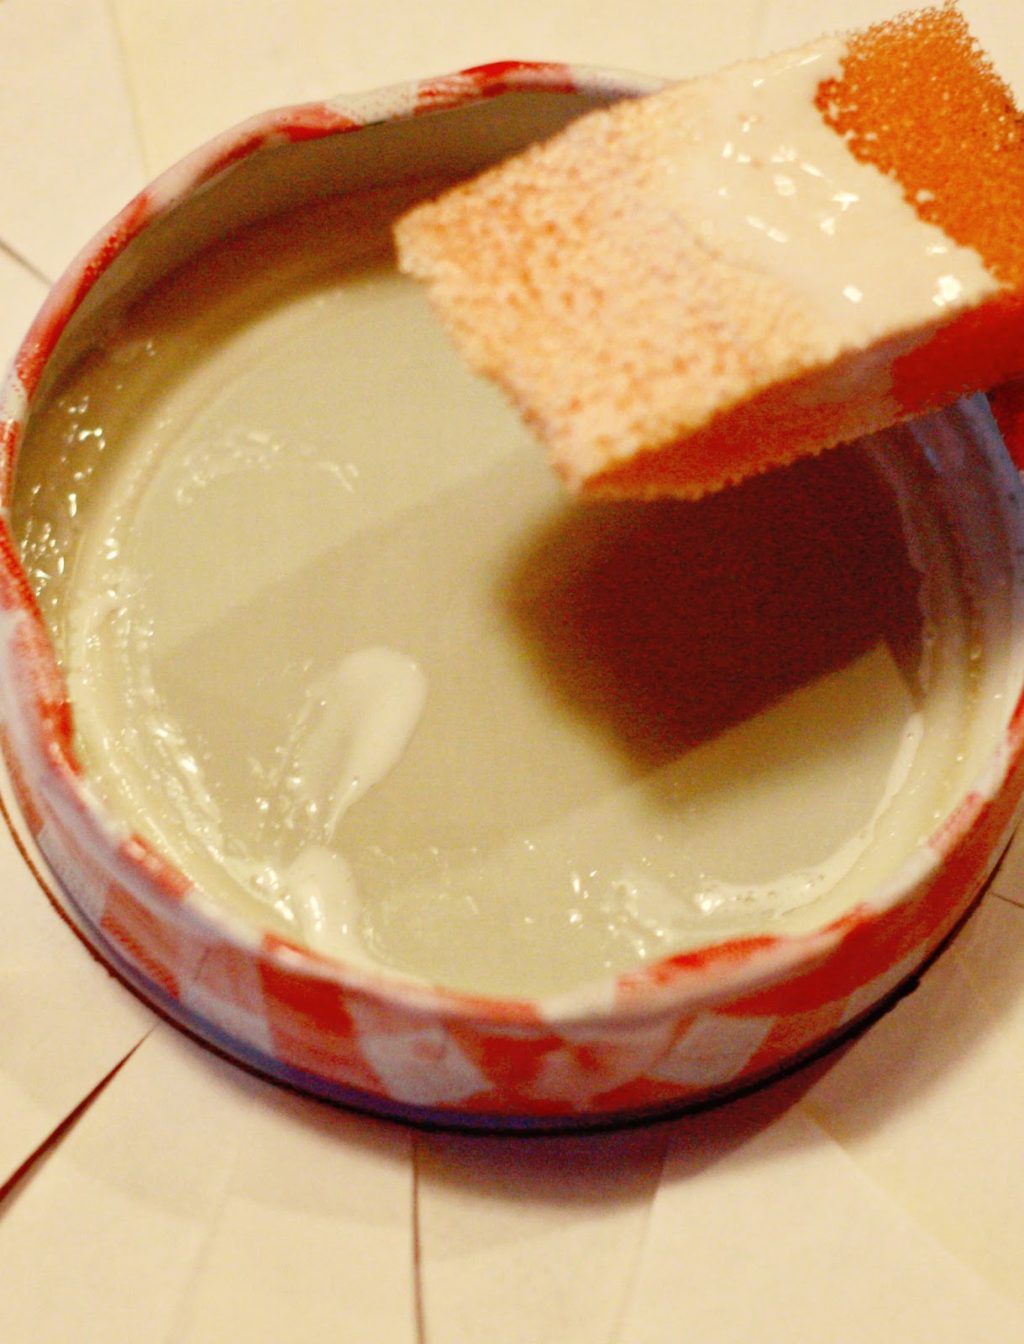
You need mod podge (either matte or glossy), a sponge brush, some scissors and some scrapbook paper to cover the lid.
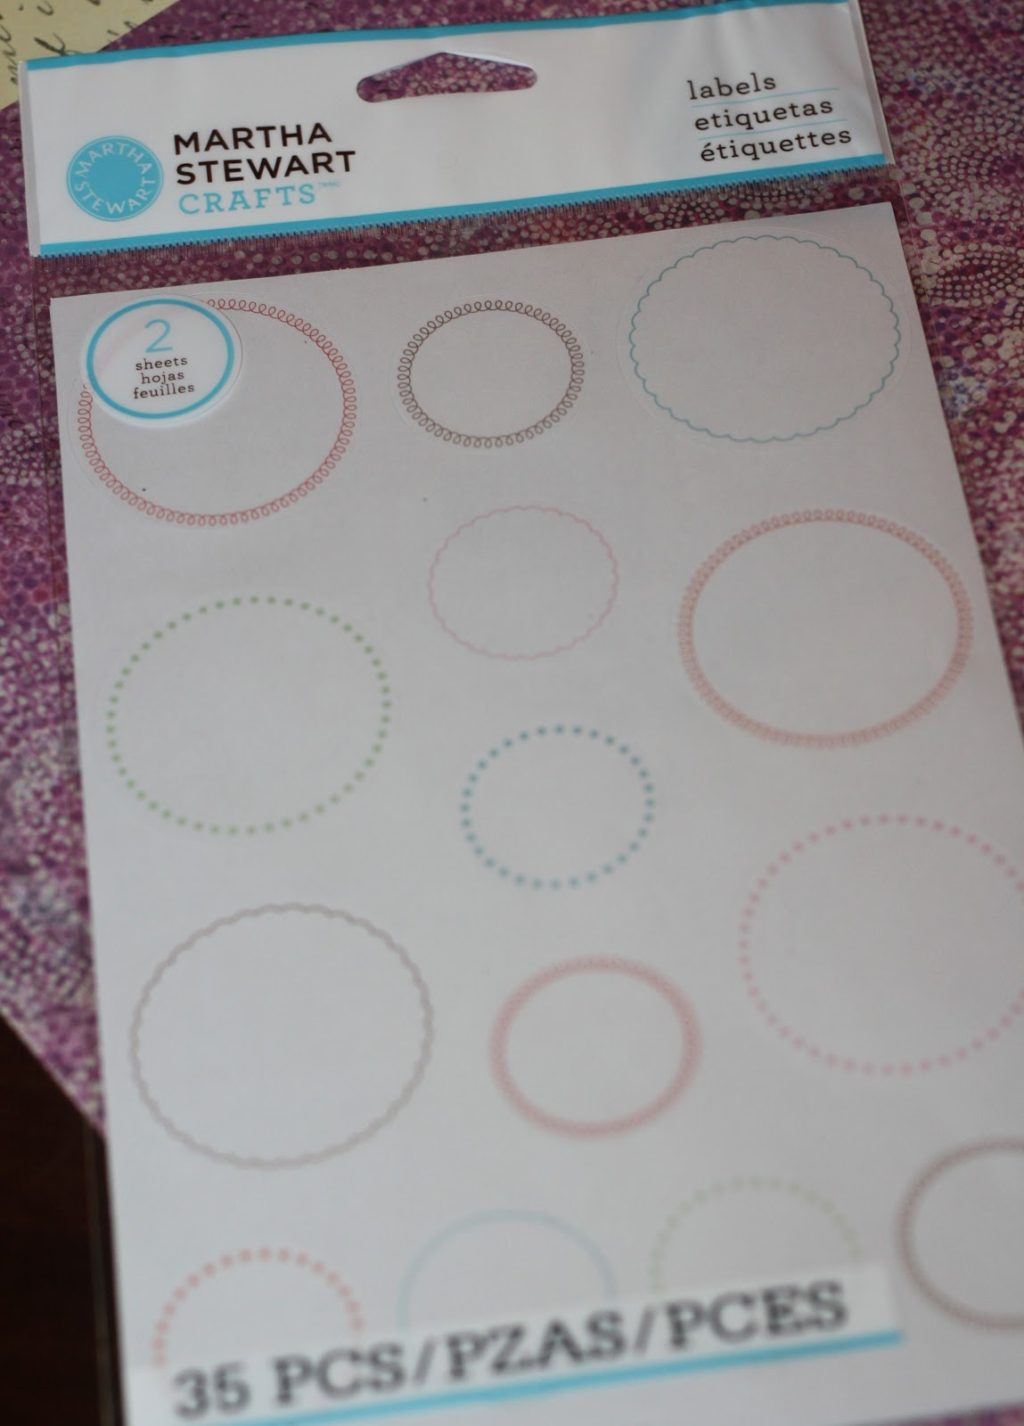
I used these Martha Stewart Craft circular labels that you can get in the scrapbooking section at Michael’s for the scrub labels.
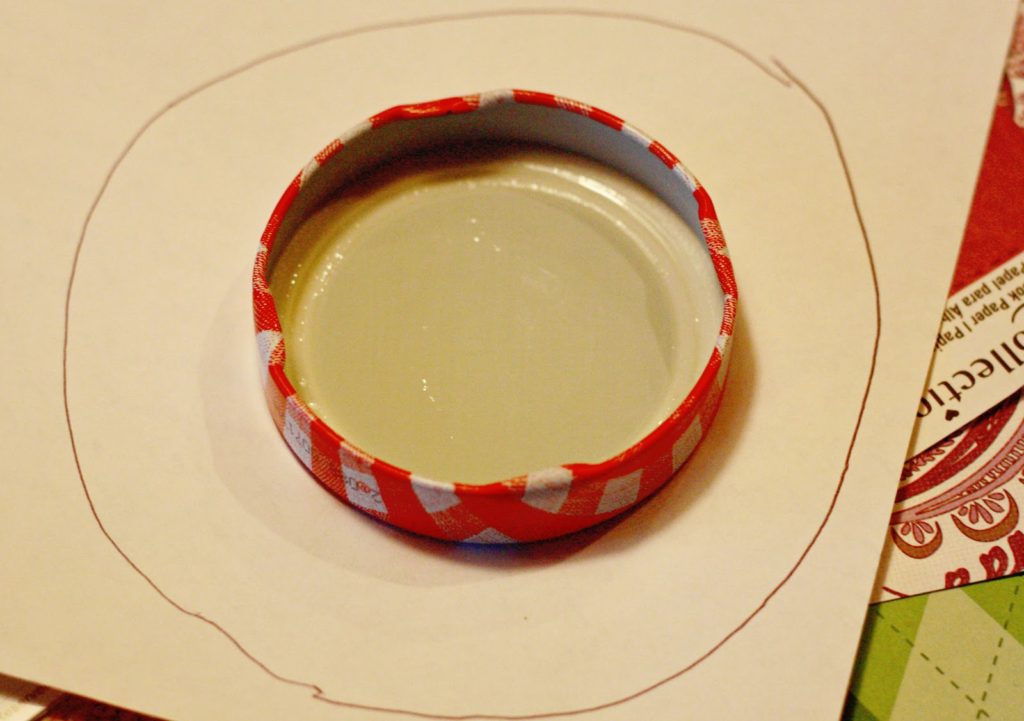
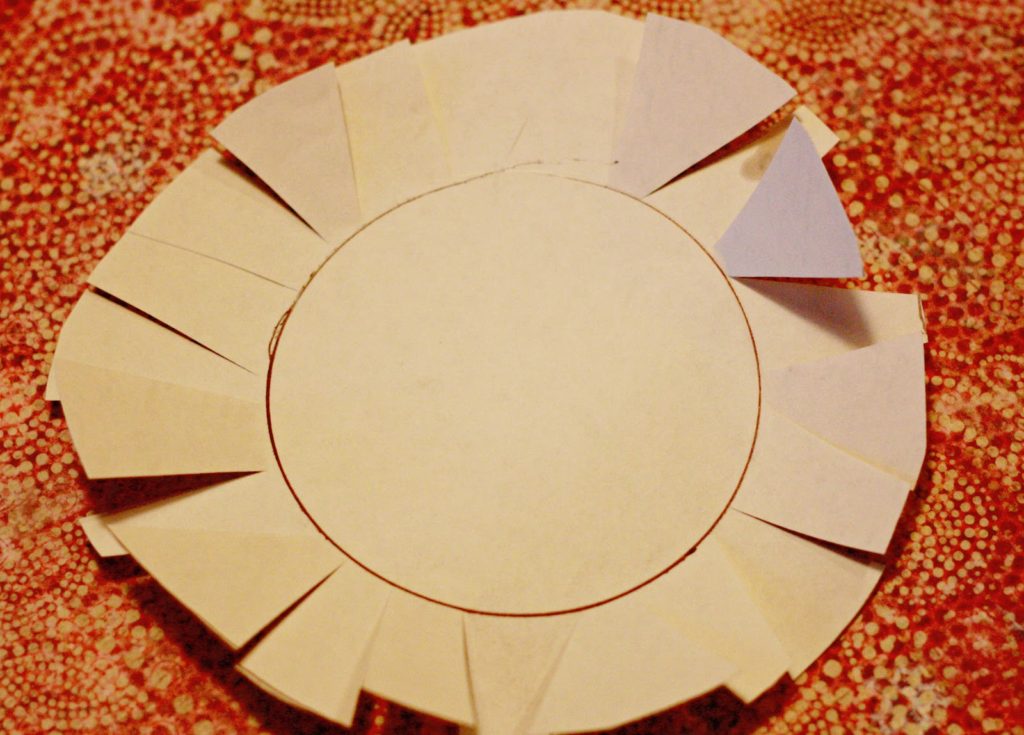
To cover the lid, start by drawing a circle around it, because you’ll need to cover the edge of the jar as well.
Trace the lid and then cut just until the lid line.
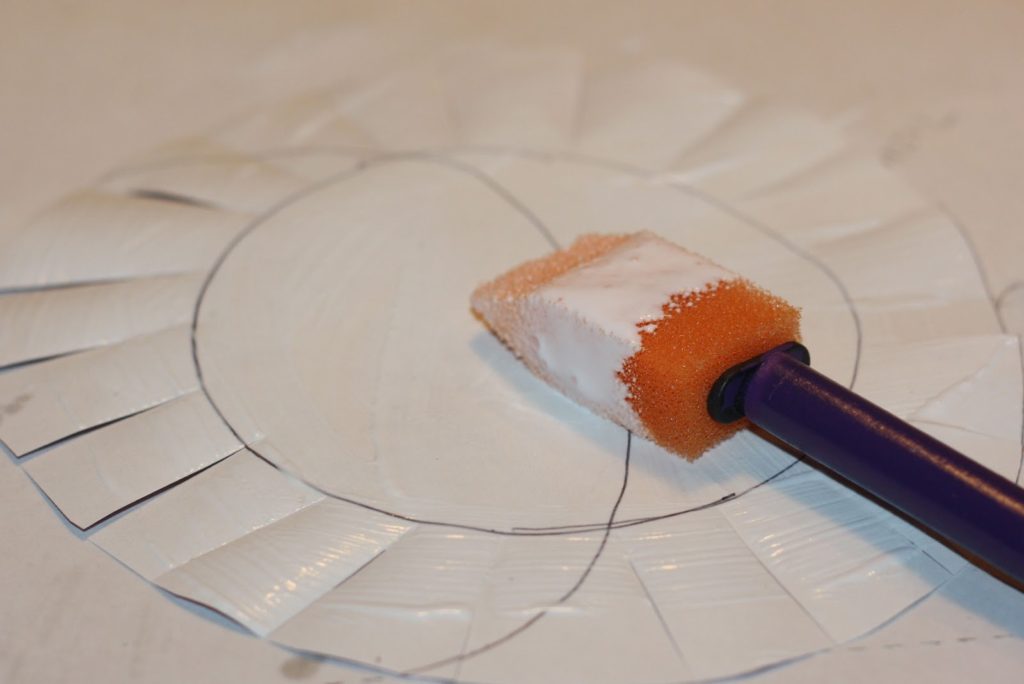
Mod podge the top of the lid, the edge, and inside edge.
You can also mod podge the back of the scrapbook paper, too.
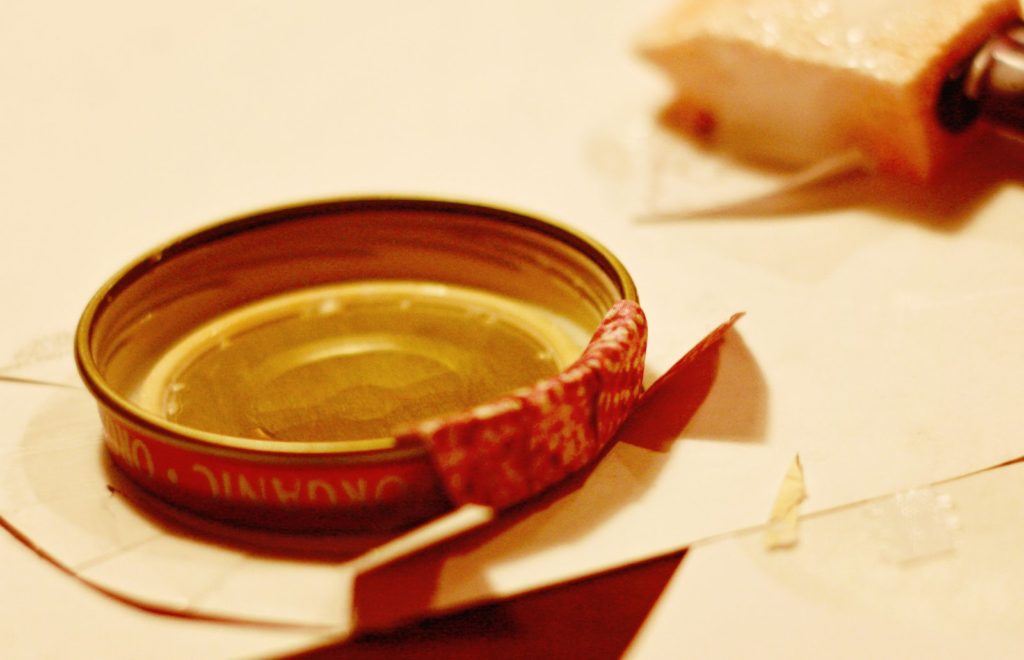
Press on the lid and wrap the paper around the edges.
Let dry for about 10 minutes and then attach the circular labels to the top. I mod podged over the label so it would stick better.
I ran out of circular labels so I put a square label directly on this jar. I mod podged it because it wasn’t sticking well to the glass.
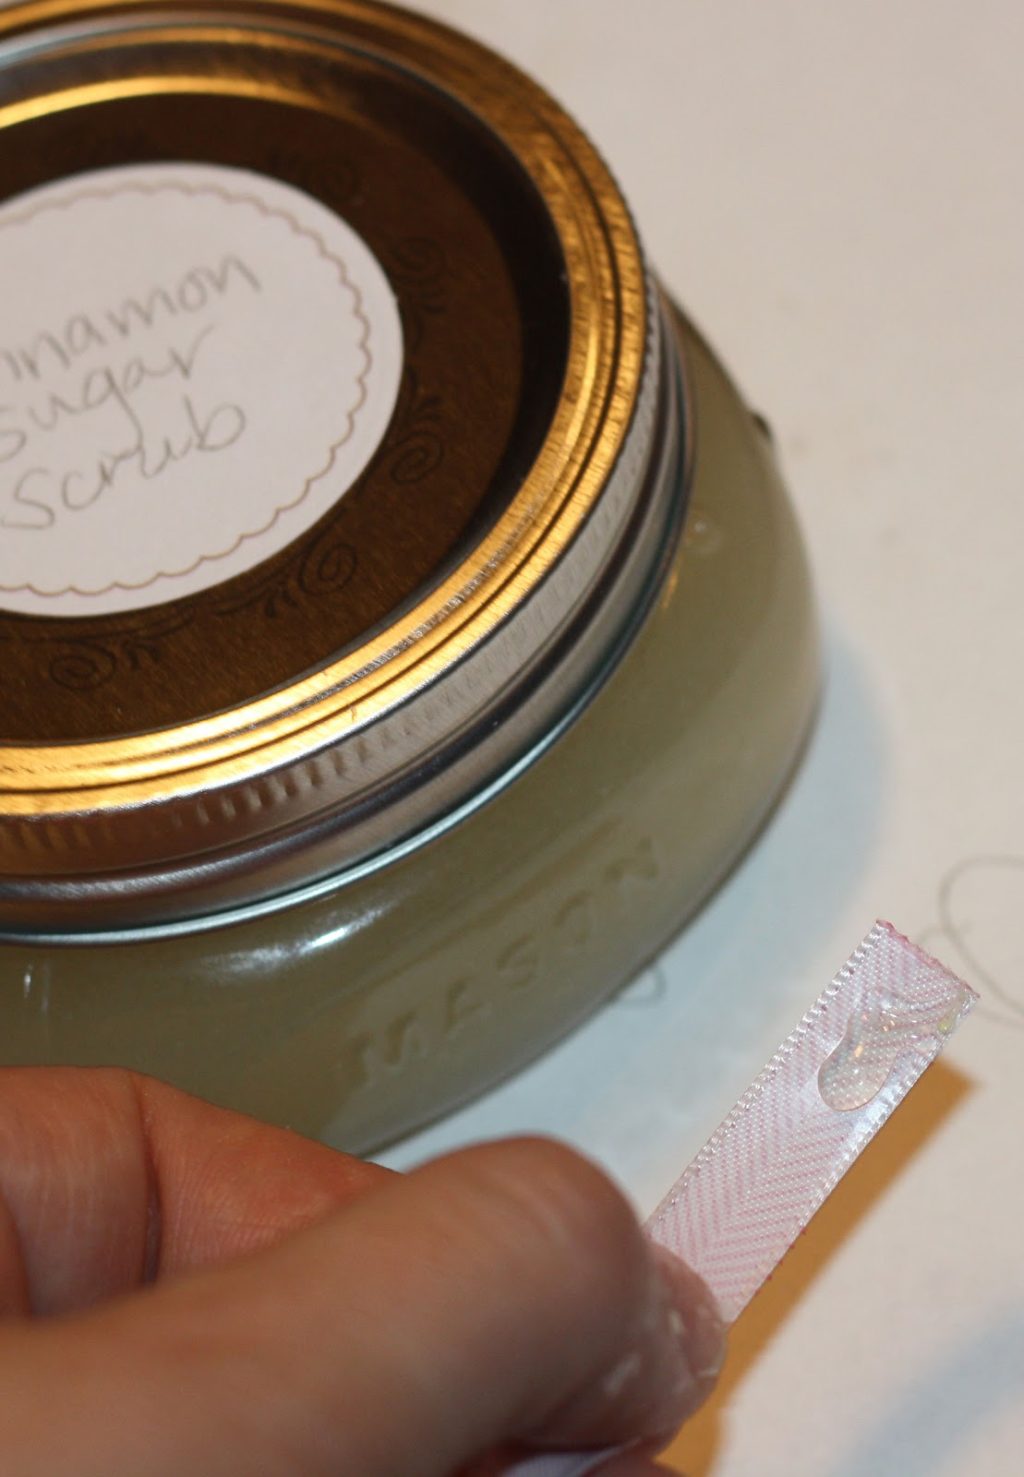
For the mason jars, I just attached ribbon around the rim. Just use a tiny drop of hot glue on the end and attach it to the rim, wrap around, and then use one more dot of hot glue to secure it. You could do one drop of hot glue around the middle, but don’t put hot glue all the way around the ribbon because it will ruin the ribbon.
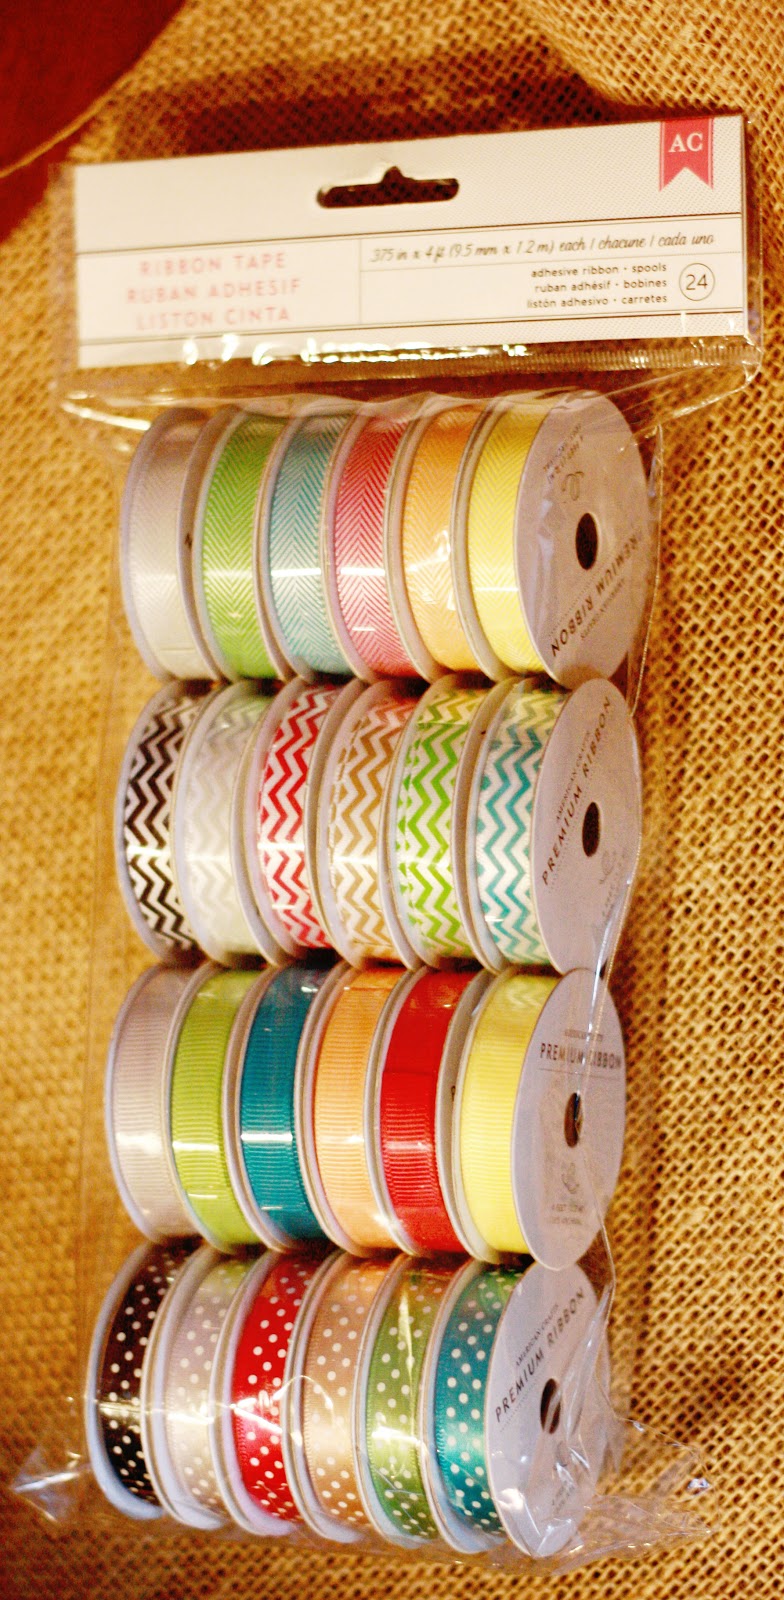
I got this ribbon in the scrapbooking section at Michael’s and found that there was adhesive on the back of the ribbon (Martha is so smart) so that helped it stick a little better, too.
Here are some of the ribbon options.
Thanks for checking out Day 1 of the 12 Days of Homemade Holiday Gifts series. Stop by tomorrow for another great homemade gift idea!
You can “like” my page on Facebook or follow me on Twitter.




Love the homemade gift ideas – so cute too!
Thanks, Kari! 🙂